Showing posts with label papercrafting. Show all posts

Tuesday, August 2, 2022


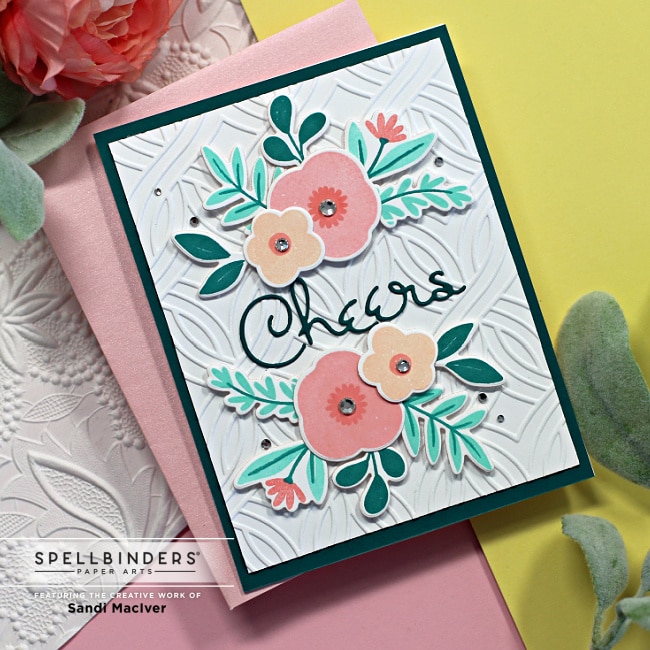
Hi cardmaking friends and welcome back.  It's Sandi MacIver here and today I'm sharing a card created with the Spellbinders August Clear Stamp and Die Club kit.  This month's "Perfect Floral Bloom" Clear Stamp Set and Coordinating Die set is perfect for making cards, decor and more.  

A Misti is super helpful with the stamping as many of the images are two step, or two layers.  Stamping the layers in different shades of the same color also helps to add depth to the image.  

The coordinating dies make it super quick and easy to pop them out so you can start your floral arranging.   

Ok, so don't fall over in amazement, I'm trying another new color scheme today, haha.  A little peachy/pink floral and greeny/blue foliage, and I really like it.  

      The background in today's card is created with the Embossing Club of the month folder "Intertwined Lattice.  This is a 5.5 x 8.5" folder with a repeating design.  The size allows you to create a pretty background for almost any size card you wish to make from a mini slimline all the way up to a 5 x 7 and long enough for a slimline card as well.  


The background in today's card is created with the Embossing Club of the month folder "Intertwined Lattice.  This is a 5.5 x 8.5" folder with a repeating design.  The size allows you to create a pretty background for almost any size card you wish to make from a mini slimline all the way up to a 5 x 7 and long enough for a slimline card as well.

How to create the Spellbinders August Clear Stamp and Die Club Card:

Note:  I'm using Simon Says Stamp Pawsitively Saturated Inks today:  Leaves:  Tidepool, Tropic and Aegean, the peach is:  Cheeky, Blush and Pucker. 

Start by placing a 4 x 5-1/4 piece of white cardstock into the Misti on the Sticky mat.  Lay down the three leaf solid image stamps, ink and stamp with Tidepool. 

Next, remove the cardstock and place another piece in and repeat. 

Then, clean and remove the stamps, lay the stem stamps over the stamped images.  Close the Misti to adhere the stamps to the lid.  Open the Misti, ink the stamps with Aegean ink and stamp.

Finally, switch out the card stock and repeat.
  Spellbinders August Clear Stamp and Die Club

Creating the Flowers

Start by placing the two floral image stamps onto the white cardstock, close the Misti lid to secure them to the lid, open and Ink with Blush and Cheeky ink. Flip the card stock around and repeat. Next, clean and remove the stamps and replace them with the flower center stamps.  Ink and stamp these in Pucker.

Then, use the coordinating dies to cut all the pieces out.  Lay them down on the work surface in two bunches. 

 Meanwhile, use the Intertwined Lattice embossing folder to emboss the 4 x 5-1/4" white card front and attach to a 4 -1/4 x 5-1/2 piece of Blue Spruce Cardstock. 
 
Attach this to a A2 sized top folding card base. 

 Use Press & Seal to pick up the two bouquets you created, flip them over and add foam squares to the back before attaching them to the card front. 

TIP - ensure you have left enough room in the middle for the sentiment.
 
Next, die cut the Cheers sentiment using the Small Die of the Month Club kit "Outlined Sentiments" and attach to the center of the card. 

Finally, embellish with Silver Color Essentials Gems. 

This is a super fun and easy stamp and die set to play with and would look great in many different color variations. 


Card Making Supplies used for the Spellbinders  August Clear Stamp and Die Club card:

Here are the products I used today.  Compensated affiliate links used  where available at no cost to you. Clicking on a thumbnail link and shopping supports my website and allows me to continue bringing you new projects and videos.  Thank you for your support. 



Tuesday, March 29, 2022

VIDEO: Layered Background Featuring Sticky Mats

Hello friends!! It’s Channin here and today I’m combining several techniques to create an abstract rainbow background with lots of depth! Check out the video below to see how I add layer upon layer with ink blending, stencils, stamping and even pigment ink to create a background with tons of dimension.

Layered Background Featuring Sticky Mats


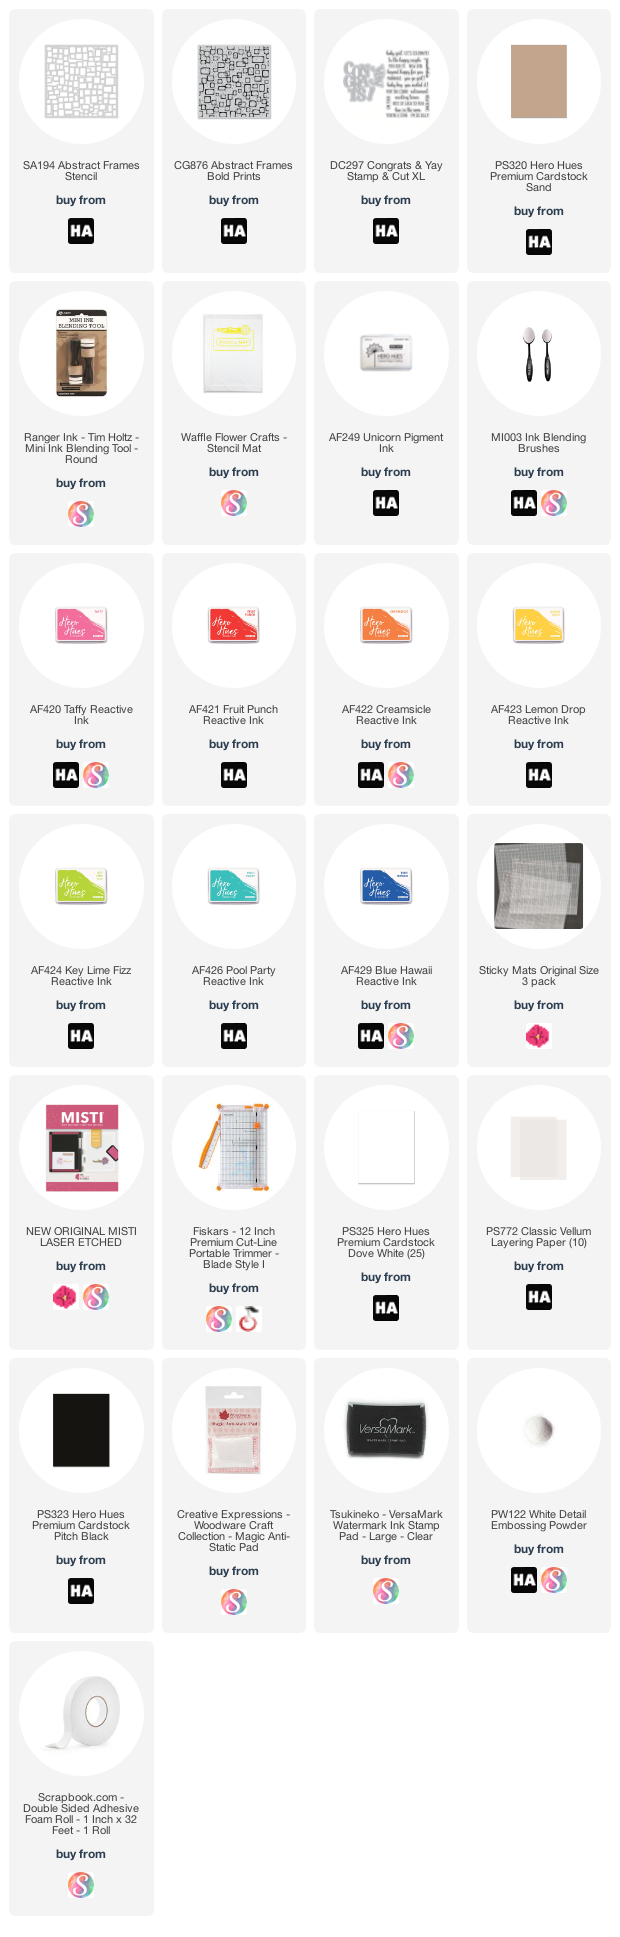
To create this card I first ink blended over an A2 panel of Sand cardstock with the Abstract Frames Stencil and Unicorn Pigment Ink. I then rotated the stencil and then ink blended a rainbow over the stencil with several Reactive Inks. Then I stamped over the panel with the Abstract Frames Bold Prints stamp with the same inks I used to create the rainbow blend. 


Next I created my sentiment by die-cutting the “congrats” and “!” from the Congrats & Yay Stamp & Cut XL set out of white cardstock. I then die cut the mat layers out of vellum and then adhered them to their cardstock counterparts. I then stamped and white heat embossed a sub-sentiment onto black cardstock and then fussy cut it out. 


To finish the card I adhered the background panel to an A2 top-folding white card base and then adhered the sentiments with foam adhesive. 


I hope you enjoyed my card and video! Thank you so much for stopping by!


~Channin


Supplies:


Tuesday, February 1, 2022

Rainbow with Gradation/Ombre Stamping

Hello friends!! It’s Channin here and today I’m sharing one of my favorite MISTI techniques, gradation/ombre stamping!! I use this technique to create a beautiful fading rainbow background featuring stamps and dies from Pinkfresh Studio. 


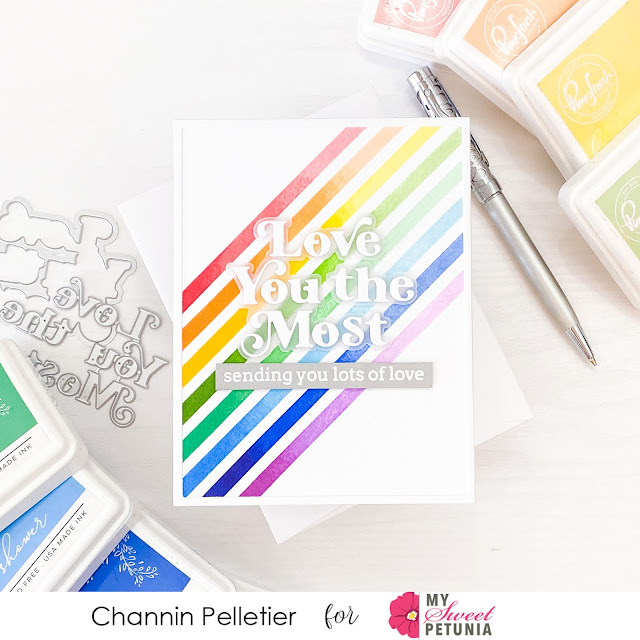
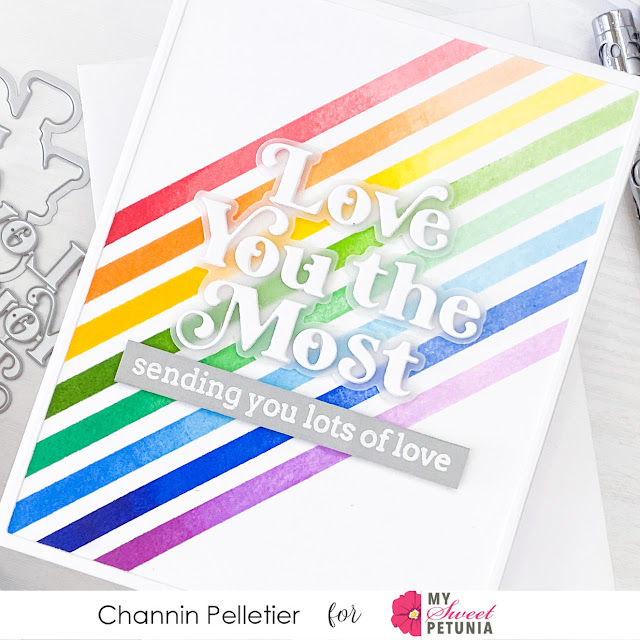
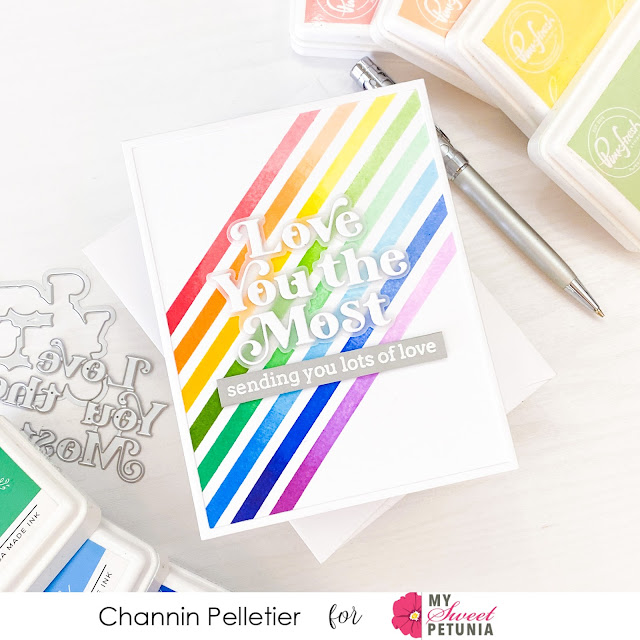
To create this card I first stamped the background using the Pop Out: Diagonal Stripes Cling Stamp Set. I started with the #6 stripe stamp and inked it up with Coral Reef ink and stamped it onto a 8 1/2” x 5 1/2” panel of white cardstock. I then partially inked up two thirds of the same stamp in Passion Fruit, a slightly darker red ink and stamped the stripe again. I then finished the stripe by partially inking and stamping the last third of the stamp in Berrylicious ink. I repeated this process for stripes 7-13 using three different inks (a light, medium, and dark) for each color of the rainbow. 


Once I had finished stamping the background I then cropped the panel down to an A2 panel and adhered it to the front of an A2 top-folding white card base. I then created a thin white rectangle frame using nesting rectangle dies and adhered the frame to the card front.


Next, I die cut a sentiment out of vellum and white cardstock using the Love You the Most Die. I then adhered the white letters onto the vellum shadow layer and then adhered the sentiment to the card front with foam adhesive. Lastly, I stamped and white heat-embossed a sentiment from the Simply Sentiments: Hello Stamp Set onto gray cardstock, trimmed the sentiment down to a stripe and adhered to the card front with foam adhesive. 


I hope you enjoyed my card! Thank you so much for stopping by!


~Channin


Supplies:

Friday, January 31, 2020

Be Kind

Hi crafty friends, Sandi MacIver here with a new card share for you today created with the Be Kind stamp and die set from Simon Says Stamp.

I started by placing a piece of Neenah Desert Storm card stock 4 x 5-1/4" into my Misti, tucked tight into the bottom left corner, and stamping the main image very lightly with black ink.
Important - Don't remove the stamp from the Misti.

The Neenah Desert Storm card stock as a beautiful smooth finish and is a dream to color on.

Next, I colored the image with my Prisma Color pencils in:
White,
Lavender,
Lilac
Parma Violet and
Dahlia Purple.


Once I finished coloring I placed my card front back into the Misti in exactly the same spot.  This time inking the stamp with VersaMark Ink and black heat embossing over my image.

Doing the embossing after I color allows me to color right up to the edge of the image without leaving a little halo effect you often get when you emboss first.

Next I placed my card front back into the Misti and used one of the other stamps in the set to add a little "background noise" in black ink.  I used a large Post It Note to Mask off my coloring by die cutting it with the coordinating die.


I added white splatter with diluted Winsor & Newton Gouache before adding a few drops created with Nuvo Crystal Drops in Ebony Black.

I wrapped some burlap twine around the bottom of the card before adding my sentiments.

Finally, I created two sentiments from the stamp set, one in coordinating purple, and the larger in black, embossing them both in white.

The sentiments are popped up with small pieces of foam tape to add dimension to the card as is the card front before I attached it to my A2 sized base.

That's it for me today, hope you enjoyed the share, and here are the products I used today:  (affiliate links).