Friday, August 31, 2018

Using the Misti to create a lacy card front using Picket Fence Studios Peony Bouquet


Hi, Susan here! For this card I used Jennifer McGuire's genius technique to make a lacy card front using our Peony Bouquet stamp set. This stamp set is packed full of gorgeous blossoms, buds and leaves and lends itself easily to this technique. For ink, I used W Plus 9's Limelight and Falling for Blue. I applied Limelight using our Life Changing Blender Brushes - they are amazing!!!!!
 I have included a You Tube video tutorial.


  Thank you for stopping by the blog. I hope you give this card a try as it is fun to do and has so many possibilities.
Susan
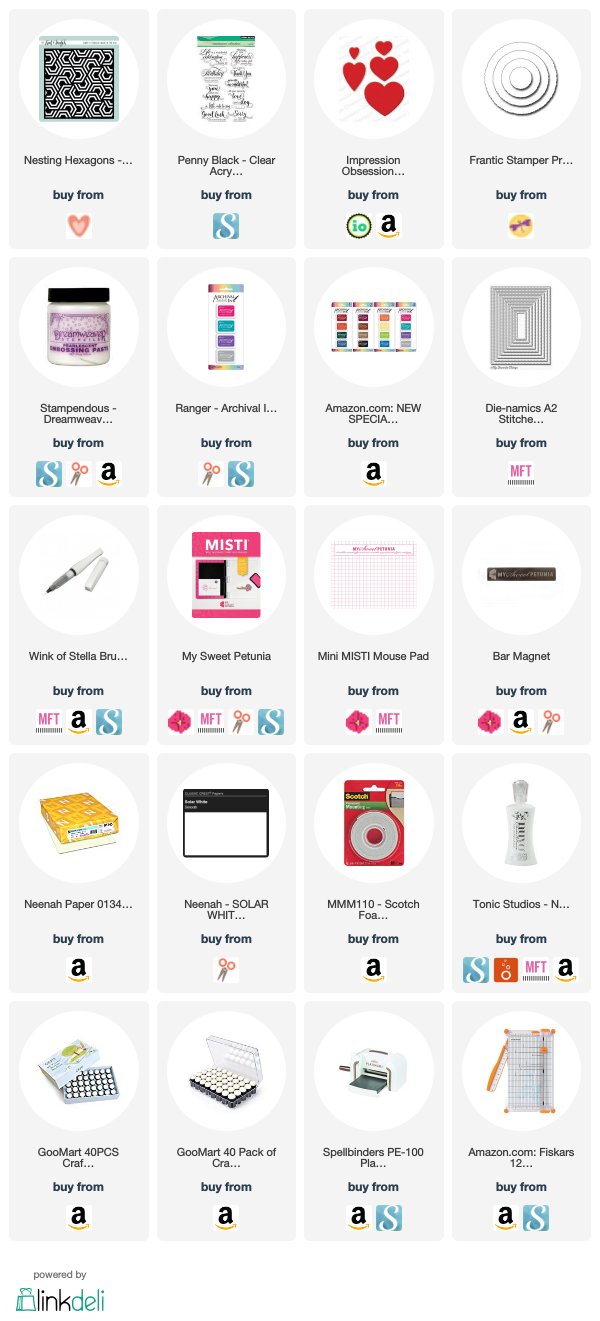
  https://linkdeli.com/widget.js?1533216656914

Tuesday, August 28, 2018

Team Tuesday with Giovana

Hello friends!! Giovana here with a super easy card for you, honestly this is super easy.
Well, first a confession, I was never a fan of this multi layer stamps because I was always messing them up, plus my eyes, seriously, I can't see those tiny lines until I got this super fun set from Altenew!! (And to be honest, they have amazing more sets too!!)
 This set is called Build a Flower: Cattleya. So easy, plus you get a guide with special marks to align your stamps so you get the perfect layer!!!
Believe me, if I can do it you can too!! {wink, wink}

OK, so I started with my Original MISTI stamping with the outline stamp, then added the layers using these colors: Summer Sky (Memento), Ultramarine (Impression Obsession) and Navy (Impression Obsession), then added the greens: Pistachio, New Sprout (Memento) and Avocado (Reverse Confetti)


See how pretty they look!! Love it!

After all the stamping was done, I die-cut the images with coordinated die-cut.

I sprayed a piece of watercolor paper (3.75" x 5") using Gold Topper and Harvest Sunset Shimmering Bliss (Technique Junkies), adhered it to a mustard piece (4.5" x 5"), added thin metallic tape to the watercolor piece, then added the die-cut pieces with foam tape to the panel. 
Stamped the sentiment on a black cardstock piece in Versamark Watermark, then added white embossing powder and heat set. Adhered it to panel with foam tape.
Finally added the panel to a 5" x 5.5" white card base.
Added few sequins to embellish.

Here, you can see the shimmer action.


You can get the Shimmering Bliss with a 10% discount using my code: TJ10Giovana

ETA: The winner from the Crackerbox & Suzy Stamps and My Sweet Petunia Blog Hop is


To claim your prize, please set up an account at www.mysweetpetunia.com, then email us at hello@mysweetpetunia.com from the email address you used on your account. If you already have an account, just email us.


Hope you like it.
Have a wonderful day!

Sunday, August 26, 2018

Penny Black Dressed in Snow Christmas Card


While I was at Junkie Fest 2018, I stopped by a local store.  Before I walked in the store, I made a commitment to purchase products.  Our small stores are in danger of going out of business.  In my area, the closest store is an hour and a half away.  Unfortunately, most of my shopping is done online.  However, online does not do stamps justice.  In person shopping, holding product in my hands, is a dangerous thing.


I purchased this Penny Black Dressed in Snow Slapstick  Cling stamp.  I fell in love with the sample on the back of the packaging.  With the help of my MISTI, recreating this was simple.

This year, I promised that I would not procrastinate on Christmas cards.   I hope this video inspires you to start your cards.  Leave a comment below telling me how many cards you plan to make this year.

Thanks for stopping by!


Affiliate links to supplies used:

Tuesday, August 21, 2018

Team Tuesday with Kia

 It is Kia here with you today to share this card that I did for this week's Team Tuesday. It has been ages since I have used stencil paste ... how about you? So I decided today was the day. 
 I do most everything in my Misti's, and stenciling is not any different. It contains the mess I normally make, and is super easy to clean up, but the best part is no tape needed. I use the magnets to hold everything in place. Underneath I have paper towel, and also use Saran Wrap.  I don't know why, but I tend to keep the paste on the cardstock instead doing it this way. I roll up a piece of painters tape for the underside of the cardstock to hold the center down, which I have done for this card. 

To start this card I die cut my panel with the stitched rectangle die I wanted to use. I then added the embossing paste, letting it dry before adding the colours, which are Peacock Feathers and Worn Lipstick.
 I cut a strip of cardstock and stamped the first part of the sentiment using Ranger Archival ink in Paradise Teal. I stamped the second part of the sentiment, "and a dog" inside my card. I then die cut the heart, leaving it in place and sponging with the Worn Lipstick, then adding some Wink of Stella for a bit of sparkle. I die cut a small circle in the strip and attached it to my base using foam tape. Gluing the back of the circle die I placed it in the circle cut out, then glued on the die cut heart. 
 This close up view shows the sparkle on the heart, and also shows the paste texture up close. It is a pretty clean print, with very little seepage, and I have found that this is the normal case when I do my stenciling with the help of my Misti. 
I hope you have enjoyed this card today, and would like to take this opportunity to thank you for visiting with My Sweet Petunia.
Have a great day.

Sunday, August 19, 2018

Deco Diamonds and Finetec Watercolors

Hey there!  It has been a couple of months since I have posted a card.  Summer has just flown by and getting to the craft room has been difficult.  I actually started this set of cards in June.  

I used Simon Says Stamp Deco Diamonds for my background on Gina K Black Onyx and Papertrey Ink Smokey Slate cardstocks.  I couldn't make up my mind on what color embossing power to use so I used both Brutus Monroe Alabaster and Ranger Princess Gold.

To add color to my image, I used Finetec Pearl Watercolors.  I just painted it on and did not worry about blending the colors.  For my sentiment I used a combination of Simon Says Stamp Big U dies and Honey Bee Large Thanks die.


For this card I used Ellen Hutson Holiday Words to die cut the word Love.  I think it is now discontinued but Ellen Hutson Classic Block Alpha  die set can also work.  To embellish, I broke out the Studio Katia April Crystals.


I loved the way the Finetec Pearl Watercolors looked on the dark cardstock; so I looked for another stamp set that I could paint.  I settled on Altenew Mega Succulent stamp set.


Using scraps as borders is a great way to use up those pieces.  I used Altenew Painted Poppy along with Altenew Birthday Builder  to make these cards.  I embellished using Studio Katia Sparkling Clear Confetti.


Hope you loved these cards as much as I do.  Thanks so much for stopping by and don't forget to subscribe to the YouTube Channel and hit the like button while you are there.


Affiliate links to supplies used:


Original MISTI
[ MSW ]
Creative Corners - US Patent Pending
[ MSW ]
Original MISTI Mouse Pad
[ MSW ]
Original Grid Paper Pad - DOUBLE SIDED
[ MSW ]
Bar Magnet
[ MSW ]
Simon Says Cling Rubber Stamp DECO...
[ SSS ]
Altenew Clear Stamps, Mega Succulent...
[ ELH | SSS ]
Altenew Clear Stamps, Painted Poppy -...
[ ELH | SSS ]
Altenew Clear Stamps, Birthday...
[ ELH | SSS ]
Inkadinkado Embossing Magic Bag
[ ELH ]
Lawn Fawn Stamp Shammy
[ ELH ]
Gina K. Designs Tidy Towel
[ GNK | SSS ]
Perfect Match Smokey Shadow Cardstock...
[ PPR ]
Gina K Black Onyx Cardstock
[ GNK ]
Ink On 3 Ink Pads, Juicy Clear...
[ ELH | SSS ]
Brutus Monroe ALABASTER Ultra Fine...
[ SSS ]
Ranger Embossing Powder PRINCESS GOLD...
[ SSS ]
Hero Arts Embossing Gun
[ ELH ]
Amazon.com: OXO Good Grips POP...
[ AMZUS ]
Mini Kolinsablon Spotter Brush - Size...
[ HBL ]
Arteza WATER BRUSH PENS Set of 6 Red...
[ SSS | AMZUS ]
Amazon.com: FinetecÊArtist Mica...
[ AMZUS | SSS ]
iCraft Purple Tape - Ellen Hutson LLC
[ ELH | SSS ]
Simon Says Stamp STITCHED RECTANGLES...
[ SSS ]
iCraft Easy Cut Adhesive™ Sheets •...
[ THR ]
Honey Cuts Dies, Large Thanks - Ellen...
[ ELH | SSS ]
Honey Bee HELLO GORGEOUS WORDS Dies...
[ SSS | ELH ]
Simon Says Stamp BIG U Wafer Dies...
[ SSS ]
Essentials By Ellen Designer Dies,...
[ ELH ]
Ranger .5 Oz. MINI MULTI MEDIUM MATTE...
[ SSS | ELH ]
Studio Katia APRIL Crystals sk0418 at...
[ SSS | ELH ]
Studio Katia CRYSTAL CLEAR Confetti...
[ SSS ]
Amazon.com: Crystal Katana Multimedia...
[ AMZUS | SSS ]
Teflon Bone Folder
[ ELH | SSS ]
Scor-Buddy Mini Scoring Board 9x7.5 -...
[ ELH | SSS ]
Sizzix Big Shot White & Gray
[ ELH ]
Mini Blossom Die Cutting Machine –...
[ ALTN ]
Be Creative Tape 3MM ROLL Double...
[ SSS ]