Thursday, October 29, 2020

MISTI and Dare2BArtzy Blog Hop Collaboration


Hello crafty friends! Today MISTI has teamed up with Dare 2B Artzy for this fabulous Blog Hop Collaboration full of inspiration and a GIVEAWAY just for you.

GIVEAWAY

Both companies are giving a $20 gift card to each store and a coupon code FALL10 for 10% off purchases from 10/29 - 11/8 (excludes sale items). So please leave a comment on each blog post to enter this awesome giveaway! And Good Luck!


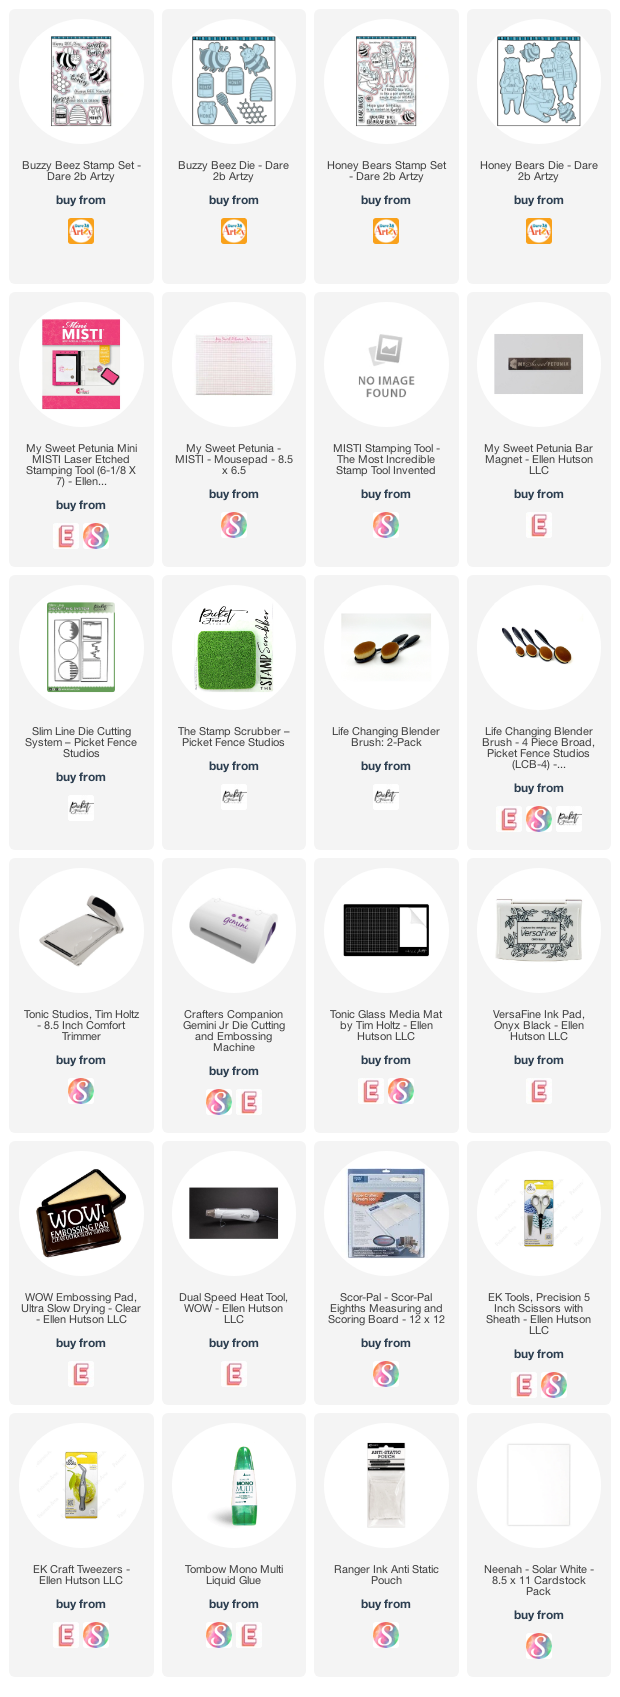
Let’s start! I have created two cards for this blog hop, one slimline and one A2 panel. The stamps and dies are Honey Bear and Buzzy Beez. You can combine these two stamps because they match perfectly.


I placed all stamps inside the MISTI and stamped them using VersaFine Onyx Black ink and I colored them with Copic markers. Before die cutting, I placed my sheet inside the MISTI again to stamp one more time and get those black outlines more define. Next, I proceeded to die cut all images using the coordinating dies.


I die cut the slimline panel and additionally I die cut a circle right in the center of it. I applied Carved Pumpkin Distress Oxide ink in two ends of the panel using a Life Changing Blender Brush. Then I adhered a black slimline notecard at the back of this panel using foam tape.


The circle I die cut from the center of the slimline panel was colored with Speckled Egg and Spiced Marmalade Distress Oxide inks using Life Changing Blender Brushes. Then, I inserted this die cut in the center of the panel using glue.


I die cut the honeycomb out of orange cardstock four times and arranged them along with all the other images at the top, middle and bottom part of the panel using glue and foam tape.


I also, placed another piece of cardstock inside the MISTI and stamped all the sentiments, then I adhered them to the background with foam tape and this card is done.


For my second card, I used a stencil to applied color to this panel. I used Speckled Egg and Curved Pumpkin Distress Oxide inks.


Next, I arranged all images around the panel using glue and foam tape.


Finally, I stamped all the sentiments using VersaFine Black Onyx ink and to do this I simply placed this panel inside the MISTI and stamped both sentiments and this card is finished.

I really hope you enjoyed the process of these cards and below you will find the list of designers participating on this blog hop so remember to stop by all of them and leave some love to enter the GIVEAWAY.


LINE UP


Tuesday, October 27, 2020

Distress Oxide Ink Single Layer Holiday Cards

 Hi card making friends, Sandi MacIver here and I have four super easy holiday cards for you today.  The Distress Oxide Ink Single Layer Holiday Cards are done in a mass production format blending all the backgrounds first and then popping the stamps into the Misti and stamping all the cards at the same time.

I even used precut and scored card bases to further speed up the process (link below).


For the backgrounds I used four different blends of Distress Oxide Inks and the Simon Says Stamp Simple Patterns Trio Stencils.

These stencils line up with the outside edge of an A2 card so you can quickly add your ink blends and move on.

There are three designs in this set, and for the forth card (bottom right corner), I created my own.


I used a piece of Neenah Solar White 80# card and the Simon Says Stamp A2 Thin Frames to cut out the stencil.  You could also use overhead projector plastic or plastic left over from packaging.


Once all the blending is done and the ink is dry, pop one of the cards into the bottom left corner of your Misti, secure with a few magnets and add the stamps.  

These stamps are from the Simon Says Stamp Prismatic Snowflakes stamp set and the sentiment is from Simons Holiday Greetings Mix 1.

Once you have the stamps all lined up, use Simons Intense Black Ink to stamp them.  Just remove the stamped card and pop another one in, ink up the stamps and in no time you have all four stamped.

These beautiful cards are easy to create, bright and cheery and flat, so no additional postage required.
Here are the Distress Oxide Ink Colors I used for the blends.


Card #1  (from the Top), Tattered Rose, Abandoned Coral and Seedless Preserves.


Card #2 - Tumbled Glass, Mermaid Lagoon and Blueprint Sketch.


Card #3 - Spun Sugar, Bundled Sage and Tumbled Glass


Card #4 - Shaded Lilac, Cracked Pistachio and Evergreen Bough.

That's it for me today, I hope you will give these cards a try and add to your Christmas Card Stash.

I've listed the supplies I used below.  Affiliate Links are used which means I receive a small commission when  your purchase through my links at no additional cost to you.

Thanks so much for stopping in and Happy Stamping


Tuesday, October 20, 2020

Using a MISTI to Heat Emboss on Deli Paper


Hi, Welcome to Team Tuesdays and this is Susan up on the blog. This is a card you will definitely need a MISTI for. I used two WPlus9 Designs stamp sets: Autumn Leaves and So Very. 

I used my second edition MISTI to stamp and heat emboss the Thankful sentiment onto deli paper. I use deli paper when I am using my Gel Press. Sometimes I wipe off my brayer onto deli paper or I print on it. In this case, I did both. So besides the paint the paper was crinkled. I had to ink up the thankful 3-4 times with Versamark before applying the embossing powder. I did treat the deli paper with an embossing bag. I used WOW Ocean embossing powder. 

On a piece of Neenah I used my MISTI to stamp 3 leaves from Autumn Leaves and then die cut them out. The dies are on sale at WPlus9. See links below. 

Thanks for stopping by;
Susan

Products Used: I am using compensated links for some products. I purchased all the products used in this project on my own.

Tuesday, October 13, 2020

Halloween Ink Trapping Card with Channin


Hello friends! It's Channin here and today I a have fun halloween card to share! Today’s card was actually inspired by a beloved childhood book of mine called A Halloween Happening. 


To create this card I first stamped an A2 panel with the Bare Branched Tree Bold Prints in Pumpkin Pie Mid-Tone Shadow Ink. Do to this, I first ppsitioned the background stamp in the center of my MISTI and then used adhesive tape to hold my panel in place inside the well of my MISTI. After I stamped the tree I then added a few details to the trunk and branches with a copic marker, leaving my panel in place inside my MISTI. Next, I stamped the tree again in Versamark ink and then clear heat-embossed the image. Once the embossing powder was heat set I then ink blended over the tree with Grape Slush Reactive Ink, Grape Juice Mid-Tone Shadow Ink and INTENS-ified Black Ink. When I finished ink blending, I then wiped the tree clean with a dry rag to remove excess ink. 


Next, I stamped the pumpkins with the heroscape layering stamp set included in September My Monthly Hero Kit. I first stamped the solid layer for the pumpkins in Dandelion Bold Ink twice onto an A2 panel of white, rotating the panel after I stamped the pumpkins once and then stamping them again so I had the pumpkins on both sides of the panel. I then left the stamp in place in my MISTI and then throughly dried my panel with a heat gun. Next, I positioned the Jack-O-Lantern faces over some of the pumpkins and then stamped them in Versamark Ink and then embossing in clear. I then flipped my panel and stamped the other side of the panel with the Jack-O-Lantern faces, so the pumpkins on both sides had faces. I then repeated this process till I had all the pumpkins I wanted stamped. 


Next, I stamped the solid pumpkin layer again on both sides in Soft Apricot Ink. I then positioned the detail layer for pumpkins and stamped that on both sides in Tangerine Bold Ink. Next, I positioned the solid leaf layer in Pine Bold Ink on both sides. I then finished both sets of pumpkins by stamping the final layer in Cup O’ Joe Mid-Tone Shadow Ink. I then fussy cut several of my pumpkins out and adhered them my panel. 


Next, I trimmed my panel down 1/8” on all sides and then adhered it to the front of an A2 top-folding black card base. Next, I stamped my sentiment (also from the kit) in Dandelion onto a strip of white cardstock. I then stamped the sentiment again in Versamark ink and heat set in clear embossing powder. I then ink blended over the strip with Tangerine ink and then adhered it to the card front to finish the card. 


I hope you enjoyed my card! Thank you so much for stopping by!


~Channin


Supplies:

Tuesday, October 6, 2020

Concord & 9th Christmas with Ceal Pritchett

Hello everyone, It's Ceal here to share with you and today I am sharing products from the September release by Concord & 9th. 
With it being September already I have to get a jump start on my holiday card making and these products along with your MISTI will help you to move right along. 


To make the top card I started by stamping the Gingham Background on a white panel using Sea Glass ink, adhered that to a Stardust panel and then adhered to the white card base. I die cut the pieces I wanted to use from the Peace on Earth die set and then placed them back in the negative space to stamped them with the them in the different colors. I love to die cut first because with the Misti this gives you perfect placement. After they were all stamped I added them to the card front


The second card also requires a MISTI, to make this card I stamped the Candy Stripe Background in Stardust then turned my cardstock one turn and stamped it again to give me that plaid pattern. The Full of Joy Trifold die is so fun. I cut it out of white cardstock and then I cut the "O" out of glitter paper. I added a little greenery at the top to hold it up when closed. 


 To make my last card I stamped the Barnwood Background, (which is a favorite) in Wheat ink and adhered it to a Cranberry panel and then to the base. I used the Fresh Cut Florals dies Edition 4 to create the wreath and the J and Y from the Full of Joy Trifold Die. To finish it I added some sequins. 


Below I have links to the products used. Click the picture to start shopping. Compensated Affiliate links are used at no additional cost to you. Your support helps me to keep bringing you new projects and I appreciate that so much!  

Thank you!