Thursday, March 23, 2023

Ivy and Thinking of You

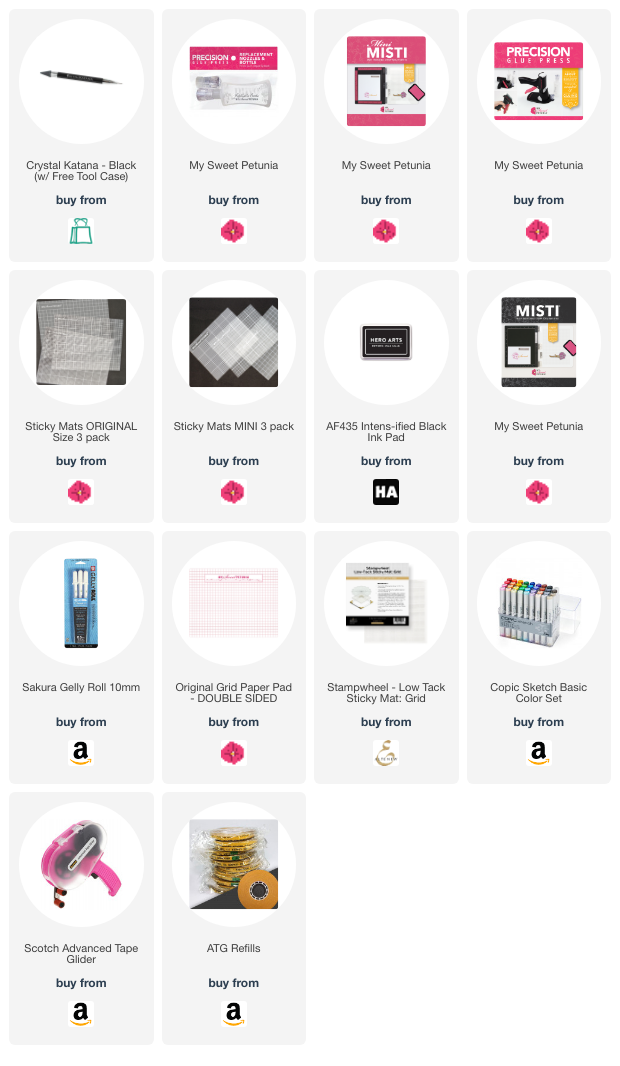
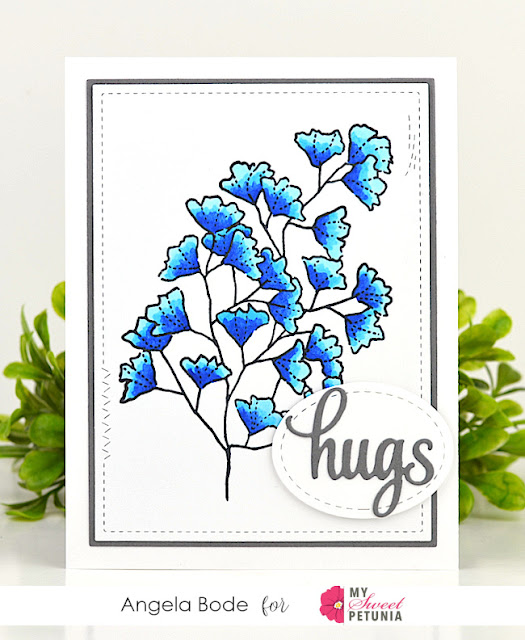
Hi, Angie here with a touch of ivy! I am not a green thumb; my sister and mother are, but that gift was not given to me. I am known as the plant killer; however, I am all about paper greenery!  

An image such as this makes me itch to break out my paints, which is what I did here. The MISTI is always my favorite tool in my art room and even more so when I watercolor. Since watercolor paper is heavily textured, it requires multiple inkings. The MISTI keeps everything in place for perfectly stamped images every time! For most projects, I like to use more than one MISTI for each project.  Just in case disaster strikes, like a kitty putting his paw in my water, shaking it off, and making a mess on my finished coloring.  (You know that has happened, LOL).

   I stamped the image in my Original Black MISTI and watercolored it.  I adhered the panel to the gray card base.  Lastly, I placed the card in my Mini MISTI to stamp the sentiment. If I attach the image panel slightly less than perfectly, stamping the sentiment last ensures the greeting is aligned perfectly. 


***Affiliate links are used when possible at no charge to you!***


Wednesday, March 22, 2023

A Little Love for Spring


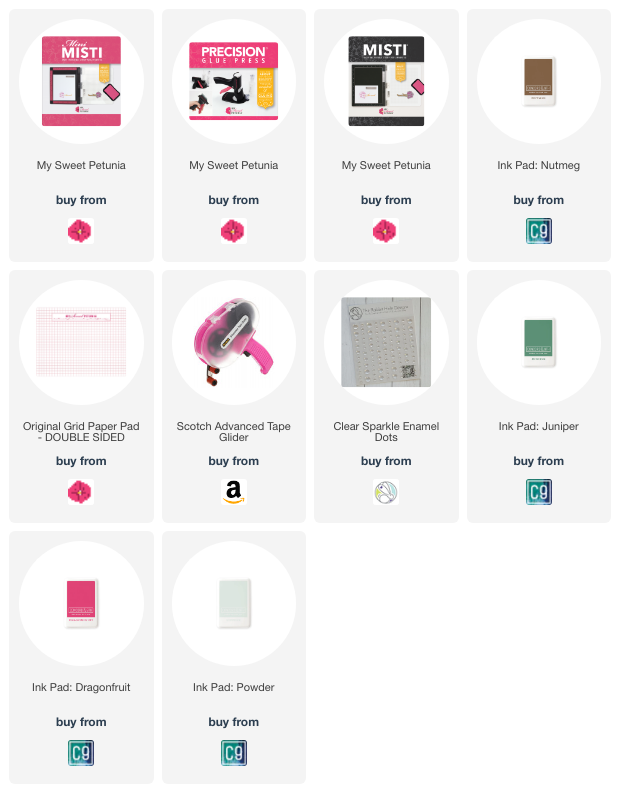
Hello everyone! Anna here bringing you a little bit of spring from the pacific northwest! The card I’m sharing today was made using a
 recently released stamp set from Impression Obsession. The set is filled with adorable images and sentiments perfect for Easter and Spring cards.  

I stamped the image on watercolor paper using a permanent brown ink and watercolored the image with some shimmering watercolors. I used smaller images in the set to decorate the bunnies. I splattered some gold and silver watercolor pigments over the card once everything was painted and assembled. I love the look of the splatters over the image! 
Using a Mini MISTI is my favorite way to stamp on watercolor paper. The texture of watercolor paper can be challenging to get a good impression without making multiple impressions. Thankfully, the Mini MISTI allows me to stamp an image several times, giving me the perfect impression for every project! 

Thanks so much for joining me on the blog today!

Tuesday, March 21, 2023

Team Tuesday with Hero Arts

Our team uses affiliate links


Hello and welcome to Team Tuesday. 

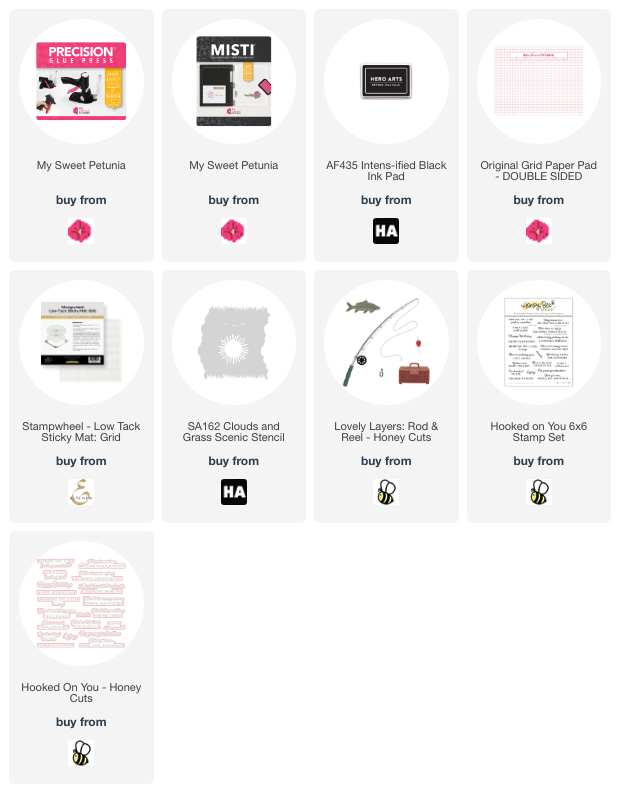
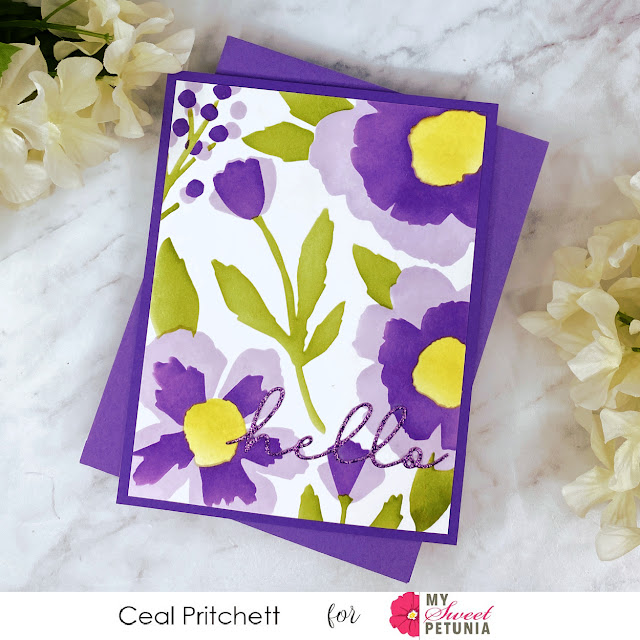
It's Ceal, here. Today I am sharing a card created with a Hero Arts stencil. 

This stencil and fancy die is my new favorite by Hero Arts. It's so fun to create cards using it and it's so easy using the Original MISTI and a Sticky Mat. 

To make this card I started with a white top folding card base and a white panel. I ran the white panel through my die cutting machine with the fancy die and then placed it on the sticky mat. Next I used some Hero Reactive inks and Distress inks to color it. 

To make the wings of the bee two different colors I shifted the stencil just a tad. After I got it all colored I adhered it to the top folding base. 

To finish the card I added an embossed greeting also by Hero Arts.


Thursday, March 2, 2023

Easter with a Bear


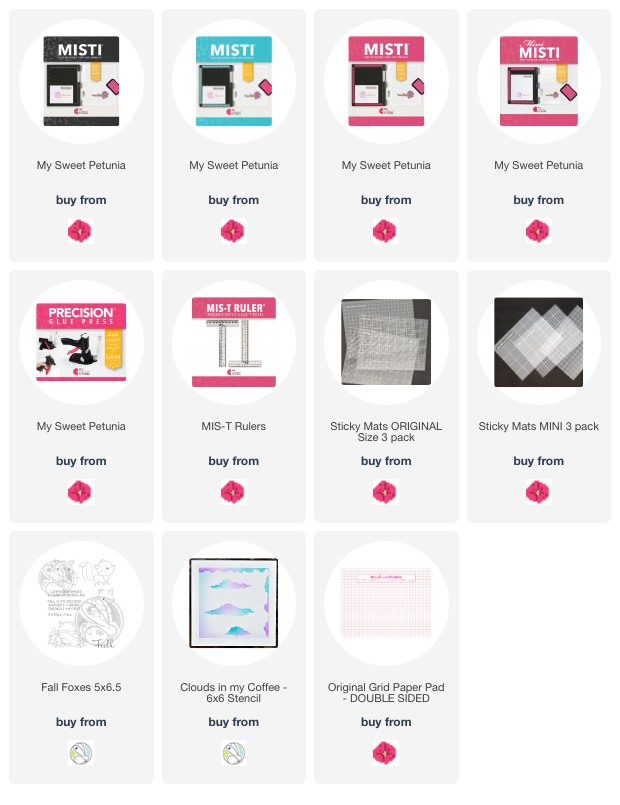
Hi, Angie here with a Pooh Bear card! I stamped this sweet Easter image on very textured watercolor paper. The MISTI is my most important tool for stamping on textured watercolor paper, as this paper requires multiple stampings for a solid impression. I used the original and Mini MISTI to make this card.  First, I stamped Pooh in the Original MISTI, and after water-coloring Pooh, I stamped the butterfly in the Mini MISTI.


Thanks so much for taking a look!  

***Affiliate links are used when possible at no charge to you!***

Here is what I used for this project:


Wednesday, March 1, 2023

Adorable Spring Card


Hello everyone! Anna here bringing you a little bit of spring from a snow covered pacific northwest! The card I’m sharing today was made using a
 limited edition red rubber stamp set from Impression Obsession. The set is filled with adorable chicks, flowers, and sentiments perfect for Easter and Spring cards for mothers, friends, sisters, kiddos and more.  


I stamped the image on watercolor paper using a permanent brown ink and watercolored the image with some shimmering watercolors. The tulip in this image is so spring-inspiring! Paint it in all of your favorite tulip colors! I splattered some gold and silver watercolor pigments over the card once everything was painted and assembled. I love the look of the splatters over the image! 
Using a Mini MISTI is my favorite way to stamp on watercolor paper. The texture of watercolor paper can be challenging to get a good impression without making multiple impressions. Thankfully, the Mini MISTI allows me to stamp an image several times, giving me the perfect impression for every project! 

Thanks so much for joining me on the blog today!

Tuesday, February 21, 2023

Team Tuesday with Gina K Designs

 This post uses affiliate links 

Hello everyone!
It's Ceal, here with another edition of Team Tuesday! 
Today I am playing with some Gina k Designs products with my MISTI.

To make this card I started with a white top folding card base and a white panel. I placed a panel of the new Poly Glaze foiling sheets in the Original MISTI and stamped the vase on it and then ran it through the Minc. Next I placed the vase die cut on the sticky mat and stamped the water and the stems. 
To finish the card I made a table on the white panel by using a set by Ink Blot Shop and added the stems and then placed the vase down.  


Look how shiny! 


Thursday, February 9, 2023

Here For You

Hi everyone, Angie here! The project I am sharing today features a background stamp and the fun "desk set" stamp set, Hold it Together, by Impression Obsession.  This was a fun and easy project, thanks to the MISTI tools!  


****
Affiliate links are used when possible at no charge to you!
*****

I placed the Shiplap background stamp in the Teal Original MISTI and inked the stamp with several inks. Next, I put a Sticky MAT inside the MISTI to keep the cardstock in place. Sticky Mats work wonders when repeat inking is required! 

To stamp the paper clips and sentiments, I used a Mini MISTI. Since my desk always has limited space, I love the ease and small size of the Mini MISTI! I always leave stamps in the MISTIs until I finish my project; if I make a mistake, the MISTI is still set up for a quick redo!  

Thanks so much for stopping by!  

The following are direct links to all products used to make this card!

MY SWEET PETUNIA


Impression Obsession


Wednesday, February 8, 2023

Happy Easter Vintage Inspired


Hello everyone! Anna here! The card I’m sharing today was made using the new
 limited edition red rubber stamp set for February 2023 from Impression Obsession. The set is filled with adorable vintage inspired spring images, so fun to color and paint!


I stamped the image on watercolor paper using a permanent brown ink and watercolored the image with some shimmering watercolors. I splattered some gold watercolor pigments over the card once everything was painted and assembled. I love the look of the gold splatters over the image!

Using a Mini MISTI is my favorite way to stamp on watercolor paper. The texture of watercolor paper can be challenging to get a good impression without making multiple impressions. Thankfully, the Mini MISTI allows me to stamp an image several times, giving me the perfect impression for every project!

Thanks so much for joining me on the blog today!

Tuesday, January 24, 2023

Team Tuesday with Concord & 9th

This post uses affiliate links at no additional cost to you.


Hey there crafty friends!
It's ceal, here. Today I am sharing a valentines card, well it doesn't have to be for valentines day it can be for any day of the year that you want to let someone now they are loved.


Supplies used are below using affiliate links. I appreciate you using them when you shop, they are no extra cost to you. 

Thursday, January 19, 2023

The Power of a Woman

Hello, friends! Today, I am featuring a stamp set in two very different ways.  

 I stamped the images on watercolor paper and painted them for the first card. I had a lot of fun arranging the stamps, then painting the scene. The MISTI is invaluable for stamping on textured watercolor paper.  


I used the same stamp set on the next card, but just the paint splatter stamps. The splatters look great as an accent for a crime scene card! 

 Clear solid stamps usually require more than one inking so the MISTI is my most valuable tool for perfect alignment!  

Thanks for stopping by!  

***Affiliate links are used when possible at no charge to you!***

Featured items from My Sweet Petunia


Stamps:


Wednesday, January 18, 2023

Floral Heart Wreath Card


Hello everyone! Anna here! The card I’m sharing today was made using the new limited edition red rubber stamp set for January 2023 from Impression Obsession. The set is filled with lovely hearts, flowers, and sentiments perfect for Valentine cards, cards for mothers, friends, sisters, and more. 


I stamped the heart wreath on watercolor paper using a permanent brown ink and watercolored the image with some shimmering watercolors. I splattered some gold watercolor pigments over the card once everything was painted and assembled. I love the look of the gold splatters over the image!

Using a Mini MISTI is my favorite way to stamp on watercolor paper. The texture of watercolor paper can be challenging to get a good impression without making multiple impressions. Thankfully, the Mini MISTI allows me to stamp an image several times, giving me the perfect impression for every project!

If you’d like to watch me create a similar card using this technique, here’s a video for you to enjoy!

Thanks so much for joining me on the blog today!


Tuesday, January 17, 2023

Stenciled Leaves on Sticky Mats


Hey card making friends, Sandi MacIver here with another quick and easy card share.  Todays card is created with the Pinkfresh Studio Detailed Leaf.  Products used today are from the newest release and includes the leaf stamp set, coordinating dies, stencils and hot foil plate.  

I opted not to get the hot foil plate because I can Gold Emboss the image using the stamp set.  Also, I'm trying to stay within my crafting budget, LOL.....you know how that is. 

 Anyway, I love using these layered stencils to create cards.  They make you look so artistic with so little work, LOL.  It's also great fun trying out new color combinations for these leaves.    

PLEASE NOTE: This post contains affiliate links. See below for my full disclosure.


How to create the Pinkfresh Studio Detailed Leaf Card:

Start by cutting a piece of cardstock into quarters 4 x 4-1/4" x 5-1/2".  Set one aside and using a Misti, stamp the leaf image on each of the other 3 in VersaMark Ink, cover with gold embossing powder, shake off the excess and heat set. 

Next, use the coordinating stencils on a Sticky Mat to color in the leaves with Pinkfresh Ink colors:  Ocean Breeze/ Aquamarine/Mermaid Cove/Tidal Pond.  The stencils are numbered in the top left corner of each to assist you with placement and I started with the lightest color at #1 working my way to the darkest. 

Then, rub the images with a dry towel to remove any ink sitting on top of the embossing and then die cut with the coordinating die. 

Finally, place inside a SPLAT BOX, and spatter with gold and white paint.


Creating the background for the Card:

Start by placing the Geo Blocks Hot Foil plate onto the base platform of your die cutting machine. 

Then, spritz the 4th piece of white cardstock you cut at 4-1/4" x 5-1/2" with water and lay it on top of the plate. 

Next, place a silicone impression pad over this with a cutting pad and run through the die cutting machine.  (Note the sandwich for this may differ for your machine).  This will emboss the card front with the design on the hot foil plate. 

Next, attach the card front to a top folding A2 sized card base.  4-1/4" x 11" score and fold at 5 -1/2".

Then, use foam squares to attach the color leaf pieces randomly around the card front cutting off any overhang. 

Finally, add a gold embossed sentiment from the Foiled Sentiment 3 kit and embellish with Pinkfresh Studio glitter drops in Aqua (these are really blingy). 


 I hope you enjoyed today's card share.  It's super simple but really artsy and will work for any occasion by simply changing out the sentiment.  PS, there are 30 different sentiments in each Die Cut Sentiments kit. 


Card Making Supplies used for the Pinkfresh Studio Detailed Leaf Card:

Here are the products I used today.  Compensated affiliate links used  where available at no cost to you. Clicking on a thumbnail link and shopping provides me with a small commission which supports my website and allows me to continue bringing you new projects and videos.  Thank you for your support.  Affiliate and product disclosure are found on my disclosure page.  All products were personally purchased by me.  As always, I was not paid to do this post.  I only use and recommend products I love.  Click on the icons below each product picture to go to my favorite stores.