Showing posts with label stencils. Show all posts

Tuesday, March 29, 2022

VIDEO: Layered Background Featuring Sticky Mats

Hello friends!! It’s Channin here and today I’m combining several techniques to create an abstract rainbow background with lots of depth! Check out the video below to see how I add layer upon layer with ink blending, stencils, stamping and even pigment ink to create a background with tons of dimension.

Layered Background Featuring Sticky Mats


To create this card I first ink blended over an A2 panel of Sand cardstock with the Abstract Frames Stencil and Unicorn Pigment Ink. I then rotated the stencil and then ink blended a rainbow over the stencil with several Reactive Inks. Then I stamped over the panel with the Abstract Frames Bold Prints stamp with the same inks I used to create the rainbow blend. 


Next I created my sentiment by die-cutting the “congrats” and “!” from the Congrats & Yay Stamp & Cut XL set out of white cardstock. I then die cut the mat layers out of vellum and then adhered them to their cardstock counterparts. I then stamped and white heat embossed a sub-sentiment onto black cardstock and then fussy cut it out. 


To finish the card I adhered the background panel to an A2 top-folding white card base and then adhered the sentiments with foam adhesive. 


I hope you enjoyed my card and video! Thank you so much for stopping by!


~Channin


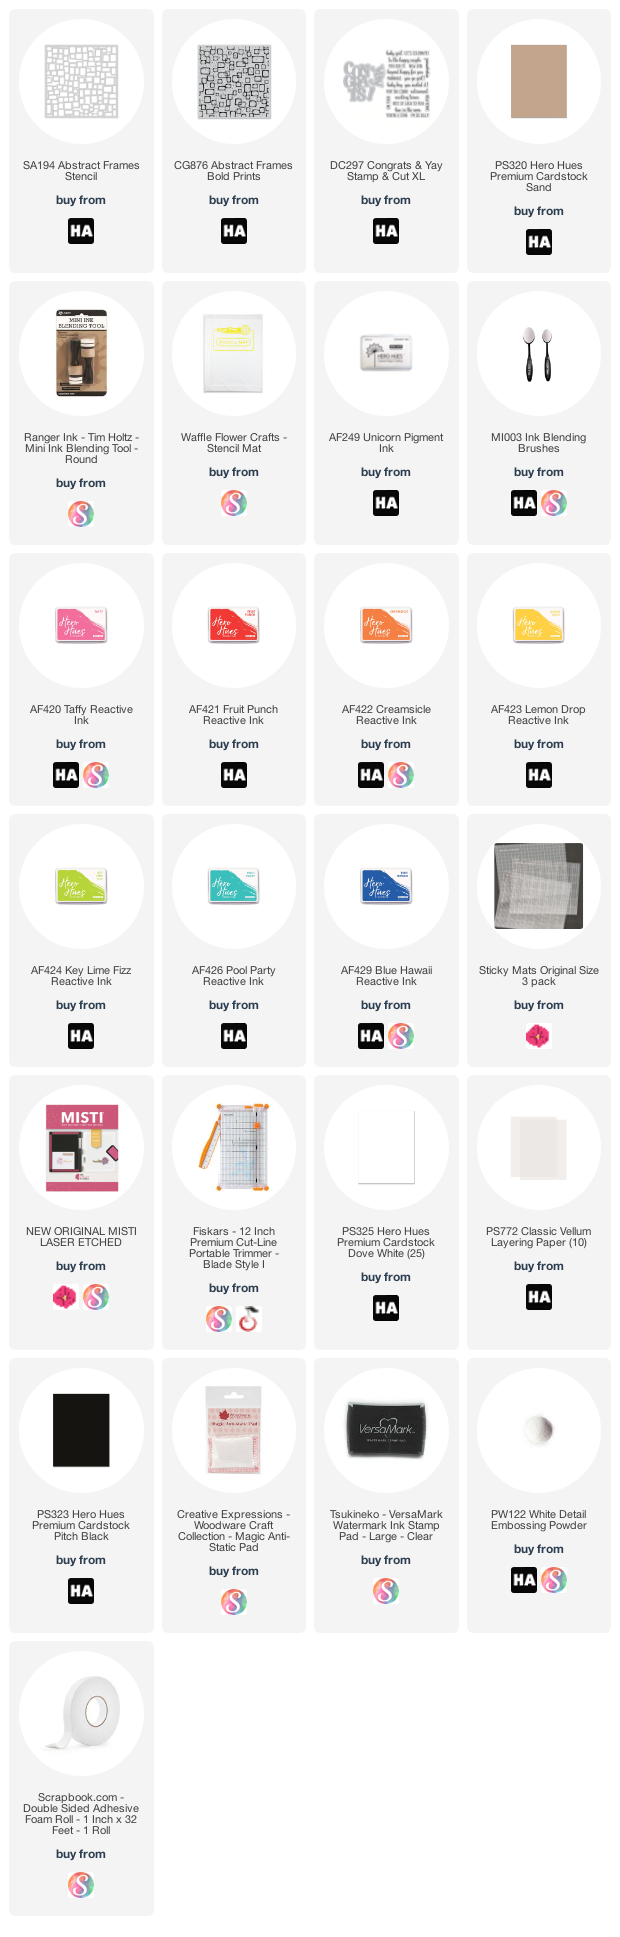
Supplies:


Tuesday, February 15, 2022

Butterfly In Bloom


Hi card making friends It's Sandi here with a quick and easy card share for you.

I was digging around in my "purchased but not used" bin again and came up with this lovely Butterfly in Bloom by Catherine Pooler
I decided it was high time to get it a little inky.  This was a super fast and easy card to make and took me about 20 minutes.  Check the instructions below.

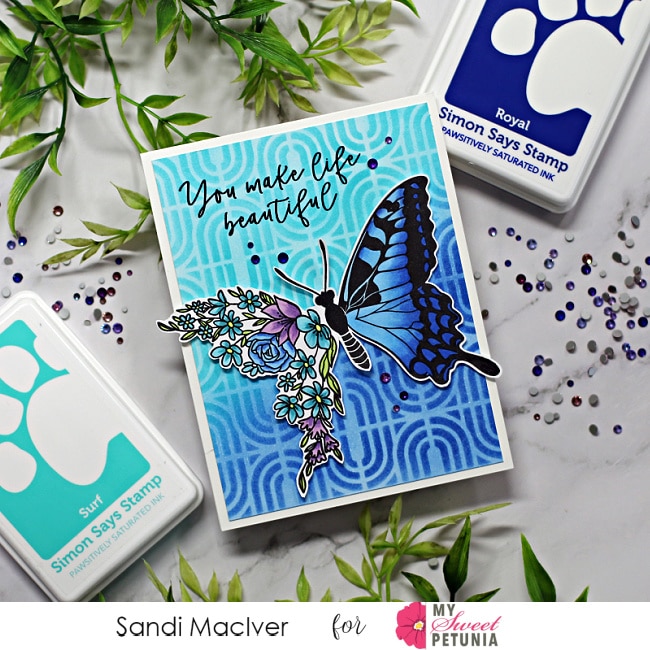
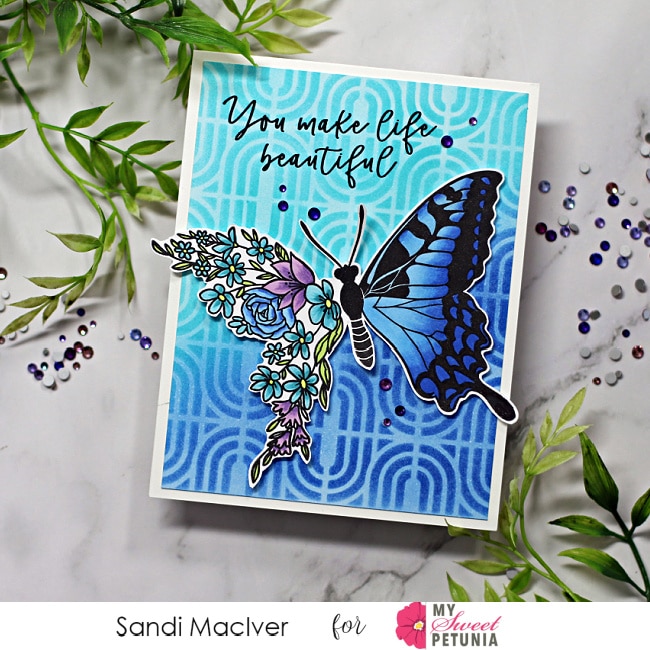
  handmade card in light and dark blue with a floral butterfly using cardmaking products from SImon Says Stamp

How to create the Butterfly in Bloom Card:

Use the Misti to stamp the butterfly image in Hero Arts Intense Black Ink.  
I used my new STICKY MATS for this and they work great. 
Once the ink is dry, color the image with Copic Markers and then cut out with the coordinating die.

  handmade card in light and dark blue with a floral butterfly using cardmaking products from Simon Says Stamp

COPIC MARKERS USED:

Purple:  V13, V15, V17 
 Blue:  B12, B24, B26 
 Teal  BG53, BG45, BG57 
 Yellow:  Y06 
 Green: YG03

Creating the Background:

Spray Pixie Spray onto the back of the Geometric Arces Stencil from Simon Says Stamp and place it over a 4 x 5-1/4 piece of white cardstock.
 (I must apologize, I didn't realize this stencil was retired until I started doing the product list, so I have linked a few others that would look just as nice)
Use blending brushes to add Simon Says Stamp's Pawsitivily Inks in Surf and Royal.
Next, once you have a nice even blend of color, remove the stencil and add a light layer of ink to get rid of the white between the ink lines. 
Attach this to a top folding A2 White Card Base. Place the card back into the Misti and stamp the sentiment in black. (I really love the font on this sentiment, don't you?) 
Finally, Use foam squares to add the butterfly and embellish with Picket Fence Studios Purple Side of a Rainbow Gem Mix.

  handmade card in light and dark blue with a floral butterfly using cardmaking products from Simon Says Stamp           

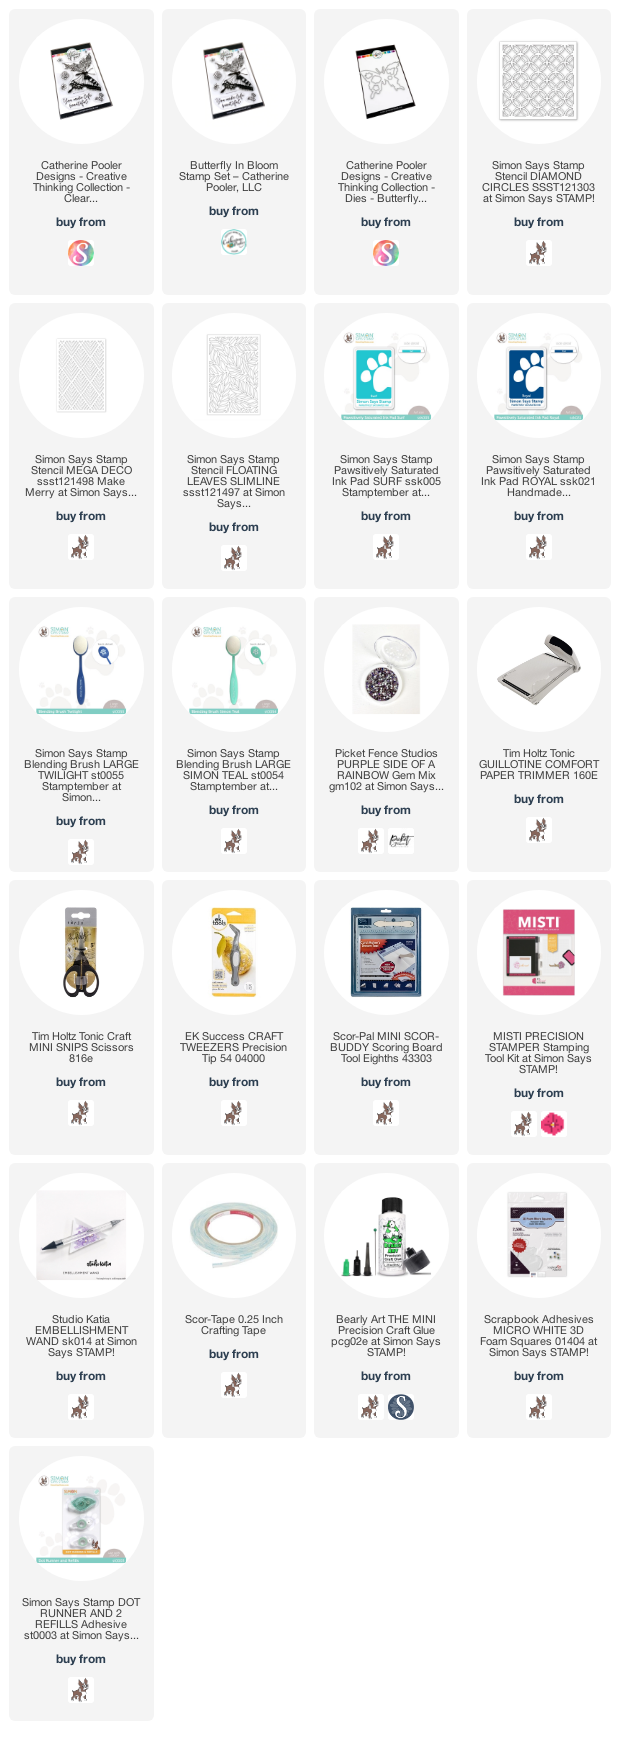
Card Making Supplies used for the Butterfly In Bloom Card:

Here are the products I used today.  Compensated affiliate links used  where available at no cost to you. When you click on a thumbnail link and shop you are supporting my website allowing me to continue bringing you new projects and videos.  Thank you.     

Tuesday, March 30, 2021

Muted Floral Card with Channin

Hello friends! It's Channin here and today I have a soft and muted floral card to share. For today’s card I use the beautiful Floral Focus Cling Stamp and stencils to create my background and then finish my card with a foiled sentiment. 

To create this card I first stamped a sheet of white cardstock with the Floral Focus Cling Stamp in Warm Buff Ink. After I stamped the image I then ink blended to add color using the Floral Focus Layering Stencils and several Pinkfresh inks (Warm Buff, Doe, Peach Fuzz, Ballet Slipper & Coral Reef). 

Once I finished coloring the background, I then trimmed the panel down to 4 1/8” x 5 3/8” and adhered it to the front of an A2 top-folding white card base. 


Next, I hot foiled my sentiment in silver onto white cardstock using the You Sparkle Hot Foil Plate. I then die cut the sentiment out with the matching die and then die cut it out two more times out of scrap cardstock. I then adhered all the die cuts together to create a stacked sentiment. Lastly, I finished my card by adhering the sentiment to the card front. 


I hope you enjoyed my card! Thank you so much for stopping by!


~Channin


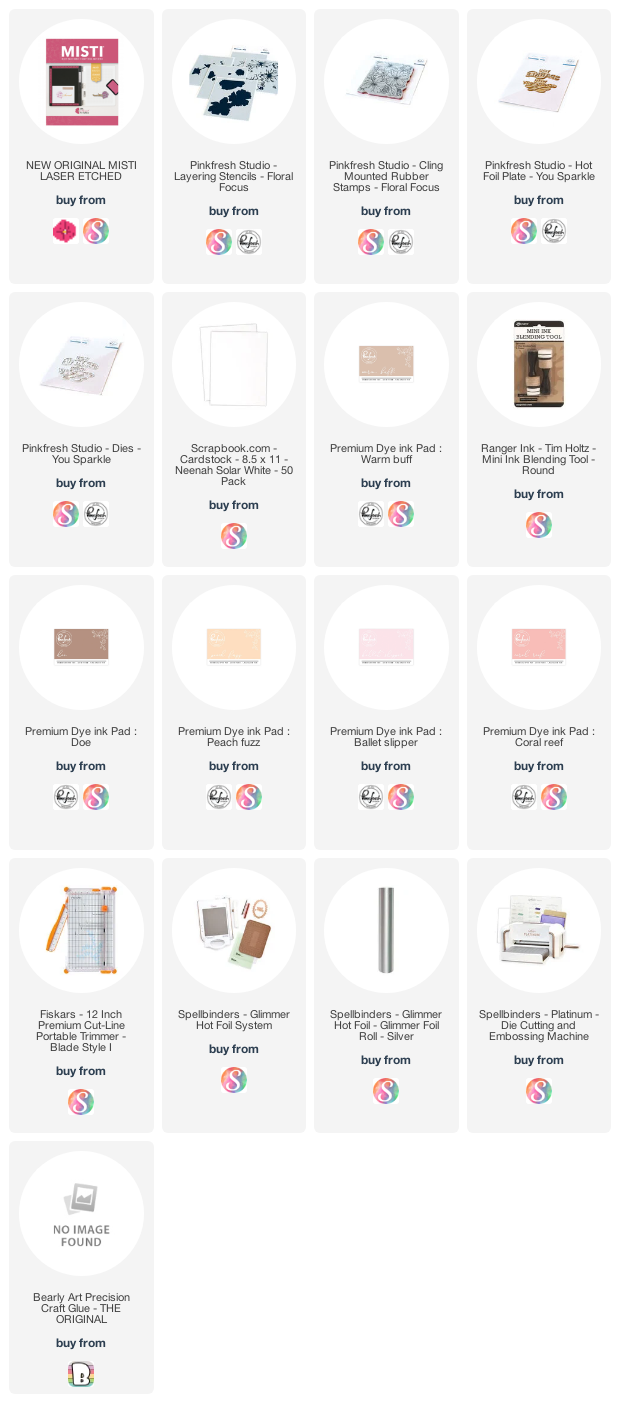
Supplies: