Thursday, September 7, 2023

Love it More

*** Our team uses affiliate links. ***

Hi! I am still raving over the Precision Glue Press! The longer I have it, the more I depend on this capless system! I love the precision tip, which allows me to easily adhere skinny die cuts! Then, without worrying about stopping to cap the lid, I slip the press back into the holder. I love it! It's my new favorite thing!  


I  enjoy using this Maidenhair Fern stamp set because it can be placed in various ways. I saw a painting with a fern in this orientation, so I tried it. In a prior project, I put it in the upper corner, dangling it down, and next time, I plan to place it in the lower corner. The MISTI shines with large clear stamps like this! Sometimes clear doesn't ink evenly, so stamping again with the MISTI is easy! 
I also use the Alignment Grids on every project. If I don't use them to align stamps, I use them over the top of my elements to ensure I have everything straight before pressing the cardstock into the glue.  

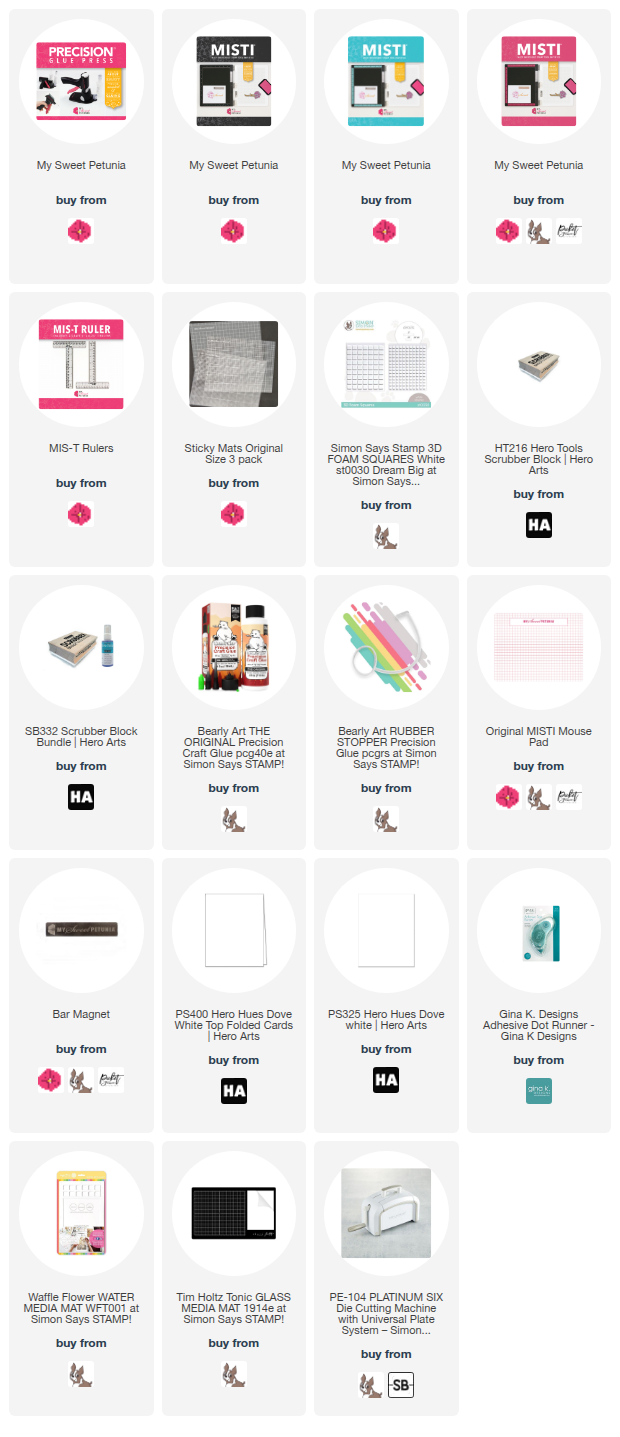
Featured Items:


Thanks so much for stopping by!


Tuesday, September 5, 2023

Team Tuesday with The Precision Glue Press

 (All products are linked below using affiliate links )


Welcome to Team Tuesday, today I am sharing a card using some Concord & 9th products and the gamechanger Precision Glue Press.

To make this card, I started with a white top folding A2 card base, a Grape Soda panel and a white panel. I created a background by using a stencil with the Sticky Mat. To finish the card I added this super skinny greeting which I love and I adhered it with no mess at all because of the Precision Glue Press! 


Y'all just like the MISTI the Precision Glue Press is a game changer. 
I have not made a card without using it since I got it, and I would make such a mess with skinny diecuts trying to get glue on them, that is not the case with the Precision Glue Press, it is Amazing!!!


Tuesday, August 29, 2023

Perfect Sentiment For Fall


I created this cute card using the Fall Foxes stamp set and my Original Black MISTI. One of my favorite things about the MISTI is the etched-in gridlines for the perfect alignment of sentiments.

For the background on this card, I used The Rabbit Hole Designs Clouds In My Coffee stencil. I created the clouds by ink blending in a beautiful blue and then used one of the open cloud cut outs to create the bushes. It's fun to use products in an unexpected way to get more bang for your buck.

I hope you enjoyed this card.

Hugs

Wendy


Thursday, August 17, 2023

All Treats, No Tricks - Precision Glue Press

**Affiliate links are used when possible at no charge to you!**

Hello everyone!  
I am super excited to share the newest precision tool in the My Sweet Petunia line! The Precision Glue Press makes even the tiniest die-cuts easy to adhere to projects. I have left the glue press on my desk for several weeks without the cap on, and the tiny precision nozzle has not clogged!  

I used the  Precision Glue Press in the making of this card. I loved how easy it was to adhere the tiny inner frame with the small Precision nozzle of the Glue Press. 

In the past, I have purposely not purchased dies that cut super thin frames or words because of the glue mess, but the Precision Glue Press changes that! In the future, I will share some of the tiny word dies I recently ordered!      

The following lists other My Sweet Petunia tools for creating my Happy Haunting card.


Tips:
Ensure the bottle is pressed all the way in the holder, or the precision tip will not make contact with the silicone pad allowing air in. This will cause the glue to dry in the end. 


I recap the bottle if I know I will be away from the art room for several weeks. Left several weeks unused, the glue may dry at the end of the nozzle, but a quick pin in the nozzle will allow the glue to, once again, flow freely.

Check out the video below for all the details on this fantastic new tool.


*****

Thanks so much for stopping by!


Wednesday, August 9, 2023

Awesome Friend!

(Our team uses affiliate links)


Hey y'all and welcome to another edition of eam tuesday!

Today I am sharing a card using a new kit by Gina K Designs that the Sticky Mat is a necessity when making this card.
I started with a top folding white A2 card base and a white panel. I placed the Sticky mat inside of the Original Misti and then the panel of white cardstock, I used a stencil to create the background. 
I stamped the butterflies on a separate piece of cardstock, then used the stencil to color them and cut them out with the coordinating die. 
I also use this tip with every card I make. I take out the foam piece and place the card base in the corner of the Misti and this helps me be able to place the panel on straight. 


Here is a list of supplies I used which includes affiliate links. 


Thursday, July 27, 2023

Hello, Sunshine!

***Affiliate links are used when possible at no charge to you!***


Hello, Sunshine! Angie here, hoping you are staying comfortable during the hot summer days! We are experiencing extra hot days, so a warm sunny card seems appropriate. 

For the making of this card, I used the following items:

Cut Align Ruler (0 point end for precision alignment)


Have you tried the Alignment Grids yet?  I love the grids!  They are made of sturdy plastic, so they won't bend or crease when you clean them.  I also love that they are marked at an eighth of an inch for precision aligning! My favorite way to use the grids is to place them over the top of what I am working on to make sure I have layers precisely positioned before the glue dries.  

Using one of the Alignment grids, I taped my paper down in a horizontal line about halfway up the card. Next, I placed another grid over the top to ensure the tape was straight across the cardstock. Once I was certain my horizontal tape line was straight, I set the alignment grid aside.  Then I ink-blended a mustard seed sky.  Next, using the Cut Align Ruler, I found the center of the sun rays and positioned the stamp in the MISTI. I stamped the rays in Carved Pumpkin ink.  Then, I added more ink to the stamp and spritzed it with water.  Using the MISTI allowed me to stamp precisely in the same spot.  I repeated the steps several times until I was happy with the sunny background. Lastly,  I stamped the images and sentiment using the MISTI and die-cut them. I used the Cut Align ruler and an alignment grid to ensure my sentiment was straight.  

My inspiration was this week's Freshly Made Sketches.  

Thanks so much for taking a look!  

Wednesday, July 26, 2023

Joy!


 Hello everyone! Anna here, sneaking in one more Christmas in July card! The card I’m sharing today was made using a recently released stamp set from Impression Obsession. The set is filled with wonderful vintage inspired holiay themed images and sentiments perfect for making cards, especially Christmas cards.  

I stamped the image on watercolor paper using a permanent brown ink and watercolored the image with some regular and shimmering watercolors. I used a sentiment from the set to add a greeting.  Using a Mini MISTI is my favorite way to stamp on watercolor paper. The texture of watercolor paper can be challenging to get a good impression without making multiple impressions. Thankfully, the Mini MISTI allows me to stamp an image several times, giving me the perfect impression for every project! 

Thanks so much for joining me on the blog today!