Tuesday, September 3, 2024
Team Tuesday with Pinkfresh Studio
Tuesday, May 14, 2024
Team Tuesay with Pinkfresh Studio
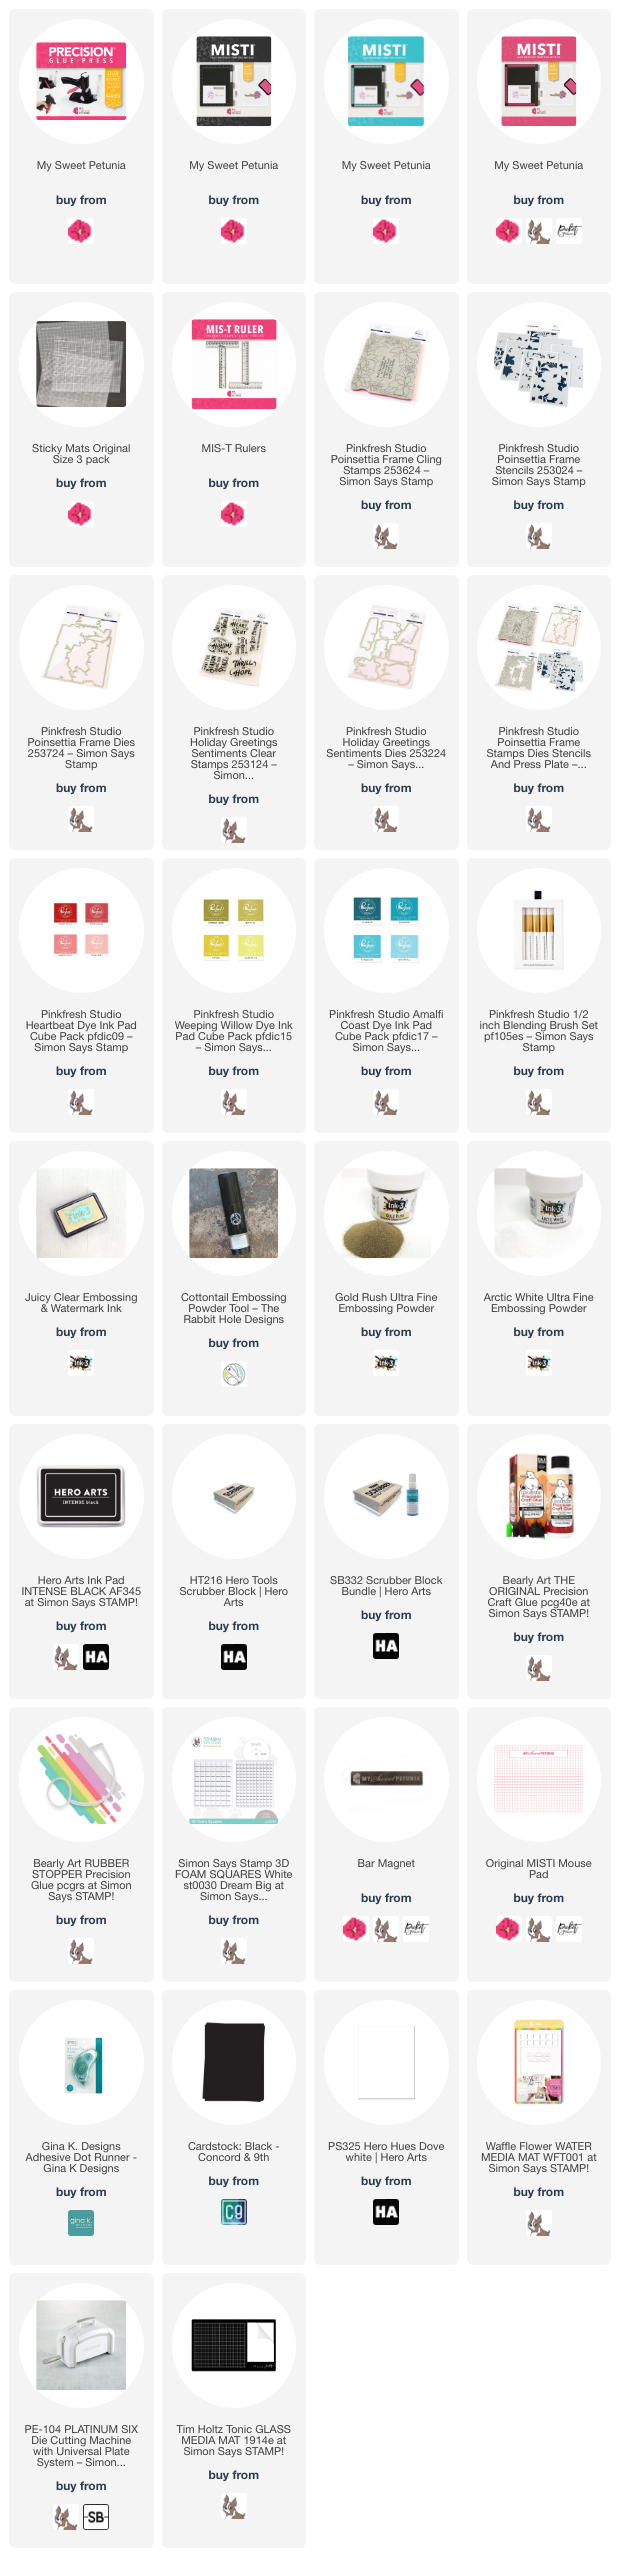
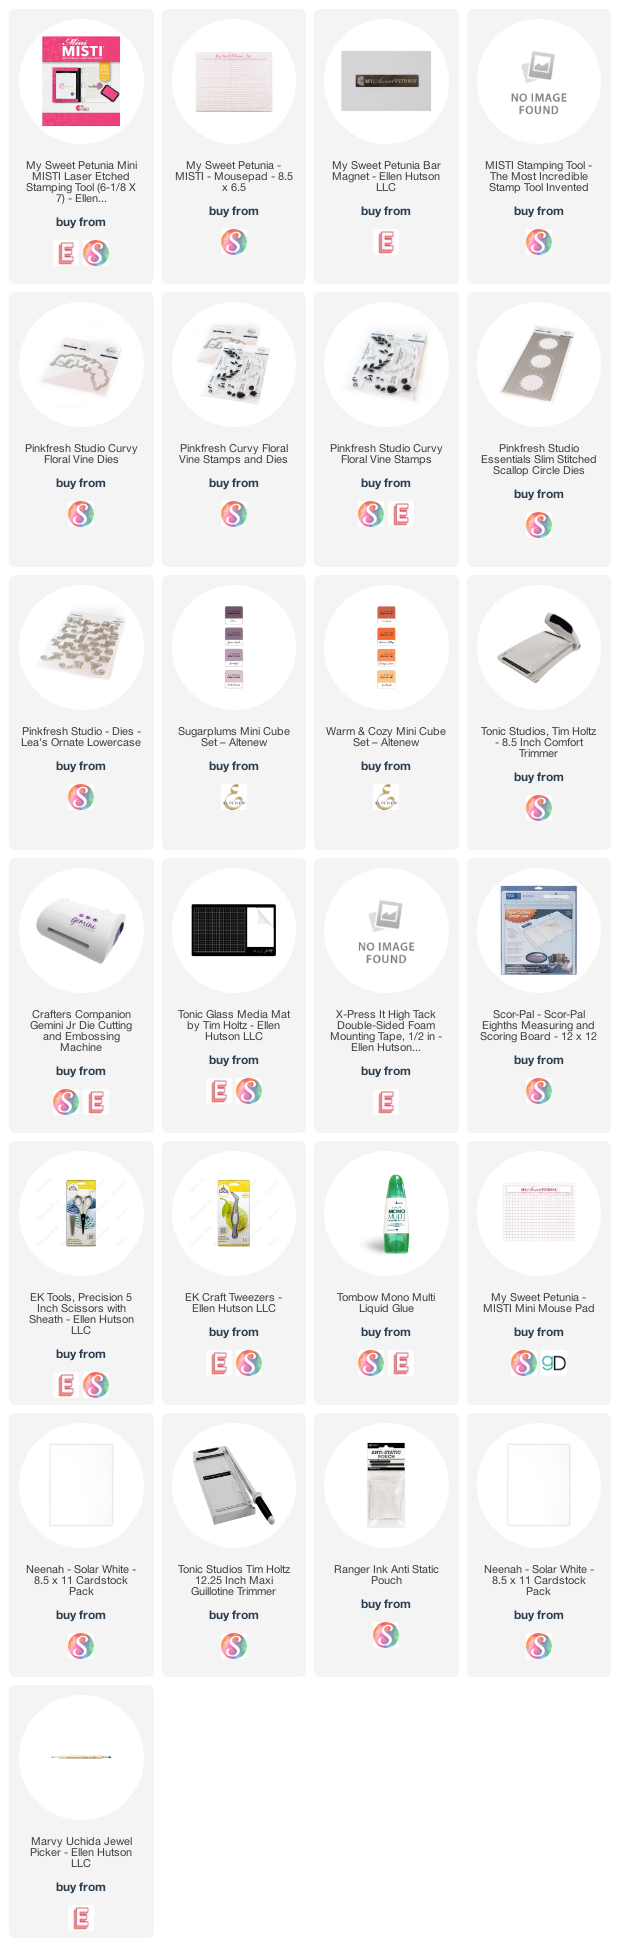
All products are linked below when possible. I appreciate you using my links as it helps me earn a little commission at no extra cost to you. Please accept the cookies because that is how they track the sales.
Thanks so much!
Wednesday, November 2, 2022
Winter Scene With Ceal Pritchett
Tuesday, June 14, 2022
Team Tuesday with Ceal
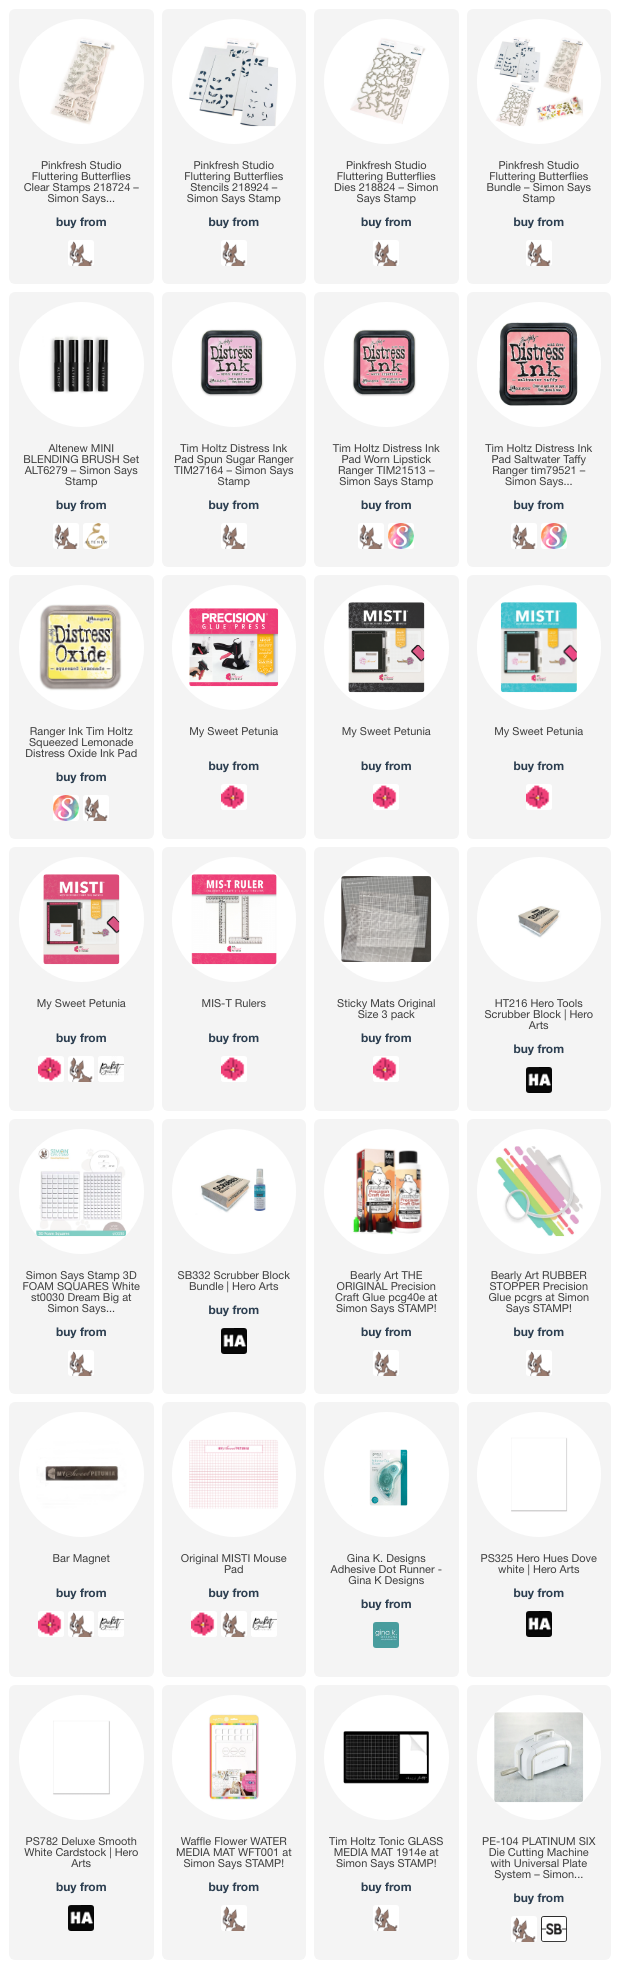
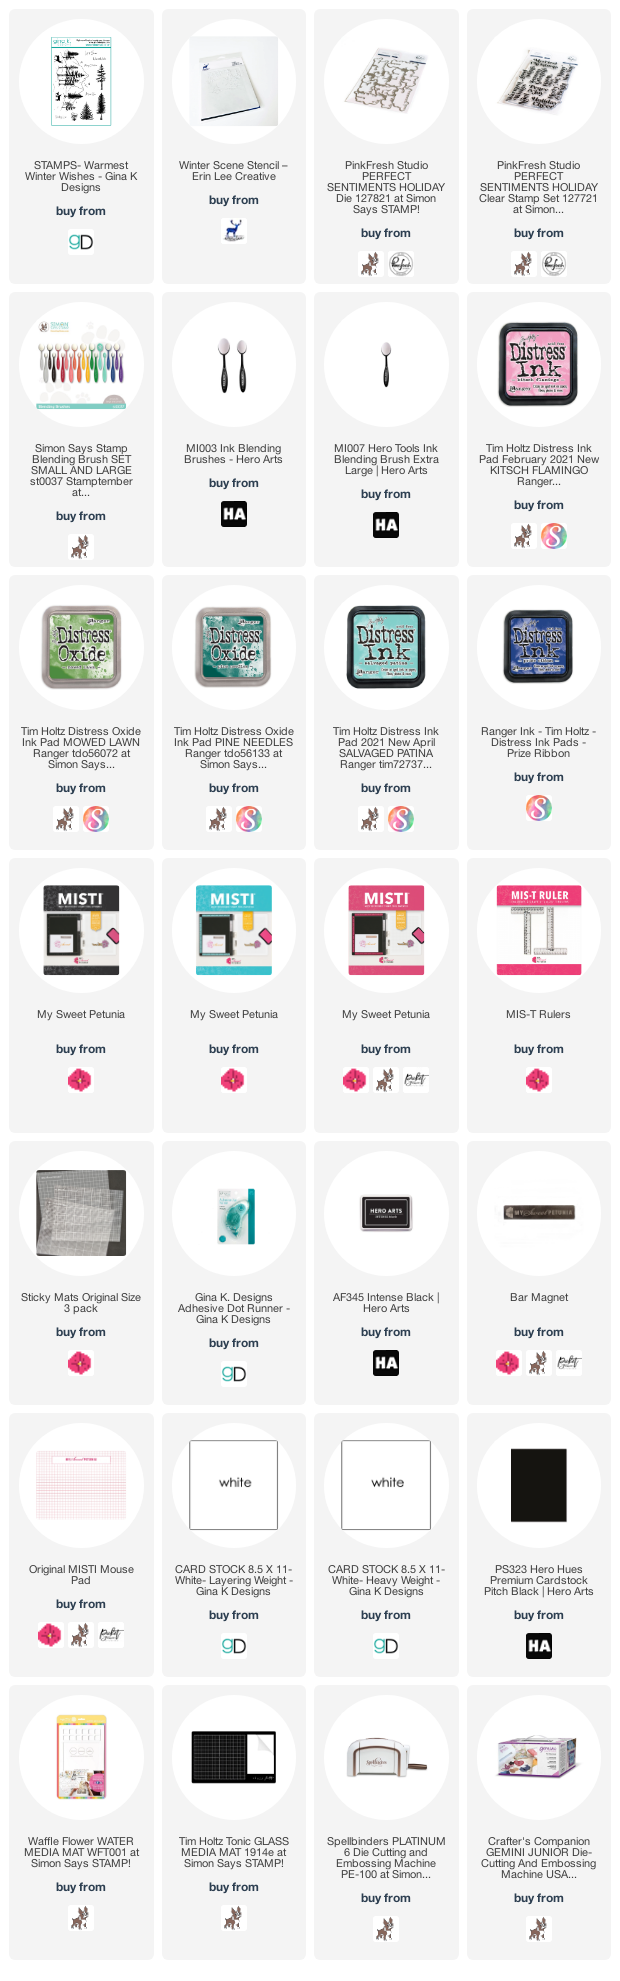
Below you will find links to the products used. Click the picture to start shopping. Compensated Affiliate links are used at no additional cost to you. Your support helps me to keep bringing you new projects and I appreciate that so much!
Thank you!
Tuesday, May 17, 2022
Spring card Camp meets Team Tuesday
Tuesday, March 1, 2022
Pattern Stamping with the MISTI
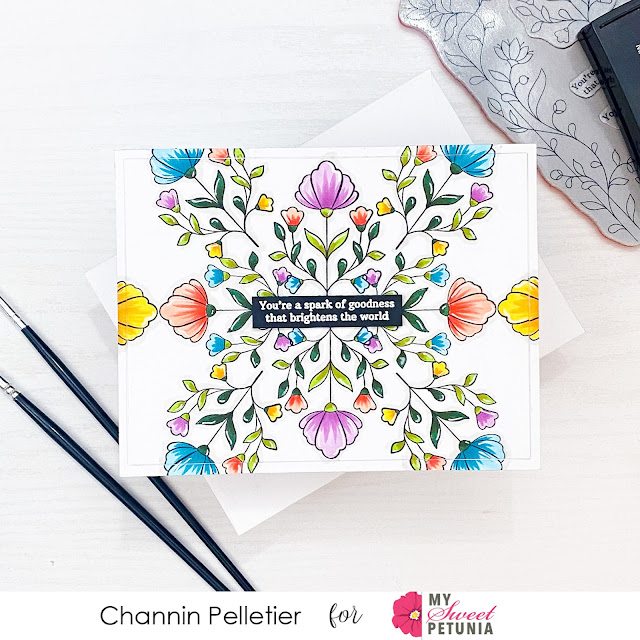
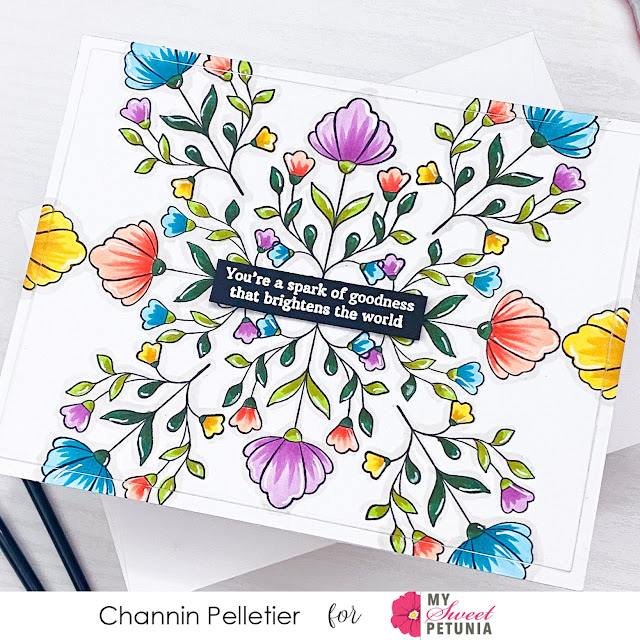
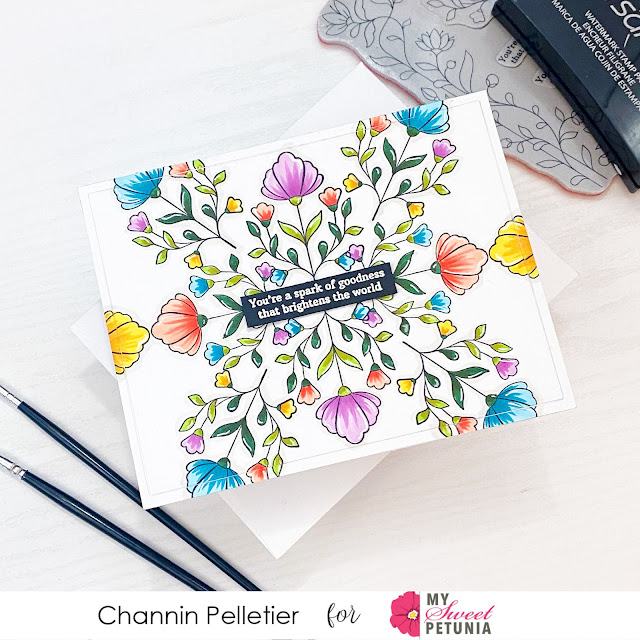
Hello friends!! It’s Channin here and today I’m once again sharing a favorite MISTI stamping technique! Using a single stamp I’ll create a beautiful floral background with a few turns!
To create this card I first stamped a floral stamp from the Spark of Goodness Floral Frame stamp set onto an A2 panel of white cardstock in Memento Tuxedo Black. I positioned this stamp centered and in the upper half of my panel. Next, I left the stamp in place in the MISTI and then turned the panel 180 degrees and then stamped the panel again to add the floral image to the lower half. I then repositioned the stamp and stamped the left side of the panel and then rotated the panel 180 degrees and stamped the right side of the panel. I repeated this process a few more times till I had completed the pattern.
Next I copic colored all the images and even added a shadow around all the images as well to create more depth. I then finished coloring the images by adding some white gel pen accents.
Next, I die cut the panel with a rectangle die to create a frame. I then adhered the two panel pieces to the front of an A2 top-folding white card base. Lastly, I finished the card by stamping and white heat-embossing a sentiment onto black cardstock and then adding the sentiment to the card front with foam adhesive.
I hope you enjoyed my card! Thank you so much for stopping by!
~Channin
Supplies:
Tuesday, February 1, 2022
Rainbow with Gradation/Ombre Stamping
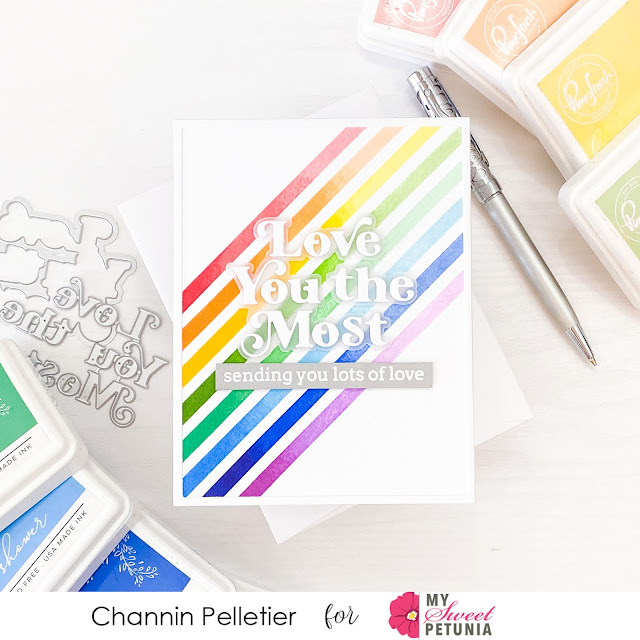
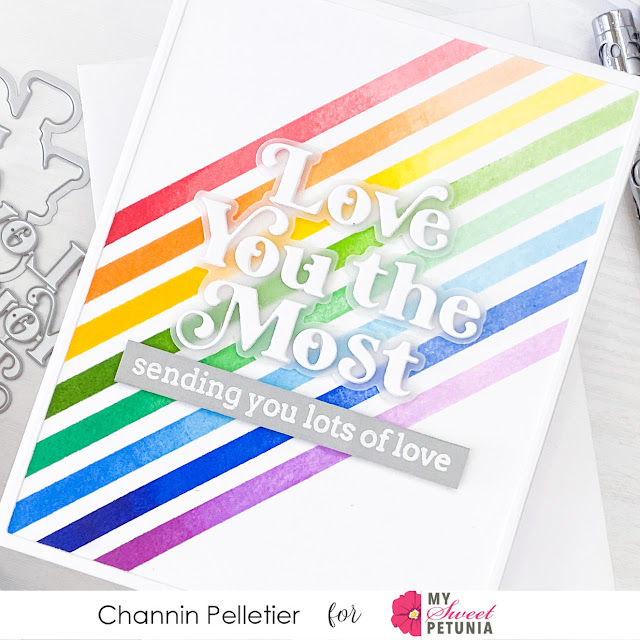
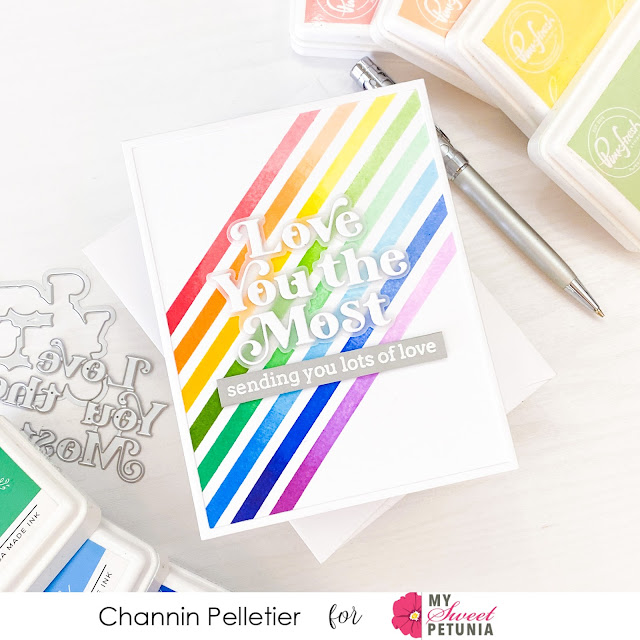
Hello friends!! It’s Channin here and today I’m sharing one of my favorite MISTI techniques, gradation/ombre stamping!! I use this technique to create a beautiful fading rainbow background featuring stamps and dies from Pinkfresh Studio.
To create this card I first stamped the background using the Pop Out: Diagonal Stripes Cling Stamp Set. I started with the #6 stripe stamp and inked it up with Coral Reef ink and stamped it onto a 8 1/2” x 5 1/2” panel of white cardstock. I then partially inked up two thirds of the same stamp in Passion Fruit, a slightly darker red ink and stamped the stripe again. I then finished the stripe by partially inking and stamping the last third of the stamp in Berrylicious ink. I repeated this process for stripes 7-13 using three different inks (a light, medium, and dark) for each color of the rainbow.
Once I had finished stamping the background I then cropped the panel down to an A2 panel and adhered it to the front of an A2 top-folding white card base. I then created a thin white rectangle frame using nesting rectangle dies and adhered the frame to the card front.
Next, I die cut a sentiment out of vellum and white cardstock using the Love You the Most Die. I then adhered the white letters onto the vellum shadow layer and then adhered the sentiment to the card front with foam adhesive. Lastly, I stamped and white heat-embossed a sentiment from the Simply Sentiments: Hello Stamp Set onto gray cardstock, trimmed the sentiment down to a stripe and adhered to the card front with foam adhesive.
I hope you enjoyed my card! Thank you so much for stopping by!
~Channin
Supplies:
Tuesday, August 17, 2021
Two Palettes One Card with Channin
Hello friends! It's Channin here and today I have a unique card concept, incorporating two color palettes into one card. It might come as no surprise that I stumbled upon this idea after taking crafty u-turn from a 70s sort of neutral palette that I started to lose faith in and opting for a more reliable bright palette. But then break through moment, I thought I should just try combining my neutral flowers with my bright happy rainbow and boom, I was in love!!
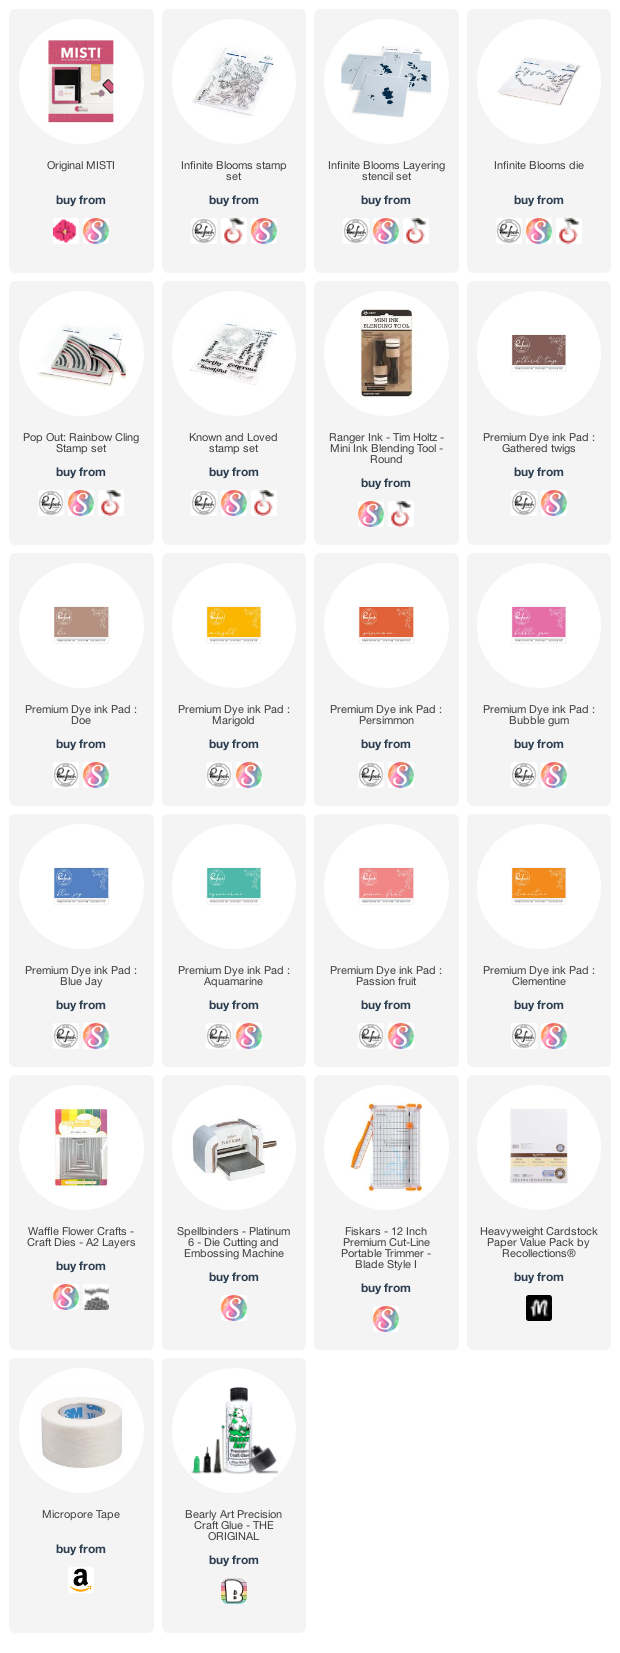
To create this card I first stamped the flowers from the Infinite Blooms Stamp Set onto white cardstock in Gathered Twigs. Then using the Infinite Blooms stencils I ink blended to add color to the image with several inks (Doe, Marigold, Persimmon, & Bubble Gum). When I finished ink blending I then popped my image back into my MISTI and stamped the image again then die cut it out with the coordinating die. I then repeated the process to make another floral image so I had two.Next, I stamped the front of an A2 top-folding white card base with the Pop Out: Rainbow Cling Stamp Set in several inks (Blue Jay, Aquamarine, Bubble Gum, Passion Fruit, Clementine & Marigold). I then die cut a thin frame out of white cardstock and adhered it to the card front. Next, I stamped a sentiment from the Known and Loved Stamp Set in Gathered Twigs. Lastly I finished the card by adhering my floral images to the card front and trimming off the overhang.
I hope you enjoyed my card! Thank you so much for stopping by!
~Channin
Supplies:
Tuesday, May 25, 2021
Large Floral Card with Channin
Hello friends! It's Channin here and today I have a floral card to share. For today’s card I use the beautiful but large Miss Your Smile Stamp Set This from Pinkfresh Studio. This set is actually designed to be used for slimline cards but I modified it just a bit to work with an A2 card design.
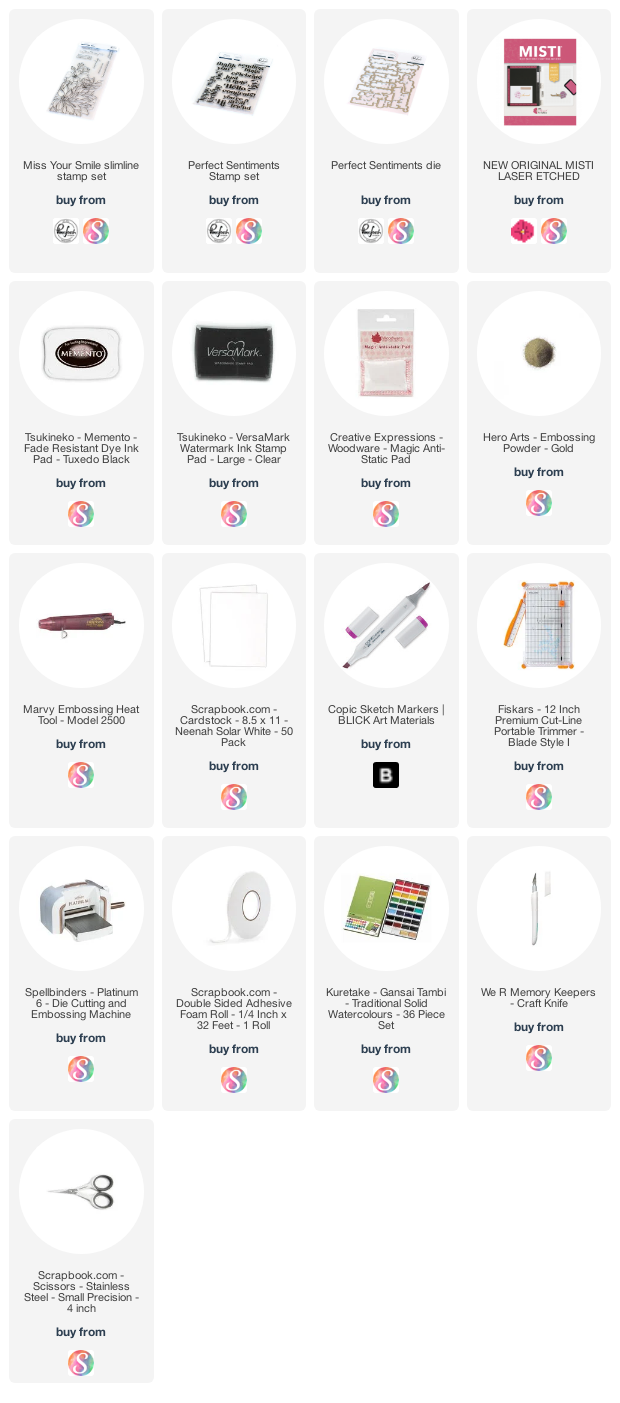
To create this card I first stamped a large panel of white cardstock with the floral image from the Miss Your Smile Stamp Set in Memento Tuxedo Black. After I stamped the image I then drew in the missing parts with a copic marker and then copic colored the image in.
Dark Pink Flowers: RV25, R85, & R39
Light Pink Flowers: R20 & R22
Yellow Flowers: Y21 & YR23
Leaves: YG67 & G99
When I finished coloring the image I then fussy cut it out. Next, I stamped and gold heat embossed a sentiment from the Perfect Sentiments Stamp Set. I then die cut the sentiment out with the matching die.
Next, I splattered gold Gansai Tambi paint over the front of an A2 top-folding white card base. I then finished the card by adhering the flowers and sentiment to the card front with foam adhesive.
I hope you enjoyed my card! Thank you so much for stopping by!
~Channin
Supplies:
Thursday, December 10, 2020
Ho Ho Ho Christmas card using the new Mini Misti
Tuesday, December 8, 2020
Winterberry Joy Card with Channin
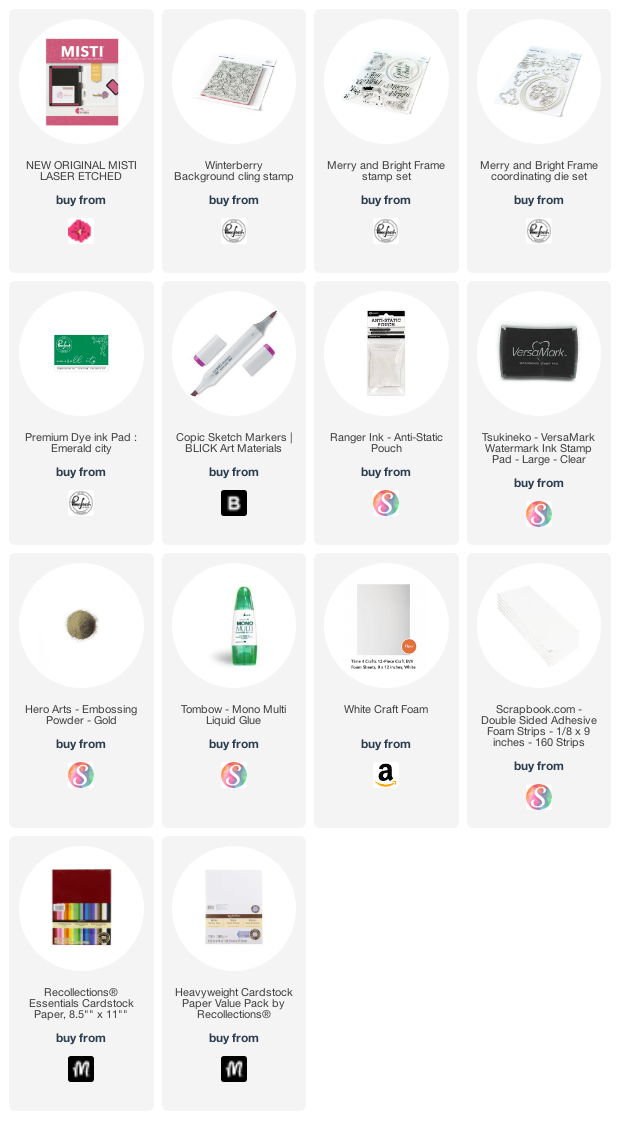
To create this card I first stamped the Winterberry Background over a 4 1/8” x 5 3/8” panel of light green cardstock in Emerald City ink. I then copic colored the leaves, the berries, and even added a shadow.
Leaves: YG06, G14, G07
Berries: R35, R37, R59
Shadow: W-3, W-5
After I finished coloring in the background I then adhered the panel onto the front of an A2 top-folding card base. Next, I stamped some smaller berries from the Merry and Bright Frame Stamp Set also in Emerald City onto a scrap of light green cardstock. I then copic colored the images in and then fussy cut them out.
Next, I stamped and gold heat embossed my sentiment. I then die cut it and some white craft foam with the matching die and adhered the two together. I then finished the card by adhering the sentiment and smaller berries to the card front with foam adhesive.
I hope you enjoyed my card! Thank you so much for stopping by!
~Channin
Supplies:
Thursday, November 19, 2020
Fall Slimline Card with Karen Reategui
Tuesday, September 15, 2020
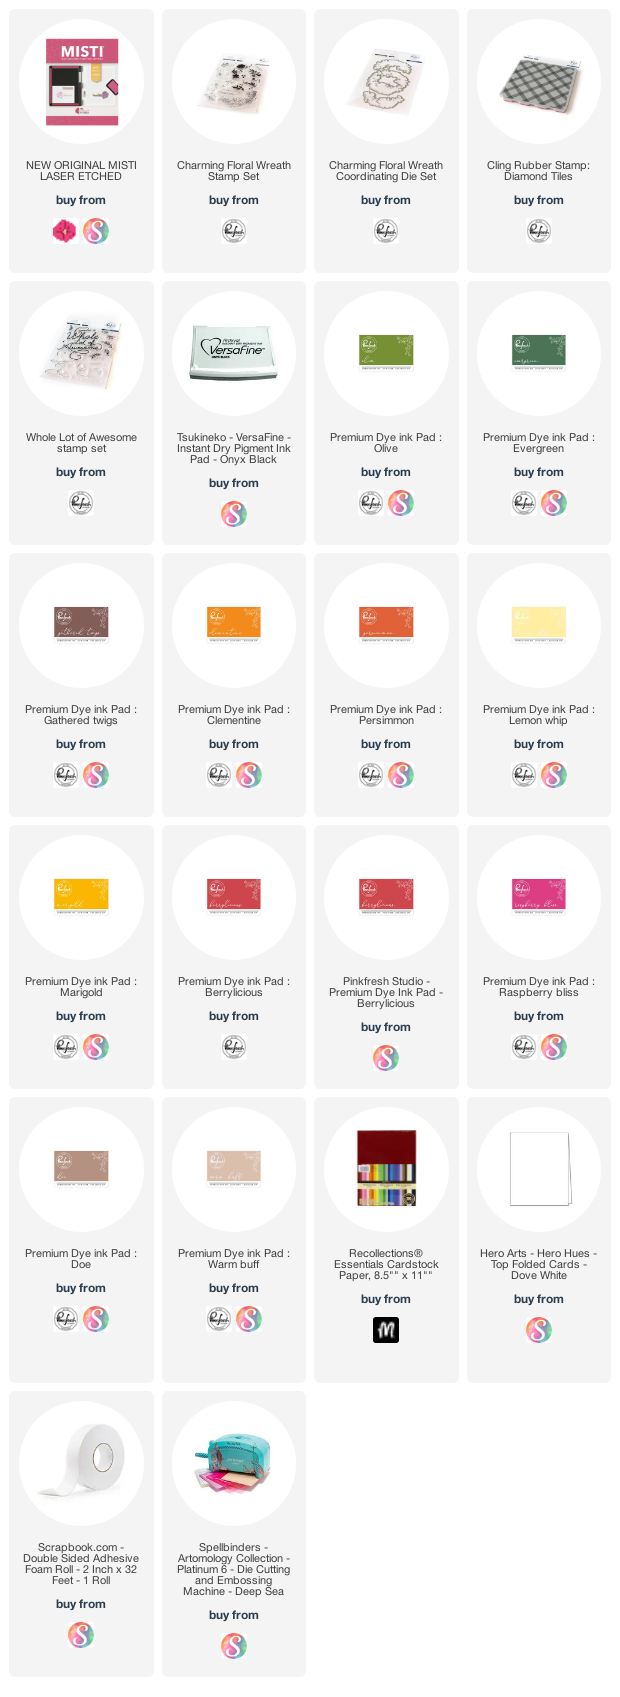
Layered Floral Wreath with Channin