Thursday, May 30, 2019

Stamping Friends Trifecta Blog Hop

Hello everyone, welcome to the Trifecta Blog Hop. We have a big hop today, so a lot of eye candy for everyone to see.

Today's hop is brought to you by:
Each company participating in the hop will be giving away a $50.00 gift card to their store, randomly drawn from the comments at each stop on the hop. So, there will be three (3) gift cards in total.
Winners will be announced on the three (3) company blogs on June 7th.


First of all I would like to say that my blog aplaceforkia.com is down due to unforeseen circumstances. I am pleased to be posting on the My Sweet Petunia blog so I can still show you what I made for today.
Now, on to my cards.

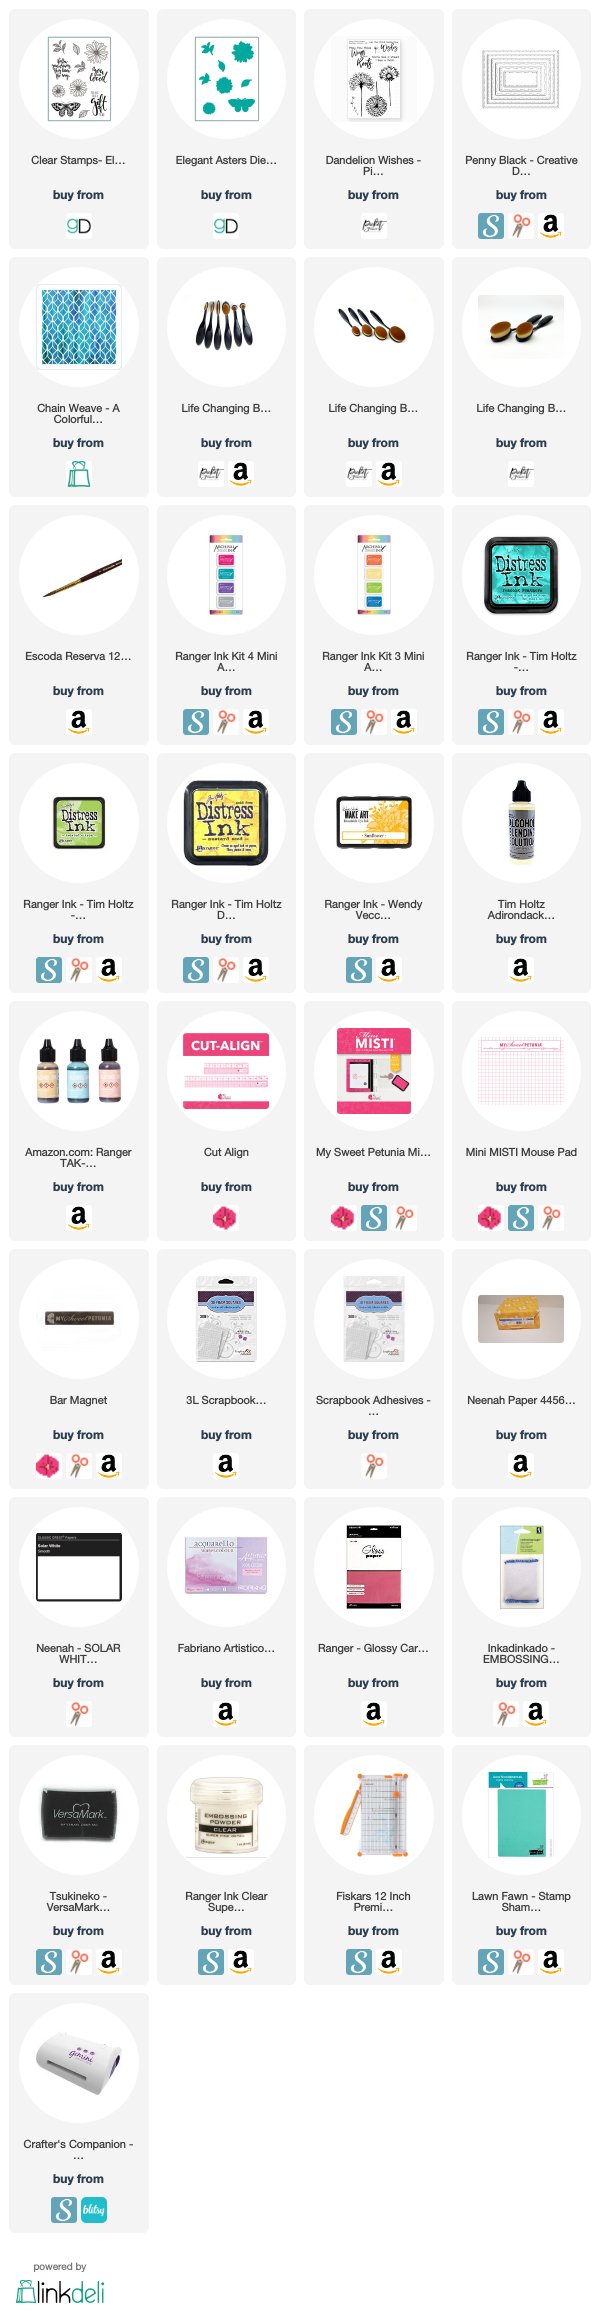
First up is the card I made using Picket Fence Stamps called  Dandelion Wishes.
I first made an alcohol ink background with soft circles on glossy card stock. In my Mini Misti I then stamped the sentiment and Dandelion using Ranger Archival Ink in Monarch Orange and heat embossed with clear embossing powder.
I matted the panel with coordinating card stock, and added a few gumdrops to finish.
I also did the inside with the left overs from the front panel, cutting them with my Cut-Align ruler, and attaching to the matting pieces. I stamped the sentiment again using the Monarch Orange ink and attached it to the panel for a different look.

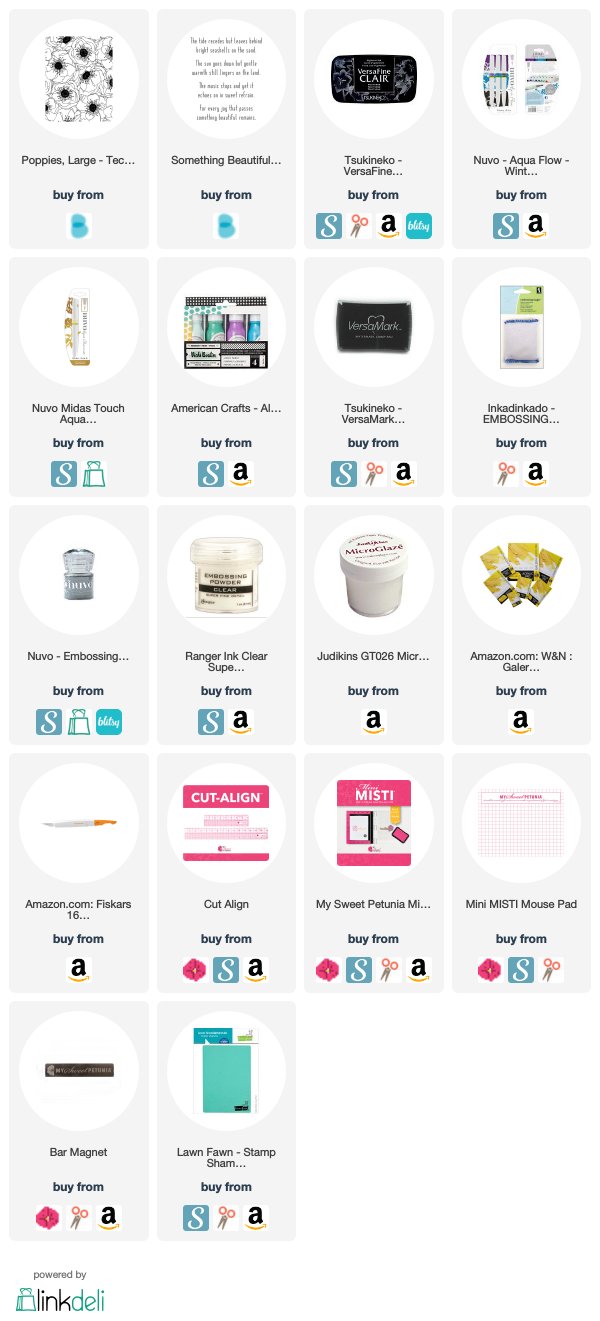
Next up is the card I did using Gina K. Designs Stamp Set and papers from the new set called Elegant Asters. I started by stamping the images in my mini Misti, all the images fit on the piece of water colour paper I was using.
I stamped using different colours of ink, the butterfly using VersaFine Clair Nocturne, the flowers done with VersaMark ink and the leaves stamped with Distress Ink Twisted Citron. All the pieces were heat embossed with clear embossing powder.
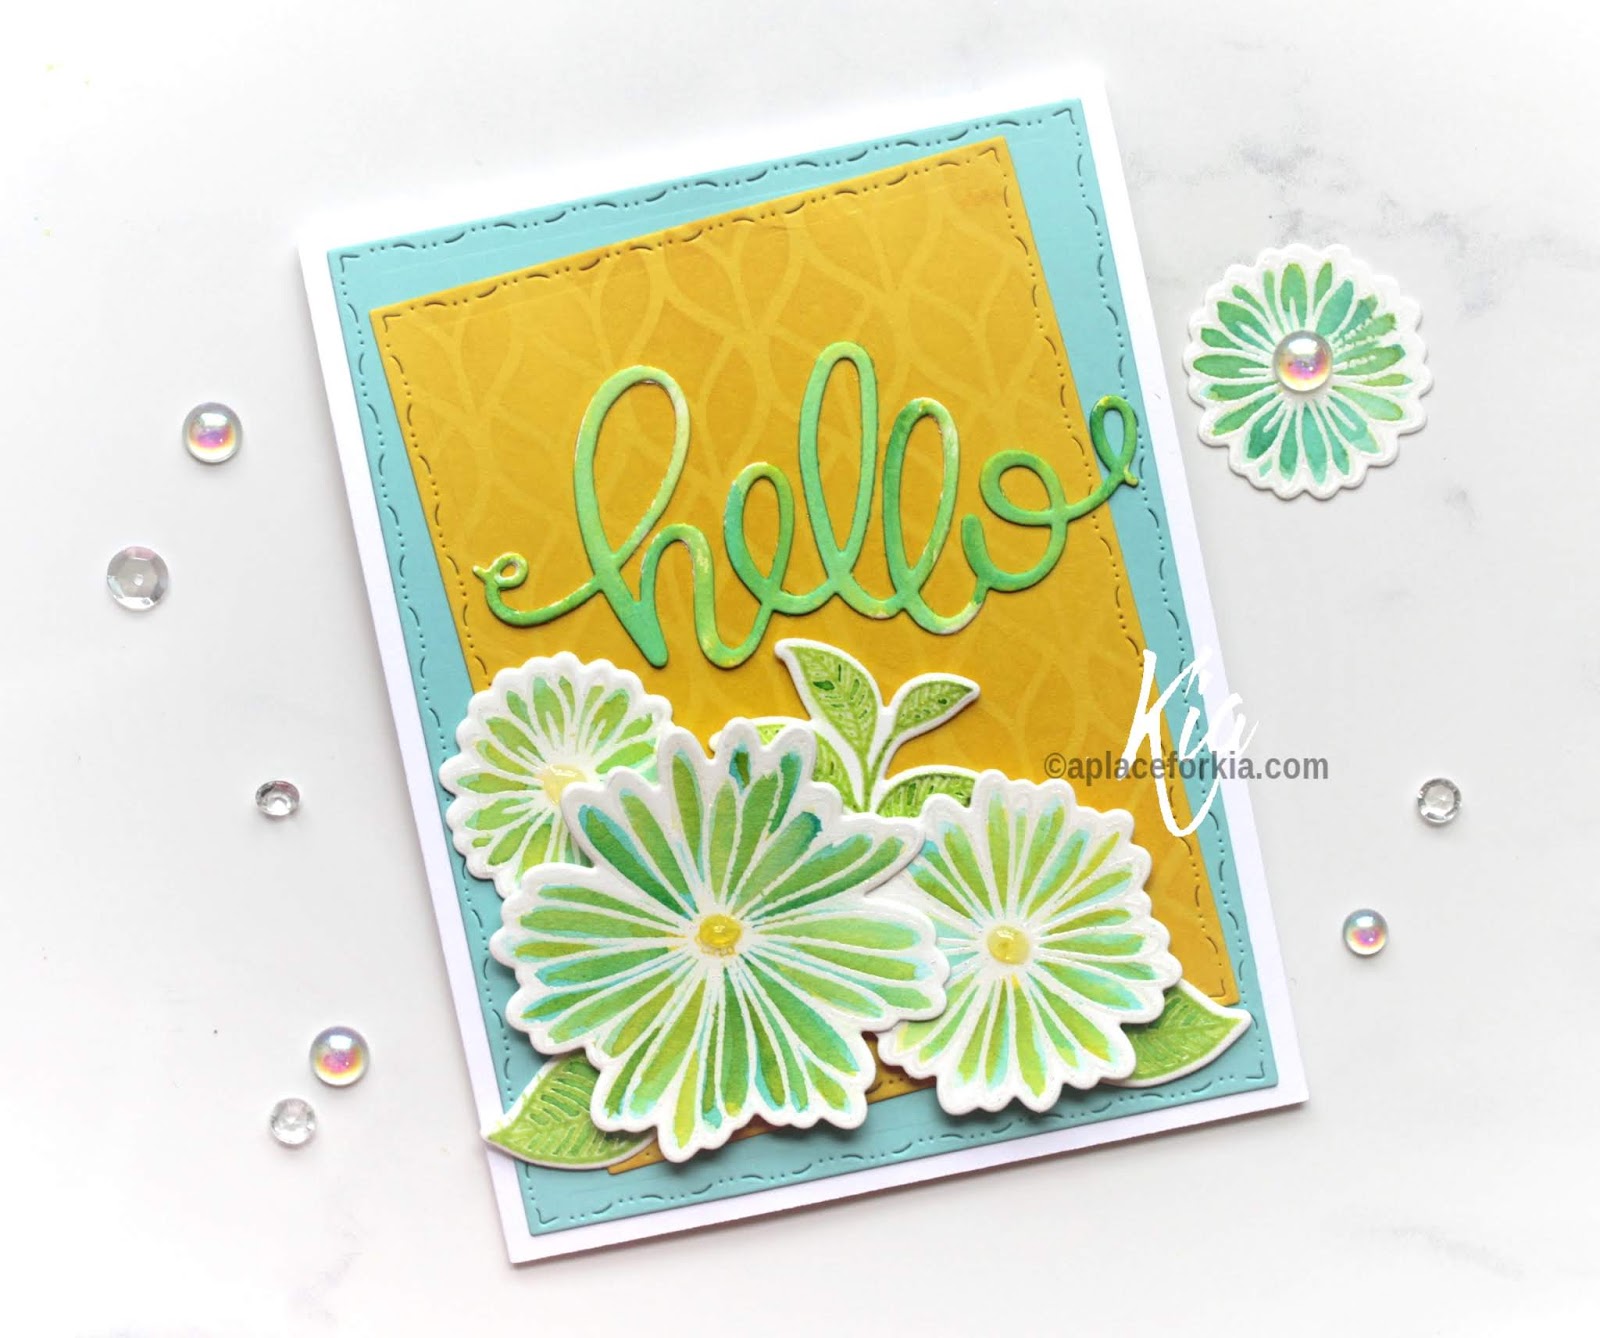
I did a loose water colour on the Asters, first using Mustard Seed, then adding Peacock Feathers, and used the same colours on the leaves. I also did the sentiment the same way, first adding the Mustard Seed, then the Peacock Feathers. 
I die cut the card stock that was included in the set. On the front of the card I stenciled over the yellow piece using my Sunflower Ink. 
I put the card together and added the flowers using foam squares for two of the flowers, then added Nuvo Jewels to the flower centres, then promptly put my finger in it!
I did the same technique for the inside switching out the colours and using the Peacock Feathers for the stencil work and stamping the birthday greeting using Ranger Archival ink in Paradise Teal.

Thank you for stopping by, I hope you have enjoyed these cards. 

Next up on the hop is Picket Fence Studios.

Tuesday, May 28, 2019

Team Tuesday with Kia

Hello everyone.  I thought I would do something a bit different for today.  I do not do mixed media very often, but I was in the mood for some paint and play.
 Using my Mini Misti and acrylic card stock, I stamped my image with Versa Fine Ink in Nocturne, doing several passes.  As this card stock is heavily textured, the ink did not entirely cover the flower centres, so with my Nuvo Aqua Pen in Obsidian Black, I coloured in the centres.  I then heat embossed the panel using clear embossing powder.
 Then, using a credit card I applied the acrylic paint and spread it across the panel.  Once done, I rubbed the piece with paper towel to get further blending. As the acrylic paint lightens the black of the image, I again stamped and heat embossed the panel for those crisp details.
 This kind of panel is perfect to cut up, and that is what I did using my Cut Align ruler.  I used the small ruler, to cut the pieces, then cut the matting pieces slightly larger. 

I did not have card stock in a colour that I liked for this piece, so I made the background, again using the acrylic paints and a credit card. Once dry I attached the background to a black card base.  
 Moving back to the floral piece I applied a thin layer of Micro Glaze to the panels, then attached the panels to the black matting pieces.  Again, using my Cut Align ruler, I measured for placement of my panels to the card base. 
 For a bit of sparkle, I splattered on some Midas Touch Shimmer, not being too concerned about where it landed.  
Back in my mini Misti, I stamped the sentiment and heat embossed with silver embossing powder, then attached with foam squares. 

I very much like the look, and I hope you do as well.  Thanks for dropping by today.
Following are affiliate link to the products used for today's project.

Friday, May 24, 2019

Concord & 9th City Stacks


There was a house for sale down the street from me.   I can see it from my front porch.   I tried to sell it to one of my crafty friends.  It would have been so awesome to have a friend so close that had the same hobby.  Alas, the house sold and neither occupant has a crafty gene in their body.   So now my goal is to wow them with my craftiness and convert them into card makers.    Here is the first part of my plan.....the welcome card.

Let me know if you are lucky enough to have a crafty friend on the same street as you.

Thanks for stopping by!


Affiliate links to supplies used:


Original MISTI
[ MSP | AMZUS ]
Mini MISTI
[ MSP | AMZUS ]
Cut-Align
[ MSP | AMZUS ]
Original Grid Paper Pad - DOUBLE SIDED
[ MSP ]
Bar Magnet
[ MSP ]
Concord & 9th CITY STACKS Clear Stamp
[ SSS | ELH ]
Concord & 9th CITY STACKS Die Set
[ SSS ]
Blackout Waterproof Detail Ink
[ INK | SSS | ELH ]
Amazon.com: Tsukineko, VersaFine...
[ AMZUS | ELH | SSS ]
White Pigment Ink Pad, Gina K Designs...
[ ELH | SSS | GNK ]
Hero Arts Embossing Gun
[ ELH ]
Life Changing Blender Brush: 2-Pack -...
[ PFS | ELH | SSS ]
Lawn Fawn Stamp Shammy
[ ELH ]
Heavy Base Weight Card Stock-...
[ GNK ]
ColorBox Stamp Cleaning Pad
[ MSP ]
Tonic Comfort 8.5 Inch Guillotine...
[ ELH | SSS ]
Tim Holtz Tonic CRAFT PICK...
[ SSS | AMZUS ]
Brutus Monroe ICICLE Ultra Fine...
[ SSS | ELH ]
iCraft Purple Tape - Ellen Hutson LLC
[ ELH | AMZUS | SSS ]
Precision Heat Embossing Tool Gun...
[ SSS ]
Amazon.com: OXO Good Grips POP...
[ AMZUS ]
Amazon.com : Fiskars Manufacturing...
[ AMZUS | AMZUS ]
Teflon Bone Folder
[ ELH | SSS ]
Faber-Castell POLYCHROMOS COLORED...
[ SSS | AMZUS ]
Amazon.com: Prismacolor Premier...
[ AMZUS ]
Scor-Pal MINI SCOR-BUDDY Scoring Board
[ SSS | ELH ]

Tuesday, May 21, 2019

Team Tuesday with Ilina

Hi everyone,
Ilina here! Today I am sharing couple cards I made using this mont's Build-A-Flower set and dies from Altenew called Snapdragon. 
Instead of the traditional ink layering I decided to add little twist and add more watercolor effect to it. I was mass producing, so used several MISTI tools, one for each layer. But you can use one MISTI.
I used watercolor paper and sprayed it with water to get somewhat glossy look and stamped the first layer, I quickly heat set it a bit, and while not completely dry, I inked the second layer, misted the stamp this time and then stamped on the watercolor paper. 
Then for the third layer, I made sure my watercolor paper was completely dry and stamped the darkest ink, then on top I stamped Versamark and used clear embossing powder to emboss. Once done, I die cut the images and assembled my cards. 
Watch the video below to see how this card came to be