Thursday, December 29, 2022

Tickled Pink

Hi!  Angie here with a dash of warmth at the end of December!  Even though winter is brief in the south, I still enjoy a peek at summer in December.  Even this die-hard Christmas fan is ready for pink and a bit of sun as we approach the new year.


***Affiliate links are used when possible at no charge to you! ***

 I stamped the pond directly on the cardstock with the New Original MISTI.  Next, I used my favorite technique for stamping on die-cut pieces.

Step-by-Step precision alignments on Die-Cuts.  

  • The flamingos and sun were stamped on scrap paper in the MISTI.
  • I die-cut the flamingos and sun.
  • The cardstock with the negative die-cut pieces was placed over the stamped images on the scrap paper and taped in place.  
  • I placed the stamps in the die-cut openings, then closed the MISTI lid.
  • Next, I placed the blank die cuts into the die-cut openings and inked the stamps.  
  • When I closed the lid of the MISTI, the stamps were perfectly aligned on the die-cuts!

Thanks for stopping by, and happy stamping!  


Wednesday, December 28, 2022

Rustic Joy Snowman


Hello everyone! Anna here! The card I’m sharing today was made using the Rustic Joy Snowman image and one of my favorite stamps called Montana Sweetheart, both from Whipper Snapper Designs. 


I stamped the snowman on watercolor paper using a permanent black ink. I stamped Montana Sweetheart randomly using Distress Ink in Vintage Photo to add some visual interest to the background. I splattered some gold watercolor pigments over the card once everything was painted and assembled. I love the look of the gold splatters over the image!

Using a Mini MISTI is my favorite way to stamp on watercolor paper. The texture of watercolor paper can be challenging to get a good impression without making multiple impressions. Thankfully, the Mini MISTI allows me to stamp an image several times, giving me the perfect impression for every project!

Thanks so much for joining me on the blog today!


Thursday, December 22, 2022

Make it Happy

Hi everyone!
Ilina here! I can't believe it's almost Christmas and also the end of the year! 
Today I am sharing a cheery card using the Cracking good stamp set and coordinating dies from Catherine Pooler Designs. 
This set is perfect to make New Years cards!!! I also used a coordinating paper pad called Snap Crackle Pop for my background.


To make the card, start by die cutting and stamping bunch of firecrakers:
  • die cut the fire crackers from white cardstock. 
  • Die cut a negative from contrasting color (I usually use black, navy, dark green etc) to use it as a template. 
  • Place sticky mat in your MISTI and place your template for the die cuts. Make sure it's nice and secure. Put a bar magnet to keep the sticky mat in place
  • Remove all the stamps from the printed acetate sheet (the sheet with the stamp images)
  • Place one of the white die cuts into the template. 
  • Position the stamp acetate sheet over it to line up the image with the die cut. Secure in place.
  • Line up the stamp on top. Close the door of the MISTI to pick up the stamp. 
  • Remove the acetate sheet and stamp :) 
  • Repeat for all the images 
Next die cut a rectangle from the Ruffles and Dashes die set. Arrange firecrackers, adhere with foam tape and trim off the excess. Die cut a ruffled rectangle , to use as a mat for the firecrackers panel. Adhere them together.
Stamp sentiment in black and trim to a strip. Adhere to one of the firecrackers using foam tape. 
Cut patterned paper panel measuring 4" x 5 1/4" and adhere the stamped panel to it in an angle. Trim the excess and adhere to a top folding note card! 


You are DONE ;) 

All supplies are listed at the bottom. (affiliate links may be used at absolutely no cost to you)

 Thank you so much for stopping by! Hope you have an amazing day! 

SUPPLIES (Affiliate links may be used at absolutely no cost to you)

Wednesday, December 21, 2022

Masking with MISTI!


*Compensated affiliate links used where possible at zero cost to you. No posts are ever sponsored or paid.*

Lydia here with a new MISTI video! I have a new video for you today on complex masking - just how to use your MISTI to create a masked scene with this cute as can be baby set. Today is part one of two videos - in this video you'll learn how to do the masking, and in part two, you will learn a hybrid coloring technique to finish the scene. Just WAIT till you see how I created my faux carpet for the background - so fun. The carpet is water reactive ink, and the tan ink I used to create the wallpaper is just one ink color.


Like this post? Never miss a post by following me!

Here's the video:

Here are all the supplies I used today:

Sweet Nursery - 6x6 Stamp Set – Honey...
[ HNB ]
GKD Color Companions Ink Pad- Sandy...
[ GNK ]
AF428 Splash Reactive Ink | Hero Arts
[ HA ]
OLO
[ OLM ]
Holbein Artists' Colored Pencils -...
[ BLIC ]
Hero Arts Tools INK BLENDING BRUSH...
[ SSS ]
Amazon.com : Avery 6465 Removable...
[ AMZUS ]
Scotch 3M POST-IT MASKING Labeling...
[ SSS | AMZUS ]
Microfiber YELLOW Cleaning Cloth 924YE
[ SSS ]
Floral Glass Craft Mat — Glassboard...
[ GLS ]
My Sweet Petunia MINI MISTI LASER...
[ CRF ]
Scor-Buddy Mini Scoring Board 9x7.5 -...
[ ELH ]
MIS-T Rulers
[ MSP ]
Rotatrim Professional Series Cutter -...
[ BLIC ]
Understand Blue Bundles Specials for...
[ CTC ]
Teflon Bone Folder - Ellen Hutson LLC
[ ELH ]
Storage Envelopes, Medium 25pk,...
[ ELH ]
CheckOutStore Stamp & Die Clear...
[ CHC ]
Extra Large -50 pk, Avery Elle Stamp...
[ ELH ]
Airtable: Organize your stamps & dies
[ ART ]


Loveyameanitbye.


CURRENT COUPON CODES
20% off anything at Glassboard Studio  - UNDERSTANDBLUE.
10% off anything at OLO MARKER
15% off anything at Marker Universe or any of their other sites - Understandblue15.
10% off at Sweet Sentiment with code UNDERSTANDBLUE
10% off the whole store at A Colorful Life Designs - LydiaFan10
5% off at LBC here with code LYDIA5
Arkon Mounts - 20% off sitewide with code UNDERSTANDBLUE


Tuesday, December 20, 2022

Ornament Options Tags Created with the Misti


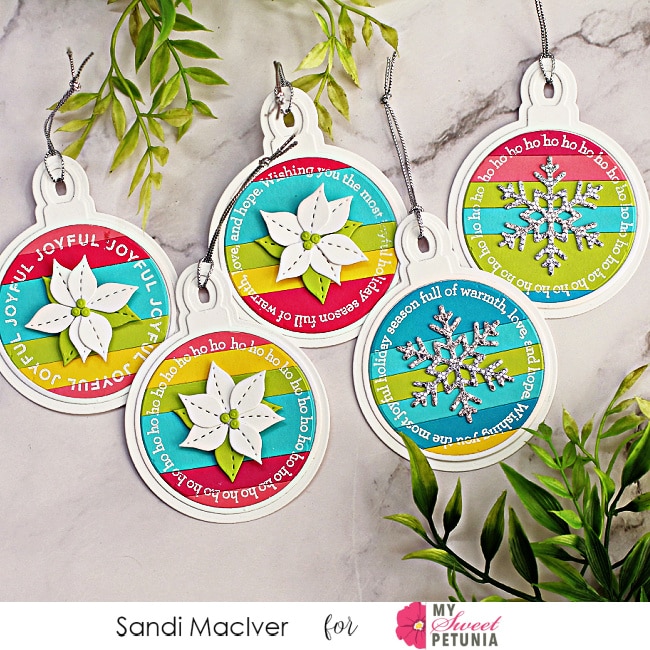
Hey card making friends and welcome back. It's Sandi MacIver here and today I'm sharing Simon Says Stamp Ornament Options Tags.  

With Christmas just 5 days away, you are probably wrapping gifts so some tags would really help you out right?  

Especially some cute little ornament tags that helped you clean out your card stock scrap bin like these little guys.  
The 
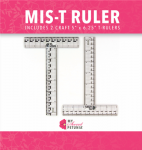
Ornament Options stamp and die bundle from Simon Says Stamp is perfect for creating these and I used the Misti and the Sticky Mat to hold them in place so I could heat emboss the sentiments around the outside edge.

PLEASE NOTE: This post contains affiliate links. See below for my full disclosure.

hand made ornament parcel tags in rainbow colors with poinsettias and snowflakes created with card making supplies from Simon Says Stamp These tags are super easy to create and they really do clean out your scrap bin.  Just take a pile of scrap and cut into different sized strips. 

Next, Use Tear-rific two sided adhesive sheets and glue all the pieces down onto the sheets. 

Then, peel off the backing and stick to a piece of cardstock. 

I did a 5-1/2" x 8-1/2" piece and had plenty of room for all these tags.  Plus I recycle my scrap bin every Jan 1st, so I felt like I saved some card stock from impending doom, haha....

  Simon Says Stamp Ornament Options Tags

How to create the Simon Says Stamp Ornament Options Tags

Start by using the smaller tag die to cut out the striped colored circle. (I mass produced these cutting 5 of each at a time). 

Next, use both of the dies and cut out the front and back in white.

Then, place the striped piece inside the Misti, secured to the sticky mat.  Line up one of the sentiment stamps and stamp in VersaMark Ink.  Cover with white embossing powder, shake off the excess and heat set.  (repeat 5 times to do them all with different sentiments). 

Finally, using the fine tip on the Bearly Art Glue, glue them all together.

  hand made ornament parcel tags in rainbow colors with poinsettias and snowflakes created with card making supplies from Simon Says Stamp

Decorating the Centers:

The Simon Says Stamp Ornament Options Tags die set has additional dies to cut out the poinsettia and the snowflake I have used for the centers of my tags. 

Start by cutting the poinsettia piece 3 times, twice in white and once in green.  Cut the snowflake from the new LUX Glitter paper (I saved every scrap of this stuff - it's amazing). 

Then Glue them to the center of each of the tags.    


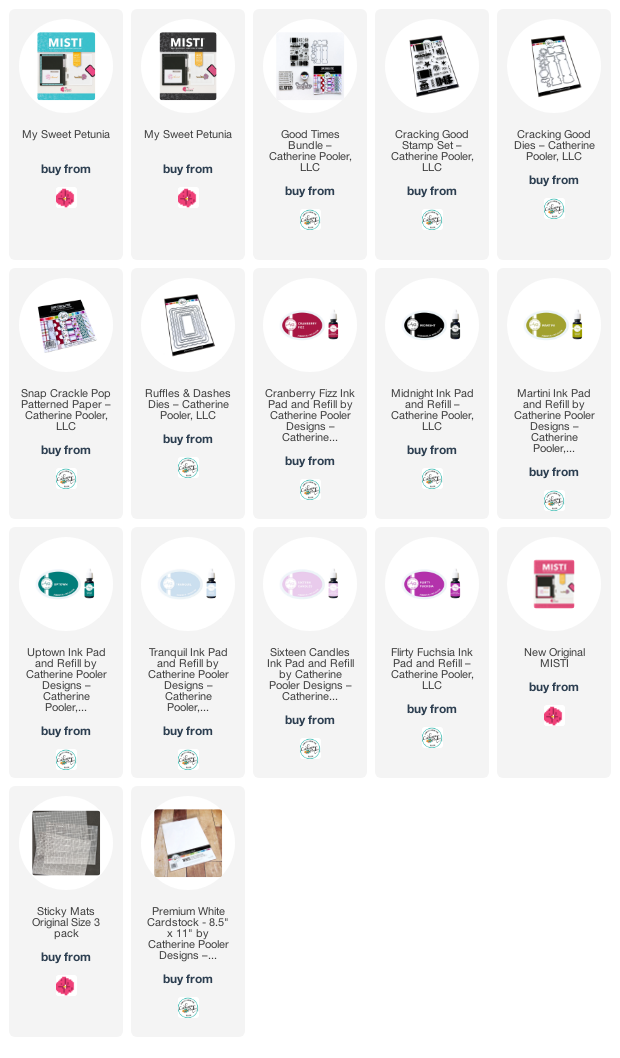
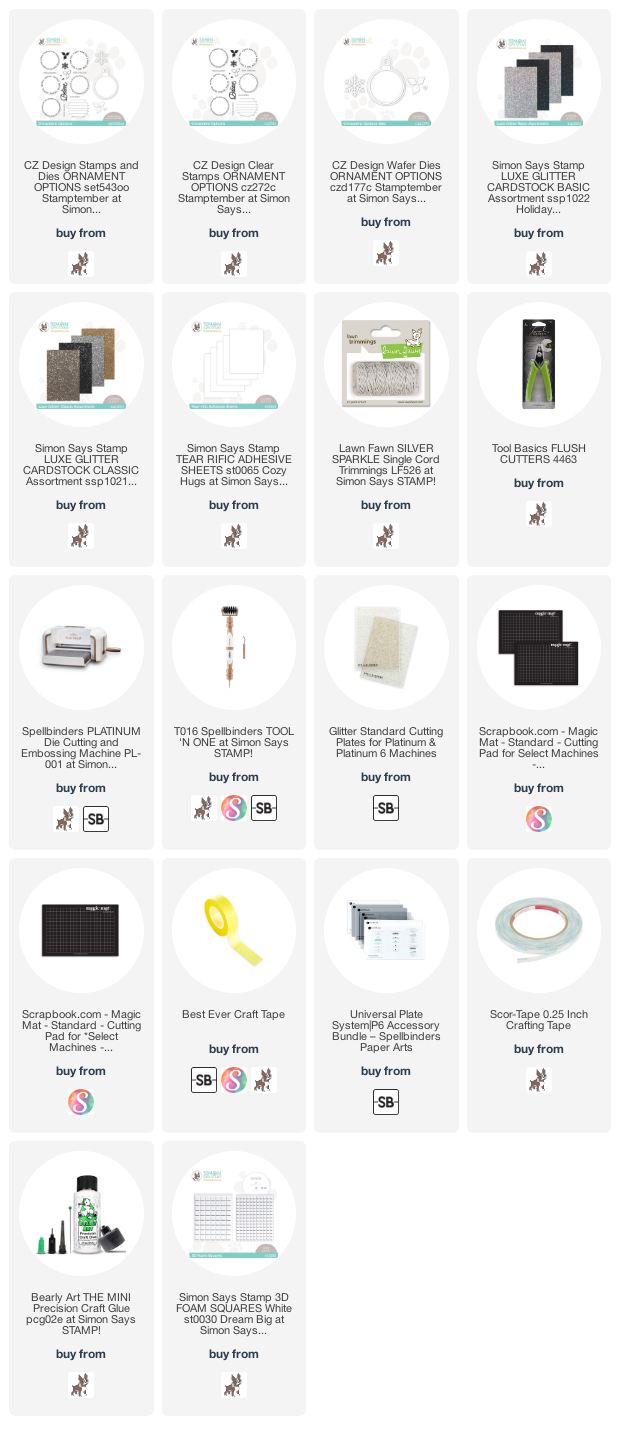
Card Making Supplies used for the Simon Says Stamp Ornament Options Tags:

Here are the products I used today.  Compensated affiliate links used  where available at no cost to you. Clicking on a thumbnail link and shopping provides me with a small commission (at no cost to you) which supports my website and allows me to continue bringing you new projects and videos.  Thank you for your support.  Affiliate and product disclosure are found on my disclosure page.  All products were personally purchased except for Simon Says Stamp Ornament Options Stamp and Die Bundle which was provided/sponsored by the company.  As always, I was not paid to do this post.  I only use and recommend products I love.  Click on the icons below each product picture to go to my favorite stores.
           

Thursday, December 8, 2022

The MISTI is Santa's Fantastic Holiday Helper

The MISTI is Santa's best helper when it comes to holiday cardmaking!

I had a blast creating this set of cards. I used three MISTIs to make the process even quicker. Firstly, I placed a Sticky Mat in an Original MISTI. The Sticky Mat held the cardstock in place as I inked the trees more than once. I positioned each of the trees in a separate MISTI; so that the tree images would stamp closely to one another. Lastly, I placed the sentiment in a third MISTI.

 Utilizing three MISTIs made it easy to create a set of cards. I kept the creative session interesting by changing the colors of ornaments and inks!


Wishing you Joy during this busy season! 

**Affiliate links are used when possible with no charge to you!**

A List for Santa:


Stamps:
Trees in Winter
Glad Tidings

Wednesday, December 7, 2022

Fa la la Latte Tag


 Hi friends! Anna here with a simple tag to inspire you for the holiday season! I used my Mini MISTI to stamp the sentiment in the perfect location on the sentiment banner. I absolutely love that I can not only stamp in exactly the spot I want and achieve perfect placement, but the Mini MISTI also allows me to stamp an image or sentiment multiple times in the exact same location, so I get a perfect impression every time! I used the Impression Obsession Oval Scalloped Tag for the base of my tag, Seasonal Cupcake Topper set for the mug, Rounded Rectangle Banners for the sentiment banner, and the Christmas Coffee Sayings clear stamp set to create my project. I hope you’re inspired!