Tuesday, August 25, 2020

Team Tuesdays with Susan: Repeat Stamping for Quick Backgrounds


Hi, 

This is Susan up on the blog for Team Tuesdays. First things first, some important business. I have the winner of the My Sweet Petunia Gift Certificate from the My Sweet Petunia and Pink Fresh Studios Co-hop. 

Vickie of  msinkspot,   you have won the My Sweet Petunia gift certificate. Please contact MSP at hello@mysweetpetunia.com. Your comment from Ilina Crouse's post was the winner.

Love all your cards but those florals are fantastic!


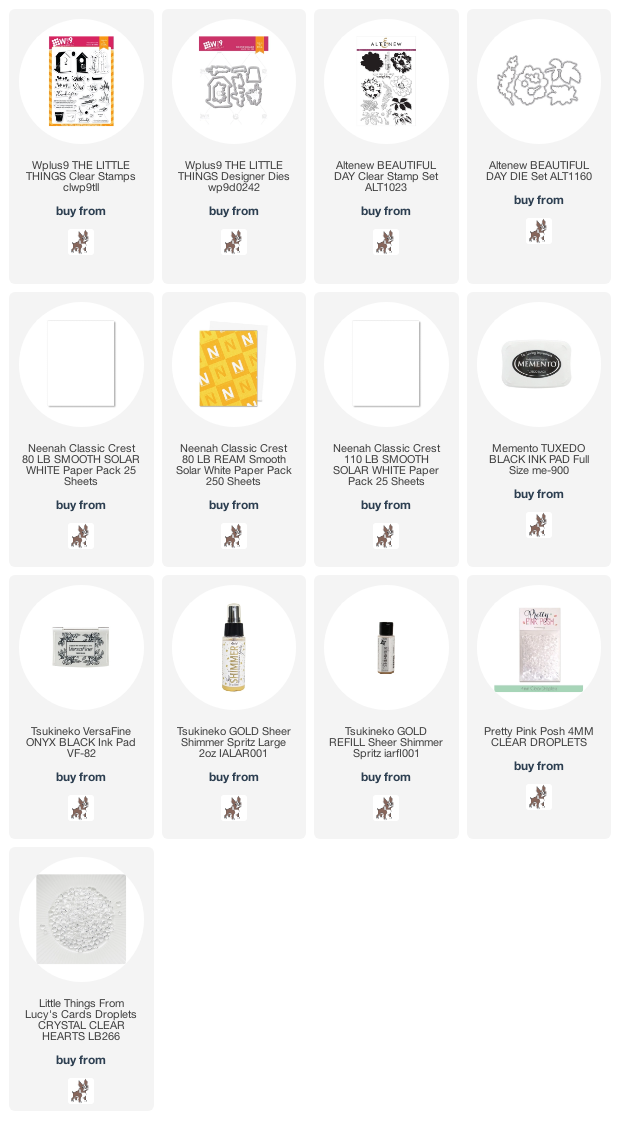
Now onto my card, I needed to make some thank you cards for my sister to send out. First thing I did was to get out my new MISTI - so love all the new features - and I repeatedly stamped the larger floral image from the ever classic and elegant Altenew Beautiful Day around the card front. For paper I used Neenah Solar White 80 lb card stock and Memento Tuxedo Black ink. I also stamped the leaves and the smaller cluster of flowers. I had to mask my main images and I used full stick Post-It Notes and my regular sized MISTI for all of this stamping as well. I was going to color these images in with my go-to Copic Sketch Markers. However, I decided to pull out my Prismacolor Colored Pencils. Sadly, I did not write the colors down and I apologize for that. After coloring the main image, I splashed on some Sheer Shimmer Mist in Gold. I then trimmed the panel down to 4"x5.25" and mounted this with 3M Foam Tape onto a side folding notecard.

For the sentiment, I used thank you from WPlus9 Designs The Little Things. I love this set and its smaller sentiments. I used Neenah Solar White 110 lb card stock. I lined up the stamp in my MISTI along with the paper. I stamped this sentiment with Versafine Onyx Black ink. Using the accompanying die and my Gemini Junior Die Cutting machine and die the sentiment out. I popped the sentiment up on 3M Foam tape and adhered it to the focal image panel.

I really had a lot of fun and some relaxation using these two classic and timeless stamp sets. Pull out something you haven't used in awhile and create backgrounds. I often stamp these out ahead of time and color them in later. I leave the card black until I know what type of card I need. This keeps me ready for anything that comes my way or anything my dear sister would like. 

Thanks for stopping by;

Susan

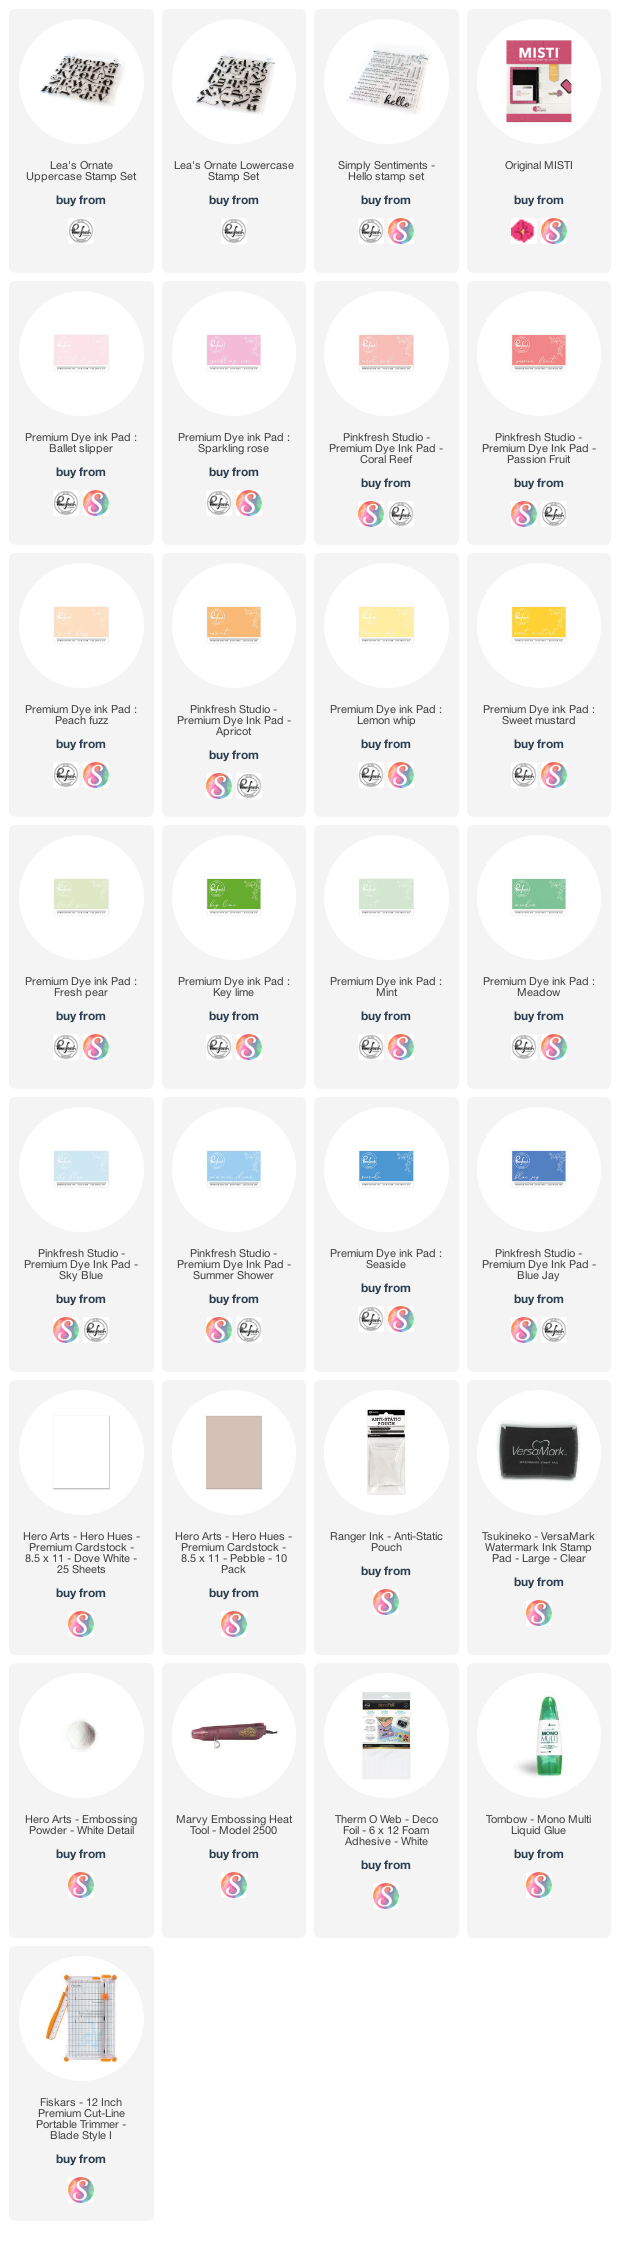
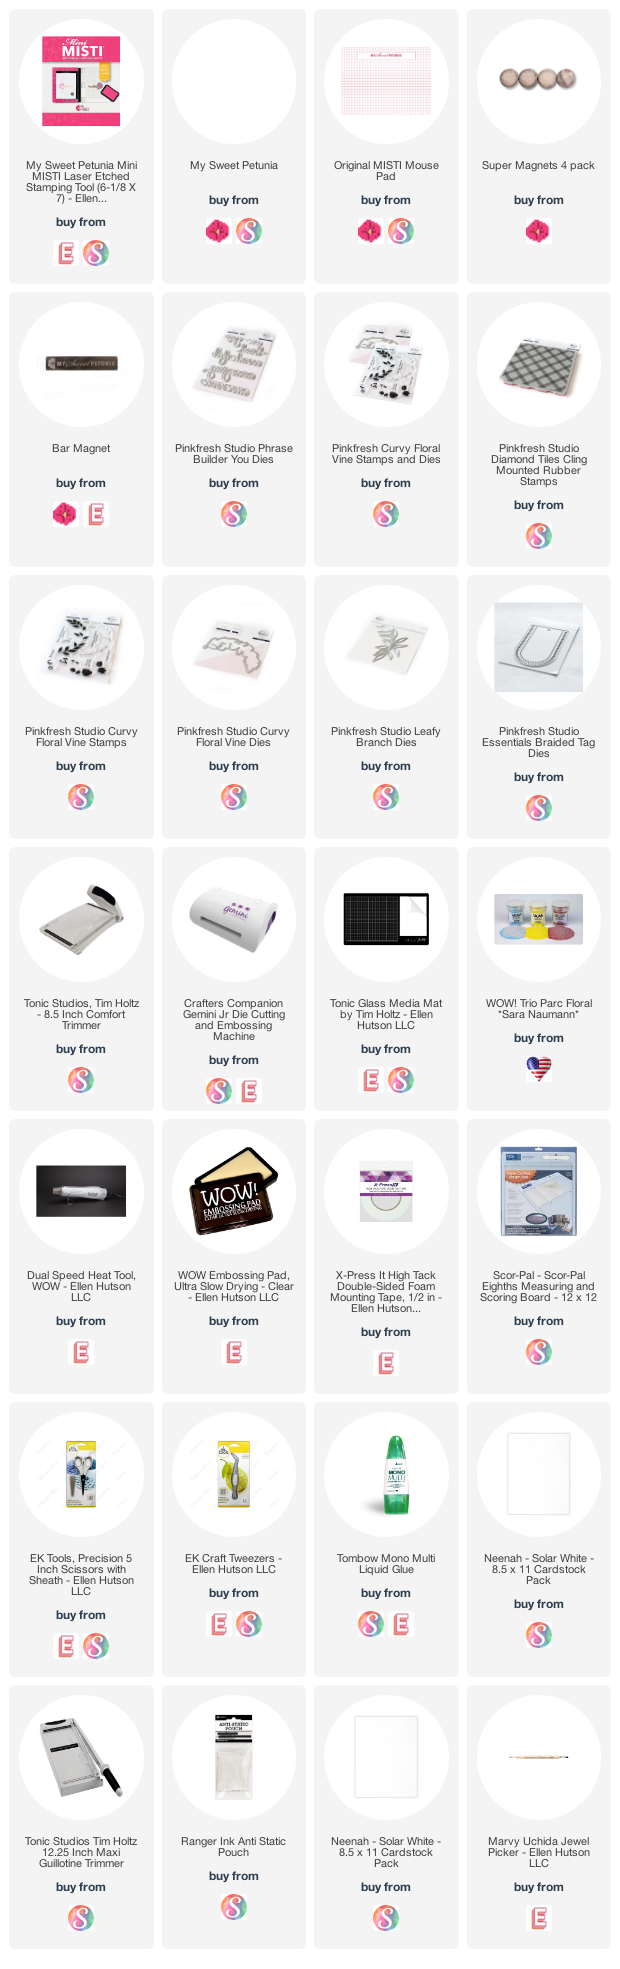
Products Used: I am using compensated affiliate links at no further cost to you. My Sweet Petunia provided the new regular sized MISTI for this project.  I purchased the remaining products used. Thank you for your support.

Thursday, August 20, 2020

Galaxy Ink Blending with Mindy Eggen


Welcome back everyone! It's Mindy here with you today! I love any chance I get to ink blend and couldn't wait to get some ink on this Galaxy stamp set from Hero Arts. 

To create this card, I started by stamping the Galaxy stamp set using the NEW Misti 2.0. Did you pick one up yet? It's incredible! I love the smooth corners and the door is so much easier to open and close.

I stamped the image onto Neenah Solar White card stock with Embossing ink and sprinkled on gold embossing powder.

I then ink blended Cracked Pistachio, Salty Ocean, a dab of Blueprint Sketch and finished off with Chipped Sapphire Distress Oxide inks. Since the embossing powder resists inks, I wiped away the excess to reveal the shiny gold!

To add a bit of sparkle, I colored in some of the shapes of the design with an Aqua Shimmer Pen. To keep the focus on the background, I kept the sentiment simple. This sentiment comes from the You're My Universe stamp set in which I heat embossed in Gold onto black card stock. Then I trimmed the sentiment out with a stitched circle die and added to the front of the card with black foam squares.

Hope you enjoyed today's inspiration!

SUPPLIES

Below you will find links to the products used. Click the icon to start shopping. Compensated Affiliate links are used at no additional cost to you. Your support helps me to keep bringing you new projects and videos. Thank you!

Tuesday, August 18, 2020

Split Panel Rainbow Cards with Channin

Hello friends!! It's Channin here with a couple of colorful split panel cards to share!! The split panel technique a fun and unique technique which the MISTI is an absolutely essential tool because your two stamped panels must be identical except for color variances. 

To create these cards I first positioned all the letters I needed for "celebrate" over the center line of a white slimline panel (3 5/8" x 8 1/2"). Because "e" is repeated multiple times I used place holder letters, letters that are about the same shape and size as the "e" (o, c), in place of the e. 

Once I had the letters positioned, I then picked them up with my MISTI and then removed the "e". I removed the "e'' so I could easily ink up the "C" because I want to ink each letter in a different color. 

I stamped the "C" on my first panel in my light pink (Ballet Slipper) and then I stamped the "C" on my second panel in my dark pink (Sparkling Rose). 

Next, I repositioned my "e" on my MISTI, removed the "C" and "l", and then stamped the "e" in a light red on my first panel and a darker red on my second. 

I will basically repeat this process till I have all my letters stamped and end up with a light rainbowed celebrate and a darker rainbowed celebrate. 

Now that my panels are stamped I then used my paper trimmer to cut my panels in half which is at 1 13/16" for the slimline panel. Next, adhered one of the light celebrate halves with one of the dark celebrate halves onto another slimline panel. I then trimmed the panel down and adhered it onto a gray slimline card base (7 1/4" x 8 1/2", scored at 3 5/8").

I then stamped and white heat embossed a couple sub sentiments with the Simply Sentiments - Hello Stamp set onto gray cardstock. I then trimmed the sentiments down and then adhered them to my card front with foam adhesive. 

And that's it! I hope you enjoyed my cards! Thank you so much for stopping by!

~Channin

Supplies:

Thursday, August 13, 2020

Concord and 9th Hello Friend with Ilina

 Hi everyone.

Ilina here. Today I am sharing few super fun cards using few new sets from Concord and 9th. I used the new Woodland Turnabout set along with the coordinating dies, All the Hellos set and Lots of Thoughts.
Since I had the turnabout set positioned in my MISTI I decided to stamp few background and make few cards using different colors. Once the backgrounds were stamped I trimmed them to 4" x 5 1/4" 
Next I stamped the sentiment using (each part of it is from different stamp set) and die cut it with the stitched square die from the Woodland dies. Also I die cut the mat from Midnight cardstock. 
I die cut coordinating color hearts and assembled my cards adding navy twine to add something little extra. 
All supplies are listed on the bottom


Tuesday, August 11, 2020

Positive Print Turnabout with Ceal


Hello Everyone, 
It's Ceal here. Today I am sharing a couple of cards created with the Positive Print Turnabout
I love turnabout stamps, they were created specifically for the MISTI and they are so fun to use. You can get different multiple backgrounds out of one stamp just by changing the colors or the number of times you stamp it. For both of these card I stamped it all four turns but I used two different color combos. 
I am sending these off to friends so I used the Hey Bestie stamp set along with the Hexagon Label dies.
 I also used their new inks which I love! 


These card were super fun as the MISTI and C9 turnabouts always are!


Below you will find links to the products used. Click the picture to start shopping. Compensated Affiliate links are used at no additional cost to you. Your support helps me to keep bringing you new projects and I appreciate that so much!  

Thank you!


Monday, August 10, 2020

You are Awesome with Karen Reategui


Hello crafty friends! Today I'm stopping by My Sweet Petunia Blog to share this card using my new Original MISTI and stamp and dies from Pinkfresh Studio. For this card, I'll be stamping the layering stamps on the negative die for a perfect line up and placement.


Let’s start! I die cut a white piece of cardstock using the Curvy Floral Vine Die from Pinkfresh Studio and placed the negative piece inside my MISTI to line up my stamps. Additionally, I tucked in another piece of cardstock, or it can be any paper you want, behind the negative piece. Then, I started to line up my first stamp, I held it with the MISTI door, set the die cut piece inside, inked up my stamp and stamped the image. Using your negative piece inside your MISTI helps you achieve a perfect lining up of your layering stamps.


I repeated this process with each layer until the image was ready and I stamped two of these florals. Next, I die cut another piece of white cardstock using the Braided Tag Dies. I arranged the florals on top of this Braided Tag using glue along with lilac leaves that I die cut using the Leafy Branch Die.


I also die cut YOU ARE AWESOME from the Phrase Builder: You Dies out of purple cardstock, including a shadow out of vellum for the awesome word. I adhered this phrase on top of the Braided Tag and between the florals using glue and my background was almost done.


For my next step, I put a white panel inside my MISTI and the Diamond Tiles Cling Stamp. I stamped the Diamond Tiles with WOW! Embossing Pad and heat embossed it using WOW! Hydrangea Embossing Powder. This color of embossing powder has a beautiful soft color that I thought would match the colors in my card. A white folded note card was also adhered at the back using glue.


Finally, I adhered the Braided Tag on top of the Diamond Tile stamped panel using foam tape, added a few jewels around and this card was finished. I hope you liked this card and with the help of your MISTI you can even mass produce this type of cards. You can find the new MISTI here. Have a fabulous week and stay safe!

Karen


Friday, August 7, 2020

PinkFresh Studios Collaboration Blog Hop & GIveaway!

How do you do your Christmas cards? All at once? Or do you create throughout the year and pile them up? I am in the second category, and I think I probably already have 100 cards or so! I find this a less stressful way to craft - I just use sets that catch my eye throughout the year, and end up with so many fun, super different cards by spacing them out.

Today's card is part of a fun collaboration with our friends at Pinkfresh Studio! I fell in love with Kinnari and her stamps at the same time - she's such a warm, sweet, SMART woman and I just love her designs. 

I think that one of the super unique things about Pinkfresh is the dies - not only the super unique standalone dies, but the coordinating dies are so cute. 

I used this sweet, sweet winter animal skiing stamp set and the matching dies to create this scene - what's super fun about these images is you can do very minimal coloring on them and they are super adorable. I cut the mountains from Dove cardstock, and then Copic colored just the squirrel and the little jeans - haha - who skis in jeans?? A squirrel, that's who.

Dove Cardstock - Concord & 9th
[ C&9 ]
Skiing by stamp set – Pinkfresh Studio
[ PNK ]
Skiing by die set – Pinkfresh Studio
[ PNK ]
Pinkfresh Studio Scripted Bold...
[ PNK ]
My Sweet Petunia
[ MSP ]
Tsukineko VersaFine Clair NOCTURNE...
[ SSS | ELH | BLIC ]
Pre-Cut & Scored Cardstock
[ CTC ]
Art Anthology BIG CRAFT MAT 24x36 311473
[ SSS ]
Heavy Base Weight Card Stock- White
[ GNK ]
Rotatrim Professional Series Cutter -...
[ BLIC ]
LightView 2in1 LED Magnifier for...
[ BRG ]
Xyron ADHESIVE ERASER 23675
[ SSS | ART | AMZUS ]
Teflon Bone Folder - Ellen Hutson LLC
[ ELH | SSS ]
Crafter's Companion GEMINI...
[ SSS ]
Scor-Pal MINI SCOR-BUDDY Scoring...
[ SSS ]
Essentials by Ellen Storage...
[ ELH ]
Die Storage - Clear Storage Pockets...
[ CHC ]
XL Stamp Storage Pockets
[ ELH ]
Mermaid tidy towel case and glue...
[ ETS ]
Lawn Fawn STAMP SHAMMY Cleaner LF1045
[ SSS | CST ]
Airtable: Organize your stamps & dies
[ ART ]


Both Pinkfresh and My Sweet Petunia are giving away $50 shopping sprees today! Just leave us a  comment telling us how YOU do your holiday cards and you will have a chance to win! We will announce the winner of our giveaway on Tuesday the 11th here on the blog.

Here's the rest of the hop! Be sure and leave a comment on every blog! 

You are invited to the Inlinkz link party!

Click here to enter