Hi cardmaking friends and welcome back. It's Sandi MacIver here and today I'm sharing a card created with the Spellbinders August Clear Stamp and Die Club kit. This month's "Perfect Floral Bloom" Clear Stamp Set and Coordinating Die set is perfect for making cards, decor and more.
A Misti is super helpful with the stamping as many of the images are two step, or two layers. Stamping the layers in different shades of the same color also helps to add depth to the image.
The coordinating dies make it super quick and easy to pop them out so you can start your floral arranging.
Ok, so don't fall over in amazement, I'm trying another new color scheme today, haha. A little peachy/pink floral and greeny/blue foliage, and I really like it.
The background in today's card is created with the Embossing Club of the month folder "Intertwined Lattice. This is a 5.5 x 8.5" folder with a repeating design. The size allows you to create a pretty background for almost any size card you wish to make from a mini slimline all the way up to a 5 x 7 and long enough for a slimline card as well.

How to create the Spellbinders August Clear Stamp and Die Club Card:
Note: I'm using Simon Says Stamp Pawsitively Saturated Inks today: Leaves: Tidepool, Tropic and Aegean, the peach is: Cheeky, Blush and Pucker.Start by placing a 4 x 5-1/4 piece of white cardstock into the Misti on the Sticky mat. Lay down the three leaf solid image stamps, ink and stamp with Tidepool.
Next, remove the cardstock and place another piece in and repeat.
Then, clean and remove the stamps, lay the stem stamps over the stamped images. Close the Misti to adhere the stamps to the lid. Open the Misti, ink the stamps with Aegean ink and stamp.
Finally, switch out the card stock and repeat.

Creating the Flowers
Start by placing the two floral image stamps onto the white cardstock, close the Misti lid to secure them to the lid, open and Ink with Blush and Cheeky ink. Flip the card stock around and repeat. Next, clean and remove the stamps and replace them with the flower center stamps. Ink and stamp these in Pucker.Then, use the coordinating dies to cut all the pieces out. Lay them down on the work surface in two bunches.
Meanwhile, use the Intertwined Lattice embossing folder to emboss the 4 x 5-1/4" white card front and attach to a 4 -1/4 x 5-1/2 piece of Blue Spruce Cardstock.
Attach this to a A2 sized top folding card base.
Use Press & Seal to pick up the two bouquets you created, flip them over and add foam squares to the back before attaching them to the card front.
TIP - ensure you have left enough room in the middle for the sentiment.
Next, die cut the Cheers sentiment using the Small Die of the Month Club kit "Outlined Sentiments" and attach to the center of the card.
Finally, embellish with Silver Color Essentials Gems.
This is a super fun and easy stamp and die set to play with and would look great in many different color variations.

Card Making Supplies used for the Spellbinders August Clear Stamp and Die Club card:
Here are the products I used today. Compensated affiliate links used where available at no cost to you. Clicking on a thumbnail link and shopping supports my website and allows me to continue bringing you new projects and videos. Thank you for your support.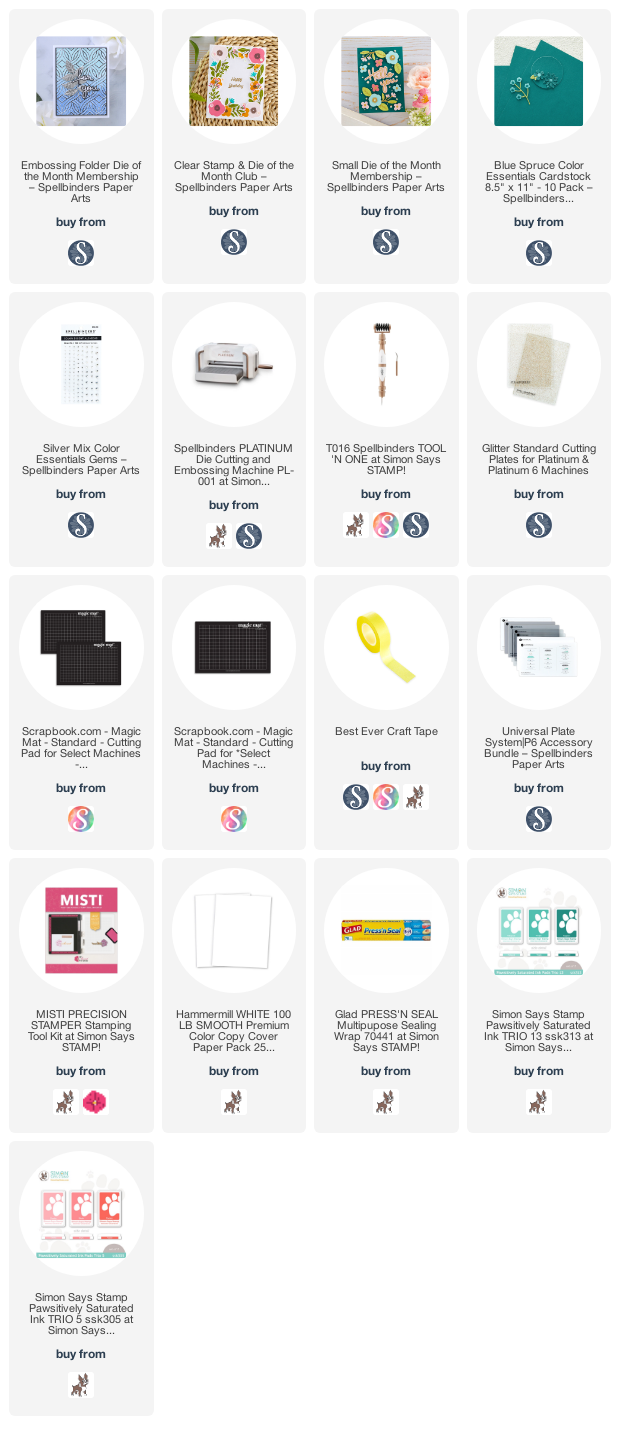

No comments:
Post a Comment
Thank you for taking the time to comment.