Thursday, March 31, 2022

Support Ukraine Stamping Village Blog Hop - Stay Strong

Hello and welcome to the Stamping Village Blog Hop to help support Ukraine!

As creative people, it's only natural for us to celebrate others with our art.  We are just as eager to comfort when there is sadness, loss, and need. Today's HOP is brought to you by the Stamping Village companies, additional companies, and artists in support of the Ukrainian people. The war has touched us in many ways and feels even more personal as our creative friend Yana lives in Western Ukraine. Make sure to Hop all the company and artist links below for special details as many of them are making donations. 

*******

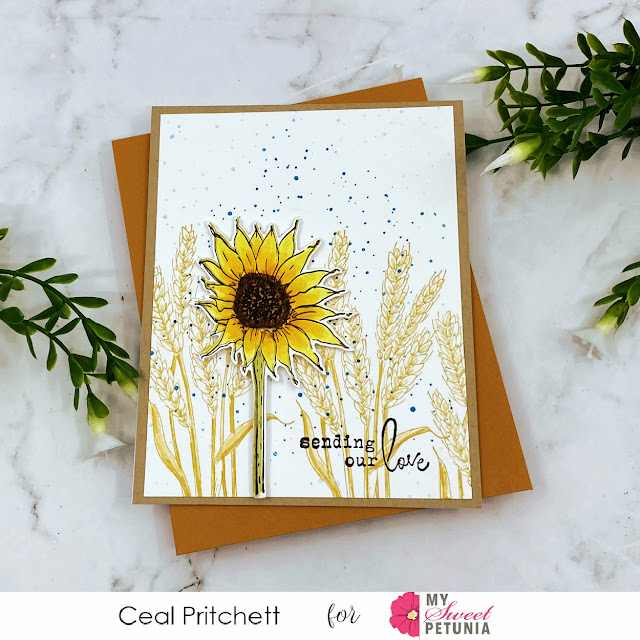
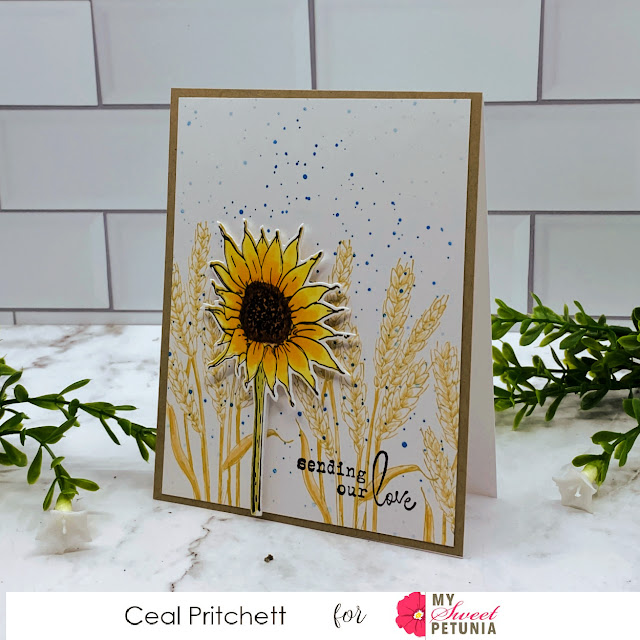
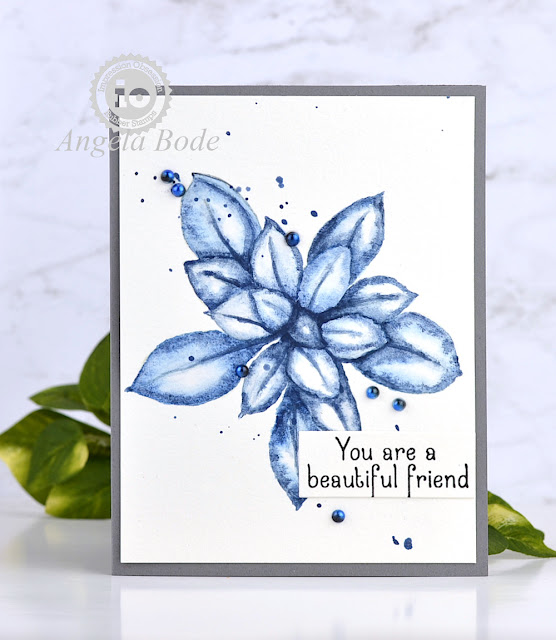
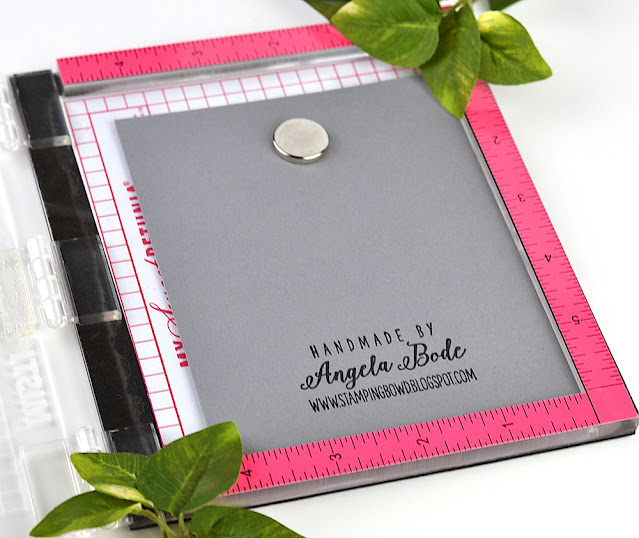
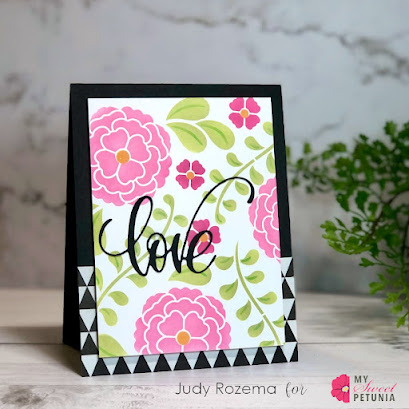
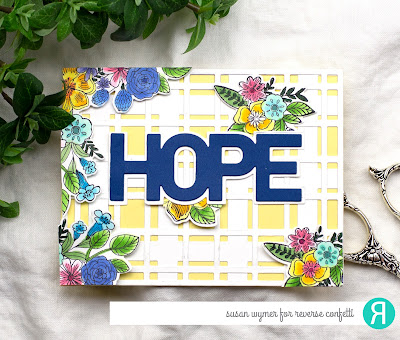
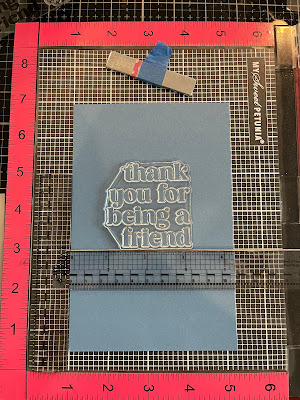
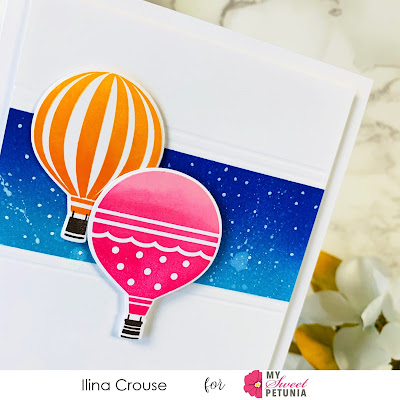
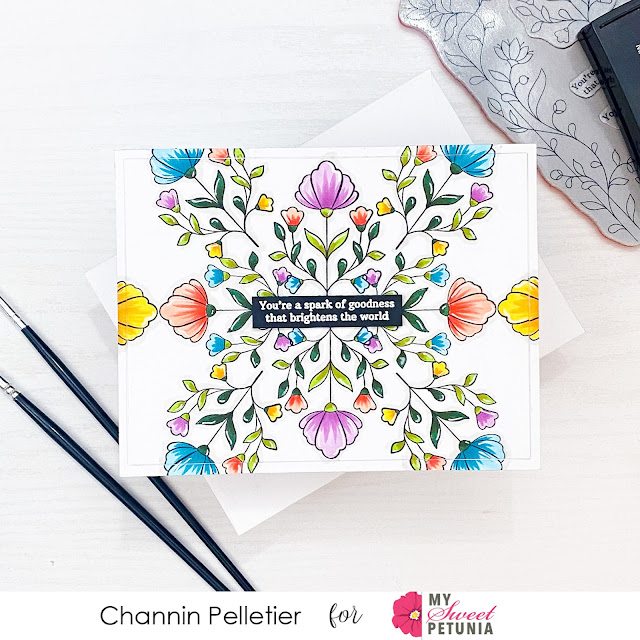
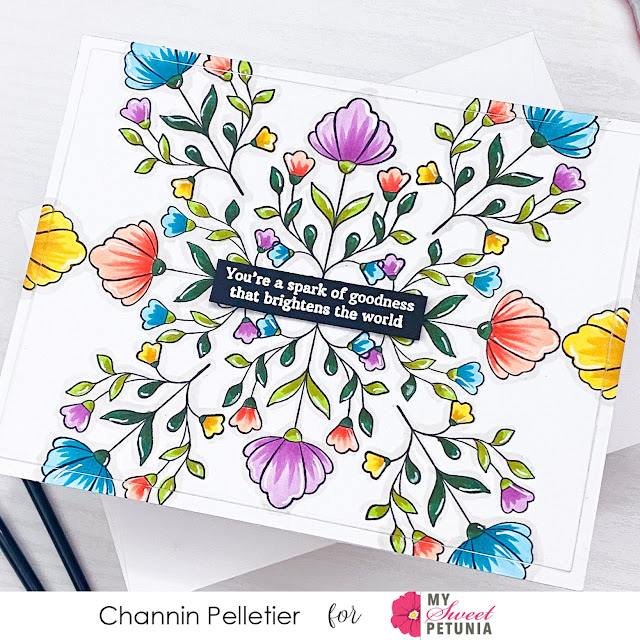
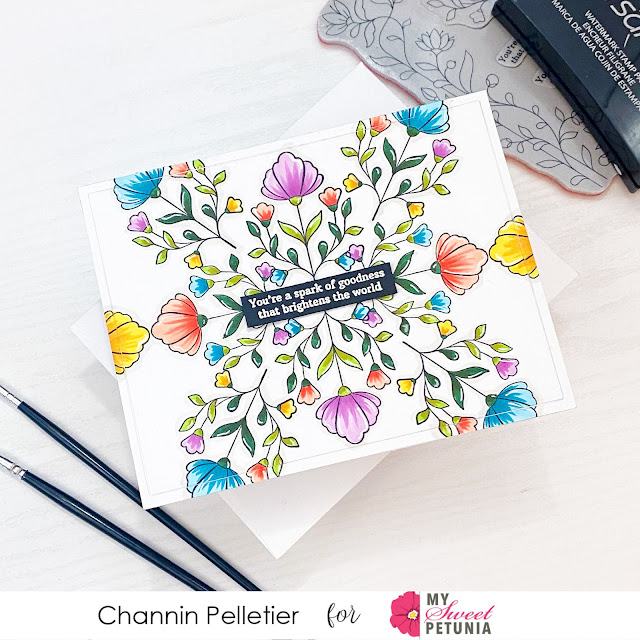
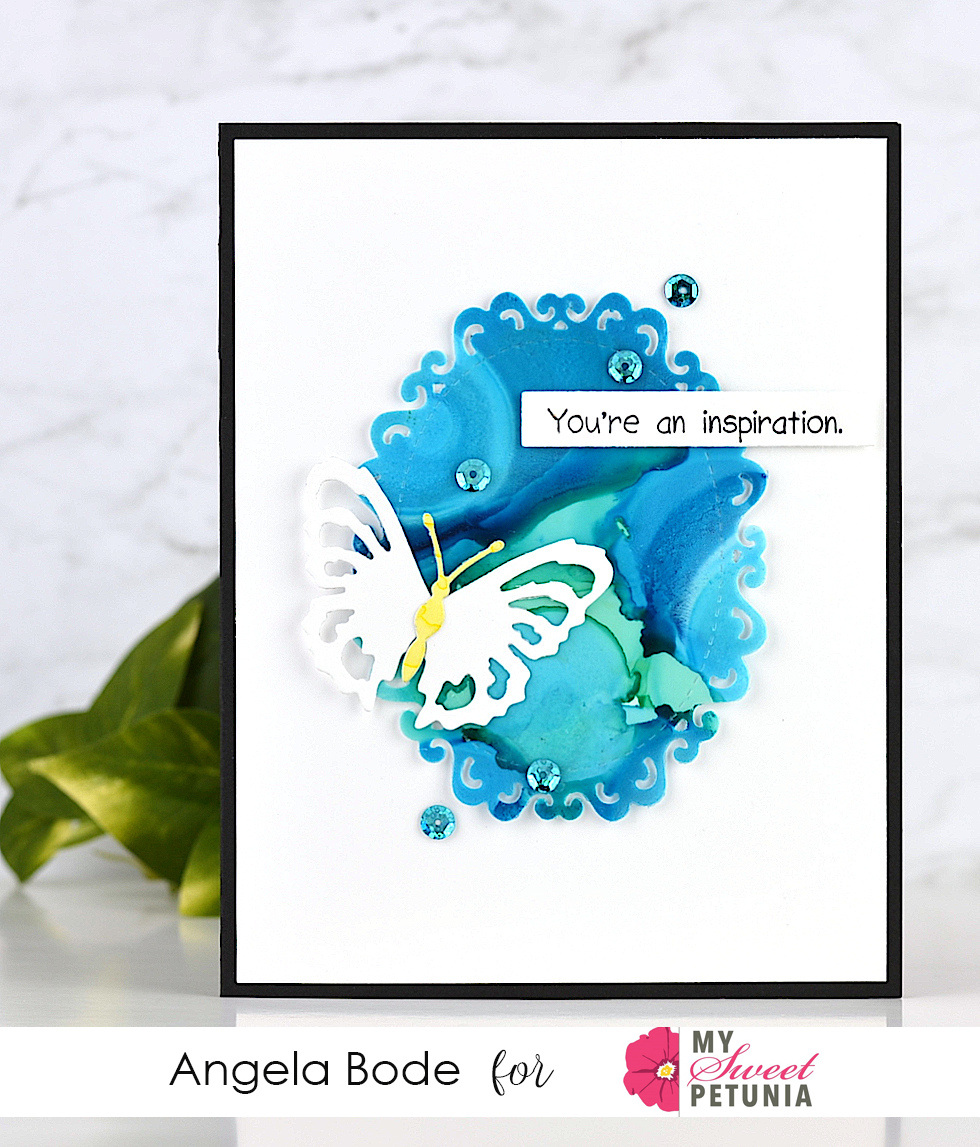
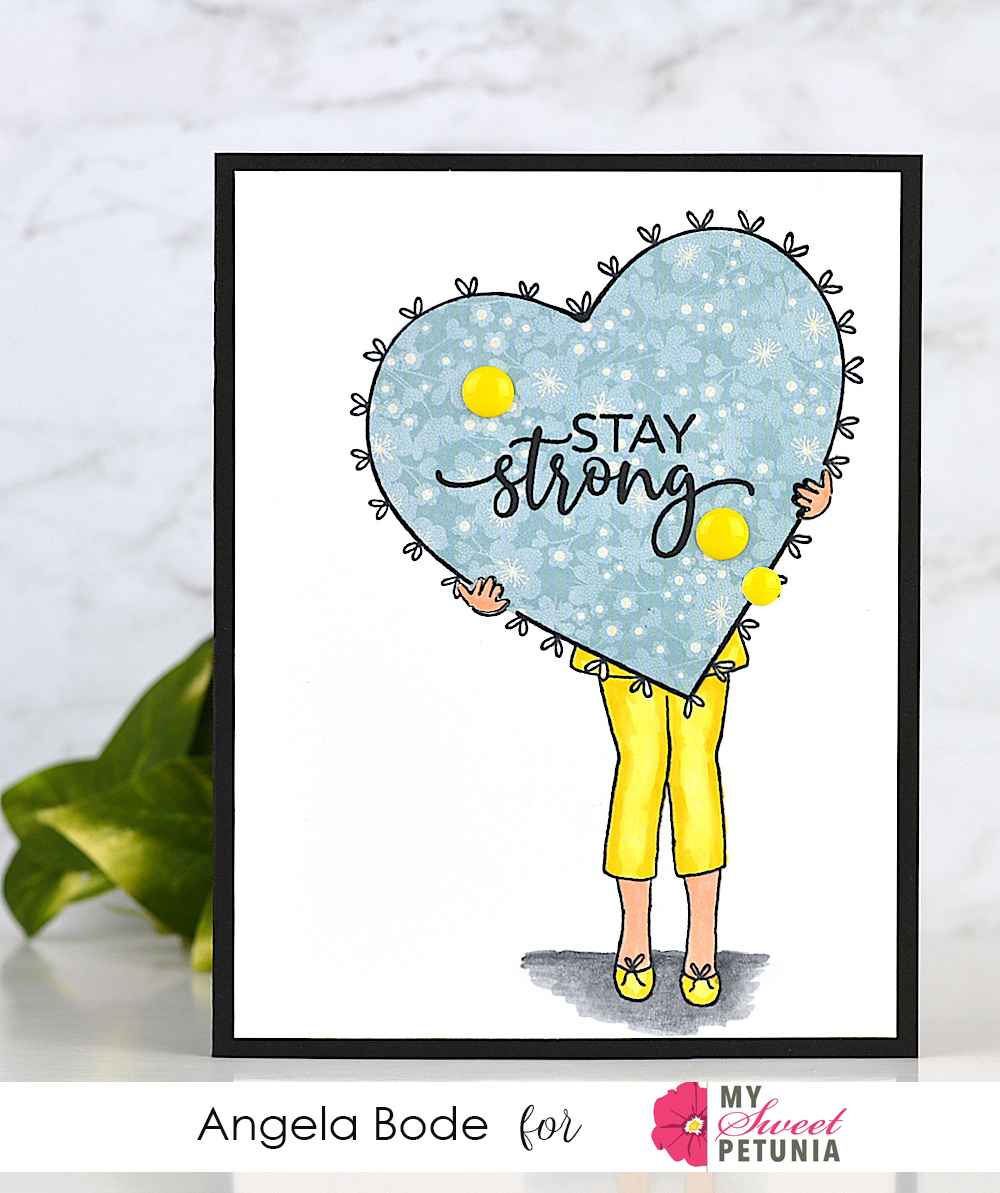
Here are some projects from the Design Team featuring the 
  MISTI.  Click on their name to visit their blogs for details. 


Here is the complete hop list!


My Sweet Petunia (you are here)

Wednesday, March 30, 2022

Repeat Stamping Made Easy

 Hello everyone! Judy here with a fun card highlighting repeat stamping!


Nothing makes repeat stamping easier than the MISTI! WAIT. Except the MISTI and the MIS-T RULER!

For my card today, I used a Gel Press background (made with acrylic paint on lightweight cardstock), and then stamped the lightbulb from Visible Image in VersaFine Clair Nocturne Ink. Because the paint is a slicker surface, I had plenty of time to heat emboss with Clear Embossing Powder. I then stamped the sentiment four times, lining up with the MIS-T Ruler, and also embossed with Clear EP. It gives it a fun texture with the background and makes the images really pop and "shine bright"!


You can find more of my projects at my blog, Joy in a JAR.
Stay tuned tomorrow for a special hop with The Stamping Village!


Tuesday, March 29, 2022

VIDEO: Layered Background Featuring Sticky Mats

Hello friends!! It’s Channin here and today I’m combining several techniques to create an abstract rainbow background with lots of depth! Check out the video below to see how I add layer upon layer with ink blending, stencils, stamping and even pigment ink to create a background with tons of dimension.

Layered Background Featuring Sticky Mats


To create this card I first ink blended over an A2 panel of Sand cardstock with the Abstract Frames Stencil and Unicorn Pigment Ink. I then rotated the stencil and then ink blended a rainbow over the stencil with several Reactive Inks. Then I stamped over the panel with the Abstract Frames Bold Prints stamp with the same inks I used to create the rainbow blend. 


Next I created my sentiment by die-cutting the “congrats” and “!” from the Congrats & Yay Stamp & Cut XL set out of white cardstock. I then die cut the mat layers out of vellum and then adhered them to their cardstock counterparts. I then stamped and white heat embossed a sub-sentiment onto black cardstock and then fussy cut it out. 


To finish the card I adhered the background panel to an A2 top-folding white card base and then adhered the sentiments with foam adhesive. 


I hope you enjoyed my card and video! Thank you so much for stopping by!


~Channin


Supplies:


Tuesday, March 22, 2022

Team Tuesday With Taylored Expressions


Hello friends! 
It's Ceal, here. Today for Team Tuesday, I am sharing a card made with some Taylored Expressions products. My friend Lori Craig is the illustrator of the set I used Wheatfield  Dreams which is also her instagram handle (all one word of course), you will want to follow her.


I made this card with the Ukraine on my heart, thus the sunflower and the wheat. 
I started with a white top folding card base, a panel of kraft cardstock and a white panel for the images. 
I placed the white panel in the Original Misti along with a Sticky Mat because the splatter is a background stamp and the Sticky Mat is amazing to hold your paper in place because we all know you can't use a magnet with a background stamp. I inked it up with blue ink and then stamped off to get a subtle splatter and then inked up on a few places instead of the entire stamp and stamped it in full strength.
Next I stamped the wheat and colored it using Graph-It markers. I stamped the sunflower using Prickly Pear ink on a separate piece of cardstock leaving it on the lid of the Misti so I could over stamp it in black after I colored it.  To finish the card I cut out the sunflower with the coordinating die and then added a sentiment.

  
Products linked below contain affiliate links, what that means is when you use them to shop  (they are no extra cost for you) I get a small commission to help with running my blog. Thanks for your support.


Thursday, March 10, 2022

Blue Succulent

Hello!  I ordered this new IO stamp, especially for a watercolor project, and thought this would be a great time to use it.  I did a Google search for succulents and found that there are blue ones!  How fun is that?  I placed watercolor paper in the MISTI and stamped the succulent image with Fade Out ink. I used the Sticky Mat to hold the watercolor paper in place while stamping several times for a clear impression.  Then, I used the wet-on-wet technique for the pure fun of watching water and paint do their thing.  I added a bit of splatter, a few pearls, and a sentiment.  


The last thing I do on my cards is to add a watermark or signature to the back.  I am thrilled to have a dedicated Mini MISTI for my watermark stamp! I leave the stamp in the Mini MISTI which is a huge time saver. I won't talk about how many times I stamped it crookedly when it was wood mounted!   


Thanks so much for stopping by today!

You can find more of my projects at I Would Rather Be Stamping

Today's Featured Products


Wednesday, March 9, 2022

Layered Stenciling

I love layering stencils. It's so easy to create something lovely in a short time, and without a lot of fuss. One of the things that makes it easy is having my MISTI to line up the corners of each layering stencil to make sure I have them in the right place. 


I cut my white cardstock 3.75" x 5" and positioned it in my MISTI using one of the new Sticky Mats to hold it in place. I used my blender brushes and several different oxide inks for the background, changing out each layering stencil, with the mat holding each in place.


The love sentiment comes with the Stencil Bundle. I cut it from black cardstock and adhered it to the front of the stenciled panel. I added some patterned paper for the background, and popped up the stenciled panel for dimension.


Products used: 
Thanks for stopping by. You can see more of my projects at Joy in a JAR.

Tuesday, March 8, 2022

Hope in Blue and Yellow


Hello and welcome to the My Sweet Petunia blog. Today, I have a card that I made to give me and others hope. I won't stray into politics here. All the products used here are from Reverse Confetti. The florals are the Friendly Florals from the new release. When I started this card. I had a different idea for a sentiment. So below is a picture that shows how I squared everything up using my MIS-T ruler and the new sticky pad - how did I live without that thing. Look no magnet!


I choose to set the paper in the middle because I needed to have some card stock around the edges of the sentiment. Also I did not have another piece of this paper. I then positioned an oval die over the  sentiment and was able to get a precise cut. Proud of myself for that. 

But as I laid out the card, I just did not like where it was going. I changed up the look by die cutting Hope and its background. 

For the florals, I used my MISTI with the sticky pad and Neenah solar white 110lb card stock to stamp out the florals. After some very, very basic Copic coloring, I die cut the florals and added them to the card. 

Thanks for stopping by;

Susan

Products Used: I am using compensated affiliate links at no further cost to you. 

Thursday, March 3, 2022

Always Follow Your Dreams - Ombre Stamping

Hi everyone!
Ilina here! Today I am sharing a fun card using the February Club Sursee products from Catherine Pooler designs.
I thought these hot air balloons were perfect to do some ombre stamping using my MISTI tool.
To make the card I started by die cutting bunch of the balloons, I aways do this and then save some for later use. 
I used the negative from the die cuts to position my stamp on the door of the MISTI and used it as a template to pop in my die cuts, so everytime I got perfect placement! 
First I inked the images with the darker ink and used blending brush to soften the edges at the half way point. Then stamped it. Next I inked the other half of the stamp with lighter ink and also softened the edge using blender brush, then stamped....and voila!!! 
Created my background using some ink blending and scoring 2 lines above and below the ink blended area. Adhered the balloons and stamped my sentiment and added the "Dream" die cut.

Tuesday, March 1, 2022

Pattern Stamping with the MISTI


Hello friends!! It’s Channin here and today I’m once again sharing a favorite MISTI stamping technique! Using a single stamp I’ll create a beautiful floral background with a few turns!


To create this card I first stamped a floral stamp from the Spark of Goodness Floral Frame stamp set onto an A2 panel of white cardstock in Memento Tuxedo Black. I positioned this stamp centered and in the upper half of my panel. Next, I left the stamp in place in the MISTI and then turned the panel 180 degrees and then stamped the panel again to add the floral image to the lower half. I then repositioned the stamp and stamped the left side of the panel and then rotated the panel 180 degrees and stamped the right side of the panel. I repeated this process a few more times till I had completed the pattern. 


Next I copic colored all the images and even added a shadow around all the images as well to create more depth. I then finished coloring the images by adding some white gel pen accents. 


Next, I die cut the panel with a rectangle die to create a frame. I then adhered the two panel pieces to the front of an A2 top-folding white card base. Lastly, I finished the card by stamping and white heat-embossing a sentiment onto black cardstock and then adding the sentiment to the card front with foam adhesive. 


I hope you enjoyed my card! Thank you so much for stopping by!


~Channin


Supplies: