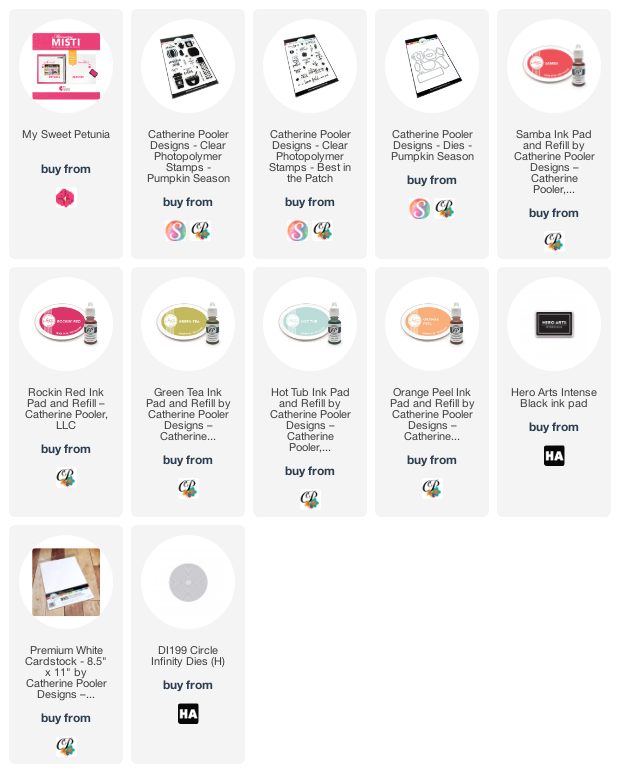
To make the card I used my MISTI to stamp the soup bowl, first in Samba red ink, then added Rockin' red on one side, blended with dauber tool to remove the harsh edges and stamped again to create "shadow". Next I die cut it and adhered to die cut white circle. Using masking paper I ink blended strips onto white panel. Once done, stamped the sentiment and assembled my card.
Hey card making friends, welcome back. Sandi here and I have a new video for you today sharing how I like to mass produce holiday cards with one of my favorite techniques and products - Nuvo Shimmer Powder.
It's a take on the Embossed Resist Technique with a fun and messy artistic result.
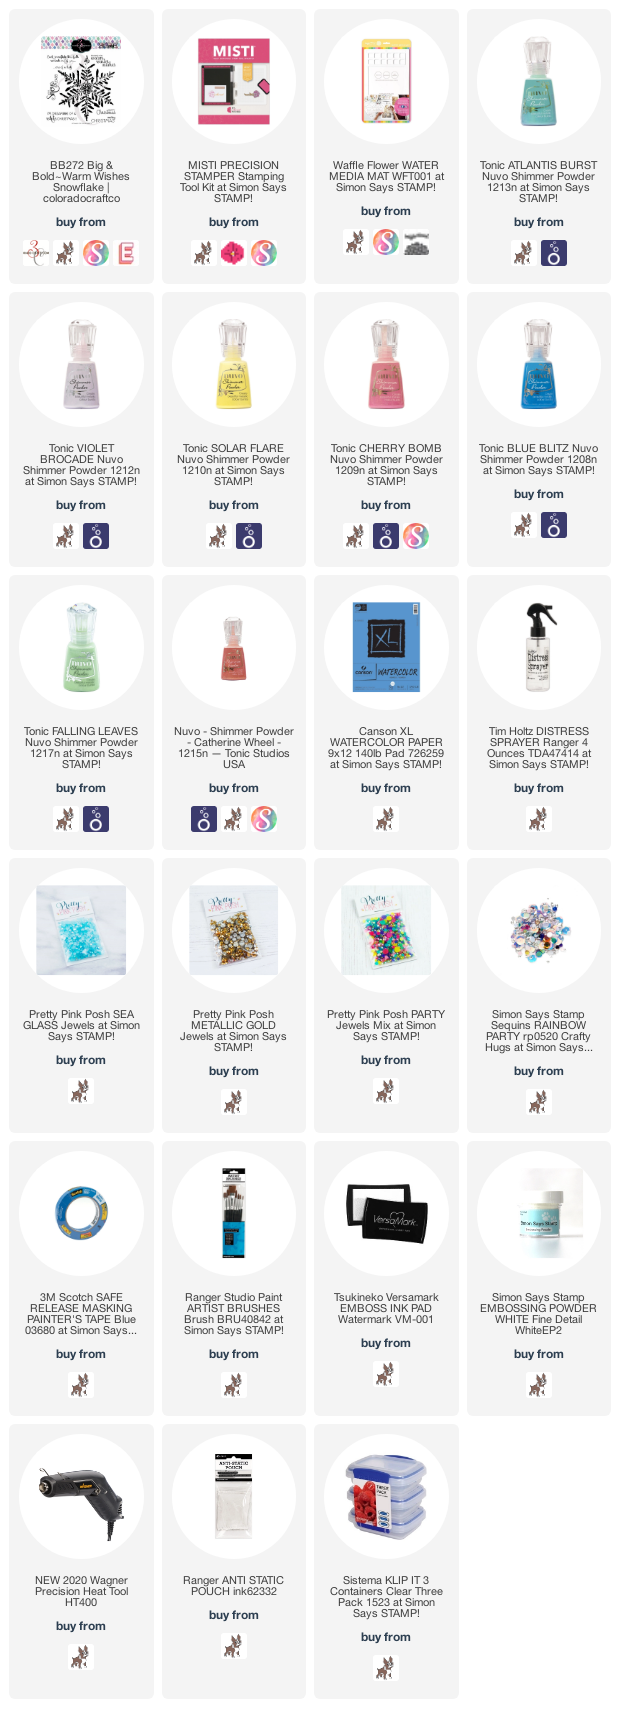
For today's video I'll be working with this fabulous "Wishes Snowflake" stamp from Colorado Craft Company and using my standard sized Misti to do all the heat embossing.
As I explain in the video, I like to cut up my watercolor paper to 4-1/4 x 5-1/2. Then I white heat emboss the image onto all the pieces, I think I used 11 for this round.
As this is a little messy, it's a great idea to get as many pieces ready as you can before you start and don't forget to set up some paper towel in a convenient and close location to set aside each one to dry.
I used painters tape to tape down each piece of embossed watercolor paper to a hard board too. This helps to keep the pieces flat, it also gives you something to hold onto while you work and move them around.
As you can see, the Nuvo Shimmer Powders come in beautiful colors. There is also a sheen in the pigment, so when dry, they are beautiful and shimmery too.
Here is my quick video walking you through the process I like to use for this technique, and then I quickly do 3 more color combos for you, before explaining quickly how to put the cards together:
Want to find the products I used? I have them listed below. Compensated affiliate links used at no cost to you.
Thank you for your support, it helps to cover my blogging and video expenses.
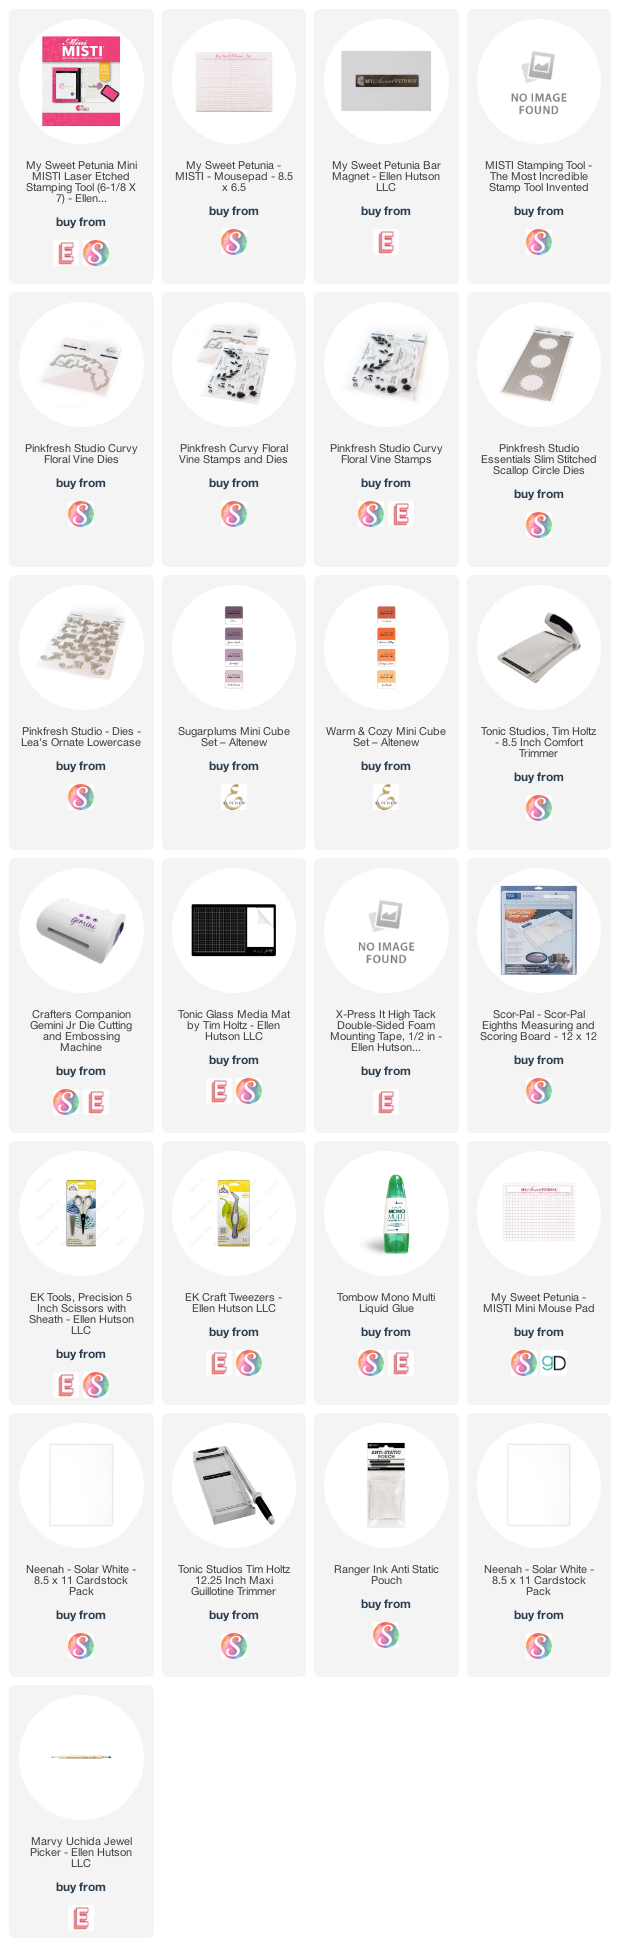
Hello friends! Today I’m over My Sweet Petunia Blog sharing this slimline card featuring the original MISTI and Pinkfresh Studios products.
Let’s begin! I started by die cutting the Slim Scallop Circle die out of gray cardstock and then I adhered a white folded slim notecard at the back using glue. Next, I die cut the Curvy Floral Vine Stamp die out of white cardstock. I placed the negative part inside my MISTI and the die cut in the negative space. I lined up and inked up my stamp and pressed firmly the stamp into the cardstock.
I repeated these steps until I finished with all the florals and arranged them around the scallop circles in my background. Additionally, I die cut three times the Leafy Branch die out of orange cardstock and added them next to each floral using glue.
I also die cut the word FALL using Lea’s Ornate Lowercase die set out of orange. The outline part of each letter was die cut out of white cardstock for more contrast.
Finally, each letter were added to my background using double sided foam tape and I put some iridescent jewels around.
I really hope you like this card and get some inspiration. Thanks for stopping by and have a fabulous day!
This is Susan on the blog today. I had so much fun using my Gel Press to make this card. I have the 8x10 Gel Press. I wanted to make a neutral background. So I used blue paint mixed with white applied to the top half of the plate. I applied Titanium Buff and Pebeo Silver to the bottom. I applied a stencil to the top and pulled my first print. I let remaining paint on the Gel Press dry. Once this layer was dry, I added a thin layer of titanium white and pulled a print which you see above.
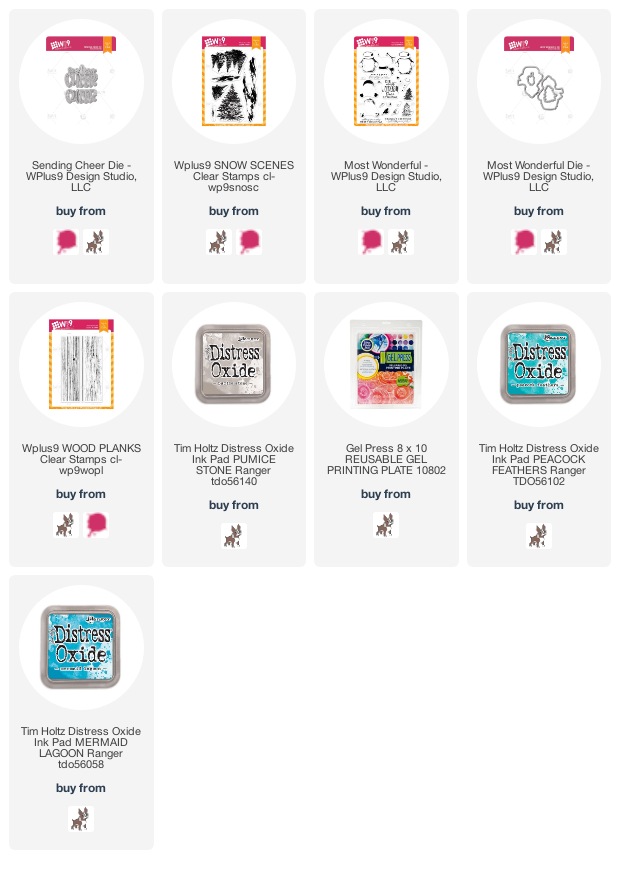
I then used W Plus9 Designs Snow Scenes and my MISTI to stamp the background. I used Evergreen Bough Distress Ink. I used my heat gun to heat set this. For the second layer, used my MISTI to line up the layering stamp. I stamped this with Versamark and then added Judikins White Diamond embossing powder.
Using my MISTI I stamped the large snowman from Most Wonderful. I used Distress Oxides for all stamping. I also stamped the little ground from Snow Scenes. I popped up my finished snowman with 3M foam tape.
For the background I used an A2 sized piece of Neenah Solar White and stamped the most distressed looking plank from Wood Planks with Pumice Stone Distress Oxide. I used my MISTI for stamping the background as I needed to shift the paper up as I stamped. For the sentiment, I die cut Sending Cheer from a green paper similar in shade to what I used in stamping. I cut it 3 times and stacked the layers using a liquid glue. I then adhered this to the main panel using liquid adhesive once again. A few sequins and I called it done!
Thanks for stopping by;
Susan
Products Used: I am using compensated affiliate links at no further cost to you. I purchased all products used in this project.
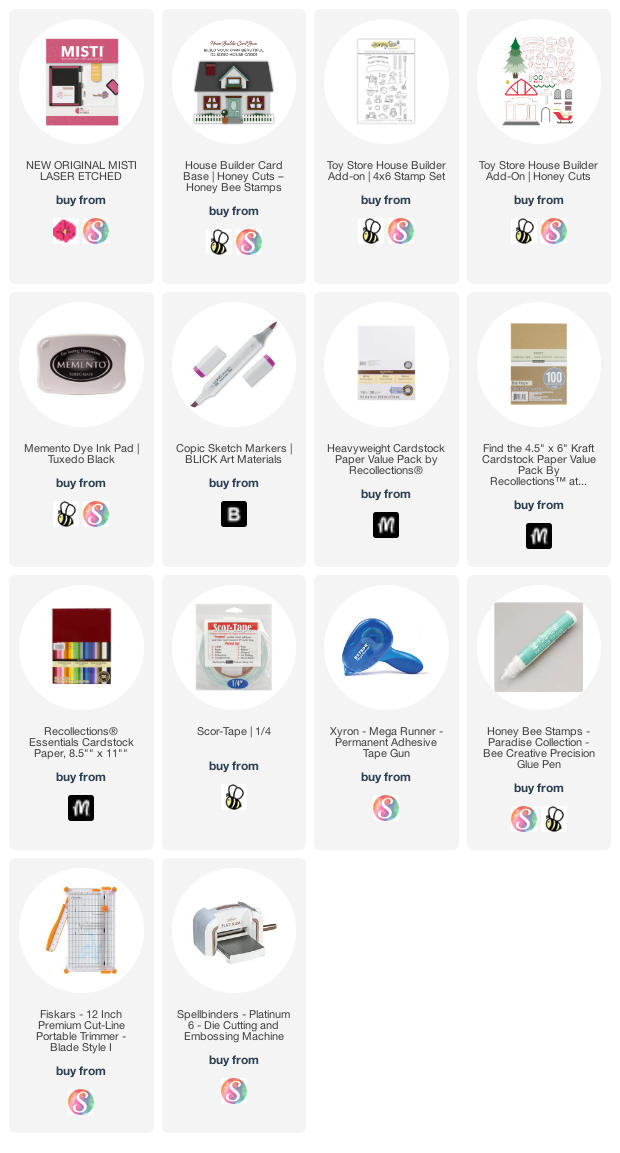
Hello friends! It's Channin here and today I have a festive holiday card to share! Today’s card features the classic and super fun House Builder Dies and the new Toy Store Add-on stamps and dies all from Honey Bee Stamps!
To create this card I first die cut the card front, back and hinge out of heavy weight white cardstock using the House Builder Dies. I then adhered the card front and back together using the hinge and scor-tape. Next, I die cut another house front out of light green cardstock and a roof out of kraft and then adhered them both to the card front. I then used some shrub dies from the House Builder Die set to make snow and then adhered the snow to the base of the roof and the store.
Next, I die cut windows and window frames out of white and dark brown cardstock. I then taped the windows onto the MISTI mouse pad and stamped several toys from the Toy Store House Builder Add-on Stamp Set. I used several masks to create the illusion of depth and make some of toys appear to be in the background. Next, I stamped lights, columns, and more toys onto white cardstock, then copic colored all the images, and then die cut them out (except for the images on the windows) with the matching dies from the Toy Store House Builder Add-on Die Set.
I then die cut the store front, sign, door, chimney, wreath, garland, and pine trees out of white and colored cardstock using the Toy Store House Builder Add-on Dies. Next, I stamped “North Pole Toy Co.” onto the store sign and then finished the card by adhering all the die cuts as well as my colored images to my card front.
I hope you enjoyed my card! Thank you so much for stopping by!
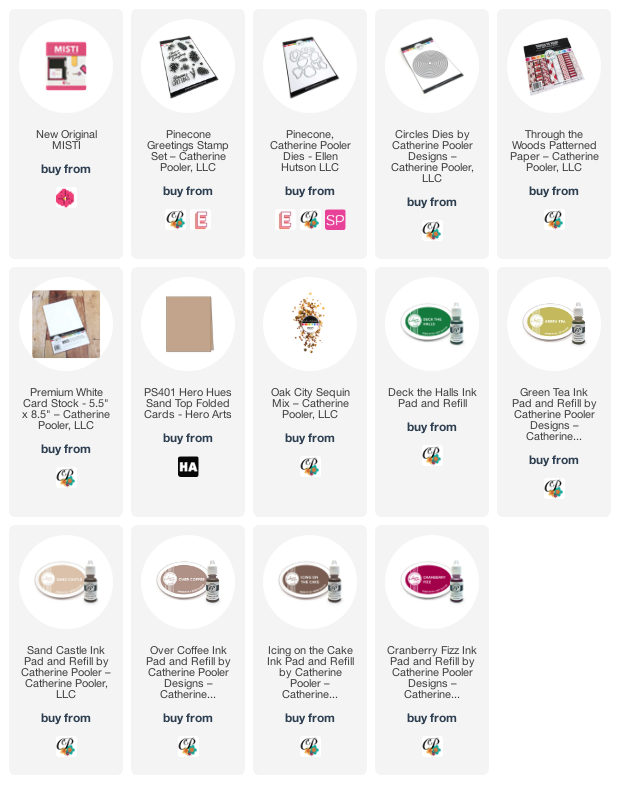
Ilina here. Today I am sharing a card using the Nordic Wood Release from Catherine Pooler designs.
I am using the new Pinecone Greetings stamp set along with the coordinating dies and the new Through the Woods patterned paper pack.
To make the card start by die cutting all the elements you want stamped. Use the negative to position in your MISTI, position the stamps to fit in the negatives. Stamp each image and use different inks to create more dimension and depth.
Die cut a circle from white card stock and stamp sentiment. Cut piece of patterned paper and arrange all the elements. Add few Oak City sequins. Adhere to Sand note card :)
It's Ceal here for today's edition of Team Tuesday.
First up let me announce our winner from the collaboration bloghop with Dare 2B Artzy. Drum roll please, the $20 gift card winner to the My Sweet Petunia shop is....
Mary-Ann V
Be sure to contact info at my sweet petunia. com to claim your prize. The sale code Fall10 is still active until Novenmber 8th so feel free to shop at both shops using that code for 10% off your order.
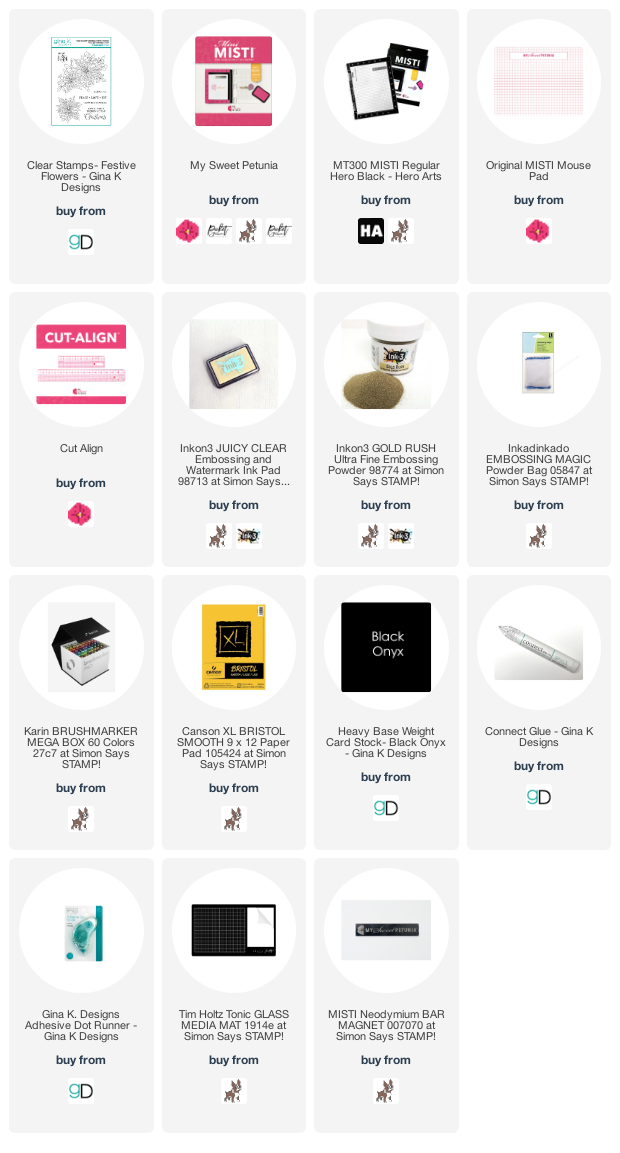
Now for the deets on my card. I used the Fresh Flowers stamp set illustrated by Arjita Singh for Gina K Designs from her latest release. I received this in the mail yesterday and had to immediately ink it up because it's so gorgeous.
I started with a top folding piece of bristol cardstock, a black panel and a bristol panel. I placed the poinsettia image in the Misti and inked it using embossing ink and embossed it with gold embossing powder. I pretty much use the Misti with every card I create, but I always, always use the Misti when I am embossing ot watercoloring becuase of the texture of the cardstock. I used Karin Markers to watercolor the image and then added some gold splatters as well. The sentiment is also from the same set. I embossed it with gold embossing powder and adhered it to a black strip of cardstock, I used the Cut-Align to help cut the strip to the correct size.
Below you will find links to the products used. Click the picture to start shopping. Compensated Affiliate links are used at no additional cost to you. Your support helps me to keep bringing you new projects and I appreciate that so much!