Tuesday, September 27, 2022


Hey cardmaking friends and welcome back. It's Sandi MacIver here and today I have 3 cards to share with you created with the NEW Spellbinders Christmas Pups Stamp and Die set.  

This stamp set is adorable and I chose it because of the sweet corgi of course.   I decided on clean and simple for today's cards playing up the fun sentiments in the set.

PLEASE NOTE: This post contains affiliate links. See below for my full disclosure

  handmade christmas cards with little doggies created with new card making supplies from Spellbinders 

 I also decided on a white card to showcase these sweet little pups and to really make them pop off the card. 

The Christmas Pup images we all colored with copic markers: Green:  YG03, YG17, Red:  R20, R35, R46, Brown:  E31, E35, E57, Gray T1, T3, T5  Corgi:  YR21, YR14, YR24

  handmade christmas card with puppies and a die cut base created with new card making supplies from Spellbinders

Spellbinders Christmas Pups Card #1

Start by die cutting the 4 x 5-1/4 card front with the Winter Borders Tinsel Time Collection die. 
Next, place a Peridot colored mat behind it and a strip of red cardstock along the top.
Finally, attach it to a side folding A2 white card base. 
Use the Misti to stamp all the images in black ink and then color with copic markers.
Next, cut them out with the coordinating dies. 
Place the card back into the Misti to stamp the sentiment in the center front. 
Finally, use foam squares to attach the pups and other embellishments.
 
  Handmade christmas card with a corgi in a frame created with new card making supplies from Spellbinders

Spellbinders Christmas Pups Card #2

Start by embossing the 4 x 5/14" white card front with the Holly Flourish embossing folder.  This carries the holly theme from the first card to the next two cards.
Next, attach the card front to the top folding A2 white card base. Use the Misti to stamp the corgi, color and cut out with the coordinating die. 
Next, die cut the oval frame from the Special Pet Delivery Die set in Peridot and attach to the card front with the corgi in the center. 
Finally, stamp color and cut out the two Christmas ornaments and add them to the top of the frame. Finish with a red and white striped bow. 
Use the Misti to stamp the sentiment in VersaMark ink onto a scrap of black cardstock.  Emboss with gold embossing powder.  Trim and add to the card front under the frame.

  hand made christmas card with a dachshund created with new card making products from Spellbinders

Spellbinders Christmas Pups, Card 3

The steps are identical for card 2 just a different dog and embellishments. 
I love the punny sentiments in this stamp set, so add the Dachshund Through the Snow for this one. Finally, embellish, with some Red Color Essentials Gems. 
 That's it for my share today, hope you liked the cards. 


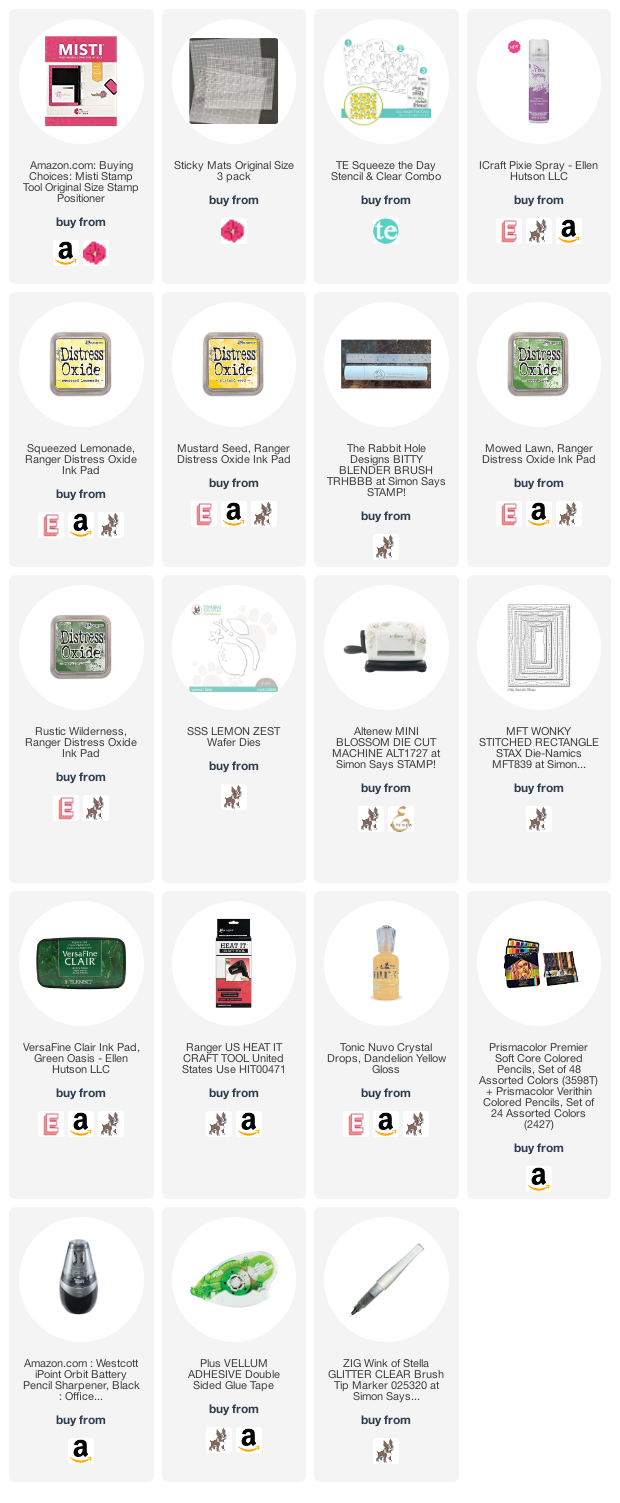
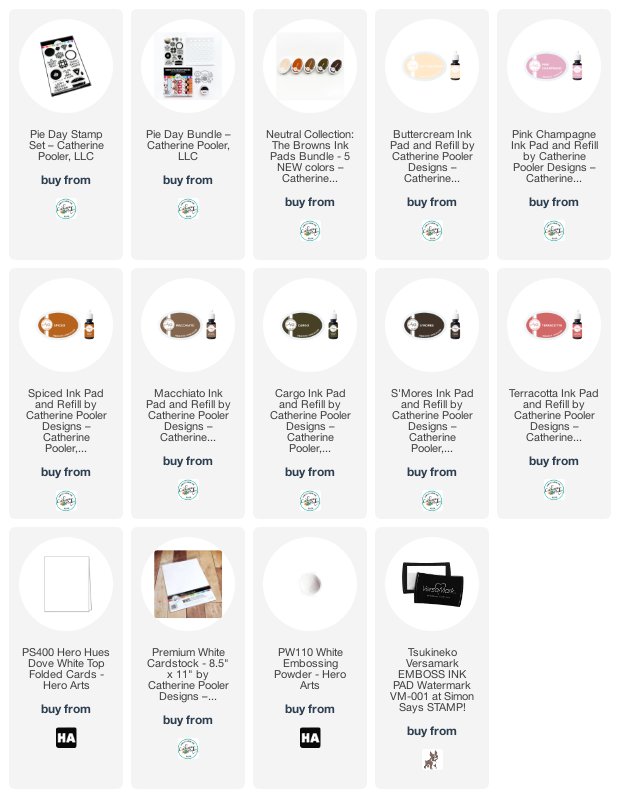
Card Making Supplies used for the Spellbinders Christmas Pups cards:

Here are the products I used today.  Compensated affiliate links used  where available at no cost to you. Clicking on a thumbnail link and shopping supports my website and allows me to continue bringing you new projects and videos.  Thank you for your support.   As always, I was not paid to do this post.  I only use and recommend products I love.  Click on the icons below each product picture to go to my favorite stores.


      MY SWEET PETUNIA

My Sweet Petunia has a brand new sleek BLACK MISTI .

The Misti is my most used took in my craft room, and now available in Black - woo hoo - Mine is on it's way

Shipping this week from MY SWEET PETUNIA


Tuesday, September 20, 2022

MISTI Rescues a Dry Ink Pad


Hello and welcome to Team Tuesdays! My card today features my MISTI along with my Karin Markers. I loaded the stamps from RevProerse Confetti Poinsettia onto the MISTI door and triple stamped them with Versamark Ink onto Canson XL watercolor. Why did I have to stamp three times onto a relatively smooth paper? Because I let my Versamark Ink pad dry out and there was no reinker here at home. In fact, I had two dry Versamark pads. However, I was able to overcome this by using my MISTI. The stamps were aligned on the door already and the sticky pad and magnets were holding the paper. It was easy to "ink up" the stamps three times so that I could heat emboss the images with white embossing powder.

Once this was done, I used my Karin markers to color in the poinsettia and the holly leaves and berries. I also stamped Happy Holidays from Joyful Holiday Wishes. With the MISTI I was able to stamp on paper that been through my paper crimper. The sentiment came out quite crisp despite the crimped paper.  Almost anything can be done with the MISTI!

Thanks for stopping by;

Susan

Products Used: I am using compensated affiliate links at no further cost to you.

My Sweet Petunia Shop

Standard MISTI

Sticky Pad

MIS_T 

Creative Corners

Reverse Confetti

Poinsettia

Stitched Burst Cover Panel Confetti Cut

Joyful Holiday Wishes

Thursday, September 15, 2022

MISTI and Watercolor Paper

I had fun this week painting a pumpkin patch scene for Watercolor Wednesday.  So, I thought I would grab a stamp and paint a Fall scene for this blog post. Stamping on watercolor paper is just one of MISTI's superpowers.  Another MISTI superpower is stamping silhouettes, and on rough watercolor paper at that!  Simply place the watercolor paper in MISTI, stamp, and repeat as many times as needed for a rich dark perfect impression!


Thanks for stopping by!

**Affiliate links used with no charge to you!**


Wednesday, September 14, 2022

Thinking of You


Hello everyone! Anna here! The tag I’m sharing today was made using the Voodoo Doll die set and Voodoo Doll Sayings stamp set, both recently released from Impression Obsession. Once I had the Stitched Tag die cut and added details of faux stitching with the Border Stitches die set, I placed the tag in my Mini MISTI so I could stamp the sentiment nice and straight. 

Using the Mini MISTI saves me so much time, and keeps me from wasting paper due to poor stamping, or having to “creatively cover” mistakes when I stamp a sentiment crooked.

I created a video showing how I made this cute tag. Check it out!


Saturday, September 10, 2022

Lemon, I love you!


 OMG, I need to work on my photography.  I am still trying to figure it out.   

As soon as I saw these supplies, I had to buy them.  My niece, Olivia, is nicknamed Lemon.  She just moved out on her own.  While shopping, I found her a lemon apron, spatula, oven mits, and tea towels.  I though these supplies would be perfect to make her a card.  

I already gave her the card and she loved it!!!

I will keep this short..... here is the video.  Affiliate links to supplies used are listed below.


Affiliate links to supplies used:

Wednesday, September 7, 2022

Happy Birthday Sweetie Pie

Hi everyone!
Ilina here! I am excited that we are heading into fall and pie season, which for me means cooler weather. You may think it's a blasphemy, but I am not really a pie person in real life. I love pies on my cards, but not so much eating them. 
When I saw Catherine Pooler's set Pie Day I knew I had to have it. 
I used my MISTI to create a pattern of pies on an A2 white cardstock panel. Once I was done I trimmed it to 4" x 5 1/4" 
Next, stamped sentiment on brown cardstock and embossed it in white. Trimmed it to size and using foam tape added it to my panel. Next I added some Mazaltan sequins and adhered the panel to a top folding white note card. I was done!!! 
Scroll down for list of supplies (affiliate links may be used at absolutely no cost to you!)

 SUPPLIES (affiliate links may be used at no cost to you)

Tuesday, September 6, 2022

Team Tuesday with Altenew


Hello and welcome to Team Tuesday.  It's Ceal, here. 
Today I am sharing a card using some Altenew products. 
When I think Altenew I automatically think Misti, matter of fact Altenew was the stamp company that made me "need" a Misti. I was in love with their floral layering stamp but for the life of me even though they were clear I could not line them up properly.  
My card today doesn't use any layer stamps but it uses a layering stencil and they are so much easier to use with a Sticky Mat.
I started with a top folding white card base and a white panel cut to the same size. 
I placed the panel down on the sticky mat and then placed the stencil over it. The stickiness of the mat holds down both the cardstock and the stencil and with it being a layering stencil I used the grids to help me line it up, so easy. 

Our team uses affiliate links and the products I used are linked below, I appreciate you using these links when you shop. 


Below you will find links to the products used. Click the picture to start shopping. Compensated Affiliate links are used at no additional cost to you. Your support helps me to keep bringing you new projects and I appreciate that so much!  

Thank you! 

Saturday, September 3, 2022

Rainbow Thank You Card


I am doing my best to post one card a week.  This goal has made me feel quite productive.  However, at this rate I will never get through using all my stash.  Unfortuantely, the MFT Whimsy Rainbow is no longer available because I didn't use it right away.  I listed a different rainbow in the supplies list.  However, I am sure you can find something similar in your stash or from a differnt brand.

Here is the video, hope you enjoy.  Thanks for stopping by!


Affiliate links to supplies used: