Tuesday, August 30, 2022

Misti Sticky Mats and Clean and Simple Cards


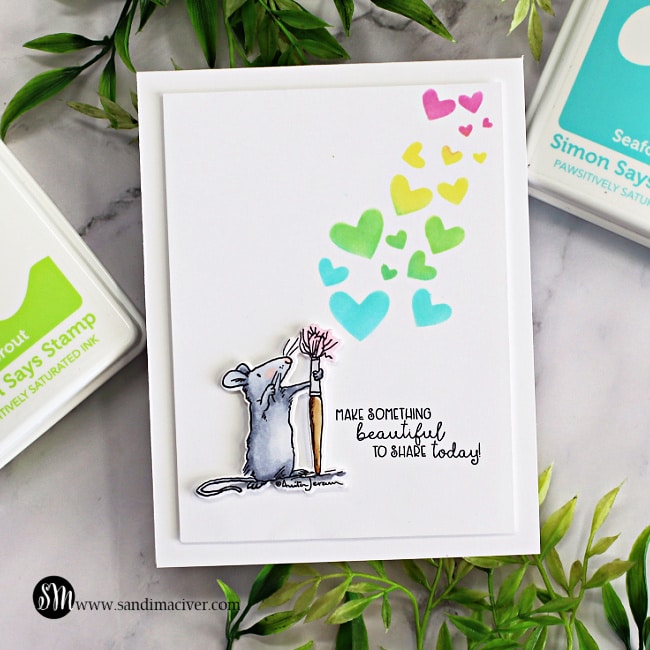
Hey cardmaking friends, welcome back. It's Sandi MacIver here and today I'm using the Misti Sticky Mat inside my Misti to create these two Clean and Simple cards.

For today's cards (yes there are two), I dug around in the "Purchased but not used" products and came up with 4 items to use.  Two of the cutest Colorado Craft Company stamps, little Mini Anita Jeram stamps, Be Creative Mini and Ice Cream Day Mini. 

Because these stamps are small, I need something for the background to balance out the images.  I chose Simon Says Stamp stencils, Fading Hearts and Geometric. 

These are super clean and simple cards and each took less than 10 minutes to create.  If you are new to stamping, or just have a few minutes to create a little masterpiece for a friend, these fit the bill.

PLEASE NOTE: This post contains affiliate links. See below for my full disclosure

Measurements for both cards:

All in Hammermill White Cardstock.
Card Base 4-1/4 x 11, score and fold at 5-1/4 (A2 top folding card) 
Card front:  3-3/4 x 5 - by cutting this down, you make the art piece appear bigger on the card. 
Art Piece 2 x 2.

  craft your stash 3 handmade cards with small mice and a stenciled background using card making supplies from Simon SAys Stamp and Colorado Craft Company

Products Used for today's cards

Be Creative Mini 

craft your stash 3 handmade cards with small mice and a stenciled background using card making supplies from Simon SAys Stamp and Colorado Craft Company

Craft Your Stash 3 Card #1

Start by placing the 2 x 2 piece of white cardstock inside the Misti on the Sticky Mat. 
Next, ink with the Intense Black Ink 
Then, color the image with Copic Markers and Cut out with the coordinating die. 
Next, place the card front into the Misti on the Sticky Mat.  Dry fit the art piece in the bottom left corner just to help with placement of the other elements. 
Next, stamp the sentiment in black ink. 
Then, lay the Fading Hearts Stencil over the piece.  
NOTE; the sticky mat will hold your stencil in place for you while you work. 
Next, use Simon Says Stamp Inks and small blending brushes to ink up the hearts in:  Carnation, Seafoam, Lemonade and Sprout 
Attach the card front to the top folding A2 card base with foam tape 
 Finally, use small foam squares to attach the little mouse art piece in the bottom left corner.

  craft your stash 3 handmade cards with small mice and a stenciled background using card making supplies from Simon SAys Stamp and Colorado Craft Company

Craft Your Stash 3 - Card #2

The steps are the same for card 2.  
Just change out the stencil to the Geometric one. 
Color the ice cream with copic markers and then apply Glossy Accents over the ice cream part to make it shiny. 
 Copic Markers Used: Gray:  No, N1, N3, N5, N7  Pinks:  R81, R83, R85  Browns E31, E35, E57


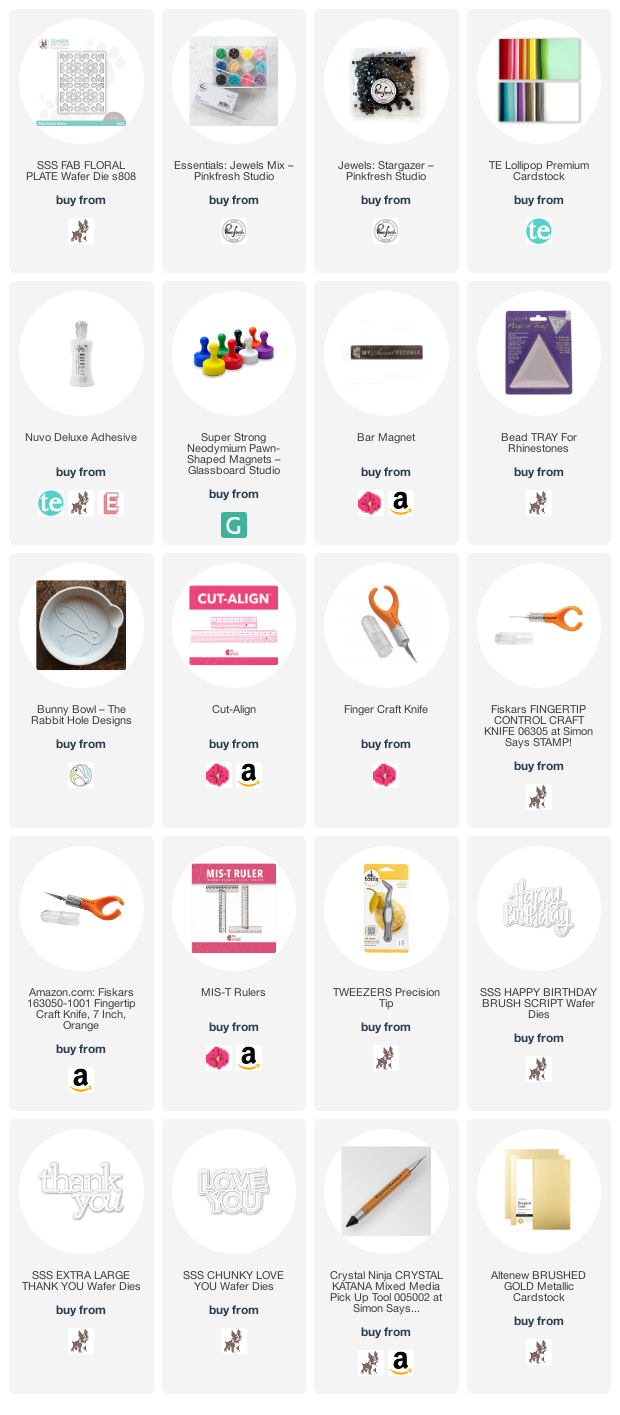
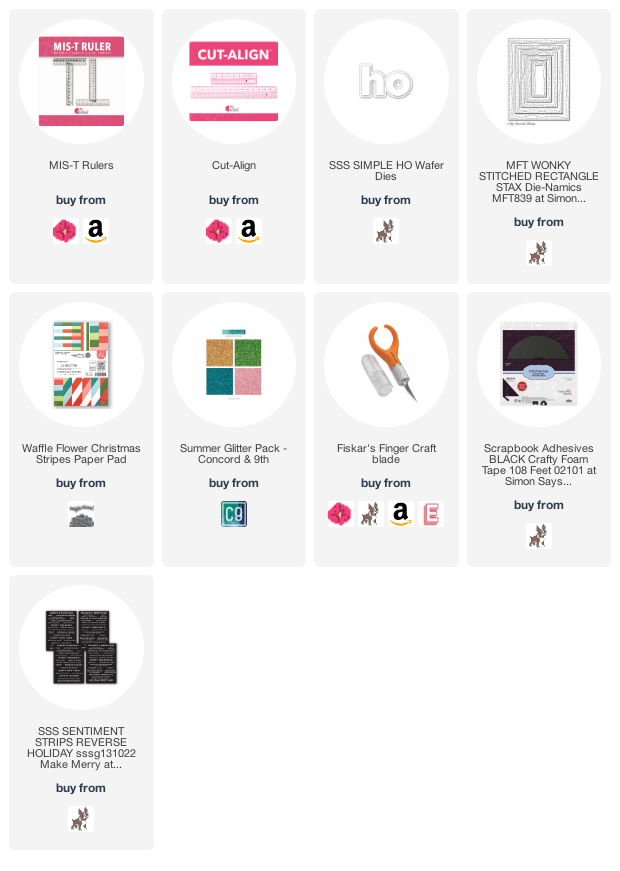
Card Making Supplies used:

Here are the products I used today.  Compensated affiliate links used  where available at no cost to you. Clicking on a thumbnail link and shopping supports my website and allows me to continue bringing you new projects and videos.  Thank you for your support.  Affiliate and product disclosure are found on my disclosure page.  All products were personally purchased for today's projects.  As always, I was not paid to do this post.  I only use and recommend products I love.  Click on the icons below each product picture to go to my favorite stores.      
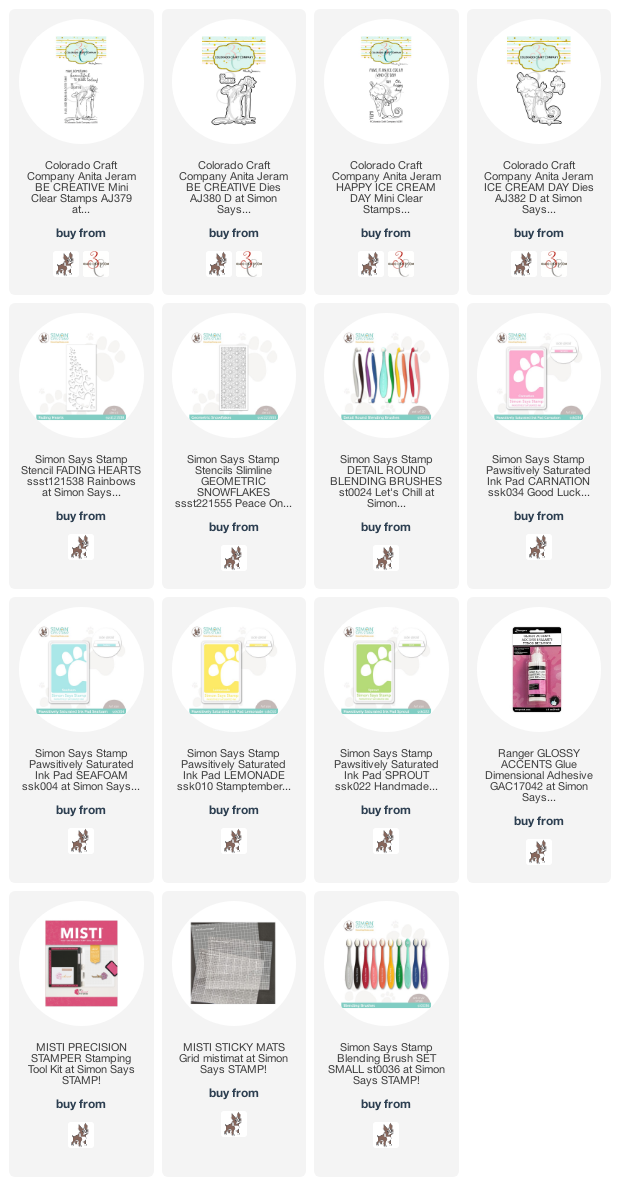
Saturday, August 27, 2022

All About Rulers


Believe it or not, I made a card without my MISTI.  I relied on my Mis-T Ruler and Cut-Align for my cards.  The grid lines make the Mis-T Ruler invaluable.  

I used the lines to mark where I wanted my first die cut to go.  Then I repeated the same for the bottom.


The ability to use the Mis-T Ruler to line things up like this is one of the reasons I made it almost flat.  There is a little bit of a ridge to catch on to the edge of paper but the fact that it is almost flat lets you use it in several ways.  It also fits inside the MISTI.

Please enjoy the video


Affiliate links to supplies used:


Thursday, August 25, 2022

CAC + Sticky Mats = Alignment Happiness

**Affiliate links used when possible at no cost to you** 

Hello, Angie here today!  I love Cover- A-Card stamps (6 x 6 stamps).  However, CACs can be difficult to align and stamp with just one inking.  MISTI Sticky Mats to the rescue!  I place the Sticky Mat in the MISTI then I place the cardstock on the mat just one grid line away from the edge.  I place the stamp at the edges of the MISTI and then close the lid to pick up the stamp.  The image can be stamped as many times as needed to get full coverage.  The paper doesn't move even when restamping multiple times!  Once the stamping is finished, simply push the mat away from the paper, and the paper will peel away.  (See the how-to photo below the project)  

I like to leave the main image stamp in the New Original MISTI and use a Mini MISTI for the sentiment.  It is a time saver to have everything already set up on the MISTIs if something goes wrong before the card is completely finished!


Pardon the mechanic hands the photographer needed an assistant.  :)  The thumb on the left is pressing the sticky mat away from the paper.  

Thanks so much for stopping by!  


My Sweet Petunia Shop


Impression Obsession


Wednesday, August 24, 2022

A Batty Halloween


Hello everyone! My name is Anna and I’m new to posting on the MSP blog. I hope you love my creative shares! The card I’m sharing today was made using the Batty Halloween stamp set, recently released from Impression Obsession. I don’t really care for bats up-close-and-personal, but these bats are rather adorable! I used my Mini MISTI to stamp the bats and sentiment on a small piece of watercolor paper. Using the Mini MISTI allowed me to stamp the bats several times on the heavily textured watercolor paper and get a nice, crisp impression. The Mini MISTI also allows me to comfortably work on my desk without having to clear off more space…. I’m not sure how my workspace manages to work its way down to about 12” of actual working space, but it does!

I created a video showing how I made this cute Batty Halloween card, as well as another simple watercolor card that also features use of the Mini MISTI. Check it out!

Thanks for joining me here today! I will be back again soon!

Tuesday, August 23, 2022

MISTI for Partial Stamping and A Blizzard


Hello and welcome to My Sweet Petunia Team Tuesdays! Today we have rather an odd card: we are only stamping partial images. My chicken family from the Ink Blot Shop is struggling in some snow. To make the snow I followed an older blog post from Sandy Allnock, the Queen of Copic Coloring, located HERE. This is a very useful technique to have in your Copic or alcohol ink markers toolbox. Using this you can create smoke, blowing snow and blowing dirt amongst other things. 

However, you will need a MISTI. First I placed each chicken where I wanted it on the card panel and picked it up with the MISTI door. I very carefully inked only part of the image with Memento Tuxedo Black. I did this to give the image the appearance of being deep in the snow. I very carefully stamped a couple of the images closely together with my MISTI. 

After stamping the images, I carefully colored them in minding the cutoff points for each image. I then used Sandy Allnock's technique to develop the snow. 

Thanks for stopping by! Get your MISTI out and have some snowy fun!

Susan

Products Used: These links take you directly to My Sweet Petunia or Ink Blot Shop. I am using compensated affiliate links at no further cost to you.

My Sweet Petunia Shop

Standard MISTI

Sticky Pad

MIS_T 

Creative Corners

Ink Blot Shop

Farm Yard Friends


Saturday, August 20, 2022

Fab Floral Card Set


Happy Saturday!!!!!  I meant to post this card last Saturday.  However, sometimes life interferes and things get delayed.

I had so much fun making this set of cards.  I die cut all my pieces with the Fab Flower Die plate.  Then I binge watched a television show and went to card making mode.  

Please enjoy the video and enjoy weekend.


Affiliate Links to Supplies Used:


Tuesday, August 9, 2022

Ink Blending, Silhouettes and Sticky Mats


Hello and welcome to Team Tuesday! 
It's Ceal, here and today I am sharing a sympathy card made with a couple of sets by Gina K Designs. 
Sympathy cards can be very hard to create because of the nature of the card itself.
The Summer Silhouettes set by Gina K to me makes a pretty sympathy card, in fact I think any floral silhouette would make a pretty sympathy card. 
To make this card I started with a top folding white card base and a white panel.
I got out my Original Misti and a sticky mat that I have designated for ink blending. 
When you order the sticky mats you get three in the package and I have one of them that I ink blend on because it holds your paper and you don't have to worry about inky fingers. 
I placed the blended panel in the Misti and stamped the silhouette. I always use the Misti for silhouette stamping because if I used a block there is no way I could line it back up to stamp it again if I needed to, which is usually the case because of the blending.
To finish the card I added the sympathy greeting from the sympathy and love set also by Gina K. 

I have linked all the products below using compensated affiliate links at no extra cost to you. 


Below you will find links to the products used. Click the picture to start shopping. Compensated Affiliate links are used at no additional cost to you. Your support helps me to keep bringing you new projects and I appreciate that so much!  

Thank you! 

Saturday, August 6, 2022

You Are the Sweetest


 Mixing new and old supplies is always a great feeling.   So please forgive me if you can't buy the pattern paper.  Today, I have a really easy and fast card.   I used the new Simon Says Stamp Soft serve die with an older Altenew Sweetest Pea stamp set.  Let's not forget the classic MFT Wonky Rectangles.


I love the combination of the Concord & 9th glitter cardstock with Stickles.


Here is the video showing how I made this card.


Affiliate links to supplies used:

Thursday, August 4, 2022

A Busy MISTI!

My MISTI & accessories have been getting a workout lately! I am getting a head start on the holiday rush, let me share what I have been up to!  

First, I love using the MISTI to watercolor stamped images.  For me, it's the only way to watercolor a stamp; the textured paper requires multiple stampings in order to get a full impression.  I always keep the image stamp in an Original MISTI until the project is completed.  After all the layers are glued to the card base I place the card in my MINI MISTI to stamp the sentiment.  Have you ever stamped your sentiment and then glued your layers onto the card base, only to realize that you glued your layer on a bit crooked?  Me too!  Stamping the sentiment AFTER the layers are all in place helps ensure the sentiment is on straight.  


For my next card, I created my own designer paper by stamping images randomly on a piece of cardstock.  I placed the cardstock on a Sticky Mat in the middle of the MISTI.  The Sticky Mat held the layer fast so that I could stamp all over and past the edges of the cardstock with perfect alignment.   


Lastly, and maybe my favorite card is this one!  I placed the adorable kitty image in the middle of the MISTI lid and stamped it.  Then I moved the paper until the wall lines on the image met.  I had a smile on my face the entire time, it was such a hoot to create!  My own two cats inspired the design.  Rocket (Rocky) definitely regrets nothing as he leads his quiet brother into mischief!


Thanks so much for taking a look at the amazing way the MISTI & tools make creating a breeze!  

**Affiliate links used when possible at no charge to you!  Thanks for supporting my small creative business**

Today's Featured Items:

My Sweet Petunia Shop


Misc Stamps & Dies


Tuesday, August 2, 2022


Hi cardmaking friends and welcome back.  It's Sandi MacIver here and today I'm sharing a card created with the Spellbinders August Clear Stamp and Die Club kit.  This month's "Perfect Floral Bloom" Clear Stamp Set and Coordinating Die set is perfect for making cards, decor and more.  

A Misti is super helpful with the stamping as many of the images are two step, or two layers.  Stamping the layers in different shades of the same color also helps to add depth to the image.  

The coordinating dies make it super quick and easy to pop them out so you can start your floral arranging.   

Ok, so don't fall over in amazement, I'm trying another new color scheme today, haha.  A little peachy/pink floral and greeny/blue foliage, and I really like it.  

      The background in today's card is created with the Embossing Club of the month folder "Intertwined Lattice.  This is a 5.5 x 8.5" folder with a repeating design.  The size allows you to create a pretty background for almost any size card you wish to make from a mini slimline all the way up to a 5 x 7 and long enough for a slimline card as well.  


The background in today's card is created with the Embossing Club of the month folder "Intertwined Lattice.  This is a 5.5 x 8.5" folder with a repeating design.  The size allows you to create a pretty background for almost any size card you wish to make from a mini slimline all the way up to a 5 x 7 and long enough for a slimline card as well.

How to create the Spellbinders August Clear Stamp and Die Club Card:

Note:  I'm using Simon Says Stamp Pawsitively Saturated Inks today:  Leaves:  Tidepool, Tropic and Aegean, the peach is:  Cheeky, Blush and Pucker. 

Start by placing a 4 x 5-1/4 piece of white cardstock into the Misti on the Sticky mat.  Lay down the three leaf solid image stamps, ink and stamp with Tidepool. 

Next, remove the cardstock and place another piece in and repeat. 

Then, clean and remove the stamps, lay the stem stamps over the stamped images.  Close the Misti to adhere the stamps to the lid.  Open the Misti, ink the stamps with Aegean ink and stamp.

Finally, switch out the card stock and repeat.

  Spellbinders August Clear Stamp and Die Club

Creating the Flowers

Start by placing the two floral image stamps onto the white cardstock, close the Misti lid to secure them to the lid, open and Ink with Blush and Cheeky ink. Flip the card stock around and repeat. Next, clean and remove the stamps and replace them with the flower center stamps.  Ink and stamp these in Pucker.

Then, use the coordinating dies to cut all the pieces out.  Lay them down on the work surface in two bunches. 

 Meanwhile, use the Intertwined Lattice embossing folder to emboss the 4 x 5-1/4" white card front and attach to a 4 -1/4 x 5-1/2 piece of Blue Spruce Cardstock. 
 
Attach this to a A2 sized top folding card base. 

 Use Press & Seal to pick up the two bouquets you created, flip them over and add foam squares to the back before attaching them to the card front. 

TIP - ensure you have left enough room in the middle for the sentiment.
 
Next, die cut the Cheers sentiment using the Small Die of the Month Club kit "Outlined Sentiments" and attach to the center of the card. 

Finally, embellish with Silver Color Essentials Gems. 

This is a super fun and easy stamp and die set to play with and would look great in many different color variations. 


Card Making Supplies used for the Spellbinders  August Clear Stamp and Die Club card:

Here are the products I used today.  Compensated affiliate links used  where available at no cost to you. Clicking on a thumbnail link and shopping supports my website and allows me to continue bringing you new projects and videos.  Thank you for your support.