Tuesday, November 29, 2022

Team Tuesday Twofer


Hello crafty friends!
It's Ceal, here for today's edition of Team Tuesday.
I have a twofer to share with you today. I created both cards using a Turnabout plaid stamp and another set by Concord & 9th which are linked below. 
Our teams uses affiliate links at no additional cost to you.

To make my cards I started with white top folding card bases cut to A2 size. For the top card I used a kraft panel but used the same colors as I did in the card below. You can see how different they look just with different colored bases. 
To create the background on the first card, I placed my panel of kraft cardstock and the Turnabout stamp in the Teal Misti 2.0 and stamped/turned 4 times in the following colors, Sea Glass, Grapefruit, Stardust and Sprout. I added some gold lines and white lines using the Mis-T ruler.

 For the second card after I created the background the same way in the same colors but on a white panel instead of kraft. I used the dies from the All the Merries to cut the tree, star and ornaments out of some gold glitter paper. 


Tuesday, November 22, 2022

How to Multi Layer Stamp with the Misti


Hi cardmaking friends and welcome back.  It's Sandi MacIver here and today's card making video tutorial is Multi Layer Stamping with the Misti and mass producing Christmas Cards. 

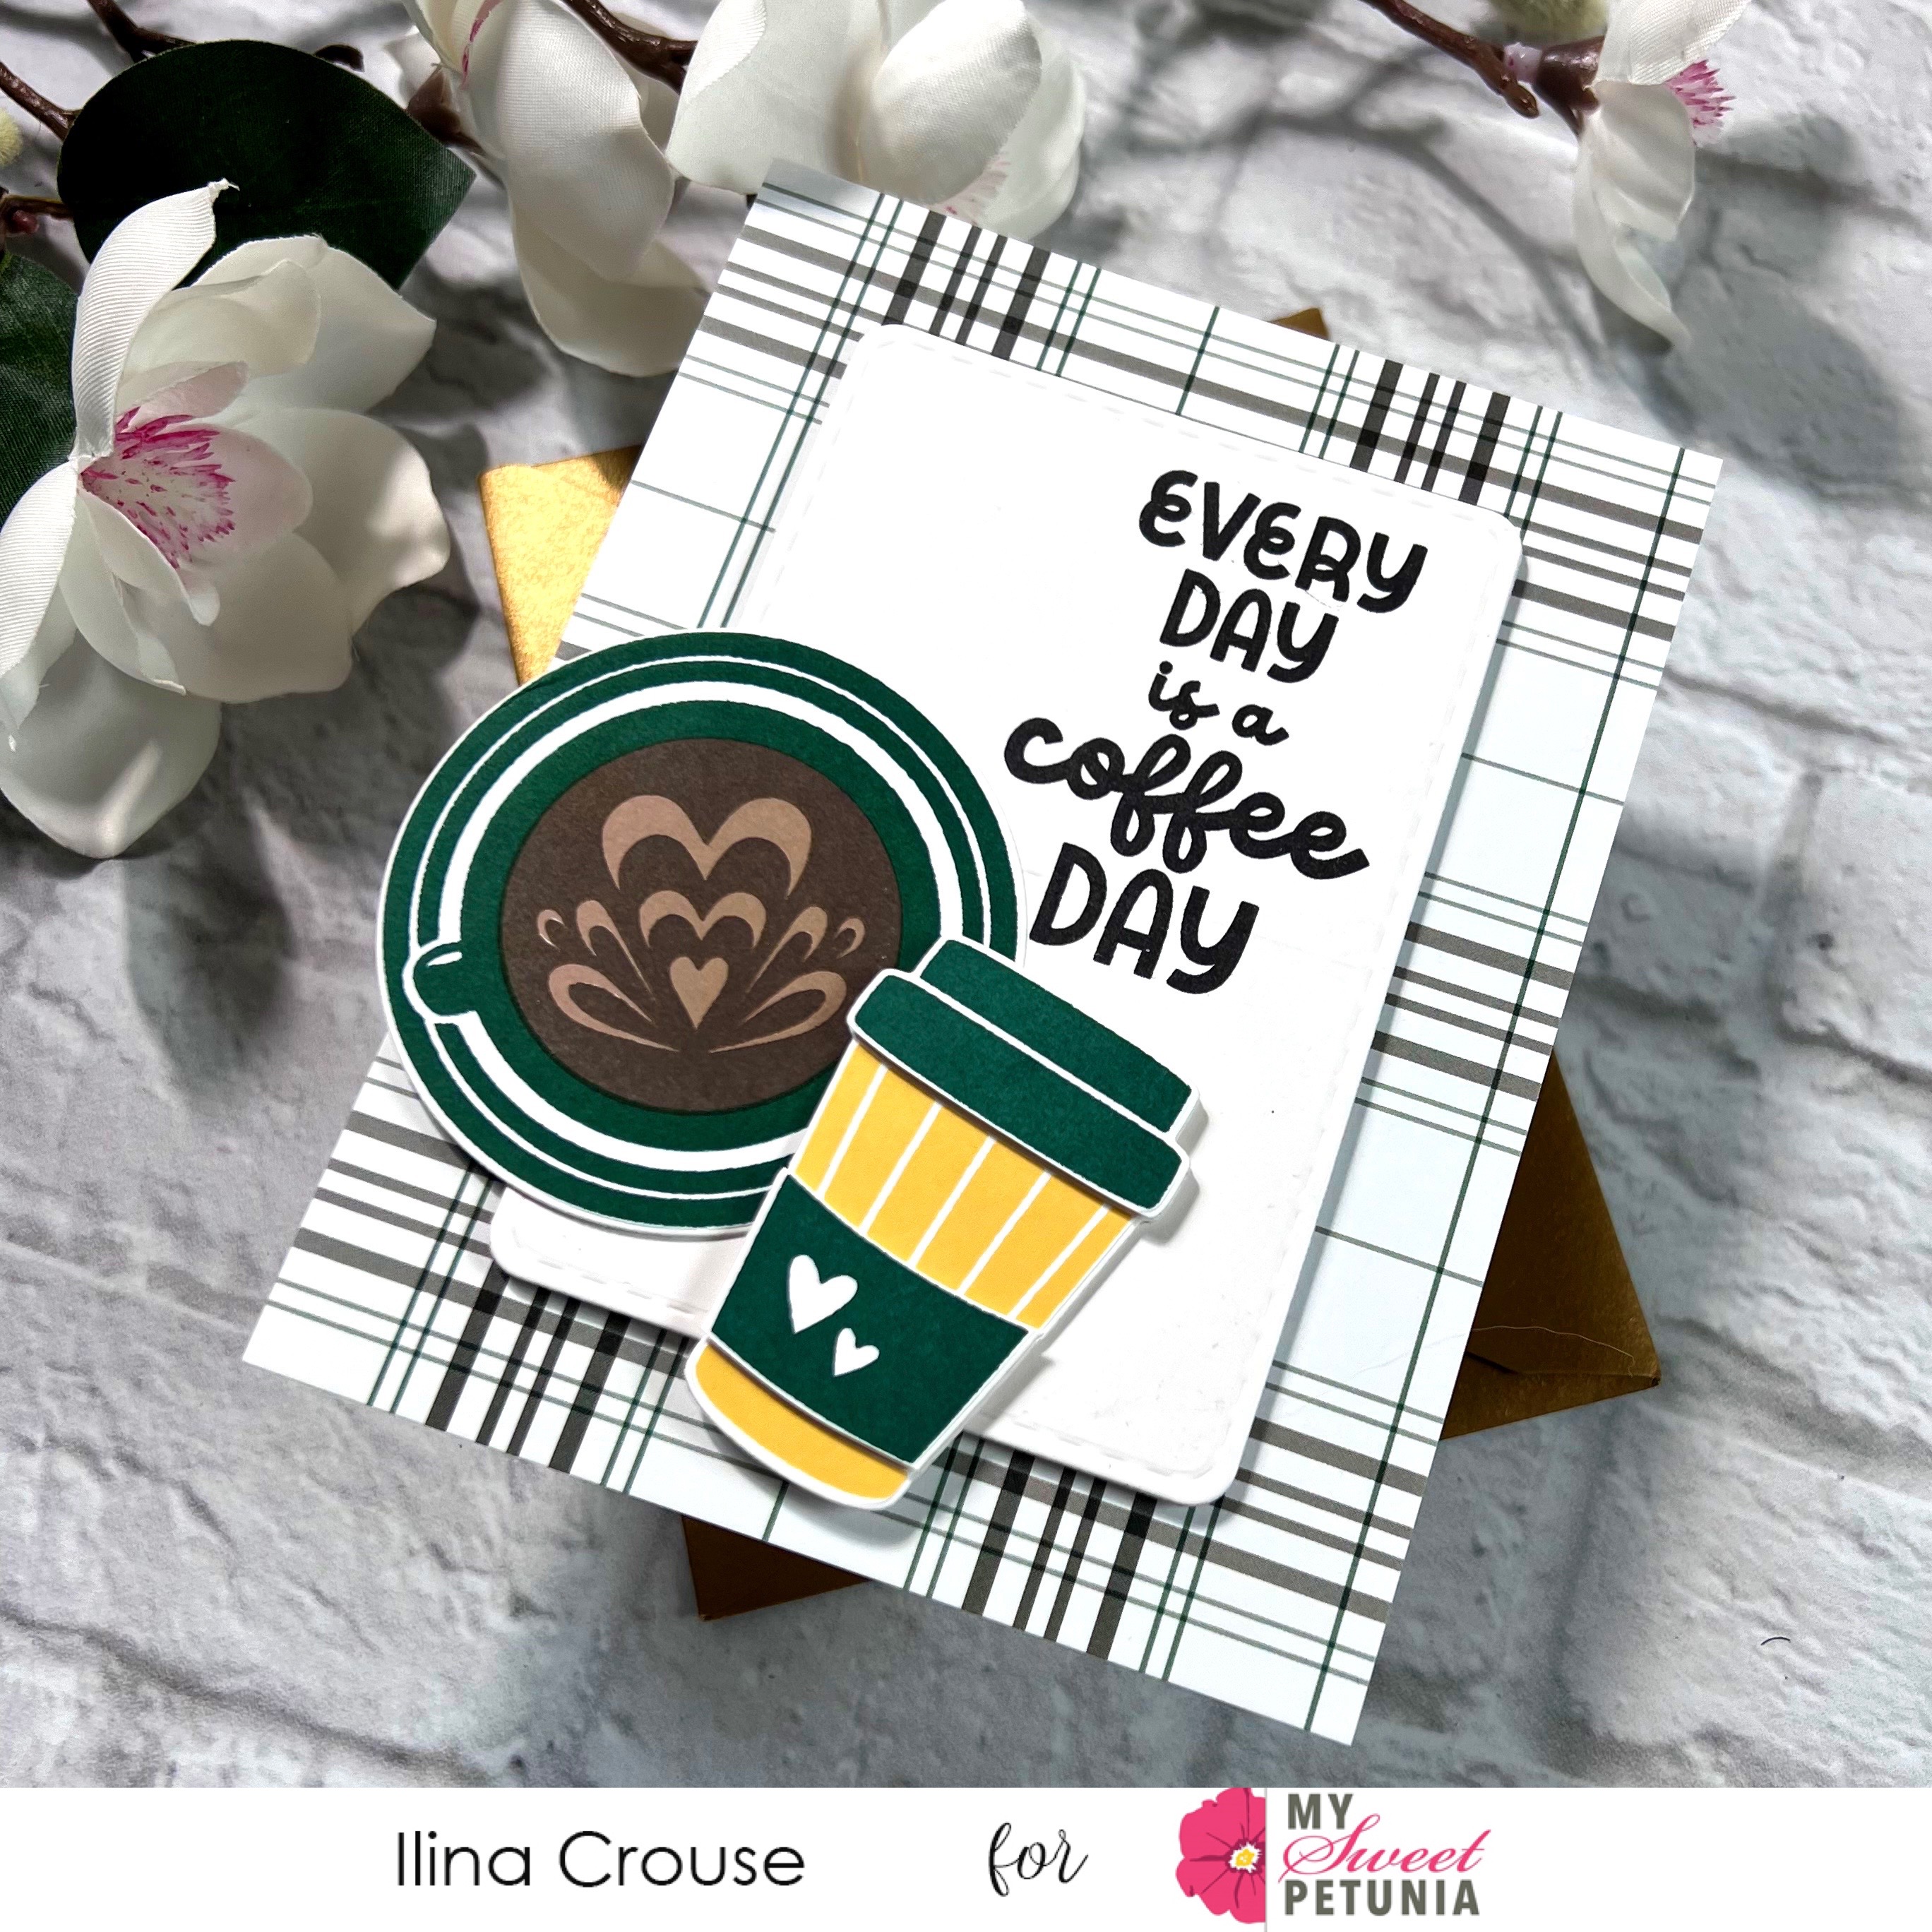
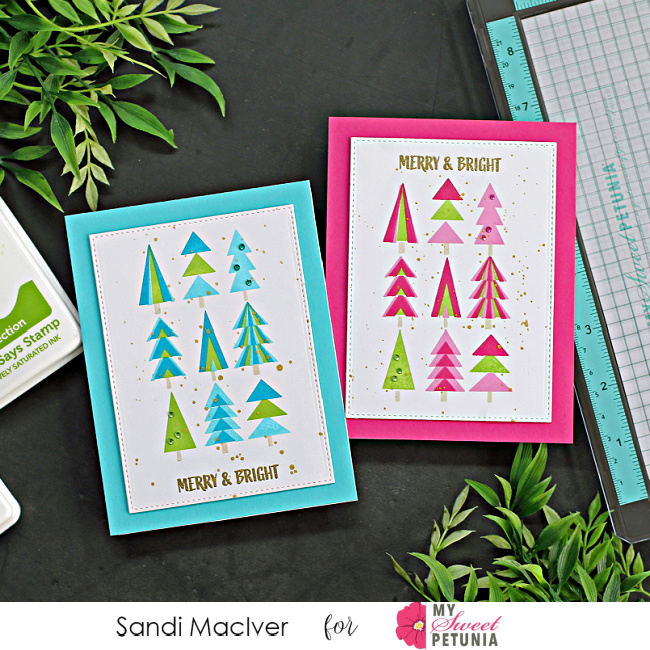
 I'm using the new Printmaking Pines layering stamp set from Simon Says Stamps to make some "MERRY and BRIGHT" cards. AND, my fabulous NEW, TEAL MISTI - I love this color so much Swoon!

 Also, I'm using Simon's Pawsitively Ink pads.  Each color comes in three shades, making them perfect for this stamping technique.  In the video I share a couple of Ink Pad Color Swatch Sheets that I created - you can DOWNLOAD YOURS HERE 

PLEASE NOTE: This post contains affiliate links. See below for my full disclosure


In today's card making video I also show you how the multi layer stamping technique is perfect for mass producing cards.  I make 8 cards in less than 1 hour with this technique.  I'm sure that's a new record for me, haha.  


How to create the Multi Layer stamping with the Misti:

Start by cutting white Hammermill cardstock 4-1/4" x 5-1/2" and place one into the Misti.

Next, stamp the first layer, take out the cardstock, and place a new one one. 

Then, repeat until all the stamped layers are done. 

Finally, stamp and heat emboss the sentiment.

Next, place the art pieces into a spatter box and splatter with gold paint.  

Finally, die cut the pieces with the Stitched Rectangle Wafer die.  This creates a clean rounded edge, with a beautiful stitched border.


Putting the cards together:

Start by cutting A2 card bases in Hammermill White, 4-1/4 x 11, score and fold at 5-1/2". 

Next, cut card fronts from colored cardstock 4-1/4" x 5-1/2" and adhere to the card base. Then, use foam tape to adhere to the card front.


Card Making Video - Multi Layer Stamping with the Misti:

Here is today's card making Video - click on the image to watch it in HD over on my YOUTUBE channel.

  New Card making video, Multi Layer Stamping with the Misti   


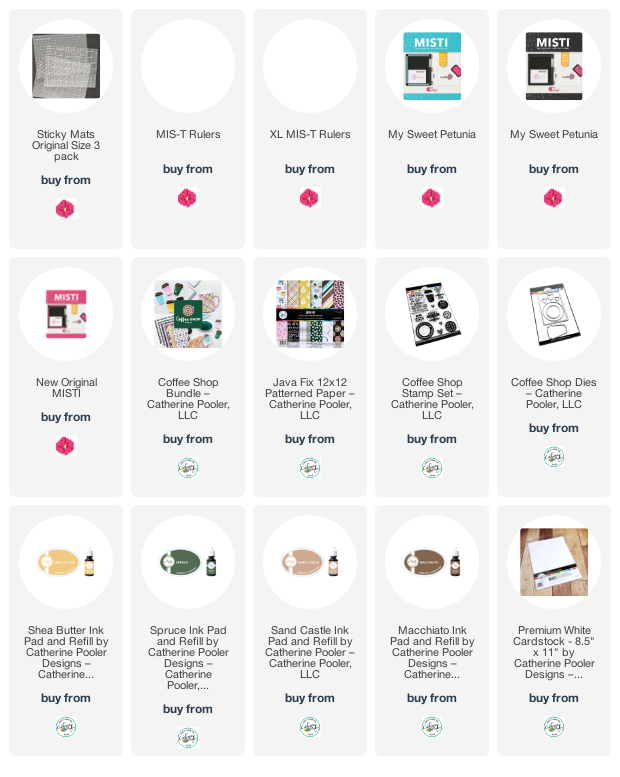
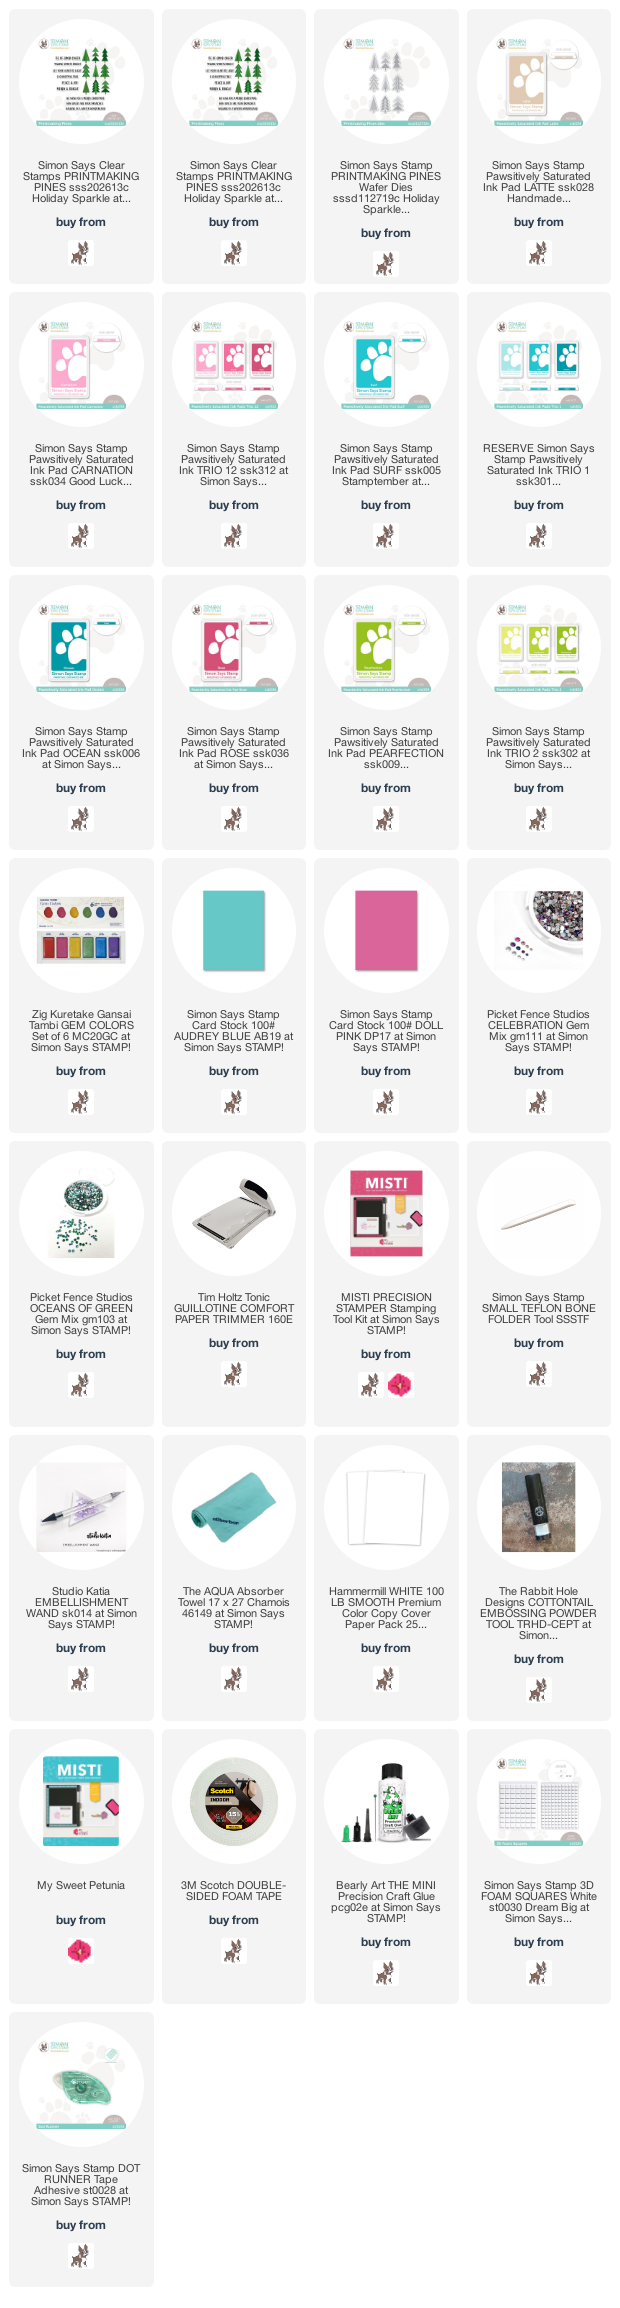
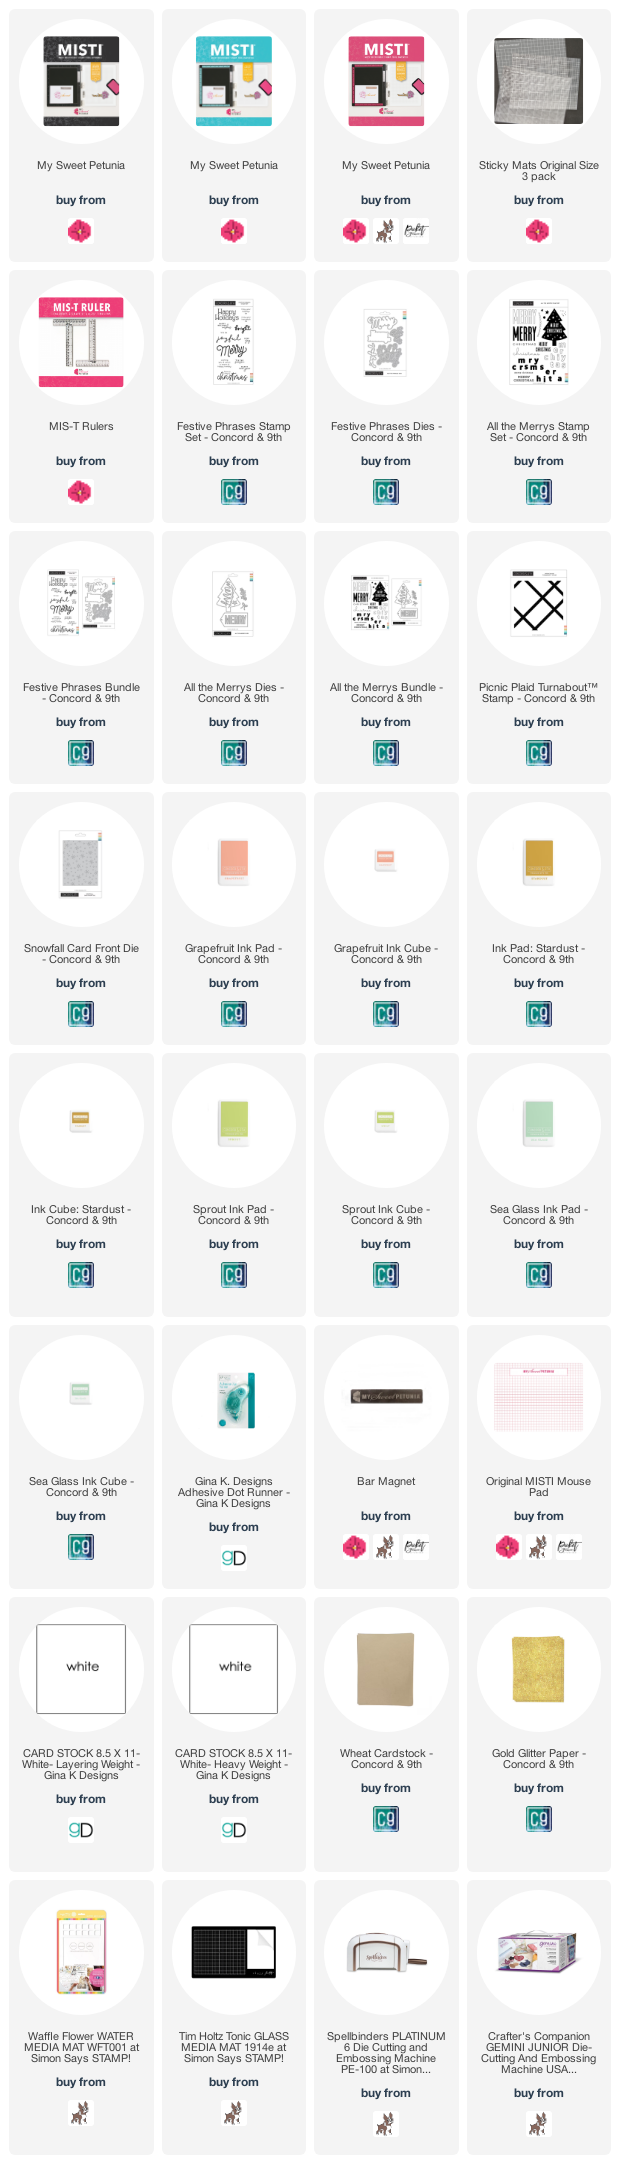
Card Making Supplies used for the Multi Layer Stamping with the Misti Cards:

Here are the products I used today.  Compensated affiliate links used  where available at no cost to you. Clicking on a thumbnail link and shopping supports my website and allows me to continue bringing you new projects and videos.  Thank you for your support.  Affiliate and product disclosure are found on my disclosure page.  All products were personally purchased except for Simon Says Stamp Printmaking Pines Stamp Set which was provided/sponsored by the company.  As always, I was not paid to do this post.  I only use and recommend products I love.  Click on the icons below each product picture to go to my favorite stores.           

Thursday, November 17, 2022

Painting and Stamping with the MISTI

Hello, creative friends! Today I am sharing how easy it is to stamp on a watercolor using My Sweet Petunia tools!   First, I watercolored a winter sky on 100% cotton watercolor paper.   Next, I placed a Sticky Mat in my Teal MISTI. The Sticky Mat held the watercolor in place while I reinked the stamps several times.  Next, I grabbed the Mini MISTI to stamp the sentiment.  The Mini MISTI is ideal for stamping small images and sentiments.  Lastly, I used the 0 centering feature of the Cut-Align Ruler for perfect alignment of the sentiment.


Thanks so much for stopping by and taking a look!


***Affiliate Links are used when possible at no extra cost to you!***

Featured MSP Products:

Impression Obsession Products:


Friday, November 11, 2022

Every day is a Coffee Day

Hi everyone!
Ilina here! Today I am sharing a card using the newest Catherine Pooler release bundle called Java Fix. And there is nothing better that defines me besides coffee ;) 
To make the card I started by creating my card base. I cut piece of the Java Fix paper to A2 and adhered to a top folding note card. I also added another piece of cardstock (A2) in between to make it more sturdy.
Next I cut the round corner rectangle panel using a die from the Coffee Shop die set and stamped the sentiment in my MISTI. Set aside to dry (I usually like to set black stamped image aside to dry so I do not smear it).
Die cut and stamp the images using my MISTI and the amazing STICKY Mats!!! I started with die cutting plain white cardstock, then using the negative and a sticky mat, I stamped the images on the die cuts. For the coffee tumbler, I stamped two of them, one in Shea Butter and one in Spruce, cut the cozy and the lid from the Spruce one, and adhered on the Shea Butter one using foam squares!

Once I had all the elements, I used my Mis-T ruler to adhere the rectangle with the sentiment to make sure it's straight and centered. then added the coffee mug and tumbler. 
All the supplies used are listed below (affiliate links may be used at no cost to you)

 SUPPLIES (affiliate links may be used at no cost to you)

Wednesday, November 2, 2022

Winter Scene With Ceal Pritchett


Hello Everyone!
It's Ceal, here on a wednesday for Team Tuesday. Today I am sharing this card made using my new Teal and Black Mistis, Sticky Mats and products from three different companies and all will be linked below as our team uses affiliate links at no extra cost to you but when used they help create a little revenue for us.

For the details of my card I started with a white top folding card base and a white panel. I placed the panel down on a sticky mat and then added ink, The sticky mat holds the panel in place while you blend. I did this for all six stencils. 
After I got it all blended I used a stamp set by Pinkfresh Studio set for the greeting that I received in a retreat I participated in so it may not be available to the public yet but I linked another that is close it. I embossed the greeting in silver powder and then cut it out with the coordinating die. 
The deer is from a Gina K Designs set and was stamped multiple times using the Misti to get good coverage since I had ink blended the tree first. Seems like the set I used with the deer has been discontinued  but I linked another that was close to it.