Monday, July 31, 2017

The Studio Bag

We finally have received the Studio Bag!  I have been planning this product release for the last nine months - nothing is ever as easy as you think it's going to be.  After many samples of bags and several modifications, we finally have the PERFECT bag for packing our studio and taking it with us to all our fun crafting events.

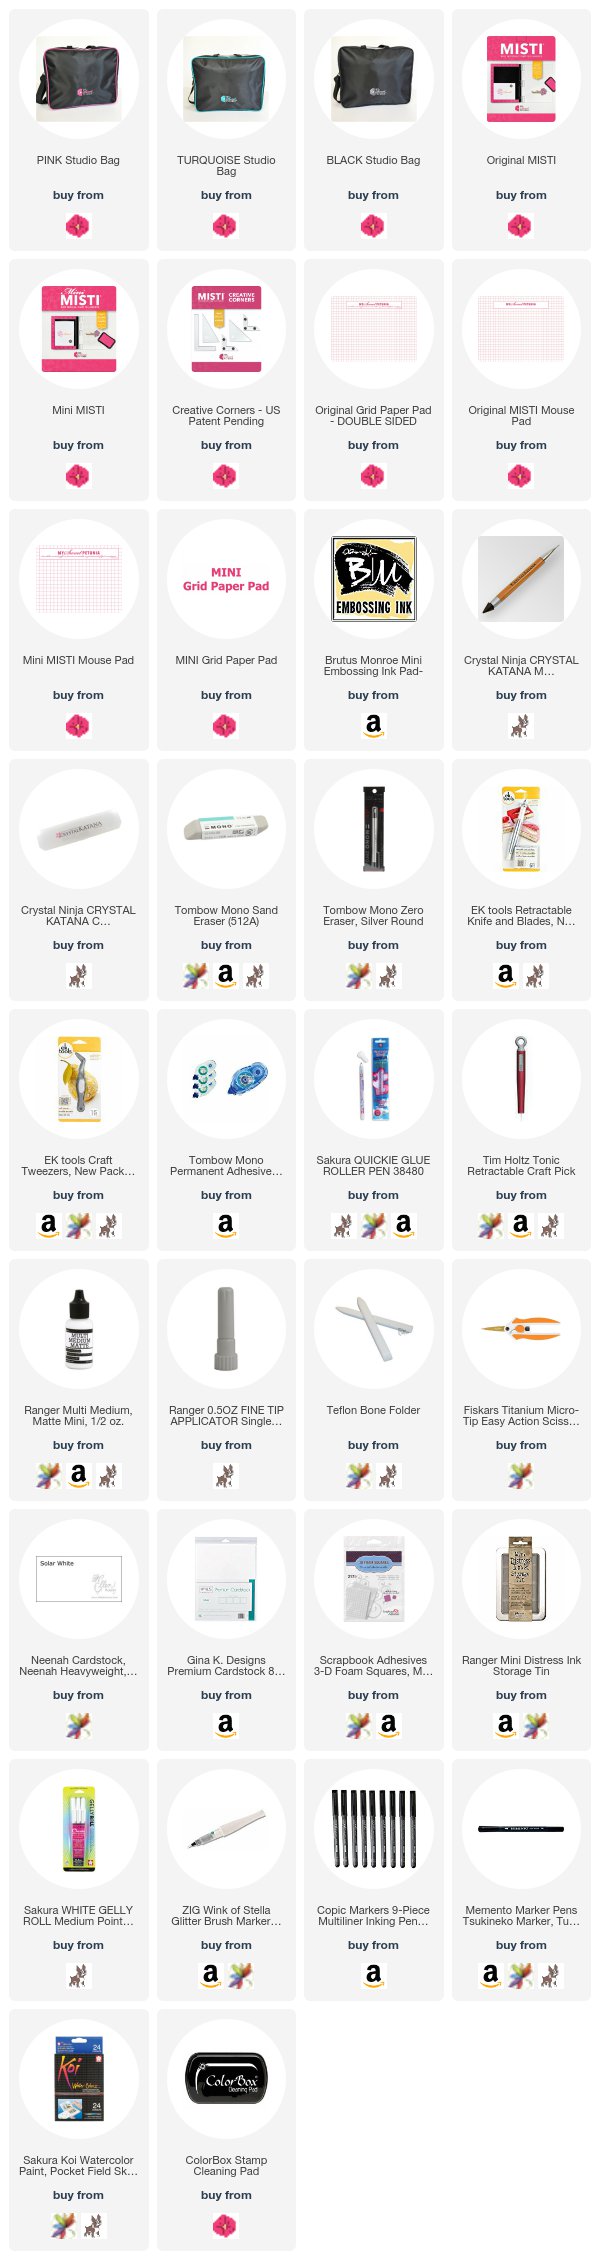
I selected black as the main color for a reason.  This design will hide all the accidental lost marker caps and ink pads, and yes, chocolate that smudge our bags.  We have the Studio bags in three different trim colors though so that you can choose one that fits your style.


Here is a video that shows how much can go into the Studio Bag.  I honestly could have stuffed it with more things.


Also, new to us are replacement stickers for the MISTI - surprise!  If you want to customize your MISTI with a different color, you now have that option. We have them available in two colors, designed to coordinate with the Studio Bags.

Turquiose 

White

We hope you enjoy this bag as much as we do. It has quickly become a must have, and we've done our part field testing it at classes and retreats, so we are 100% confident you will love it. It's at a special introductory price right now, so grab the one you love! 

It is available now at an introductory price of $35 until August 4th.  


Affiliate links:

Tuesday, July 25, 2017

Team Tuesday with Ceal


Hi Stampers!
It's Ceal, here to share with you today.  
Concord & 9th has done it again with their Turnabout stamps designed especially for the Original MISTI. These stamps are so fun, I used the newest one on my card, Sunshine Turnabout. 


All of the Turnabout stamps are designed for the Original MISTI, for them to work you also need to make a 6x6 template and draw a line from each corner to intersect in the middle to get the center point.  There is also diagram on the packaging to show where to place the stamp on the template, then you just shut your MISTI lid and you are ready.


I used the distress oxide inks and then spritzed with water before I closed the lid to get the watercolor look. After I finished the background using the Turnabout stamp, I stamped the unicorn from the Unicorn Awesomeness set and colored it with Copic markers and used the coordinating dies to cut it out along with the clouds.

I sponged the edges of the clouds to distinguish it from the background and then added the greeting which I love! 
To finish the card I added the panel to a black card base and added some Wink of Stella to the unicorn to make it glisten


Here is a close up to show the sparkle on the unicorn 


Happy Stamping! 


Tuesday, July 18, 2017

3rd Anniversary Sale

This was my basement three years ago.  It seems like it was a lifetime ago.  I spent hours working on MISTIs.  At my best, I could make 3 per hour.  However, there were always distractions and getting 60 done for a flash sale took me almost 2 weeks to make.   I still worked part time at a clinic and had to take care of My Little Petunia.

It took a long time to mail out the orders.  I had to manually enter the addresses on USPS.com.  I shipped my own orders for 8 months.  The postal employees became my friends and helped me unload my vehicle every time I arrived.

I believe I made 600 MISTIs in this basement before I could afford to place my first order with a Chicago manufacturer.  When that first order of manufactured MISTIs arrived, I had to ask friends to help me ship them.  I used to post the order number on Facebook, and people would ask how many more before their number was up and their MISTI would be shipping.  It became so exciting to see what number we were on.

Those were exciting times.  I feel so blessed to have come this far.  I have made so many new friends and I never could have imagined how the MISTI has changed stamping. I'm so grateful for all of it and for all of you!

To celebrate our 3rd anniversary,  I am having a 20% off sale on the Original MISTI and Original accessories (mousepad and grid pad).  No coupon is necessary, and the sale ends Sunday, July 23rd.

Thank you so much for blessing me with your love and support.

Team Tuesday with Kia

Hello everyone, Kia here with you today.

My MISTI is so much more than a stamping tool for me. In my last post I shared how I stencil in my MISTI. Today I am doing some water colouring and setting up my MISTI to assist me on where to cut for my image to overlap. I stamped my image using brown die ink and proceeded to paint my image using my Zig brushes and the magnets to secure my paper.
I am not using a lot of water for this image, until I add the back ground wash, applying a loose wash.
Once dry I added my die where I wanted it, marking where I needed to cut for the tail and branch overhang, which is just a small portion.
I fussy cut the tail and branch and proceeded to die cut my piece. I put my image back in my MISTI to stamp the sentiment, which needed a few passes given the water colour paper.
I then added designer paper to my card base, and attached my panel on foam dots, then added a few sequins to finish. I also added some Wink of Stella to the berries. 
Thank you for visiting My Sweet Petunia. 

Tuesday, July 11, 2017

Team Tuesday with Jeanne Streiff


Hello there MISTI fans!

Everyone who knows me knows that I love the MISTI so much for it's ability to restamp an image in exactly the same spot over and over. Today's project shows how to use glitter markers on your stamps and get a two toned sparkly image that looks embossed.

Here's a peek at the shimmery goodness!


I created my background using the Crinkled Tissues technique which is the current
challenge on the Techniques Junkies Blog. I used Color Burst for my paint and then
added white gift wrapping tissue to the paint and let it dry to create the background.
You can see the challenge and the background tutorial HERE


After my background was completely dry set up the turtle image where I
wanted to stamp in my Mini MISTI and used a Nuvo Glitter Marker to
color the turtle (Technique Junkies Swirl Turtle) in teal. Stamp onto the paper.


Next I inked the shell part of the stamp with a second Nuvo Glitter Pen in a coppery
orange shade and stamped on top of the teal. I used the same marker combination to
add the sentiment (Technique Junkies Watermelon Summer Set).


I finished my card by adding some glittery dots with Nuvo Glitter Drops.


How about a discount?


Tuesday, July 4, 2017

Team Tuesday with Ilina Crouse

Hi stampers!

Ilina's here today to share simple but effective card I made last night. I used the dies for masking  and kept the card pretty simple. 

I created a mask using masking paper from the postage die and the poppy and stems dies. Then I masked my area and did some ink blending for the background. 
Next I removed the poppy masks and stamped the poppies with help of the MISTI. 
Then I stamped the sentiment and die cut the panel and adhered to white card base. 

Make sure you watch the video below