Showing posts with label #papercrafting. Show all posts

Tuesday, May 24, 2022

Layering Roses with Layered Inks

Hello friends!! It’s Channin here and today I’m sharing a bold floral card I created with a beautiful layering stamp set from Honey Bee Stamps. To create the perfect pink rose I employed several tricks to get just the right shade and I can’t wait to share them with you!

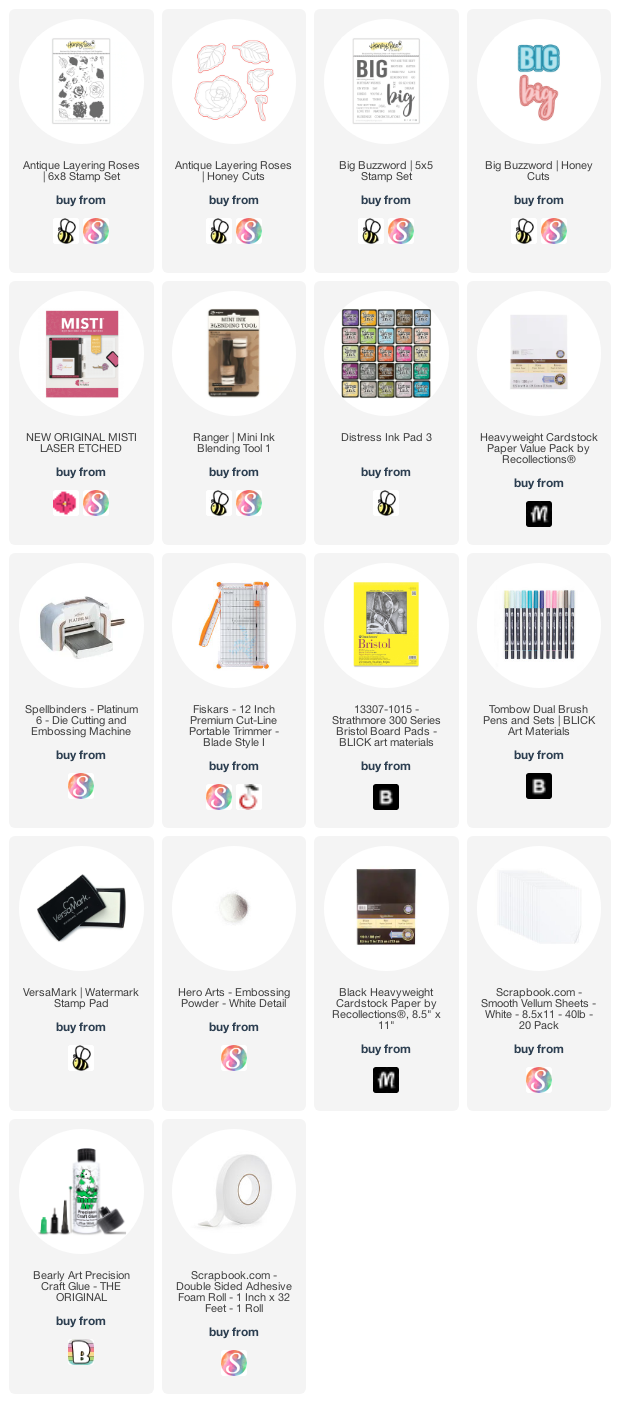
To create this card I started with stamping the roses from the Antique Layering Roses stamp set. There are four layers for each rose and for each layer I used a combination of Distress Inks to create the perfect shade. Starting with layer one, I first inked the stamp up with Spun Sugar and stamped twice. I then inked up the stamp with Worn Lipstick but I used a foam blending tool apply the ink to the stamp and then stamped the layer. The foam blending tool creates a lighter application resulting in a lighter shade. 


For the second layer of the roses I inked up the stamp in Worn Lipstick and then stamped. Next, with a foam blending tool I inked it up with Picked Raspberry and then stamped. Then for layer 3, I first stamped the stamp twice in Picked Raspberry and then inked up the stamp with Abandoned Coral and then stamped. For the final layer, I first inked up the stamp with Picked Raspberry and stamped three times. Then I inked up the stamp with Candied Apple and stamped twice.


Next, I stamped my leaves. For the first layer of the leaves I stamped them in Shaded Lilac. I then inked up the upper third of the leaf with Blueprint Sketch using a foam blending tool and stamped again. Next, I ink up the second layer of the leaf in Shaded Lilac and stamped twice. I then inked up the layer with Blueprint Sketch using a foam blending tool and stamped again. For the last layer, inked it up in Blueprint Sketch and stamped three times. 


After I had stamped all my roses and leaves I then die cut them out with the matching dies. I then created a watercolored background on Bristol paper with Tombow Dual Brush pens. When the panel had dried I then adhered it to the front of an A2 top-folding white card base. Next, I created a sentiment by first die cutting “BIG’s” out of white cardstock using the Big Buzzword Honey Cuts. I then stacked and adhered two layers of the “BIG” die cut together and then die cut a shadow layer out of vellum. Next, I adhered the vellum over the stacked letters and then finished the sentiment by adhering the remaining cardstock letters on top. I then stamped and white heat-embossed two sub-sentiments from the Big Buzzword Stamp Set onto black cardstock. I then finished the card by adhering the images and sentiments to the card front. 


I hope you enjoyed my card! Thank you so much for stopping by!


~Channin


Supplies:
Tuesday, April 26, 2022

Floral Mandala Card


Hello friends!! It’s Channin here and today I’m creating a beautiful clean and simple card featuring the Floral Mandala Bundle from Hero Arts.


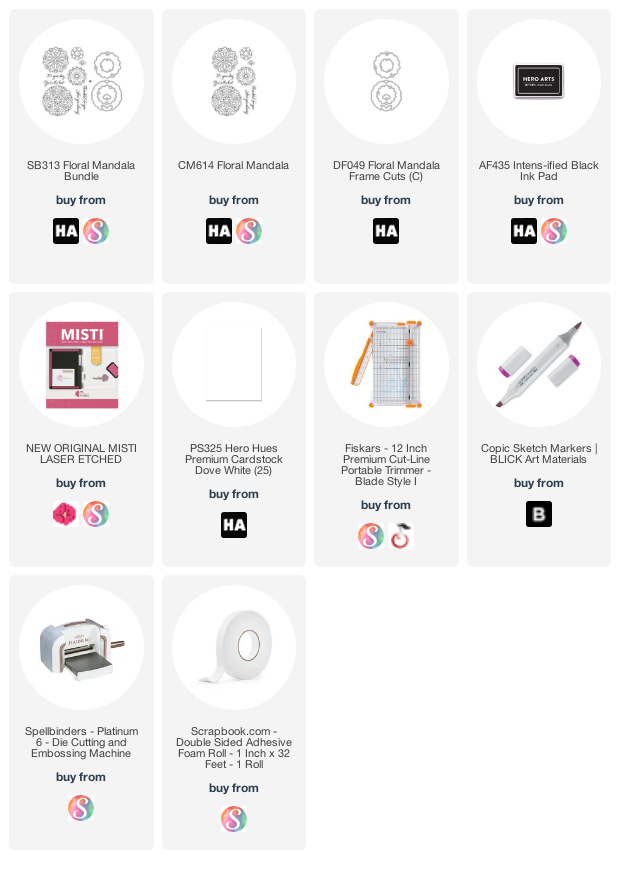
To create this card I first stamped the large floral mandala image from the Floral Mandala stamp set in black ink onto white cardstock. I then copic colored the image and when I finished I popped the image back into my MISTI and stamped it again to make the image bold and black. 


Next, I die cut the image out with the matching die. I then stamped the front of an A2 top-folding white card base with a sentiment from the Floral Mandala stamp set in black. Next, I finished the card by adhering the mandala to the card from with foam adhesive. 


I hope you enjoyed my card! Thank you so much for stopping by!


~Channin


Supplies:

Tuesday, February 1, 2022

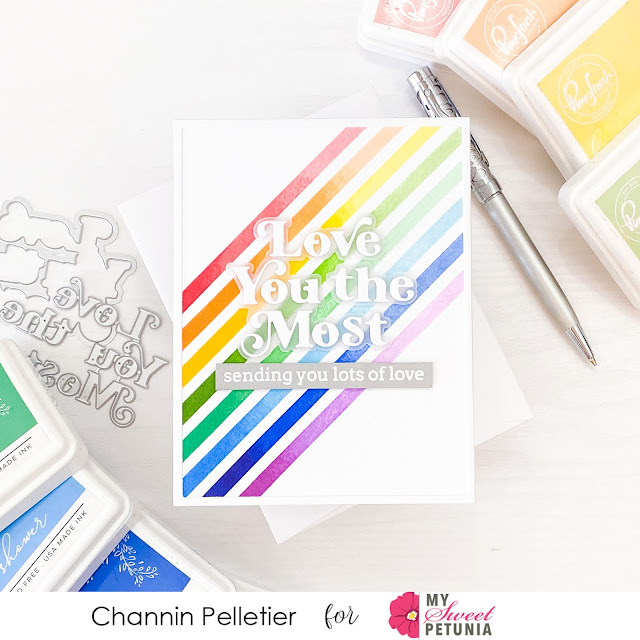
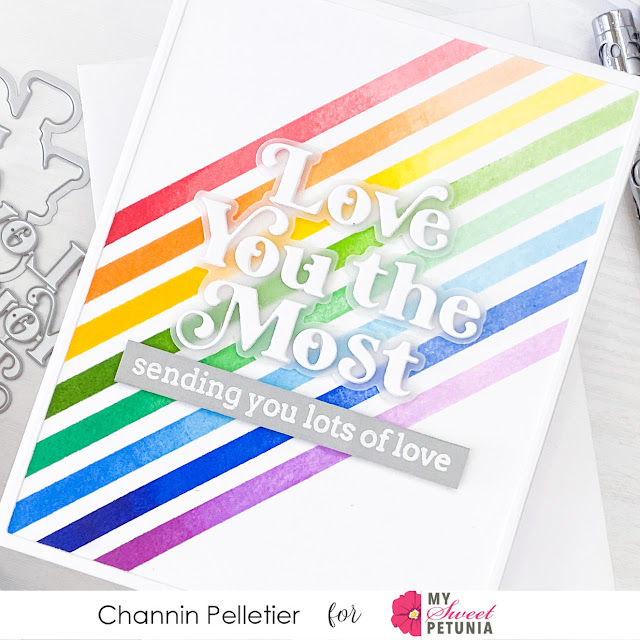
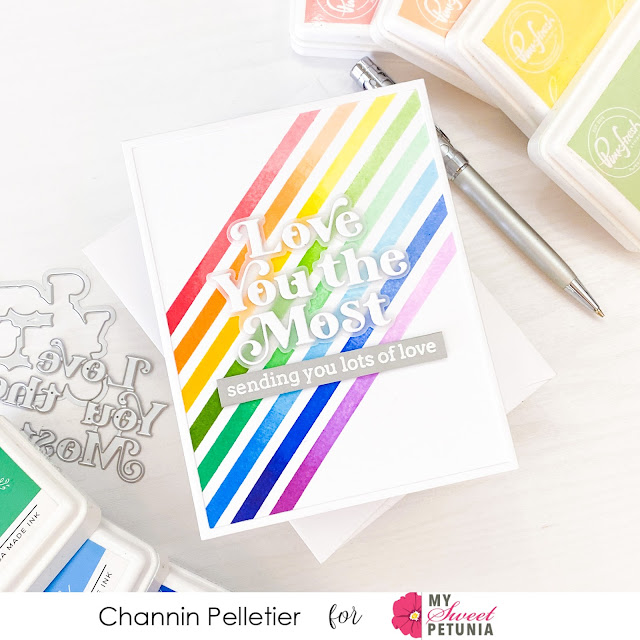
Rainbow with Gradation/Ombre Stamping

Hello friends!! It’s Channin here and today I’m sharing one of my favorite MISTI techniques, gradation/ombre stamping!! I use this technique to create a beautiful fading rainbow background featuring stamps and dies from Pinkfresh Studio. 


To create this card I first stamped the background using the Pop Out: Diagonal Stripes Cling Stamp Set. I started with the #6 stripe stamp and inked it up with Coral Reef ink and stamped it onto a 8 1/2” x 5 1/2” panel of white cardstock. I then partially inked up two thirds of the same stamp in Passion Fruit, a slightly darker red ink and stamped the stripe again. I then finished the stripe by partially inking and stamping the last third of the stamp in Berrylicious ink. I repeated this process for stripes 7-13 using three different inks (a light, medium, and dark) for each color of the rainbow. 


Once I had finished stamping the background I then cropped the panel down to an A2 panel and adhered it to the front of an A2 top-folding white card base. I then created a thin white rectangle frame using nesting rectangle dies and adhered the frame to the card front.


Next, I die cut a sentiment out of vellum and white cardstock using the Love You the Most Die. I then adhered the white letters onto the vellum shadow layer and then adhered the sentiment to the card front with foam adhesive. Lastly, I stamped and white heat-embossed a sentiment from the Simply Sentiments: Hello Stamp Set onto gray cardstock, trimmed the sentiment down to a stripe and adhered to the card front with foam adhesive. 


I hope you enjoyed my card! Thank you so much for stopping by!


~Channin


Supplies:

Thursday, October 21, 2021

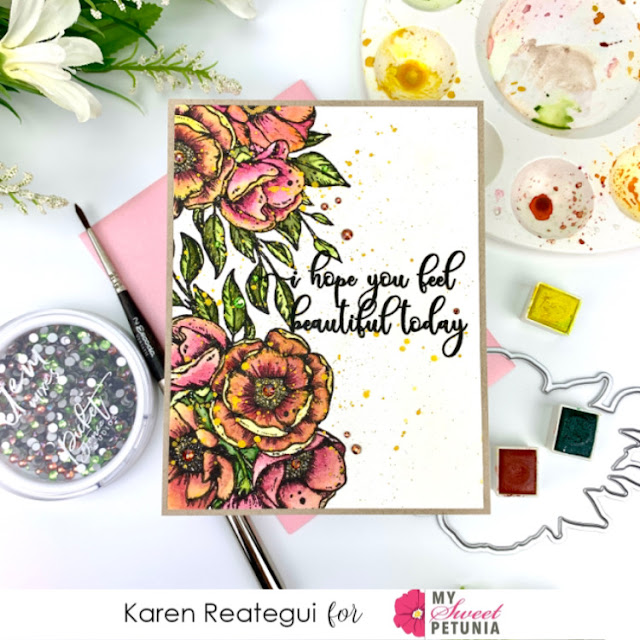
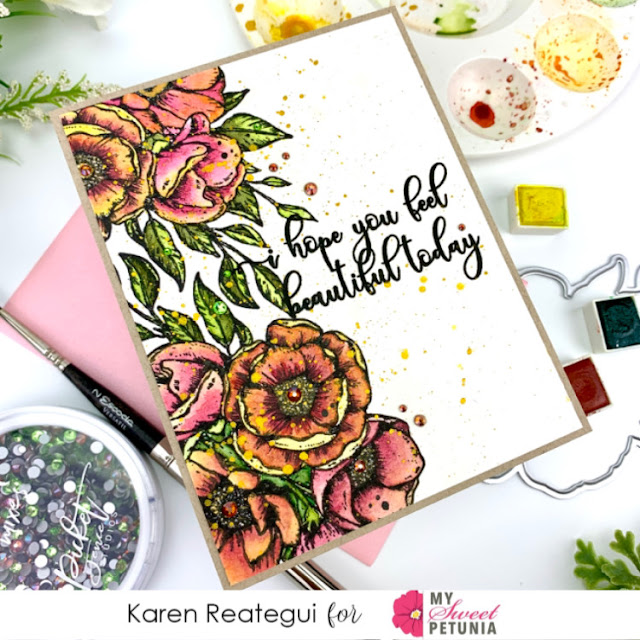
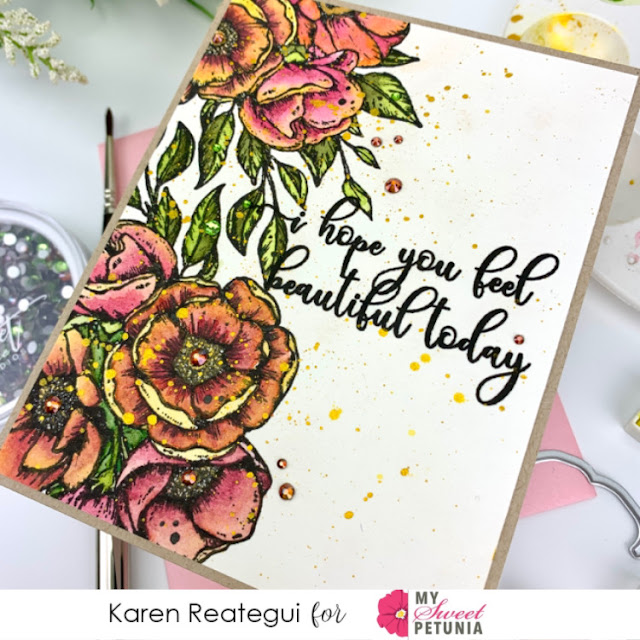
Watercolor Roses with Karen Reategui


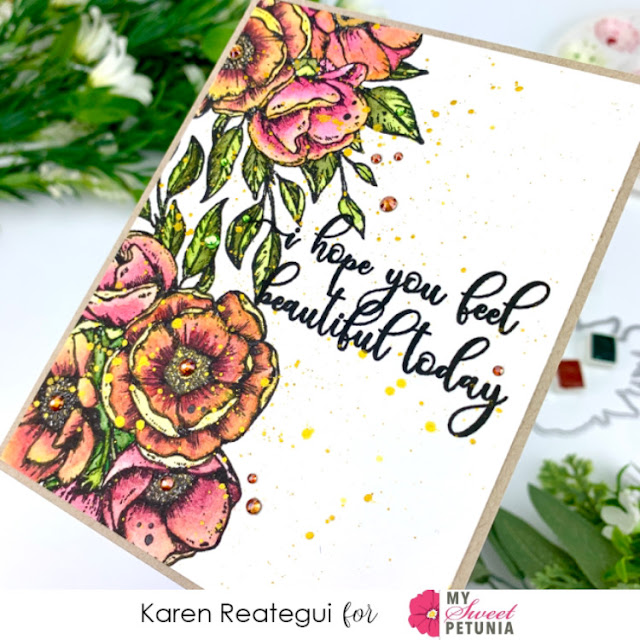
Hello friends, I'm so happy to be here today sharing this watercolor card that I made using products from Picket Fence Studios and my original MISTI.


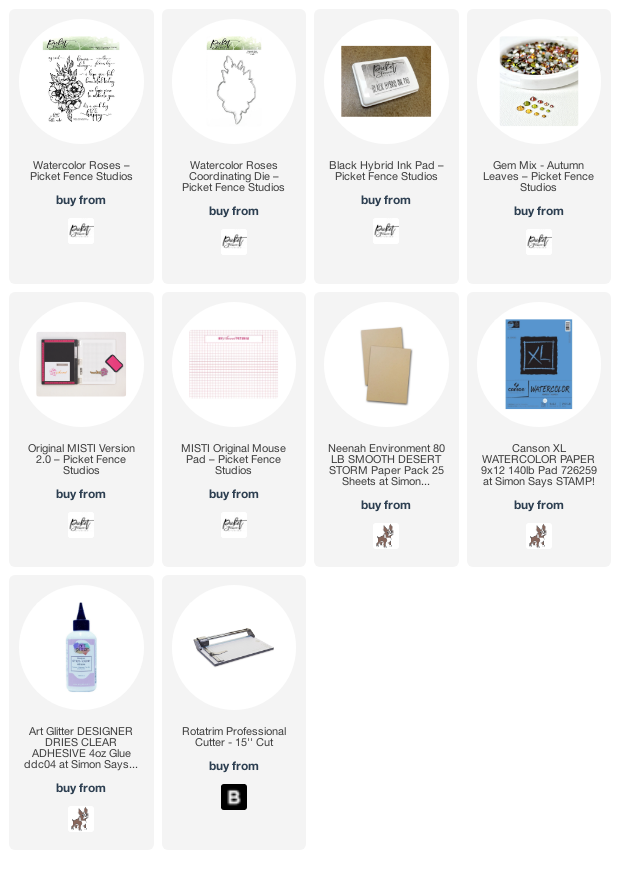
Let's start! With the help of my original MISTI I stamped the Watercolor Roses stamp using Black Hybrid ink onto an A2 watercolor panel.  


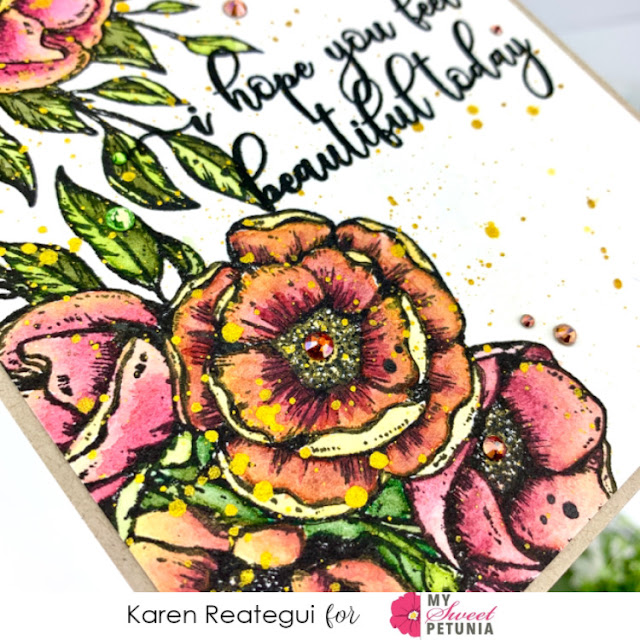
Then, using a watercolor brush I applied Jane Davenport Watercolors. Also, I added some splatters of metallic gold ink from Hero Arts around the panel using a fan brush.


Once my panel was dry, I stamped my sentiment from the same Watercolor Roses Stamp using my MISTI and the Black Hybrid ink from Picket Fence Studios.


I trimmed down my panel a little bit and I adhered a panel of Neenah Desert Storm plus a white card base at the back. As a final touch I added some Autumn Leaves Gem Mixes from Picket Fence Studios and this card was done.


I hope you like this card and give this a try. 
Thank you so much for stopping by, please have a wonderful day and you will find the list of supplies below.

Your friend, Karen


Tuesday, August 17, 2021

Two Palettes One Card with Channin


Hello friends! It's Channin here and today I have a unique card concept, incorporating two color palettes into one card. It might come as no surprise that I stumbled upon this idea after taking crafty u-turn from a 70s sort of neutral palette that I started to lose faith in and opting for a more reliable bright palette. But then break through moment, I thought I should just try combining my neutral flowers with my bright happy rainbow and boom, I was in love!! 

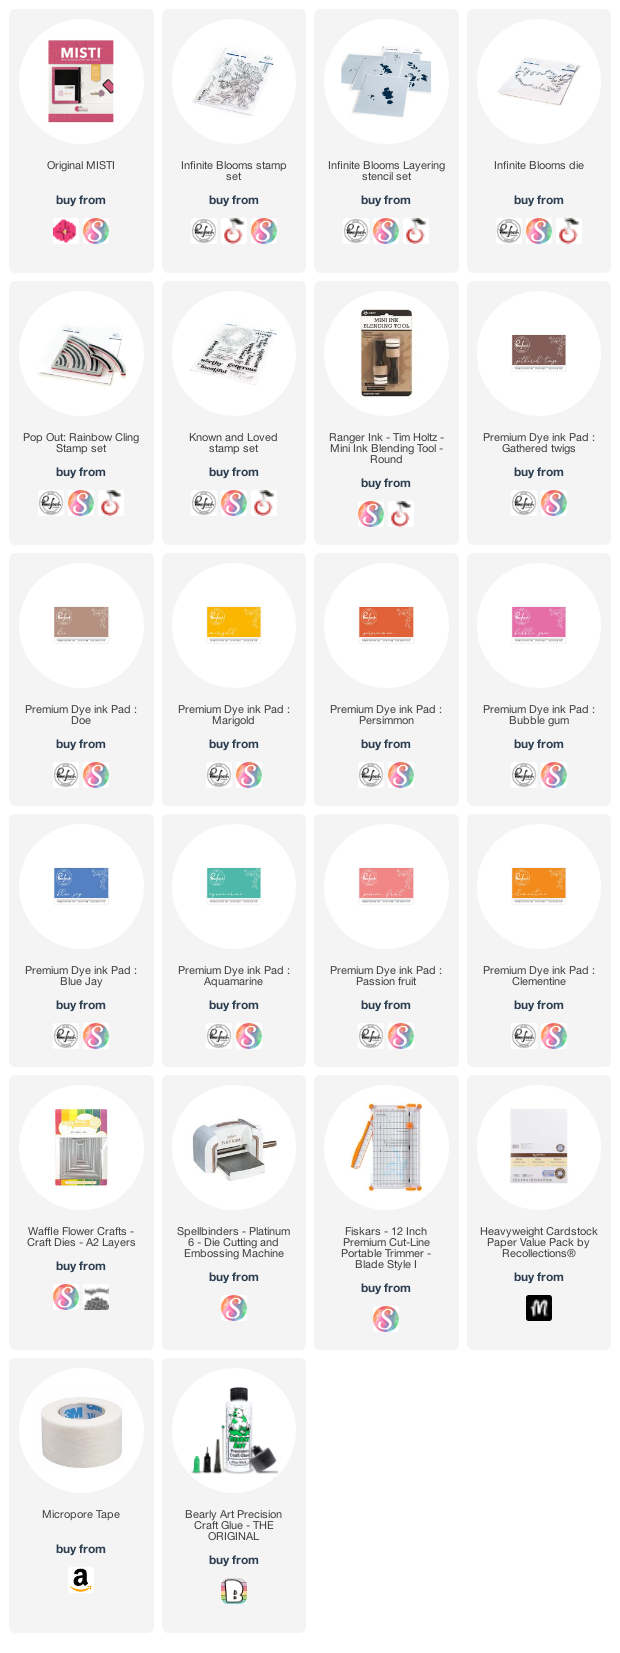
To create this card I first stamped the flowers from the Infinite Blooms Stamp Set onto white cardstock in Gathered Twigs. Then using the Infinite Blooms stencils I ink blended to add color to the image with several inks (Doe, Marigold, Persimmon, & Bubble Gum). When I finished ink blending I then popped my image back into my MISTI and stamped the image again then die cut it out with the coordinating die. I then repeated the process to make another floral image so I had two. 


Next, I stamped the front of an A2 top-folding white card base with the Pop Out: Rainbow Cling Stamp Set in several inks (Blue Jay, Aquamarine, Bubble Gum, Passion Fruit, Clementine & Marigold). I then die cut a thin frame out of white cardstock and adhered it to the card front. Next, I stamped a sentiment from the Known and Loved Stamp Set in Gathered Twigs. Lastly I finished the card by adhering my floral images to the card front and trimming off the overhang.


I hope you enjoyed my card! Thank you so much for stopping by!


~Channin


Supplies:

Thursday, March 4, 2021

Many Blessings with Karen Reategui


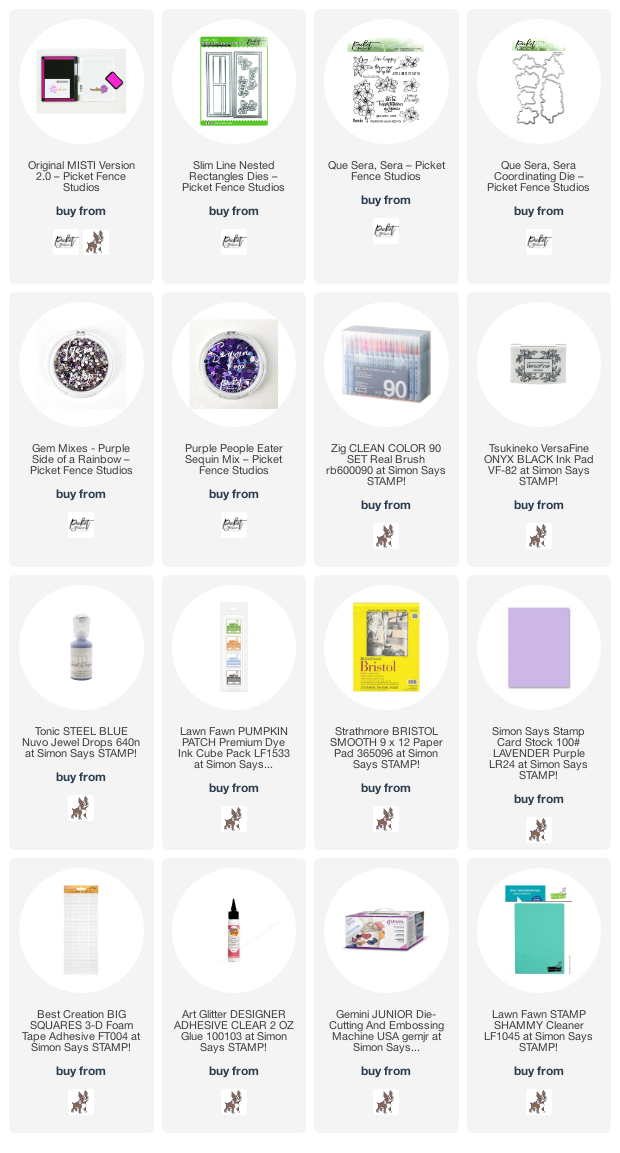
Hello friends! Today I have this floral slimline card featuring Que Sera, Sera Stamp Set and Dies and the Slimline Nested Rectangle Dies from Picket Fence Studios. Also, for this card I used the original MISTI to stamp all flowers and leaves. 


Let's begin! I started by die cutting one rectangle panel using the Slimline Nested Rectangle Dies, then I placed this panel inside of my MISTI and using Soot Premium Dye Ink Pad from Lawn Fawn I stamped all the flowers from Que Sera, Sera Stamp Set around the panel. 


I left enough space on the panel to stamp the sentiment "Many Blessings". This sentiment was also from the stamp Que Sera, Sera and was stamped using Versafine Black Onyx ink. Next, I adhered a lilac slimline folded card at the back of the panel using glue. 


Also, I placed a piece of watercolor paper inside of the MISTI, added anti static powder, inked up the same flowers from Que Sera, Sera Stamp Set using black ink, stamped pressing the door of the Misti firmly and finally I added WOW! Clear Gloss Embossing Powder on top and heat embossed all flowers.  


I painted all the flowers and leaves using Zig Clean Color Real Brushes. Once they were dry I die cut them all with the matching dies. Then, on top of the panel I arranged all flowers going from bottom to top and using glue and foam tape for some dimension.


Finally, for the last touch I added some Nuvo drops, sequins and gems from the Purple Side of the Rainbow Gem Mixes also from Picket Fence Studios.


I really hope you like this card that I made with lots of love! Using your MISTI is a super easy way to stamp several images at once and save some time to create more cards. If you are interested in the supplies  I used on this card, they are all listed below. Have a fantastic week and thanks for stopping by!

Your friend, Karen


Tuesday, February 2, 2021

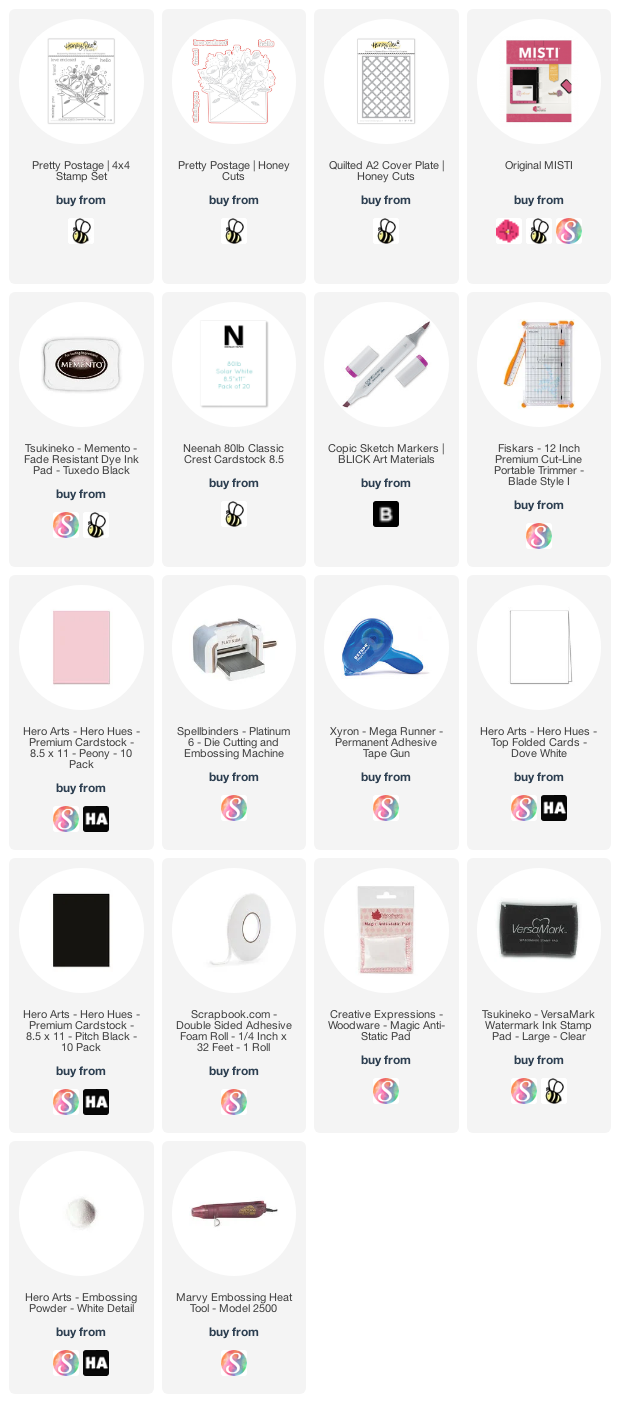
Pretty Postage Card with Channin


Hello friends! It's Channin here and today I have sweet little valentine share! I used the new Pretty Postage Stamp Set from Honey Bee Stamps to create this card. 


To create this card I first stamped the main image from the Pretty Postage Stamp Set in Memento Tuxedo Black onto white cardstock. 


I then copic colored the image and then die cut it out with the matching die. 

Red Flowers: (inside) R24, R35, R29, R46

    (outside) R35, R29, R46, R59

Flower Centers: Y11 & Y15

Mint Green: YG11 & YG41

Green: G43 & YG67

Envelope: R00, R20, R22


Next I die cut an 4 1/8” x 5 3/8” panel of light pink cardstock with the Quilted A2 Cover Plate Die. I then adhered the panel to an A2 top-folding white card base. Next, I adhered my image with foam adhesive. Lastly, I stamped, white heat-embossed, and die cut my sentiment and then adhered it to my card front with foam adhesive. 


I hope you enjoyed my card! Thank you so much for stopping by!


~Channin


Supplies:

Thursday, November 19, 2020

Fall Slimline Card with Karen Reategui


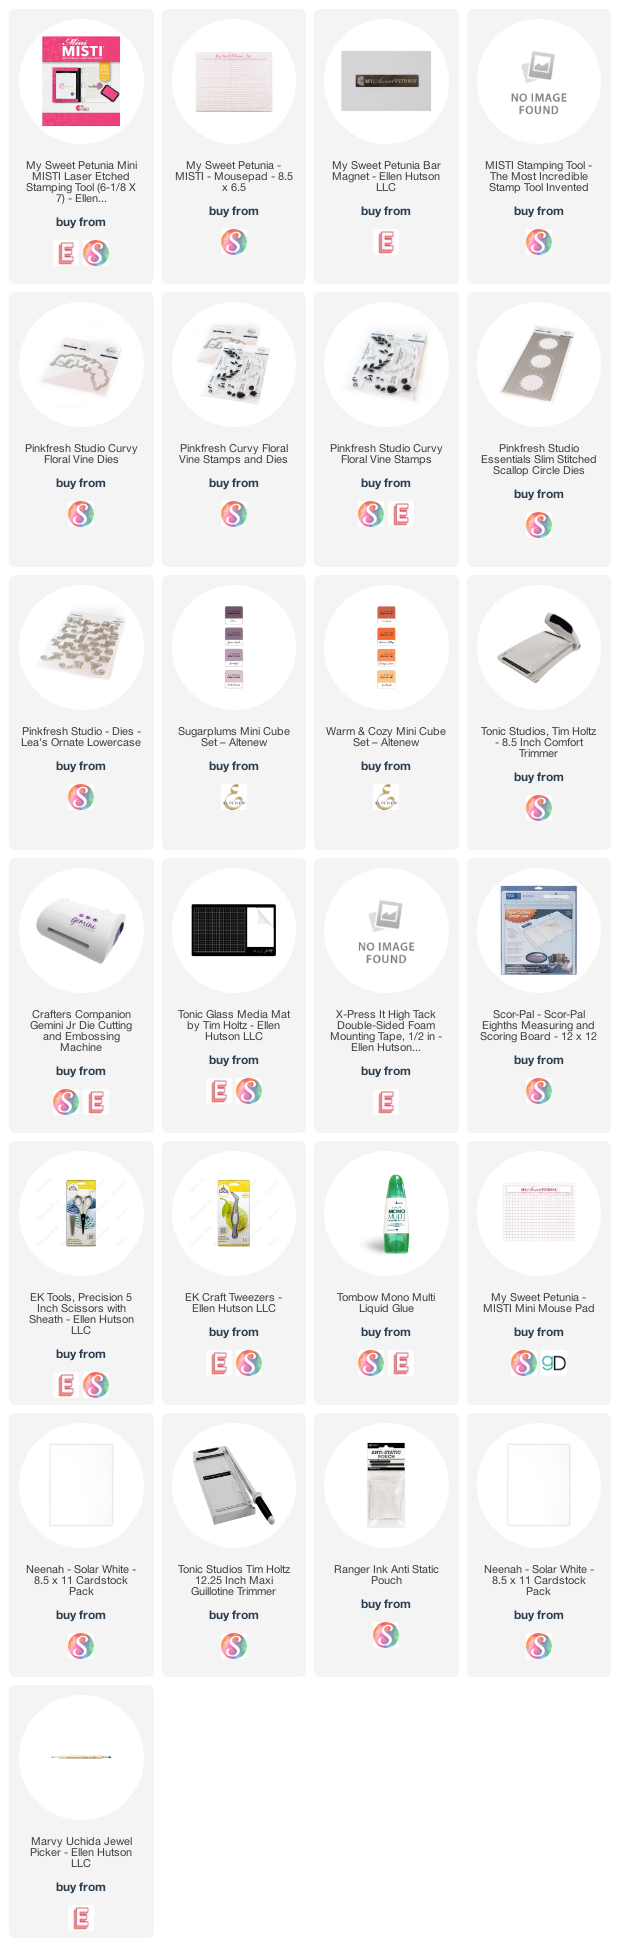
Hello friends! Today I’m over My Sweet Petunia Blog sharing this slimline card featuring the original MISTI and Pinkfresh Studios products.


Let’s begin! I started by die cutting the Slim Scallop Circle die out of gray cardstock and then I adhered a white folded slim notecard at the back using glue. Next, I die cut the Curvy Floral Vine Stamp die out of white cardstock. I placed the negative part inside my MISTI and the die cut in the negative space. I lined up and inked up my stamp and pressed firmly the stamp into the cardstock.


I repeated these steps until I finished with all the florals and arranged them around the scallop circles in my background. Additionally, I die cut three times the Leafy Branch die out of orange cardstock and added them next to each floral using glue.


I also die cut the word FALL using Lea’s Ornate Lowercase die set out of orange. The outline part of each letter was die cut out of white cardstock for more contrast.


Finally, each letter were added to my background using double sided foam tape and I put some iridescent jewels around.

I really hope you like this card and get some inspiration. Thanks for stopping by and have a fabulous day!
Your friend, Karen


Tuesday, August 18, 2020

Split Panel Rainbow Cards with Channin

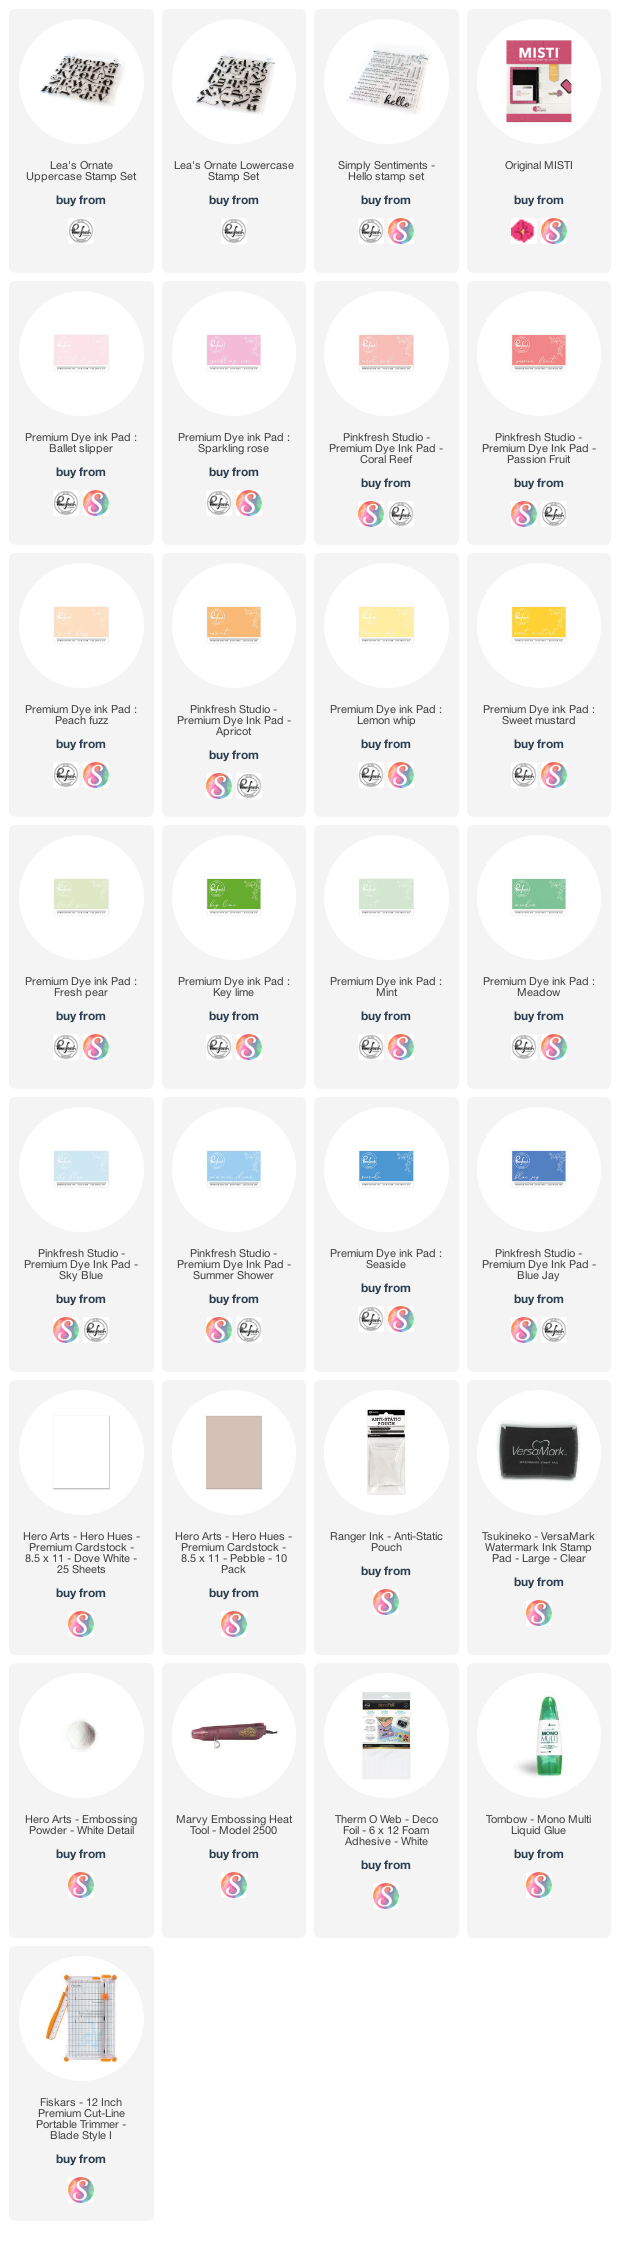
Hello friends!! It's Channin here with a couple of colorful split panel cards to share!! The split panel technique a fun and unique technique which the MISTI is an absolutely essential tool because your two stamped panels must be identical except for color variances. 

To create these cards I first positioned all the letters I needed for "celebrate" over the center line of a white slimline panel (3 5/8" x 8 1/2"). Because "e" is repeated multiple times I used place holder letters, letters that are about the same shape and size as the "e" (o, c), in place of the e. 

Once I had the letters positioned, I then picked them up with my MISTI and then removed the "e". I removed the "e'' so I could easily ink up the "C" because I want to ink each letter in a different color. 

I stamped the "C" on my first panel in my light pink (Ballet Slipper) and then I stamped the "C" on my second panel in my dark pink (Sparkling Rose). 

Next, I repositioned my "e" on my MISTI, removed the "C" and "l", and then stamped the "e" in a light red on my first panel and a darker red on my second. 

I will basically repeat this process till I have all my letters stamped and end up with a light rainbowed celebrate and a darker rainbowed celebrate. 

Now that my panels are stamped I then used my paper trimmer to cut my panels in half which is at 1 13/16" for the slimline panel. Next, adhered one of the light celebrate halves with one of the dark celebrate halves onto another slimline panel. I then trimmed the panel down and adhered it onto a gray slimline card base (7 1/4" x 8 1/2", scored at 3 5/8").

I then stamped and white heat embossed a couple sub sentiments with the Simply Sentiments - Hello Stamp set onto gray cardstock. I then trimmed the sentiments down and then adhered them to my card front with foam adhesive. 

And that's it! I hope you enjoyed my cards! Thank you so much for stopping by!

~Channin

Supplies:
Tuesday, August 11, 2020

Positive Print Turnabout with Ceal


Hello Everyone, 
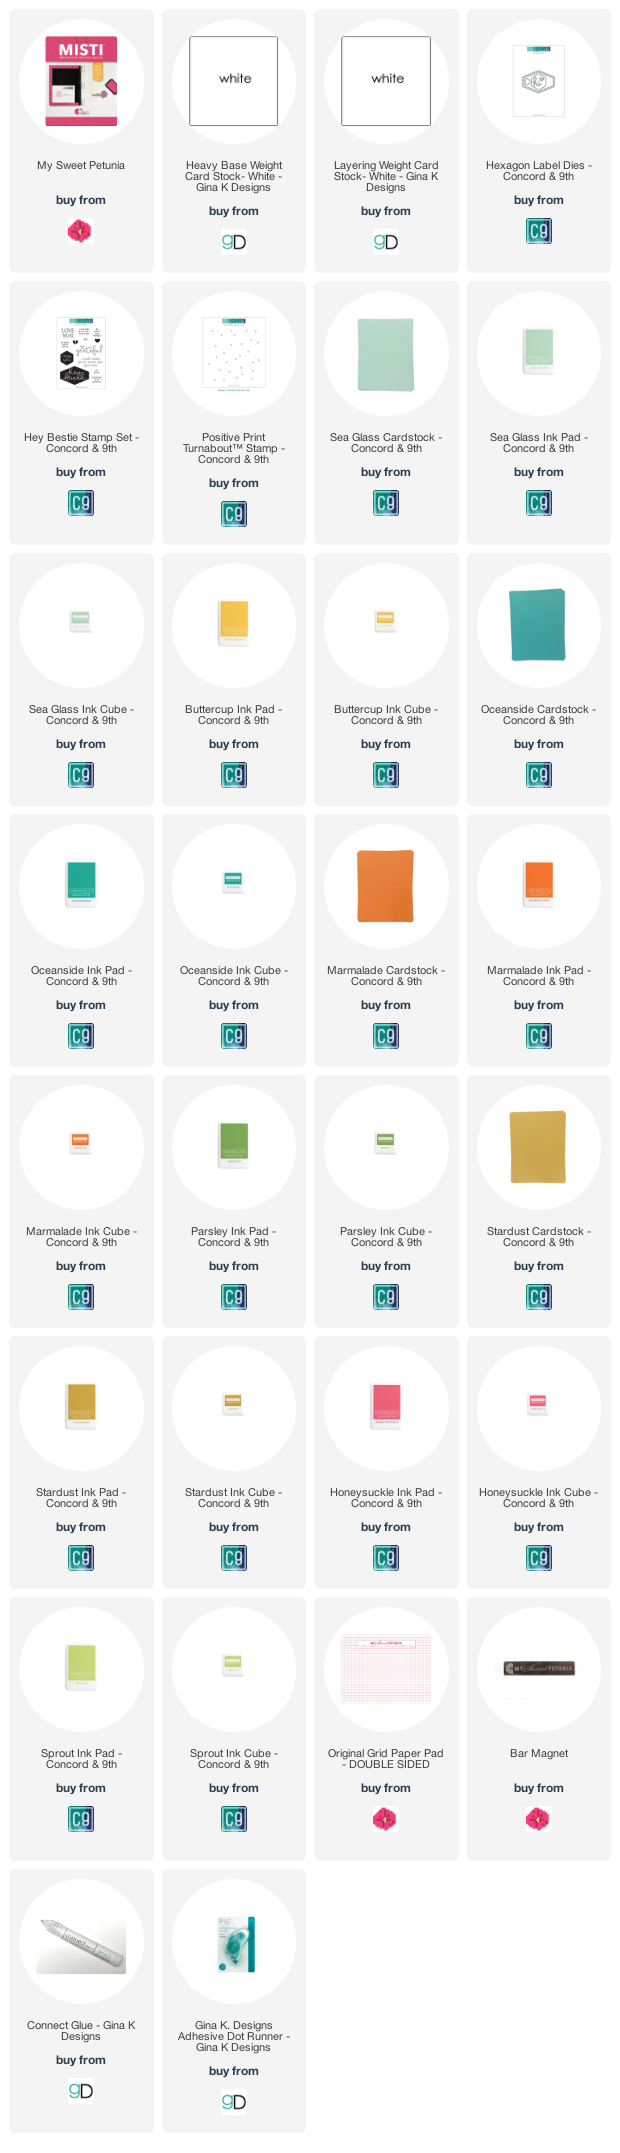
It's Ceal here. Today I am sharing a couple of cards created with the Positive Print Turnabout
I love turnabout stamps, they were created specifically for the MISTI and they are so fun to use. You can get different multiple backgrounds out of one stamp just by changing the colors or the number of times you stamp it. For both of these card I stamped it all four turns but I used two different color combos. 
I am sending these off to friends so I used the Hey Bestie stamp set along with the Hexagon Label dies.
 I also used their new inks which I love! 


These card were super fun as the MISTI and C9 turnabouts always are!


Below you will find links to the products used. Click the picture to start shopping. Compensated Affiliate links are used at no additional cost to you. Your support helps me to keep bringing you new projects and I appreciate that so much!  

Thank you!