Thursday, October 27, 2022

Teal MISTI Inspired

 Hello, everyone, Angie here! I am featuring a couple of cards today.  In previous posts I have mentioned how much I love having more than one MISTI; today, I will show why.  


*** Affiliate links used in this post.  When you shop through my links I receive compensation at no cost to you. Thank you so very much!***

In my new Teal MISTI, I placed a piece of cardstock and then drew a diagonal line with one of the triangles from the Creative Corners set.  Next, I placed the sentiment stamp on the pencil line and closed the MISTI lid.  I erased the pencil line and then stamped the sentiment twice for a crisp impression. 


For the next step, I positioned the corner magnets in the corners of the MISTI.  This enabled me to stamp leaves off the edge of the cardstock.  Now you will see my "Double MISTI tip" in action.  I placed my cardstock in the Black MISTI and stamped leaves randomly around the sentiment.  


The first card I created with the above method was the orange card pictured in the next photo.  Because the sentiment stamp was still in the first MISTI, it was easy to create another card inspired by the TEAL MISTI!  :)


Thank you so much for stopping by!  

Today's Featured MISTI Tools

IO Stamps


Wednesday, October 26, 2022

Starry Snowman


Hello everyone! Anna here! The card I’m sharing today was made using the new Starry Snowman image and one of my favorite stamps called Montana Sweetheart, both from Whipper Snapper Designs. 


I stamped the snowman on watercolor paper using a permanent black ink. I stamped Montana Sweetheart randomly using Distress Ink in Vintage Photo to add some visual interest to the background. I splattered some gold watercolor pigments over the card once everything was painted and assembled. I love the look of the gold splatters over the image!

Using a Mini MISTI is my favorite way to stamp on watercolor paper. The texture of watercolor paper can be challenging to get a good impression without making multiple impressions. Thankfully, the Mini MISTI allows me to stamp an image several times, giving me the perfect impression for every project!

Thanks so much for joining me on the blog today!


Tuesday, October 25, 2022

Sticky Mat Stamping Tricks


Hey card making friends, thanks for stopping in.  It's Sandi MacIver here and in today's new card making video I share some card making tricks I use almost daily using my
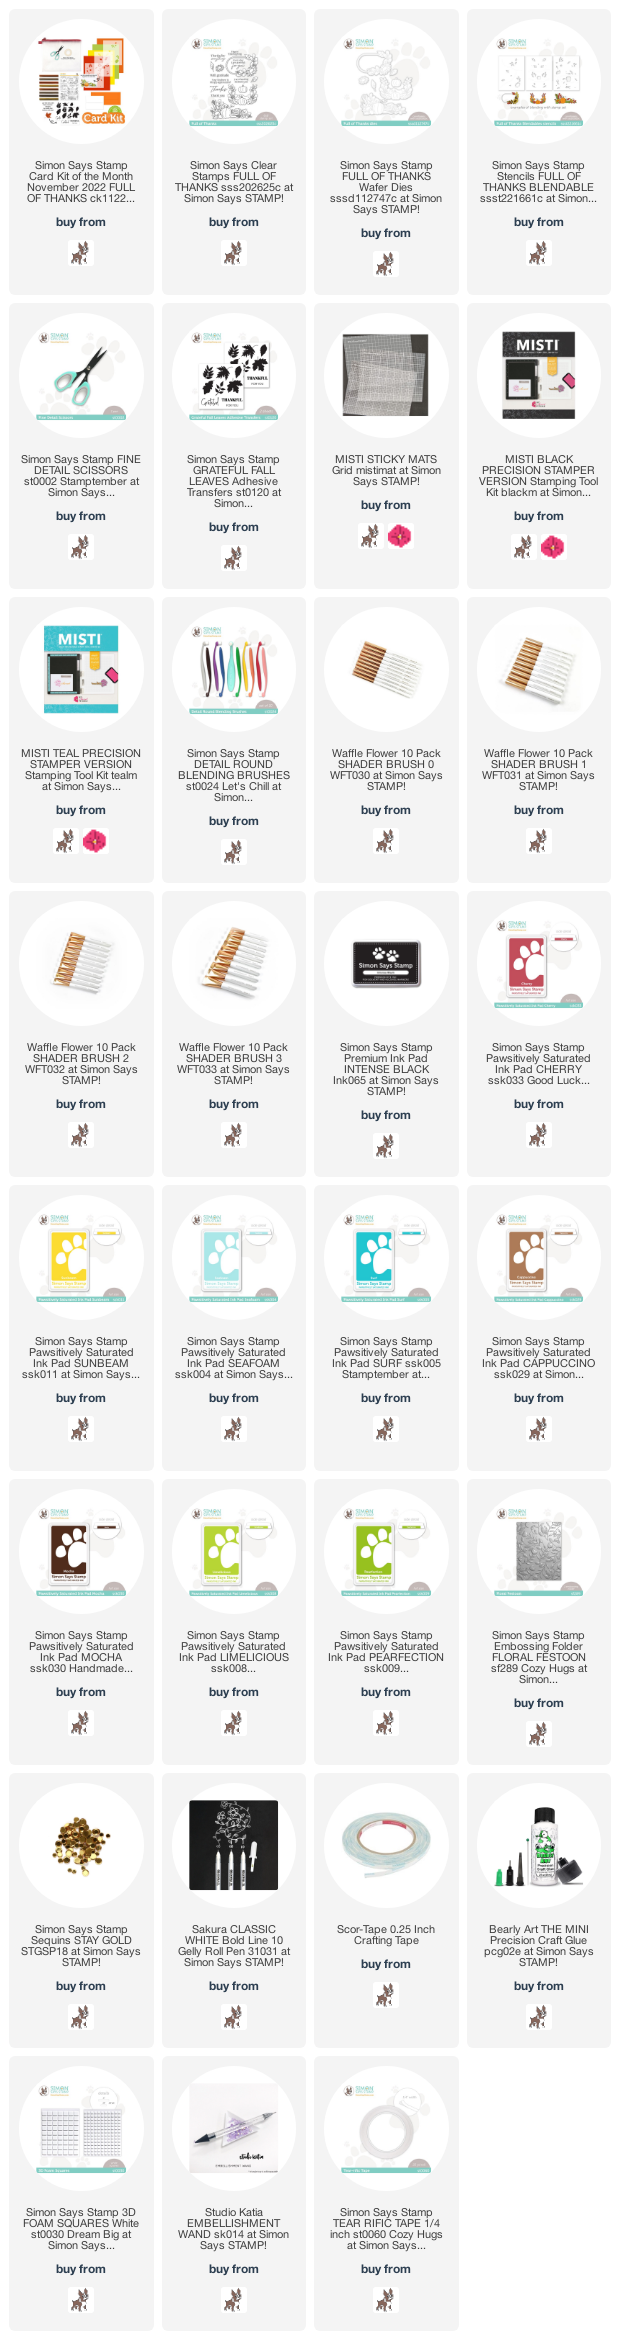
 MISTI STICKY MATS


Like many of you I use my Misti daily and I have come to love and depend on my Sticky Mats for many different uses in my stamping studio.  While making today's card, I share 3 - 4 different ways I use the STICKY MATS to help make my card making experience easier.   

PLEASE NOTE: This post contains affiliate links. See below for my full disclosure


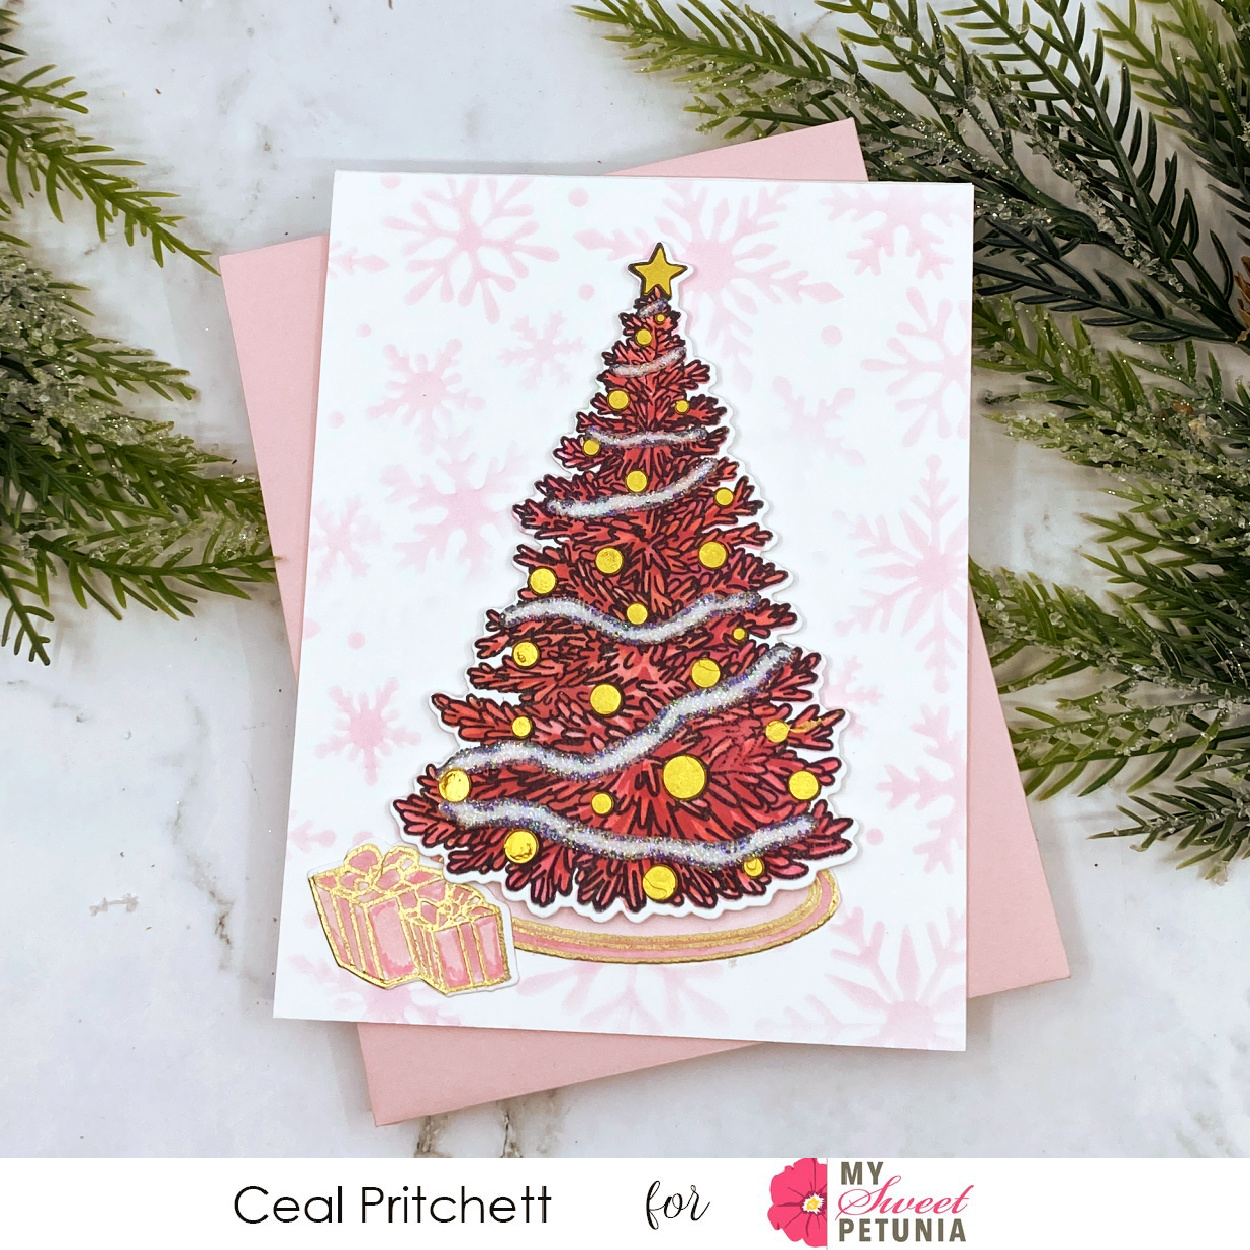
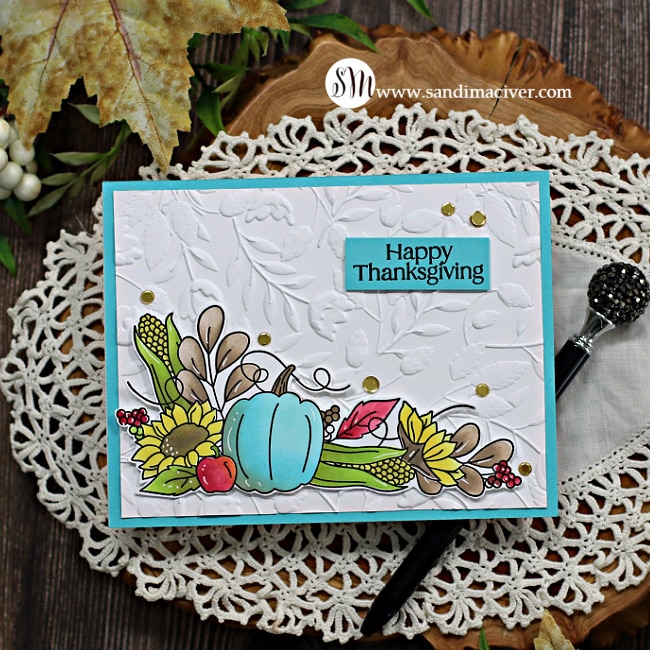
Today's card project is created with the November Card Kit from Simon Says Stamp.  There are some great products in this kit again this month and while I only used a few of them to create this pretty card, I'm hoping to circle back at a later date and play with more.    


handmade thanksgiving greeting card with a blue pumpkin created with new card making supplies from Simon Says Stamp

Creating the November 22 Full of Thanks Card Kit Card:

Firstly, I'll keep the instructions short as I share a video and PDF download covering all the details.

Start by using the Full of Thanks Stamp Set and coordinating stencil to create the art piece.  

Next, fussy cut it out with the NEW Simon Says Stamp FINE DETAIL SCISSORS.  

Finally, created a card base using the Floral Festoon Embossing Folder.

 handmade thanksgiving greeting card with a blue pumpkin created with new card making supplies from Simon Says Stamp

Watch the Video:

In today's video, I share how I use the stencil and detailed blending brushes to add color, shadow and depth to the simple stamped image. You can use these same steps for all three of the main images in the stamp set, as the coordinating stencil set has 3 stencil sets, one for each image. 

I also share 4 different tips on how to use the Misti Sticky Mats in your daily stamping


You can view the video in HD over on my YOUTUBE CHANNEL

November 22 Full of Thanks Card Kit Card making Video  

Supply List and Cutting instructions for the November 22 Full of Thanks Card Kit Card

You can visit my blog to download a free PDF file for today's card to go along with the video. The PDF contains all the cutting instructions and complete supply list for today's card.


Card Making Supplies used for the Simon Says Stamp November 22 Full of Thanks Card Kit Card:

Here are the products I used today.  Compensated affiliate links used  where available at no cost to you. Clicking on a thumbnail link and shopping supports my website and allows me to continue bringing you new projects and videos.  Thank you for your support.  Affiliate and product disclosure are found on my disclosure page.  All products were personally purchased except for Simon Says stamp November 22 Full of thanks Card Kit which was provided/sponsored by the company.  As always, I was not paid to do this post.  I only use and recommend products I love.  Click on the icons below each product picture to go to my favorite stores.


Thursday, October 6, 2022

Celebrating You!

Hello, creative friends!  Angie here with a sweet project dear to my heart! Our firstborn is getting married in a few days, and his fiance loves daisies. One of my favorite things about cardmaking is that I can tailor my project to the recipient!
 
  I have mentioned before that one of the MISTI superpowers is stamping on watercolor paper; it's never more true than when working with a large stamp.  I  reinked this large stamp several times to get a clean image on the textured 100% watercolor paper.  The MISTI made it easy to create this unique gift.

 I painted the flower centers with Quinacridone Gold. Once the centers were dry I painted the flower petals with clean water, one flower at a time.  Next, I dropped Paynes Gray near the flower center and dabbed the color away when it flowed too far down the petal.  For the stems, I used a green mix already in my palette.  Lastly, I loaded my brush with Paynes Gray for splatters.  Once again, the MISTI made quick work of the sentiment even with its bold lettering in the first word!

 
 *** Affiliate links used in this post.  When you shop through my links I receive compensation at no cost to you. Thank you so very much!***

The Black Original MISTI is in my house and at the store! You can find it HERE!


Also used in the making of this card:

Mini MISTI (sentiment stamping)


Thanks so much for stopping by and taking a look!


Wednesday, October 5, 2022

Gingers & Candy Canes on Watercolor Paper


Hello everyone! Anna here! The card I’m sharing today was made using the new Gingers & Candy Canes image recently released from Whipper Snapper Designs. 


Using a Mini MISTI is my favorite way to stamp on watercolor paper. The texture of watercolor paper can be challenging to get a good impression without making multiple impressions. Thankfully, the Mini MISTI allows me to stamp an image several times, giving me the perfect impression for every project!

I created a video showing how I used the Mini MISTI to create a card using the same techniques used on today’s card. Check it out!


Tuesday, October 4, 2022

Team Tuesday With Hero Arts


Hello friends!
Welcome to Team Tuesday! 
It's Ceal, here. Today I am sharing a couple cards using a Hero Arts set that I made quite a few cards with. I am sharing two of them here today on the My Sweet Petunia blog and if you follow me on my personal blog, Simply Beautiful I will share more there.

To make the first card I started with a top folding white card base, a white panel and a black panel for the mat. I created a brick background using the cobblestone stencil with Fired Brick distress ink.
I stamped the Christmas tree in the Original Misti and then used one of the sticky mats to hold it while I colored it using the stencil. I used some of the Berry Hero Wax for the baubles and some Hero Glitter Paste for the garland. The presents I stamped and colored using OLO markers.


The second card I started with a white top folding card base and ink blended Spun Sugar directly on the card base using the Snowflake stencil. For the baubles on this tree I used Gold Hero Wax and Hero Glitter paste for the garland. I embossed the present and skirt with gold embossing powder and then colored them using OLO markers.

All products are linked below using affiliate links at no extra cost to you.