Tuesday, November 30, 2021

Merry & Bright with Ceal


Hello everyone and welcome to another edition of Team Tuesday.
It's Ceal, here. Today I am sharing a couple merry and bright holiday cards. 
The holidays aren't always the best for some folks so I thought that I would share some cheery cards. 
To create these I started with a top folding card bases, white panels and the Original MISTI 2.0
The top card I used the emboss resist technique. I love using the Misti for arranging stamps and being able to emboss all of them at once. After I embossed them with white embossing powder then I ink blended the panel with Atelier inks in rainbow order.

The second card I left the stamps in the position that they were on the Misti and then added different inks to each.  I used a clear envelope and created a shaker the easy way without foam tape. 


All supplies are listed below with affiliate links.  I appreciate you using them if you shop. 


Friday, November 26, 2021


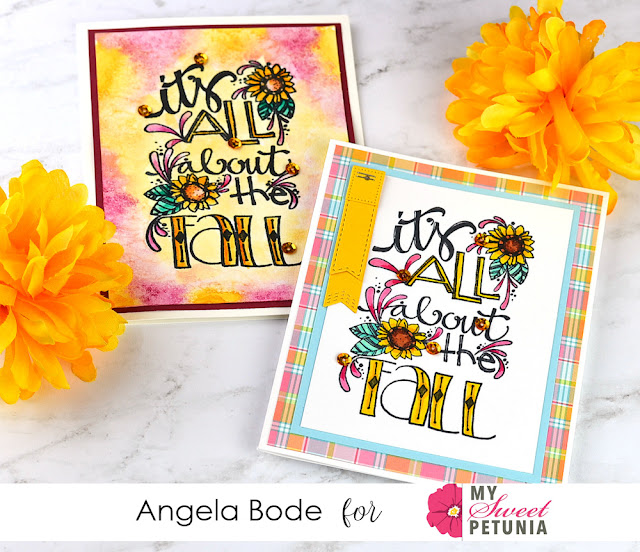
Hi cardmaking friends.  Sandi MacIver here and today I have a Buffalo Check Tartan Video and 4 completed cards to share with you.  

The video is super short, but it's the easiest way to show you the technique.

 All you need is the Buffalo Check background stamp from Hero Arts, a black and red Tombow Marker and a White Gel Pen to make these fabulous backgrounds.  

I needed some masculine Christmas cards which caused all this, haha  All of my previous pink cards are just not going to cut it.  


  four handmade greeting cards with buffalo check tartan backgrounds and a masculine theme using card making and paper crafting products from Hero Arts   
 Using White and Sand card stock from Hero Arts the Buffalo Check is stamped using a Misti stamping tool and then the tartan is applied with the markers. 

Watch the video over on my YOUTUBE CHANNEL with detailed instructions on how to create this masculine and very easy background effect.  

Then use the tutorials below to create these awesome Masculine Christmas Cards with the backgrounds.


   masculine handmade Christmas card with a Buffalo Check Tartan background and a birdhouse created using paper crafting products from Hero Arts  

Buffalo Check Tartan Card #1

Use the Buffalo Check background stamp, the Christmas Robins stamp and die set and Nesting Oval Dies. 
Next, color the images with copic markers and cut them out with the coordinating dies 

Finally, add them to the Buffalo Check Tartan background. 

NOTE - All of the Buffalo Check Tartan backgrounds are cut as follows: 
 Tartan:  3-1/2 x 4-3/4 
 Mat:  3-5/8 x 4-7/8 
 Card Bases A2 sized, either top folding 4-1/2 x 11, or side folding 5-1/2 x 8-1/2


masculine handmade christmas cards with a Buffalo Check Tartan background, large die cut sentiment and birds created with paper crafting products from Hero Arts

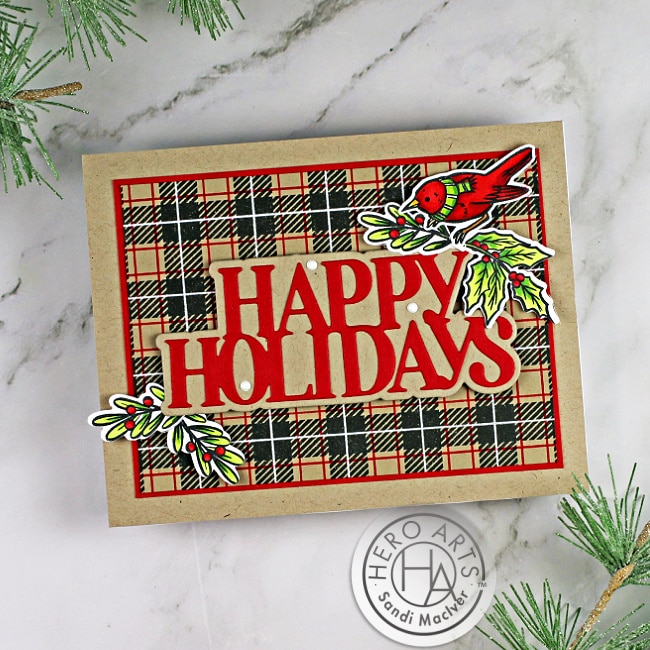
Buffalo Check Tartan Card #2

Use the black tartan background for this one. 

Next, cut the sentiment using the Hero Arts Christmas Holidays Stamp and Cut set. 
 
Please note, the Merry Christmas in this set, is a bit too wide for these cuts. 

Finally, embellish with a bird and flora created with the Christmas Robins Stamp and Die set.
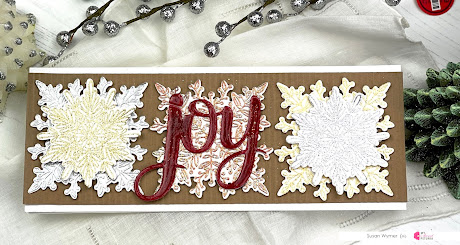
 

masculine Christmas Cards created with a Buffalo Check Tartan Background and large christmas ball using card making products from Hero Arts 

 Cards 3 and 4 Use the black and red tartans stamped onto white for the bases.

 Next, do the two layer stamping with the Color Layering Merry Christmas stamp set from Hero arts to create the decorative Christmas balls. 

 Finally, gold emboss the topper, and add to the card before attaching it to the card base.


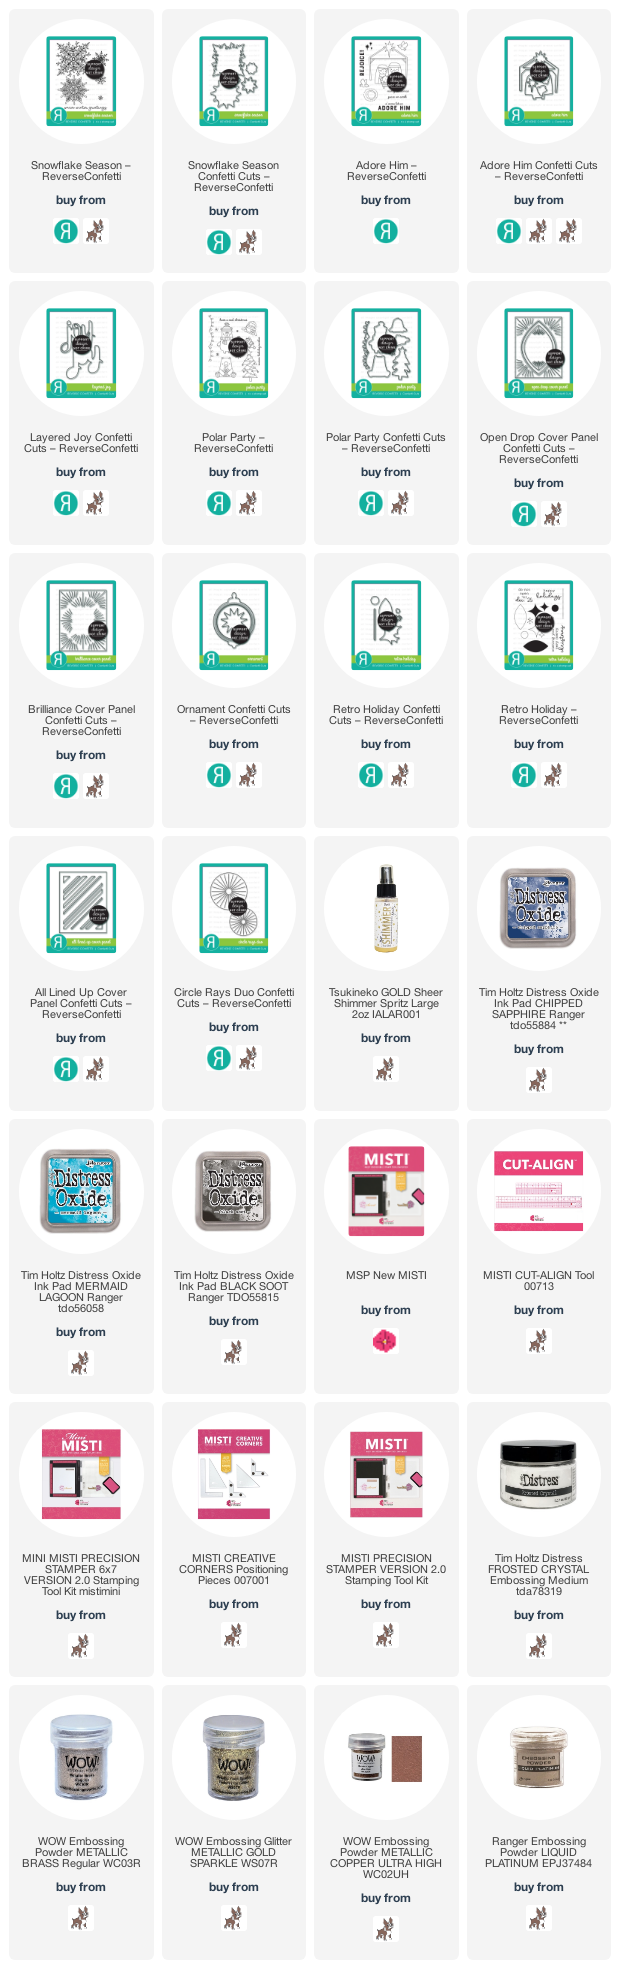
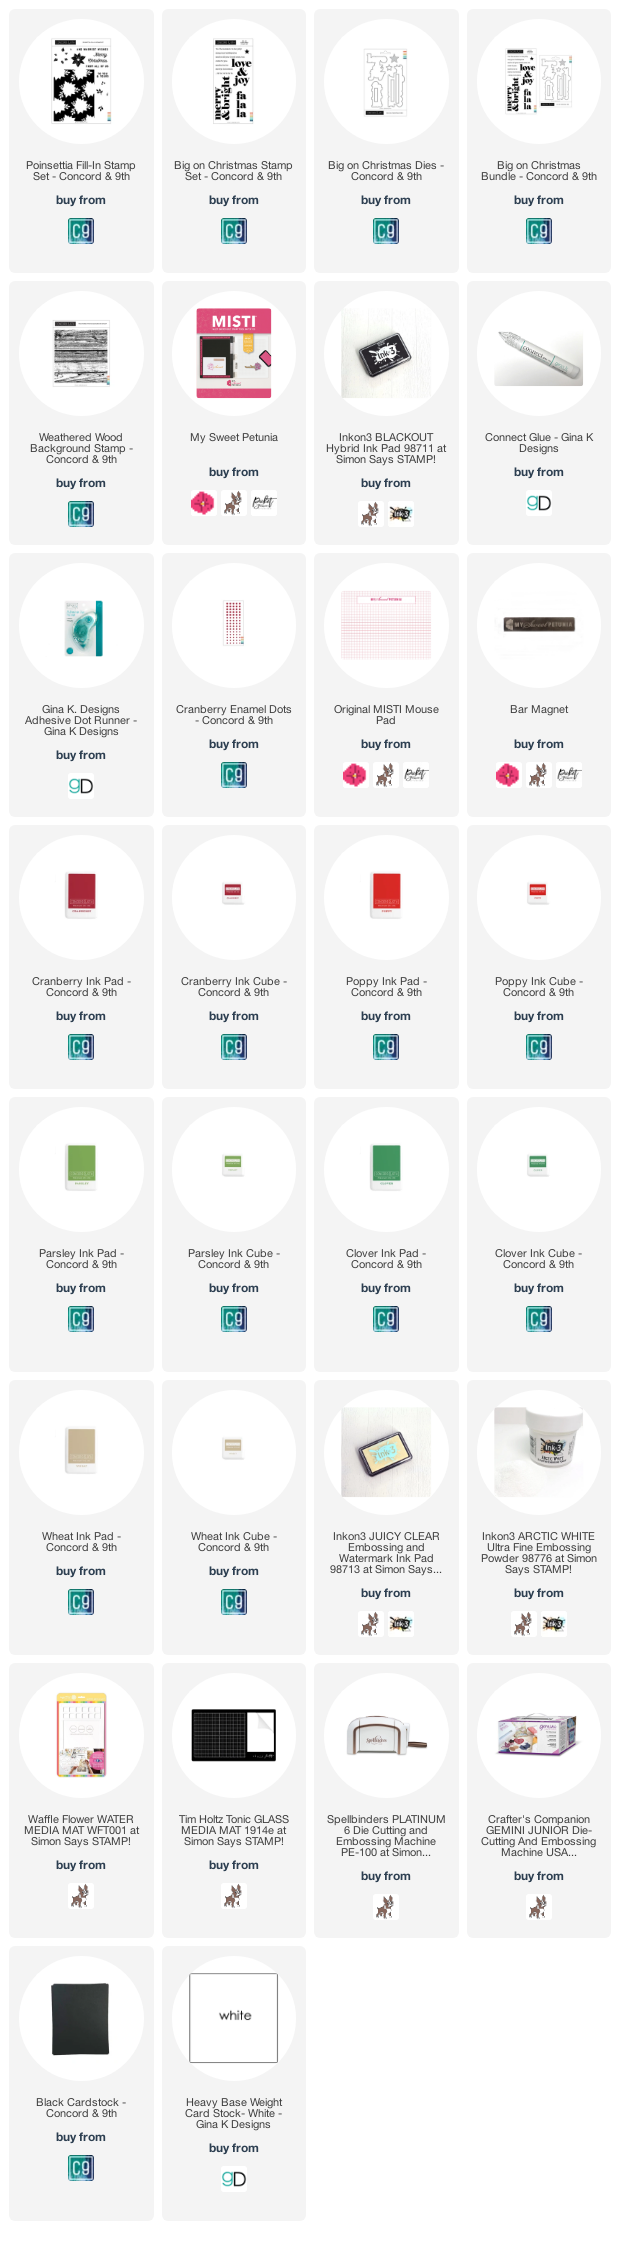
used for the Buffalo Check Tartan Cards:

Here are the products I used today.  Compensated affiliate links used  where available at no cost to you. When you click on a thumbnail link and shop you are supporting my website allowing me to continue bringing you new projects and videos.  Thank you.

Thursday, November 25, 2021

Happy Thanksgiving plus a Black Friday Special

Hello, and Happy Thanksgiving to those of you residing in the US! 

 I (Angie) chose this pretty fall stamp that had not been inked yet.  Once it was on the MISTI, I decided to make multiples!  I stamped one version on cardstock and one on watercolor paper for two very different looks.


I added some pretty plaid paper in the background. Banners and sequins finish off this version.


  To create the background for this next card, I randomly added water and paint.  Next, I sprinkled the wet paper with salt.  I let the salt dry overnight and then I stamped the image and painted it.

  The MISTI makes it quick and easy to stamp multiples but I also find it invaluable when stamping on textured watercolor paper!  This sentiment stamp has a lot of solid lines that require repeat stamping on textured paper.  The MISTI to the rescue!  

My idea of a fun Black Friday is shopping early, at home with my computer! Standing in long lines is not my idea of fun.  Through the 29th you can do just that at My Sweet Petunia!  If you like to share your wishlist with friends and family, My Sweet Petunia made it easy as can be.  No coupon is needed, just head on over to the store, your savings is added at checkout!  


Thanks so much for stopping by today!  All of us at My Sweet Petunia are so thankful for you!  Wishing our US friends a very Happy Thanksgiving!

Here is what I used on today's cards:


Wednesday, November 24, 2021

Snowflake Wishes with Judy

Hello everyone!

Have you had your first snow yet? Maybe you live in a place where snow is rare (I would love that). In any case, while I don't like the snow and cold weather, I do love making snowflake cards. 

A few weeks ago I (Judy) headed to sunny southern Arizona, where snow is rare. But my sister and I had a blast making several backgrounds using the Elegant Snowflake Stencil from A Colorful Life Designs. I had purchased the Catherine Pooler Paradise Found Mini Ink set for us to play with, and we had fun trying different colors and depths of color with the stencil.


I love to use my Memory MISTI to hold stencils in place and keep them straight. The magnets work wonders and I am not spending a lot of time taping up the stencil sides. I use a tape loop on the back of my card, and place the stencil in the corner. It makes it quick and easy!


For this card, I chose the lighter of the blue backgrounds, and added a sentiment from one of my sister's stamp sets (SU!) in her stash. I used my Mini MISTI and placed the background in the corner, stamping the sentiment with my favorite black, VersaFine Clair Nocturne. So crisp!  

I have brighter lights in my studio than she did on her living room floor (first photo), but the color gradient is really the same IRL. I offset the front panel for interest. A clean and simple, quick and easy card for Christmas! And no cold or real snow in making it!

I wish all of my US friends a wonderful Thanksgiving tomorrow -- BUT before I go - CHECK THIS OUT:

Don't miss the AMAZING 25% off sale this weekend at My Sweet Petunia! What a deal! You can find more of my projects at @joy_in_a_jar. Thanks for stopping by!


Thursday, November 18, 2021

Thank You On Repeat with Ilina

Hi everyone!
Ilina here! Today I am sharing a clean and simple card using couple Catherine Pooler Stamp sets and of course my MISTI.
To make the card I started with a piece of Premium White card stock and using my MISTI stamped the Thank You sentiment from the Thank You Many ways set in the middle using Cummerbund, Shea Butter, It's a Girl and Midnight inks. Once stamped I trimmed the panel to 4" 5 1/4". Next I stamped a butterfly from the Take a Flight set in Midnight and die cut it. Added to the panel and adhered to a white note card. 
Thank you so much for stopping by. Hope you have an amazing day!

Tuesday, November 16, 2021

Snowflakes, Heat Embossing and the MISTI: A Few of My Favorite Things


Hello and welcome to the My Sweet Petunia blog for Team Tuesdays. This is Susan. Today I will be using my MISTI with a new set from Reverse Confetti called Snowflake Season. I also used Layered Joy Confetti Cuts. This project really started out with my wanting to label and organize my heat embossing powders. I have a lot. I would really like to have a sample of what each powder does. 

Using my standard MISTI and 3.5" x 3.5" squares of Neenah Solar white, I repeated stamped the largest snowflake using Versamark Ink. I then went through and embossed the snowflakes with different embossing powders. I ended up with about 10 snowflakes from this session. However, after seeing how pretty they were I had to die cut them to make several cards. I am hoping to get back to swatching out my embossing powders. Using my MISTI certainly makes this daunting task a lot easier. I will post my swatching on a future post. 

Thanks for stopping by;
Susan

Products Used: I am using compensated affiliate links at no further cost to you. I make a small commission on each sale. The stamps and dies were given to me by Reverse Confetti for work purposes. 

Thursday, November 4, 2021

Holiday Tags with the MISTI

 Hello!  
Angie, here with penguin tags! The idea to make tags came to me from a Falliday Fest Challenge at SCS.


  The pretty stitched tag from Impression Obsession creates a gorgeous CAS tag without a bunch of fuss.  I placed the penguins in the New MISTI and stamped them onto the center of the tags.   I selected four penguins and stamped them twice for a total of eight tags.   I really could have just kept going once I had the stamps positioned, I could have made all the tags I would ever need!  


Grab a handful of tags and place your favorite stamp in the New MISTI and before you know it you will have enough tags made for all your holiday gift-giving!


I hope you feel inspired!


    Tag and Penguins from Impression Obsession.


Tuesday, November 2, 2021

Team Tuesday with Ceal

Hello Everyone!

It's Ceal, here with a Christmas card for team tuesday.

To create this card I started with a top folding white card base and a white panel and some stamp sets by Concord & 9th. 

I inked up the image from the Fill in Poinsettia set with Wheat ink and then used the Weathered Wood background stamp to kiss it (laid it on top and removed it). Next using the Misti 2.0 I filled in the flowers, leaves and berries. I tell ya if I didn't have a Misti, there is no way I could have used this set as it was tough for me even with the Misti. The greeting I used is from the Big on Christmas stamp set and i added some enamel dots to finish the card.