Thursday, January 27, 2022

Chemistry & New MISTI Sticky Mats!

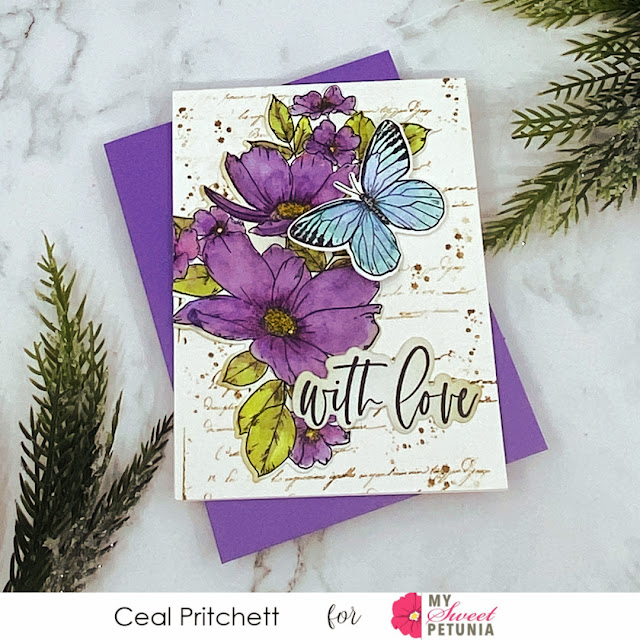
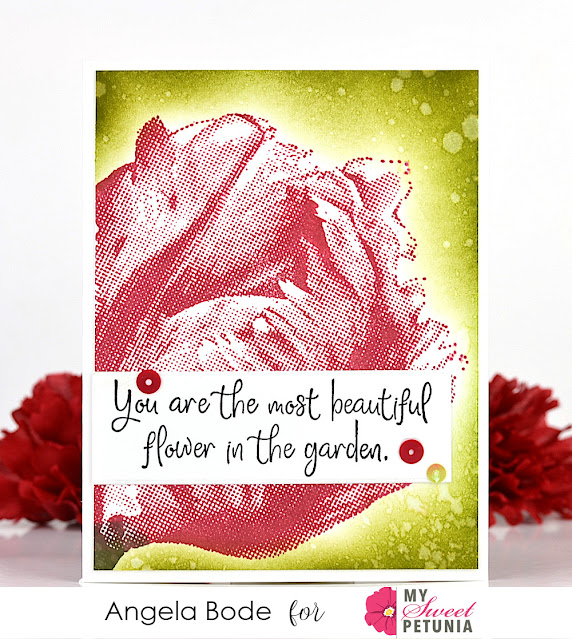
Hello!  February is almost here; it's a great time to think about the people we love. 

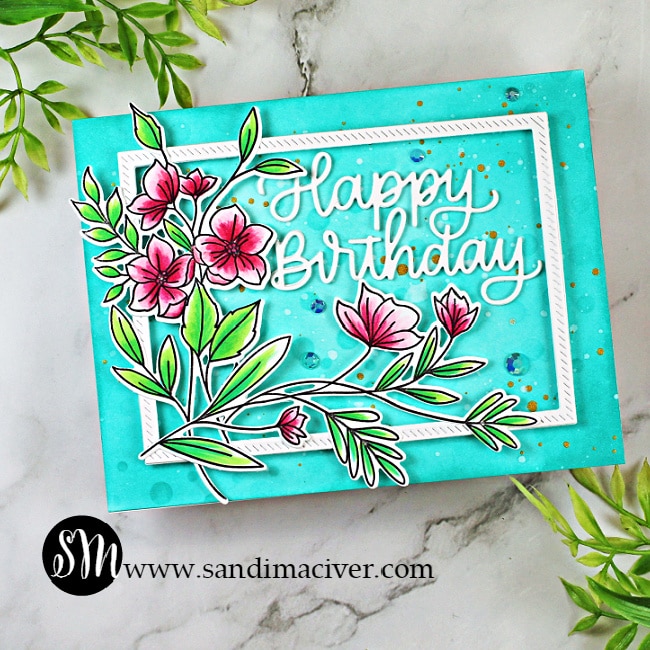
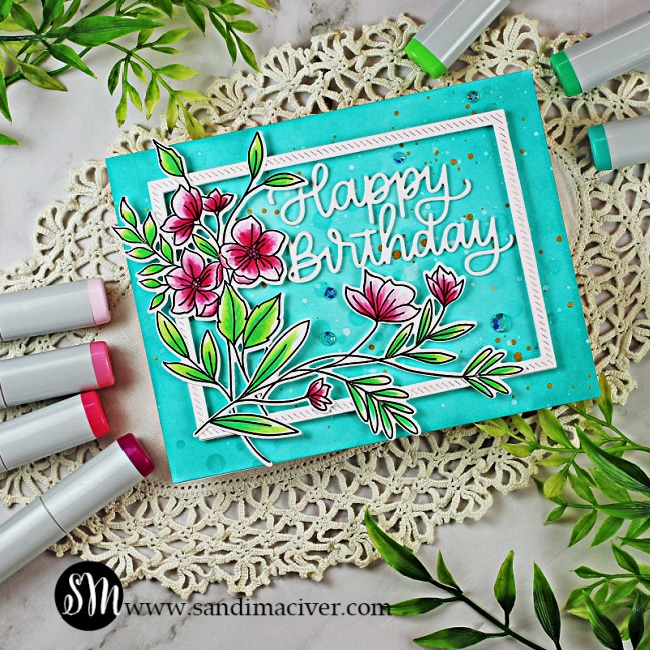
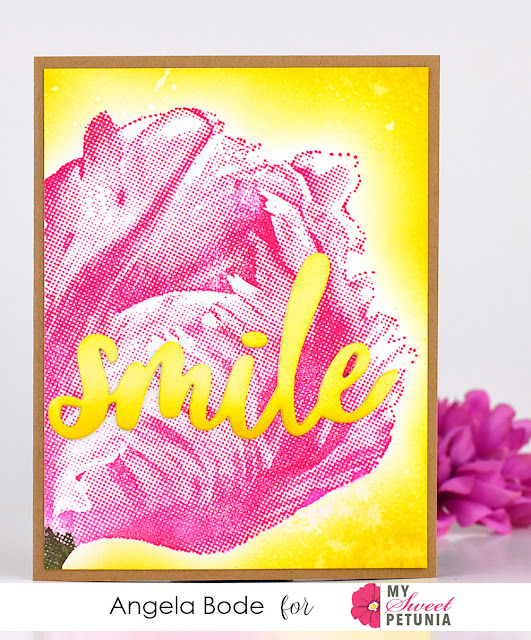
First, I am featuring a fun card for that special love in our lives.  Secondly, I get to show off the new MSP Sticky Mats!  The Sticky Mat is a time-saving tool you will want to add to your collection.  I really like it for stamping large background stamps as it holds the paper in place even when stamping multiple times.


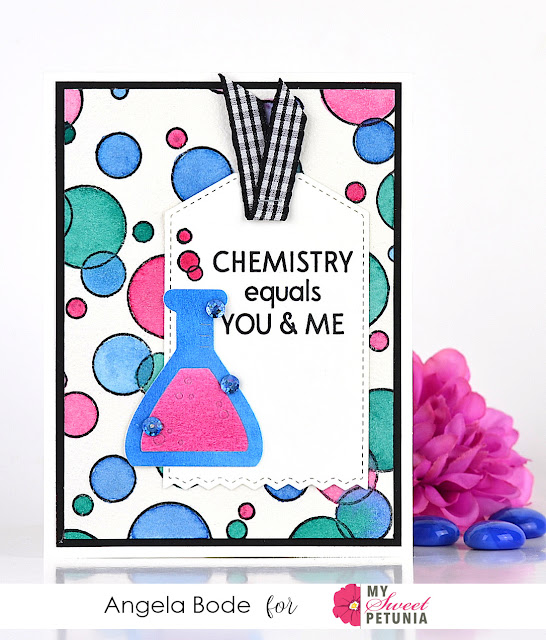
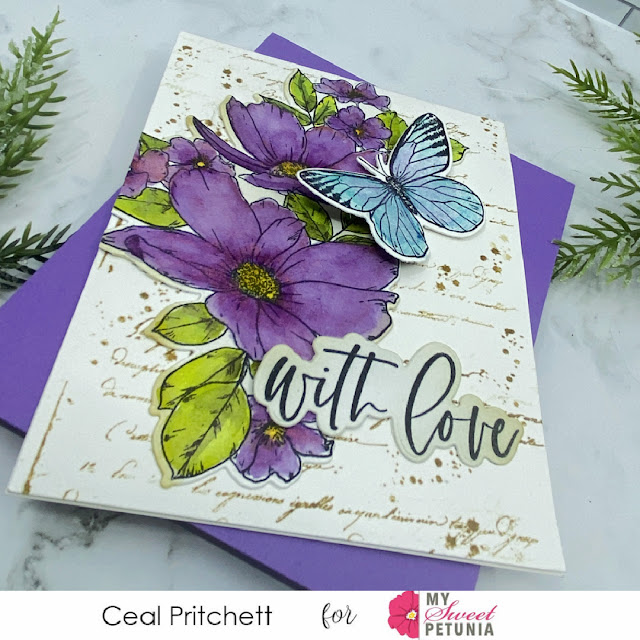
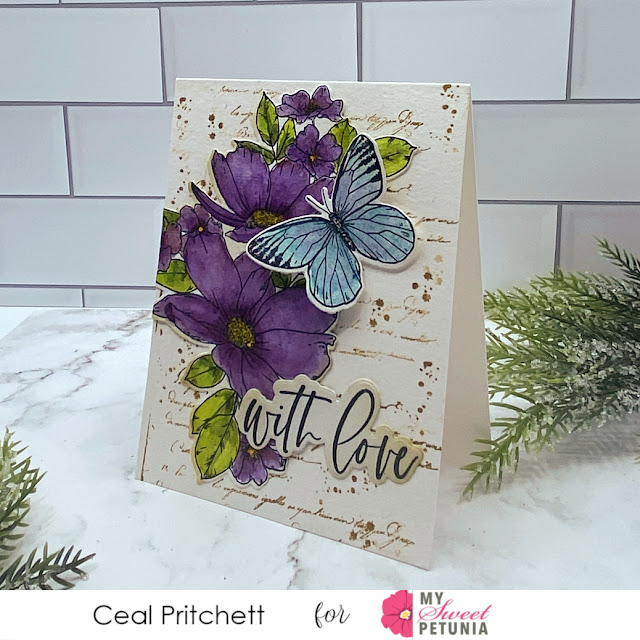
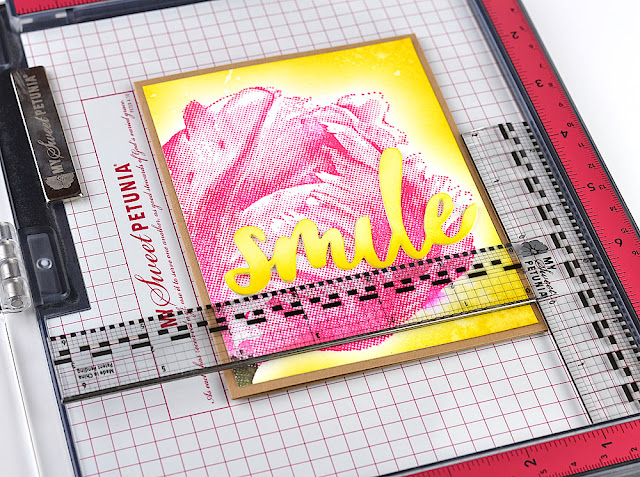
First, I pulled off the plastic liner that protects the sticky part of the mat.  Next, I placed the centimeter grid inside the MISTI, sticky side up.  A piece of watercolor paper was placed on the sticky mat next a couple of centimeters away from the edge.  I love that the watercolor paper did not move even though I stamped the background multiple times to get a good bubble impression.  As always, I used the Original MISTI for the main image and a Mini MISTI to stamp the sentiment.  I like to keep my stamps in the MISTIs until I am completely done with the project.  


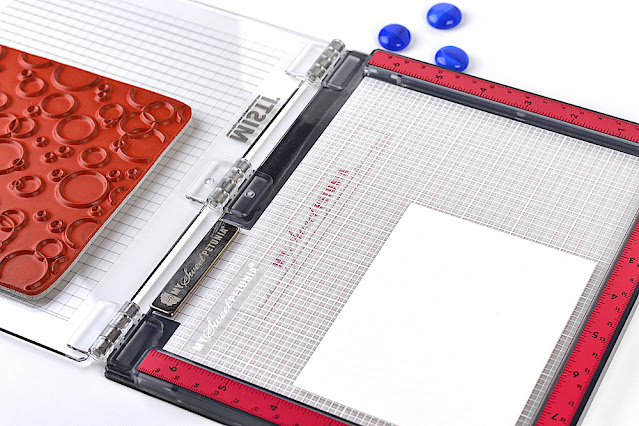
The Sticky Mats are sold in a three-pack including quarter-inch, an eighth of an inch, and centimeter grids.


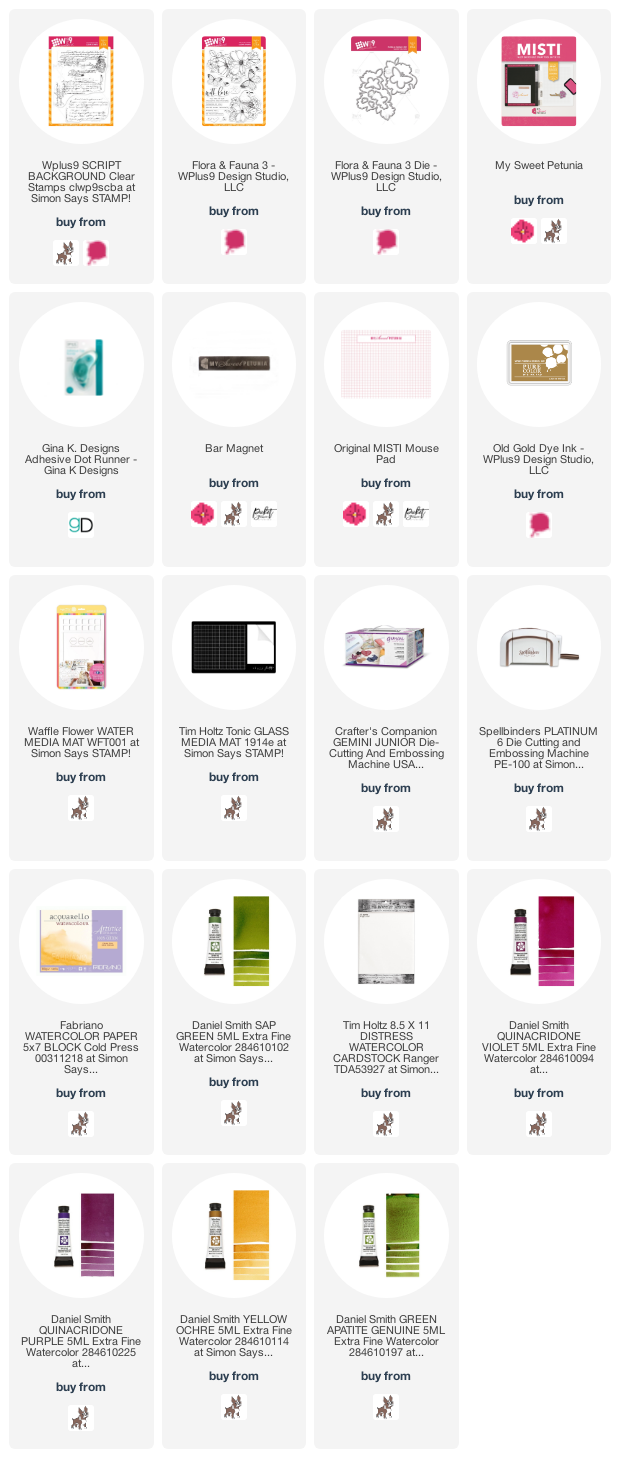
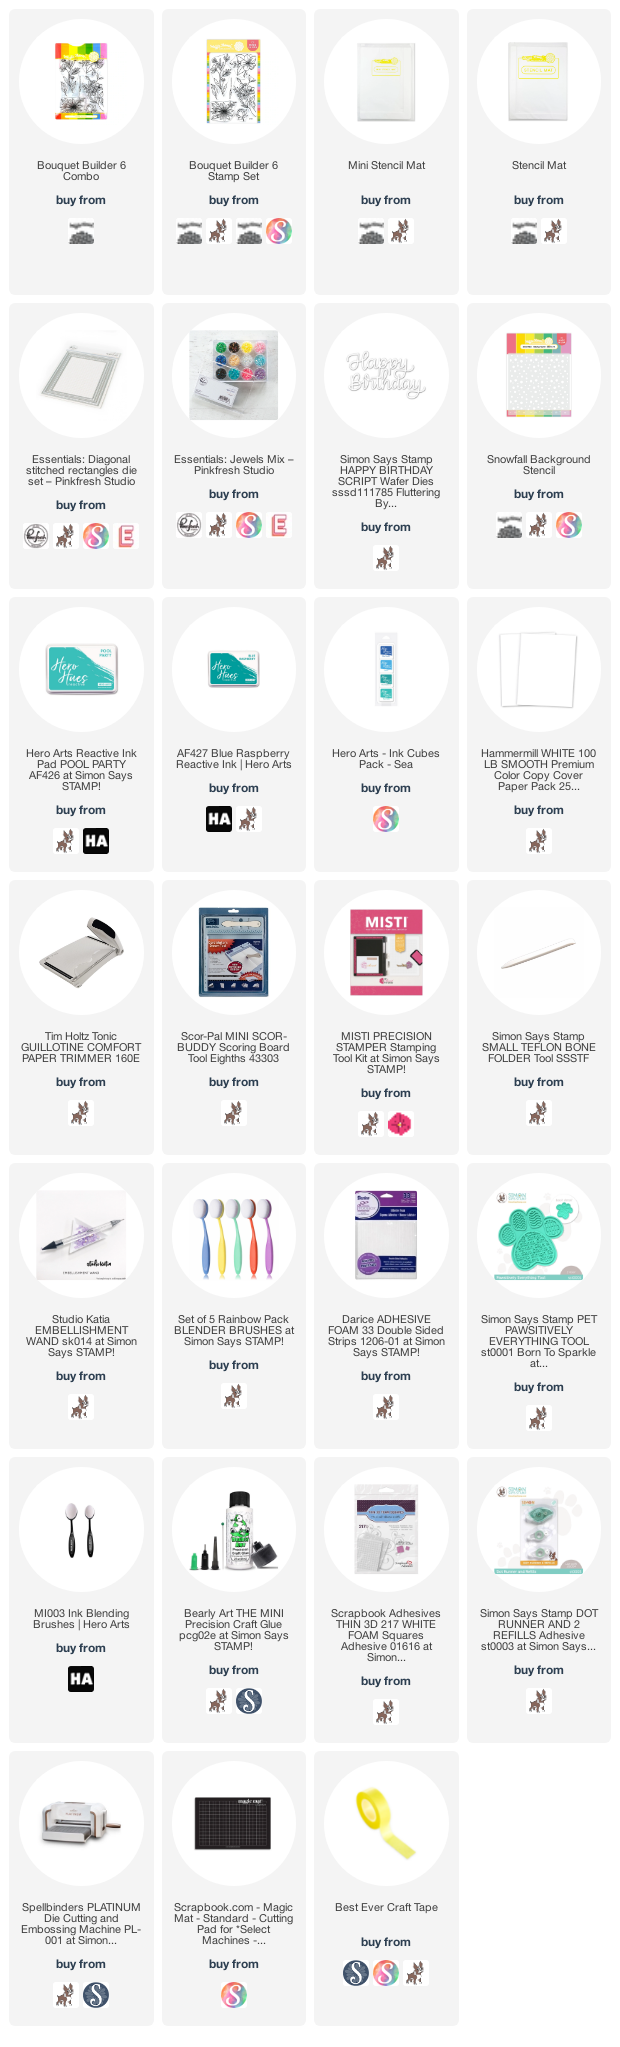
Below, I have linked all the products featured today.  Affiliate links are used when possible which means I earn a small commission when you purchase after clicking a link with no added cost to you!


Tuesday, January 25, 2022

Team Tuesday with Ceal


 Hello Friends! 
It's Ceal, here for  another edition of Team Tuesday. 
Today I am sharing a vintage Valentines card using some Wplus9 products. 


To create this card I started with a watercolor paper card base and a panel of watercolor paper. I placed the card base in the Original Misti and stamped script  using Old Gold ink. I also added some splatter stamped with Old Gold as well.
 I stamped the floral and butterfly images with Versafine Nocturne ink on the watercolor panel and painted  them using Daniel Smith watercolors. Next I cut them out using the coordinating dies. I inked around the edges of the sentiment with Old Gold as well to tie it in.


All products are linked below using Affiliate links where possible at no cost to you but a little commission for me when you shop using them.


Tuesday, January 18, 2022

Waffle Flowers Birthday Card


Hi friends and welcome back.  It's Sandi MacIver here and I have a new card making technique video to share with you.
This card is created with paper crafting products from Waffle Flowers and PinkFresh.  The video starts with a quick copic coloring tutorial on the florals and then moves on to an Ink Blending and Splatter Background Technique using Hero Arts Reactive Ink Pads. 

It's a start to finish card tutorial. 

This card was also created for the Misti Monday Challenge for January over on the Splitcoast Stampers Site.  The challenge this month is to Use Pink on Your Cards to express your gratitude for your Misti and the My Sweet Petunia Company.  

I use my Misti many different ways in today's video and I love it and appreciate having it so much.  I hope you will join in the challenge.

  hand made greeting card with a teal background and pink florals created with paper crafting supplies from Waffle Flowers

Card Making Techniques Video #85 - Card

Use the Misti to stamp the floral images onto Hammermill white cardstock using Gina K Amalgam Ink (Copic Friendly).
  • Color the image with Copic Markers: Pinks:  RV10, RV13, RV14, RV19
  • Greens:  YG13, G02, G13
Next, use the coordinating dies to cut out the images and set them aside.

hand made greeting card with a teal background and pink florals created with paper crafting supplies from Waffle Flowers

Creating the Background:

Using the Waffle Flower Stencil Mat, ink blend Hero Arts Reactive Ink in Pool Party over the entire surface of the card front. 

Next, go around the edges with the Blue Raspberry Ink. Lay the Waffle Flowers Snowfall Background stencil over the piece and blend more ink through the stencil. 

Finally, splatter the card front with water, then white and gold ink.  Set aside to dry Die cut two frames using the Pinkfresh Diagonal Stitched Rectangles.  I like the added detail in the stitching, it adds so much interest to a card. Attach it with foam tape and then add the florals.

Adding the Sentiment:

The sentiment is die cut three times in white using the Simon Says Stamp Happy Birthday Script die.

 Stack and attach in the top right corner. 
Finally, embellish with gems from the Pinkfresh Essentials Jewel Mix

Here is today's Card Making Tutorial Video #85

Click the image to watch the video over on my YouTube Channel and don't forget to subscribe while you are there.  

Click on the little bell beside the subscribe button to get notifications when I load new videos.  Hope you enjoy the video and please share it with your friends.


Card Making Supplies used for the Card Making Techniques Video #85 :

Here are the products I used today.  Compensated affiliate links used  where available at no cost to you. When you click on a thumbnail link and shop you are supporting my website allowing me to continue bringing you new projects and videos.  Thank you.    

Tuesday, January 11, 2022

MISTI: Switching Up the Look of A Stamp


Hi,
I am up on the blog today and I absolutely had to use my MISTI for this technique. I had so much fun making this card as I used a technique that Dawn Woleslagle has taught a few times on her Facebook Lives. I used Lily Bouquet from Impression Obsession's latest release but I wanted to give this very well-defined stamp a different look. 

First, this is a cling stamp so I removed the foam pad from my standard sized MISTI. I mounted the stamp on the door and using daubers I sponged different colors of Distress Oxides onto the stamp. It is important to really daub color onto the various parts of the stamp. I then misted the stamp all over and then closed the door. I used Vicky Boutin Foundations Mixed Media paper for the stamping. I moved the stamp two more times and repeated the process in order to develop a background piece. This gives the stamp a fun, more modern, water colored appearance. 

Distress Oxides Used:
Dried Marigold, Squeezed Lemonade, Worn Lipstick and Picked Raspberries

I then die cut Smile once from Reverse Confetti's Rose card stock and twice from white card stock. I layered up the die cuts to make a more dimensional die. I stamped the sentiment from Slimline Typewriter sentiments using my MISTI and Versafine Onyx Black ink.

Thanks for stopping by;
Susan

Products Used: I am using compensated affiliate links at no further cost to you.


Thursday, January 6, 2022

T is for Tulips and T-Ruler

 Hello!  It's Angie here featuring a new tulip stamp and the brand new MIS-T Ruler.  I wanted a dark impression from this pixilated tulip so a MISTI is a must!  I stamped this quite a few times to get the rich tones from Sweet Petunia Ink.


The new MIS-T Ruler is a great add-on to your MISTI tool collection!  The ruler fits easily into the original size MISTI.  I placed my card along a grid line and I placed the ruler up against two sides of the MISTI.    Next, I placed the word die along the ruler edge for perfect alignment!  


Well, you know what I always say, If I have a stamp in the MISTI why not make more than one card!  I changed the color combo for the next card and added a stamped sentiment from Impression Obsession.  I always leave my image stamp in my original MISTI until my projects are completed.  With the image occupying the Original MISTI, I always stamp sentiments with the Mini MISTI.  


Wishing you a healthy and safe day!!  Thanks for stopping by!

Featured products:

Original MISTI              Mini MISTI