Showing posts with label layered stamping. Show all posts

Tuesday, May 24, 2022

Layering Roses with Layered Inks

Hello friends!! It’s Channin here and today I’m sharing a bold floral card I created with a beautiful layering stamp set from Honey Bee Stamps. To create the perfect pink rose I employed several tricks to get just the right shade and I can’t wait to share them with you!

To create this card I started with stamping the roses from the Antique Layering Roses stamp set. There are four layers for each rose and for each layer I used a combination of Distress Inks to create the perfect shade. Starting with layer one, I first inked the stamp up with Spun Sugar and stamped twice. I then inked up the stamp with Worn Lipstick but I used a foam blending tool apply the ink to the stamp and then stamped the layer. The foam blending tool creates a lighter application resulting in a lighter shade. 


For the second layer of the roses I inked up the stamp in Worn Lipstick and then stamped. Next, with a foam blending tool I inked it up with Picked Raspberry and then stamped. Then for layer 3, I first stamped the stamp twice in Picked Raspberry and then inked up the stamp with Abandoned Coral and then stamped. For the final layer, I first inked up the stamp with Picked Raspberry and stamped three times. Then I inked up the stamp with Candied Apple and stamped twice.


Next, I stamped my leaves. For the first layer of the leaves I stamped them in Shaded Lilac. I then inked up the upper third of the leaf with Blueprint Sketch using a foam blending tool and stamped again. Next, I ink up the second layer of the leaf in Shaded Lilac and stamped twice. I then inked up the layer with Blueprint Sketch using a foam blending tool and stamped again. For the last layer, inked it up in Blueprint Sketch and stamped three times. 


After I had stamped all my roses and leaves I then die cut them out with the matching dies. I then created a watercolored background on Bristol paper with Tombow Dual Brush pens. When the panel had dried I then adhered it to the front of an A2 top-folding white card base. Next, I created a sentiment by first die cutting “BIG’s” out of white cardstock using the Big Buzzword Honey Cuts. I then stacked and adhered two layers of the “BIG” die cut together and then die cut a shadow layer out of vellum. Next, I adhered the vellum over the stacked letters and then finished the sentiment by adhering the remaining cardstock letters on top. I then stamped and white heat-embossed two sub-sentiments from the Big Buzzword Stamp Set onto black cardstock. I then finished the card by adhering the images and sentiments to the card front. 


I hope you enjoyed my card! Thank you so much for stopping by!


~Channin


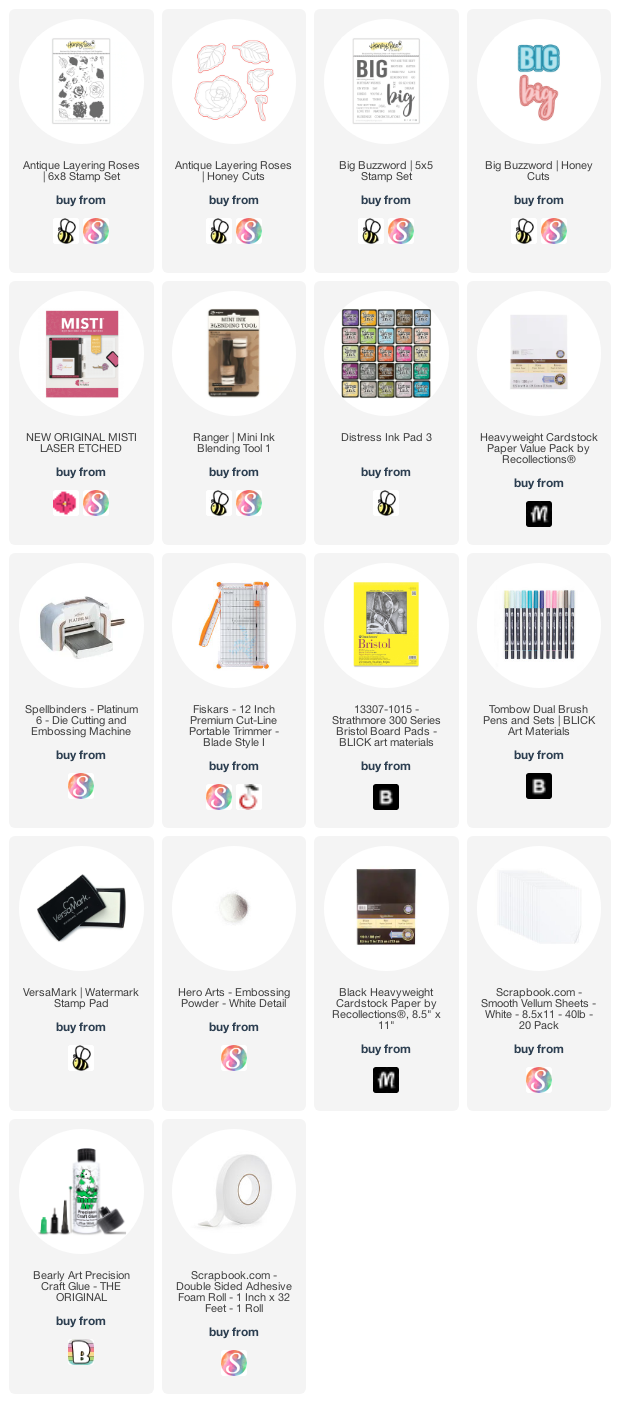
Supplies:
Tuesday, September 15, 2020

Layered Floral Wreath with Channin


Hello friends! It's Channin here and today a have layered floral card to share. I changed things up a little and combined the beautiful Charming Floral Wreath Stamp Set with a fall palette to give this card a very festive feel!

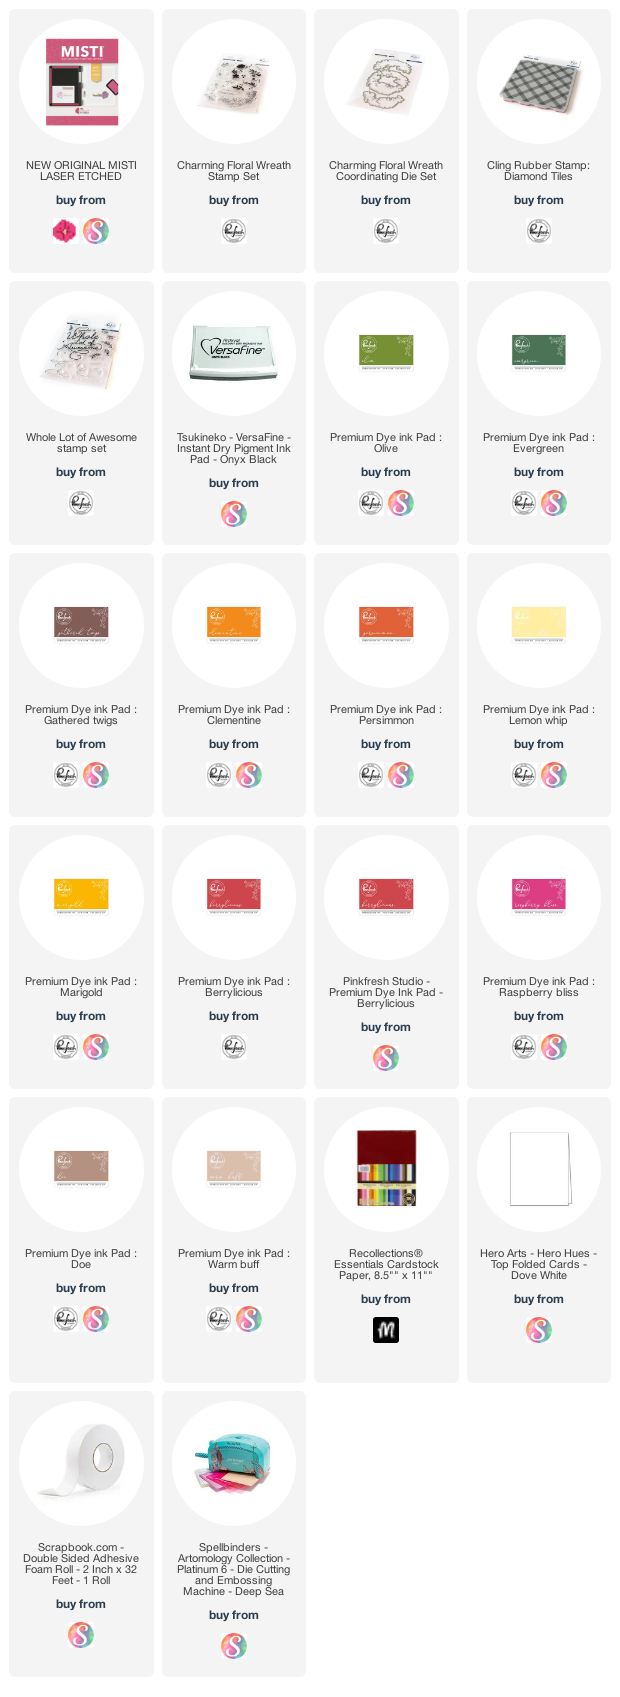
To create this card I first stamped the floral accents with the Charming Floral Wreath Stamp Set. I started with the leaves and stamped them first in Olive. I then partially inked up the same leaves by holding my ink pad at an angle in Evergreen and then stamped again. I then positioned next the layer, the detail layer for the leaves, and stamped it in Gathered Twigs. 


Next I positioned the base for the flowers and stamped the large flowers in Clementine and then partially in Persimmon. I then inked up the flowers in the middle in Lemon Whip and then partially in Marigold. Lastly I stamped the remaining flowers in Berrylicious and Raspberry Bliss. I then positioned the last layer, the detail layer for the flowers. I then inked up the details for the orange and yellow flowers in Persimmon and stamped it. Next, I inked up the details for the red flowers in Gathered Twigs and stamped. With my floral accents stamped I then die cut them out with the matching dies. 


I then stamped an A2 panel of cream cardstock with the Diamond Tiles cling stamp in Doe. Next, I stamped the sentiment from the Whole Lot of Awesome in Gathered Twigs and then off-set the sentiment and stamped it in Warm Buff. I then adhered the panel onto an A2 top-folding card base and then adhered the floral accents with foam adhesive.

I hope you enjoyed my card!! Thank you so much for stopping by!

~Channin

Supplies:

Tuesday, April 10, 2018

Team Tuesday with Stephanie - Sunny Studio

First ... big news ... the winner of the March Collaboration with Joy Clair is ...

Andrea Hastilow

Andrea - set-up an account at mysweetpetunia.com and then e-mail in your account information to hello@mysweetpetunia.com letting us know you won the Joy Clair prize (if you already have an account, just send the e-mail with your account information).

Now, for today's card ...

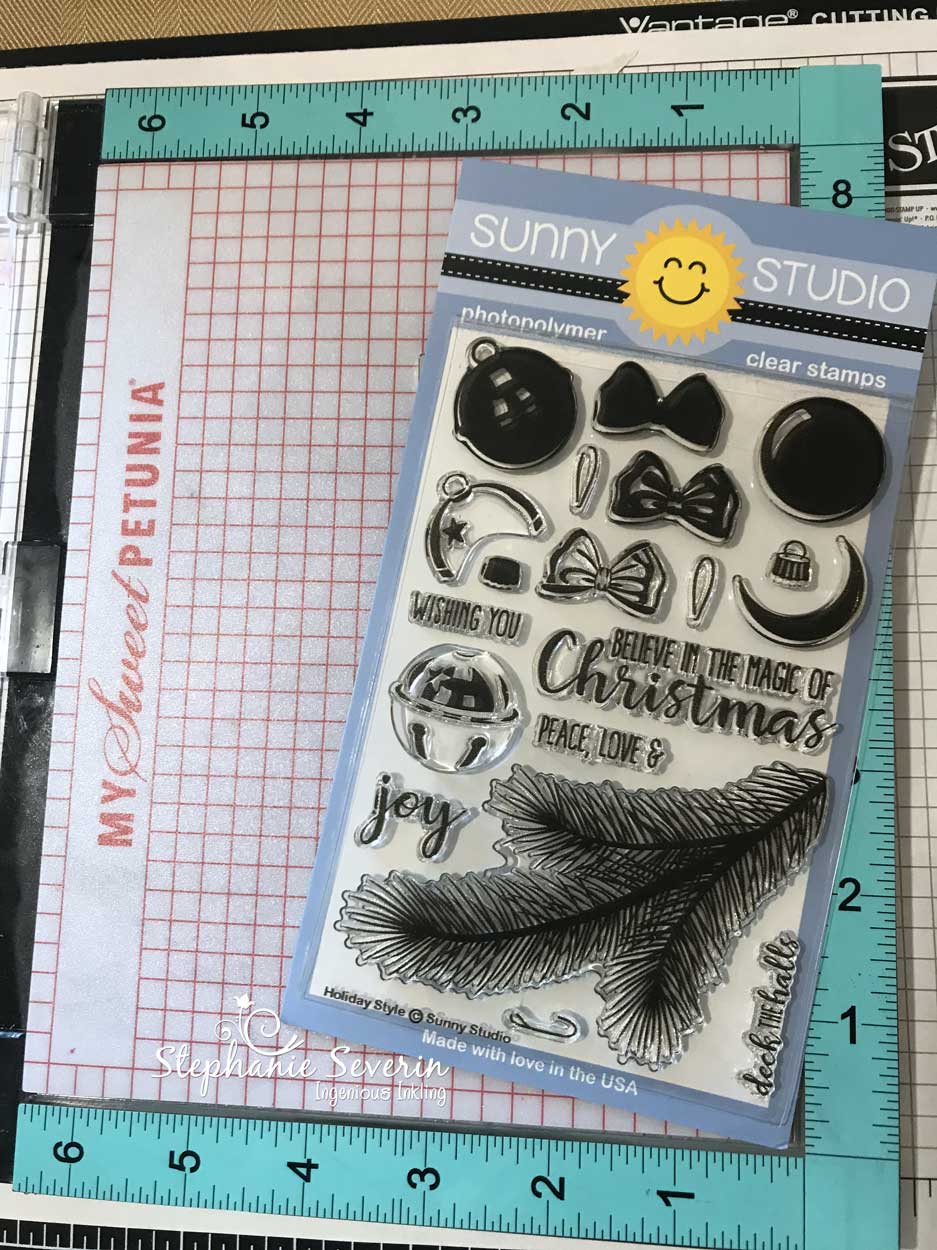
When I discovered the fun layering stamps at Sunny Studio, I knew they would be perfect for creating with my MISTI.  Today I'm using Holiday Style Stamps and coordinating Holiday Style dies.


I originally fell in love with the bell stamped in shades of grey to make a perfect silver bell.  

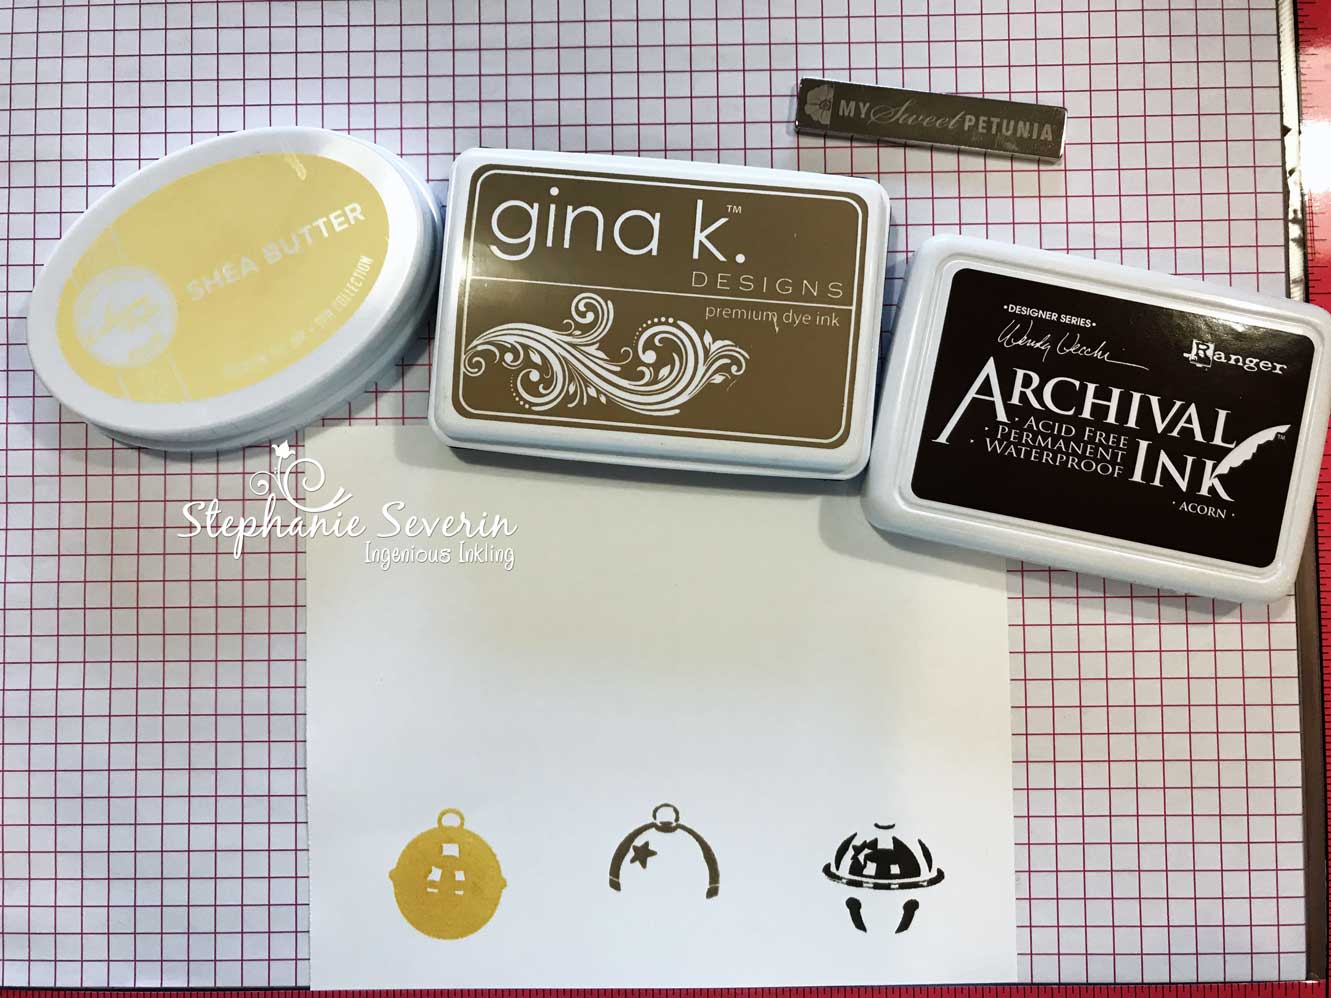
I decided to see if I could find a color combination to make gold bells ... and this is what I used ... Ranger Archival Acorn, Gina K. Designs Kraft, and Catherine Pooler Shea Butter inks.


I stamped the three images that layer to make the bell in the three colors so you could see what they look like before you layer.

All layering stamps are different, but for this set I found it easier to line things up if I stamped in the order of darkest to lightest.  

Here is the image after stamping the first and second stamp.  The star on the top left is the key to lining-up the images.


And here's how it looks after you add the gold (aka Shea Butter).  That stamp lines-up using the three blank squares (which makes it look like light is reflecting off the bell).


Next I stamped the pine branches on which I wanted to hang my bells.  I started by stamping the branch in VersaFine Clair Shady Lane.


Next I used VersaFine Clair Rain Forest ink and used the corner of the ink pad to try to just ink the limbs in the middle of the branches to add some depth of color (a tip from Jennifer Maguire, although she used markers).


Here is the branch after the second stamping.


Here you can see the difference between the two-inked branch at the top and the single-inked branch at the bottom.


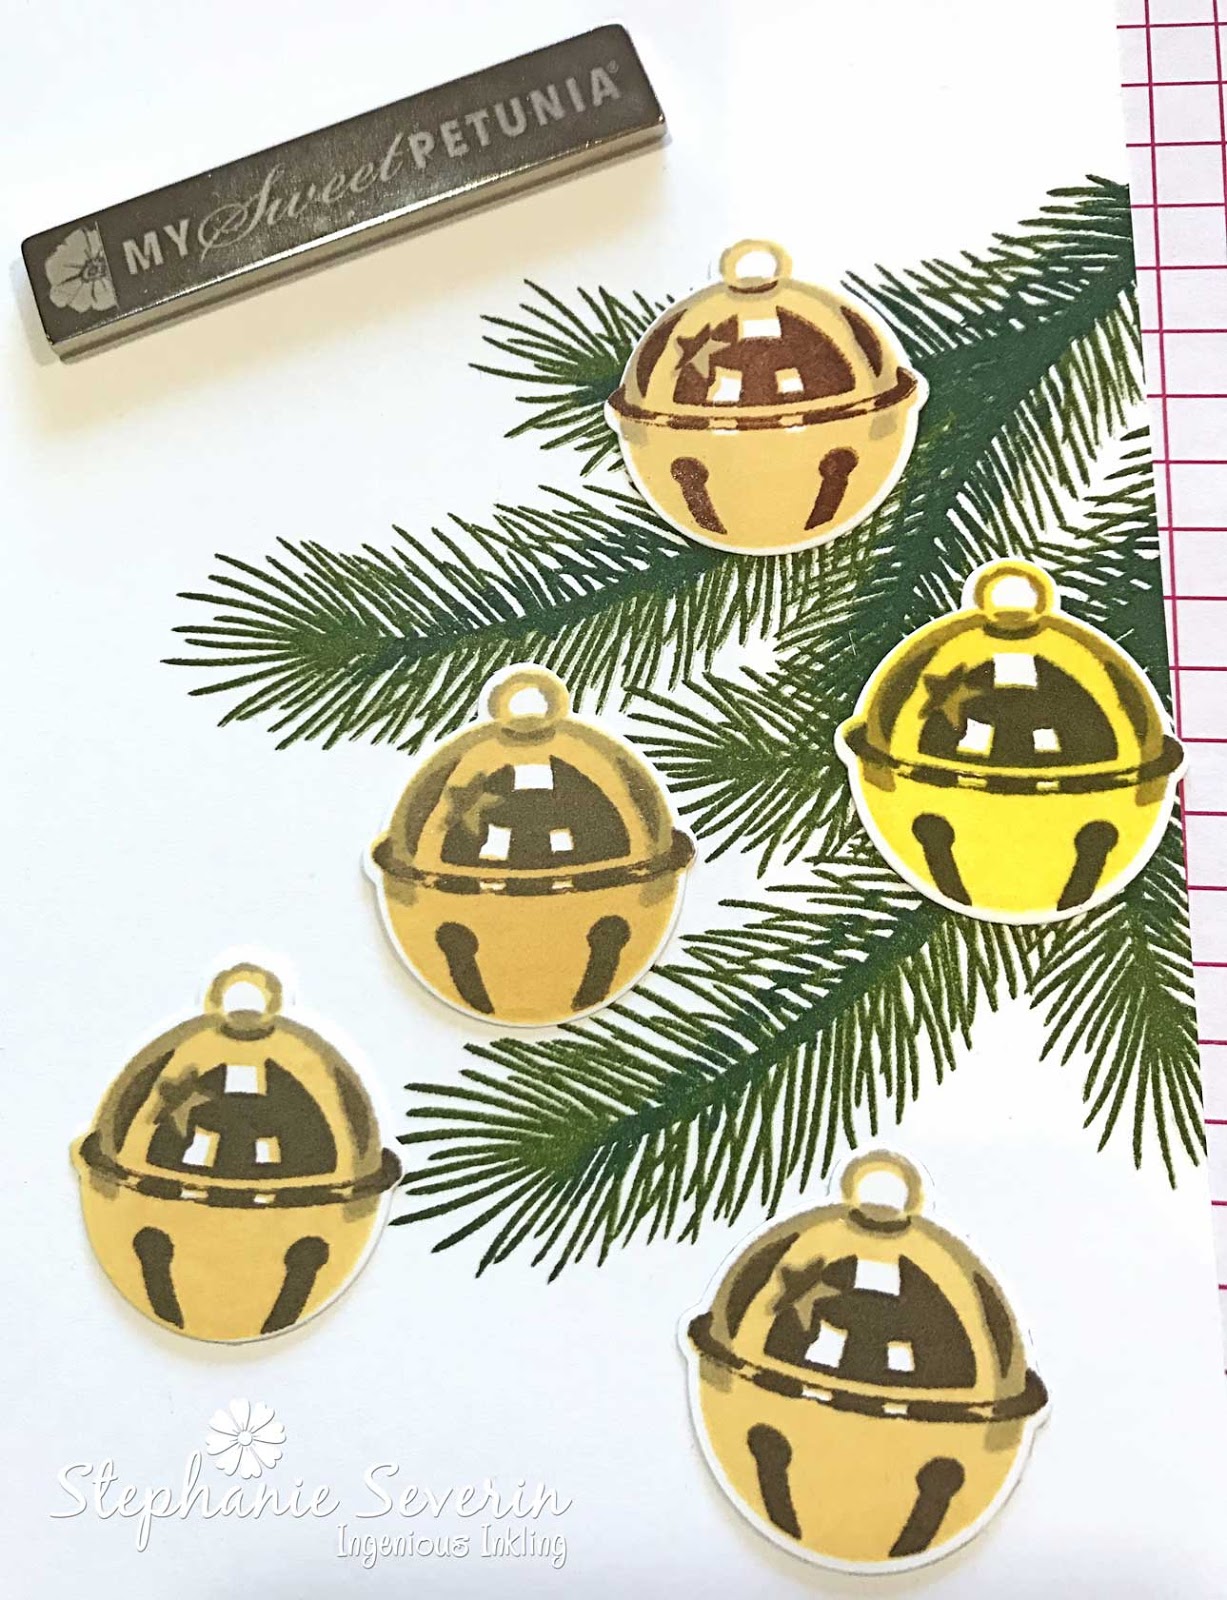
Here are some of my finished bells.  The bottom three used the color combination I described.  The top two used slightly different colors ... there are lots of possibilities.


This stamp set has so many great details ... there are even a stamp & die cut for the little hangers for the bell ornament.  

There is also a lovely three-step layered bow that I wanted to attach to the top of my bells.  I had seen the bell stamped in Reds (traditional holiday color), so I decided to go non-traditional and stamp it in shades of blue.

I used three shades of AlteNew Ink, again starting with the darkest color Desert Night.

For the second color, Dusk, I found it worked better if I stamped off once and used second-generation stamping.  The way I do that with my MISTI is just to press a piece of paper against the stamp on the lid to remove ink and then close the MISTI to stamp.


Finally, I finished with Ocean Waves for the solid color of the bow.


After die cutting my bows, stamping my sentiment, and attaching everything to my card base, here is the finished design.  I stamped my sentiment in the darkest blue Desert Night ink.


I used 1/4 of a 3-D Glue Dot to attach the bows to my bells (the dots are easy to cut into smaller pieces using Teflon scissors).


Sunny Studio has lots of fun layering stamps which are perfect to use with your MISTI.


Stephanie from