Andrea Hastilow
Andrea - set-up an account at mysweetpetunia.com and then e-mail in your account information to hello@mysweetpetunia.com letting us know you won the Joy Clair prize (if you already have an account, just send the e-mail with your account information).
Now, for today's card ...
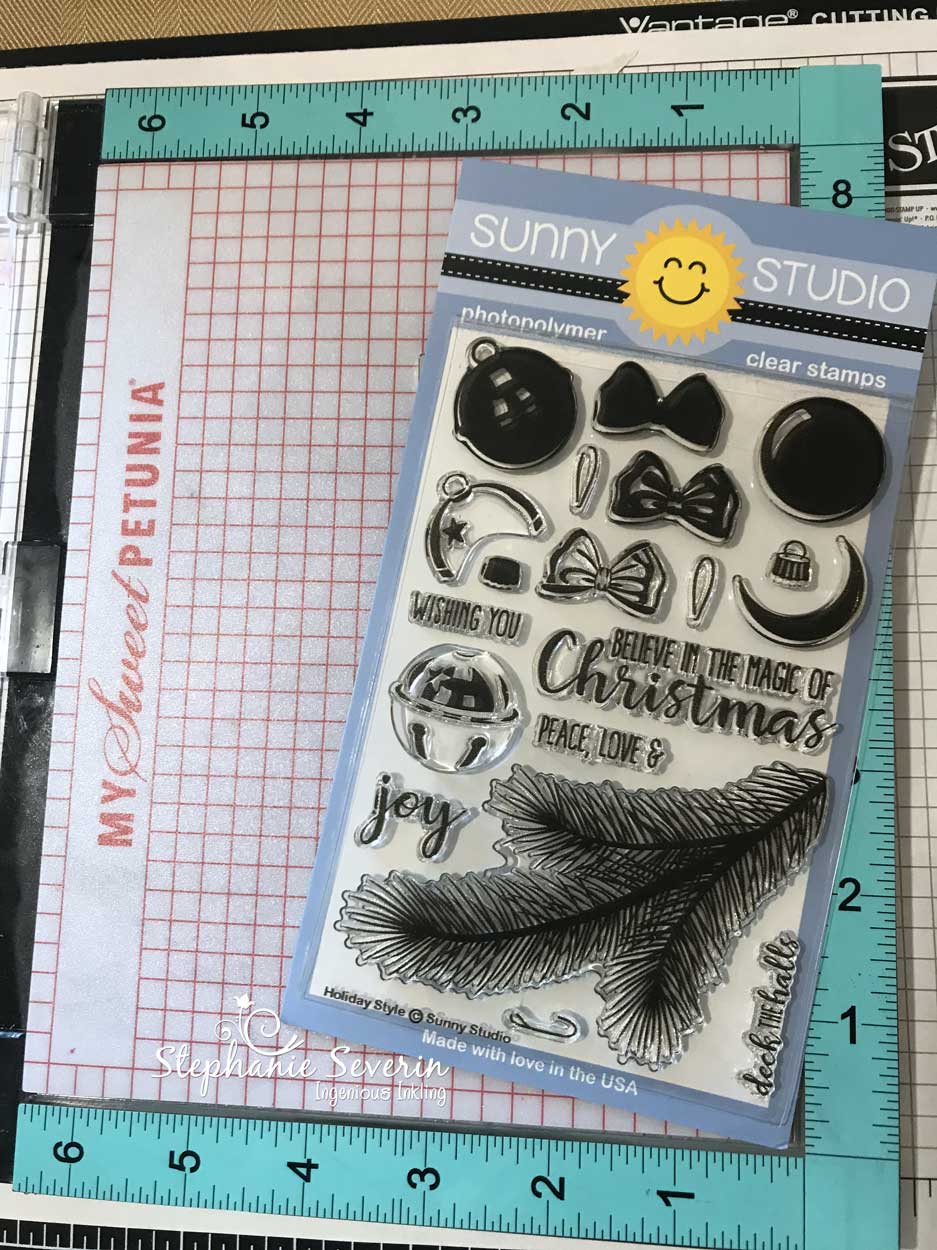
When I discovered the fun layering stamps at Sunny Studio, I knew they would be perfect for creating with my MISTI. Today I'm using Holiday Style Stamps and coordinating Holiday Style dies.
I originally fell in love with the bell stamped in shades of grey to make a perfect silver bell.
I decided to see if I could find a color combination to make gold bells ... and this is what I used ... Ranger Archival Acorn, Gina K. Designs Kraft, and Catherine Pooler Shea Butter inks.
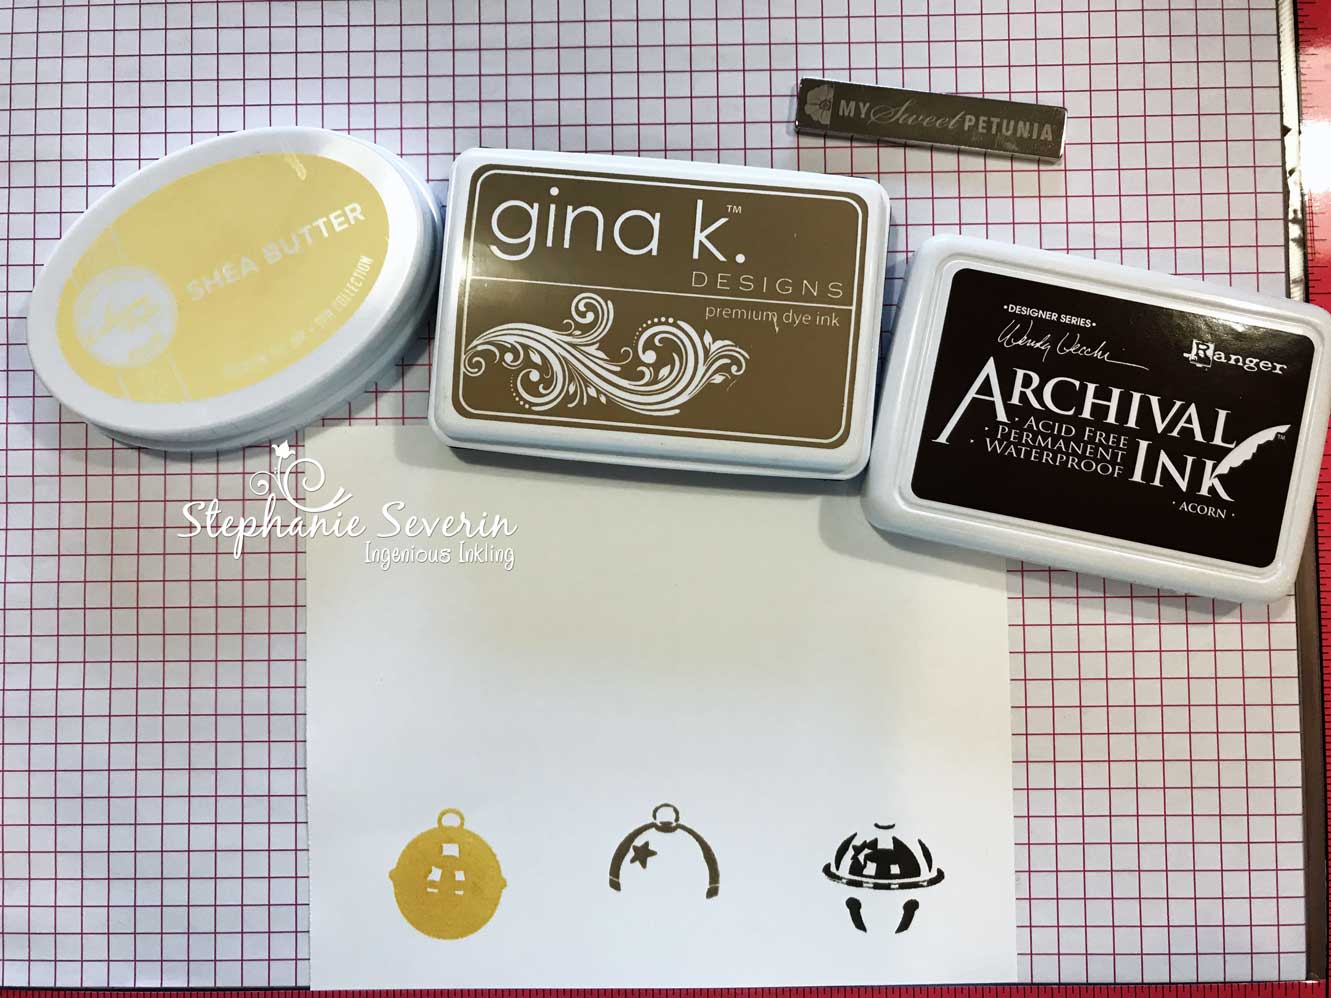
I stamped the three images that layer to make the bell in the three colors so you could see what they look like before you layer.
All layering stamps are different, but for this set I found it easier to line things up if I stamped in the order of darkest to lightest.
Here is the image after stamping the first and second stamp. The star on the top left is the key to lining-up the images.

And here's how it looks after you add the gold (aka Shea Butter). That stamp lines-up using the three blank squares (which makes it look like light is reflecting off the bell).

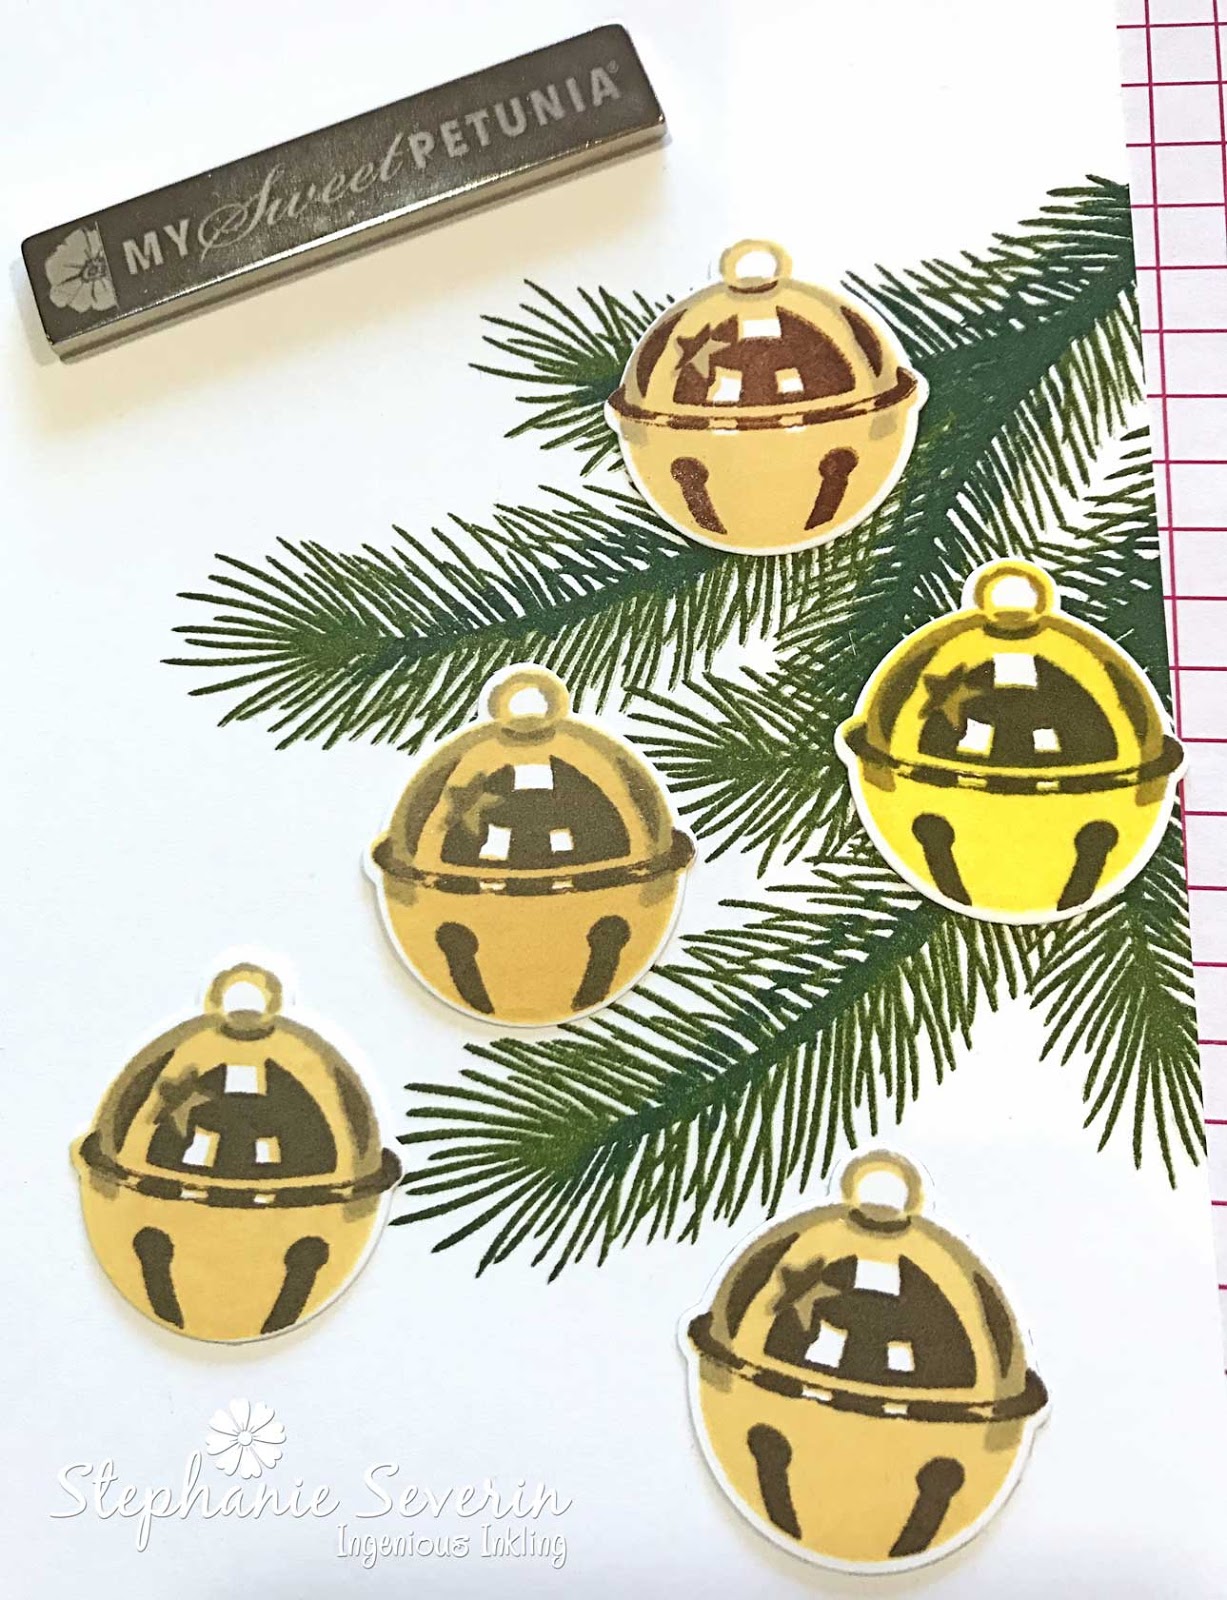
Next I stamped the pine branches on which I wanted to hang my bells. I started by stamping the branch in VersaFine Clair Shady Lane.

Next I used VersaFine Clair Rain Forest ink and used the corner of the ink pad to try to just ink the limbs in the middle of the branches to add some depth of color (a tip from Jennifer Maguire, although she used markers).

Here is the branch after the second stamping.

Here you can see the difference between the two-inked branch at the top and the single-inked branch at the bottom.

Here are some of my finished bells. The bottom three used the color combination I described. The top two used slightly different colors ... there are lots of possibilities.
This stamp set has so many great details ... there are even a stamp & die cut for the little hangers for the bell ornament.
There is also a lovely three-step layered bow that I wanted to attach to the top of my bells. I had seen the bell stamped in Reds (traditional holiday color), so I decided to go non-traditional and stamp it in shades of blue.
I used three shades of AlteNew Ink, again starting with the darkest color Desert Night.

For the second color, Dusk, I found it worked better if I stamped off once and used second-generation stamping. The way I do that with my MISTI is just to press a piece of paper against the stamp on the lid to remove ink and then close the MISTI to stamp.

Finally, I finished with Ocean Waves for the solid color of the bow.

After die cutting my bows, stamping my sentiment, and attaching everything to my card base, here is the finished design. I stamped my sentiment in the darkest blue Desert Night ink.

I used 1/4 of a 3-D Glue Dot to attach the bows to my bells (the dots are easy to cut into smaller pieces using Teflon scissors).

Sunny Studio has lots of fun layering stamps which are perfect to use with your MISTI.
Stephanie from
That bell is amazing! Fabulous card!
ReplyDeleteOhhhh how lovely this Christmas card. The layered stamping is fabulous.
ReplyDeleteStephanie, this is a beautiful card and thank you for the great tutorial on stamping these bells. Very helpful.
ReplyDeleteWow! Great inspiration for the next Xmas cards! So beautiful!!!
ReplyDeleteCongrats to Andrea!!!
This gold bell looks spectacular! Thanks for including the colors on it. What colors did you use to do them in silver?
ReplyDeleteInteresting color combo for the gold bell! I'll have to try that!
ReplyDelete