Showing posts with label #simonsaystamp. Show all posts

Tuesday, May 17, 2022

Spring card Camp meets Team Tuesday


Hello friends and welcome to Team Tuesday. It's Ceal, here. 
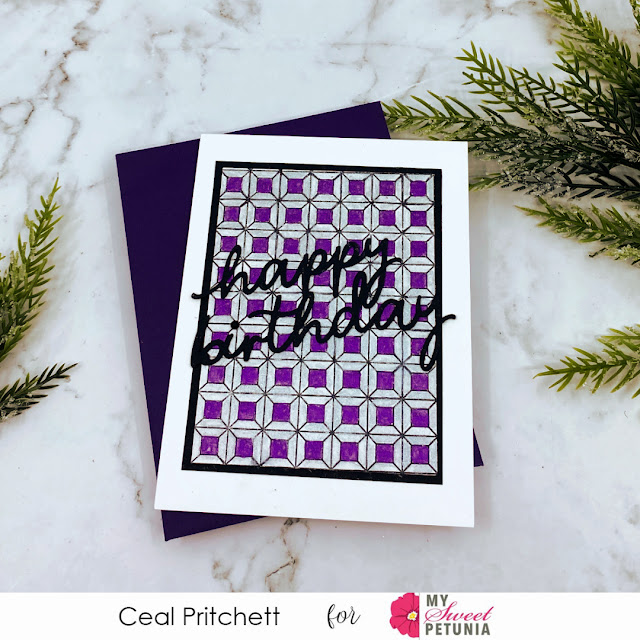
Today I am sharing a couple cards that I created using a technique that I learned when taking the Spring Card Camp. 

The technique is ink lifting and for the first card I used a background by Erin Lee Creative and the second card is a background stamp by Simon Says Stamp. 
To make these cards I started with white top folding card bases, black panels for mats and a white panel to ink blend on. 
I placed the panel on the Sticky Mat in the Original MISTI and laid the background stamp over it and then picked it up with the door of the Misti. I inked up the stamp with embossing ink and then stamped it down twice to get good coverage and embossed it with white powder.

If I tried this technique without a MISTI, I would be throwing away a lot of panels.
If you haven't bought yourself a Sticky Mat yet I would advise you to go buy one right away, they come three to the set and to me they are a necessity in the craft room. 


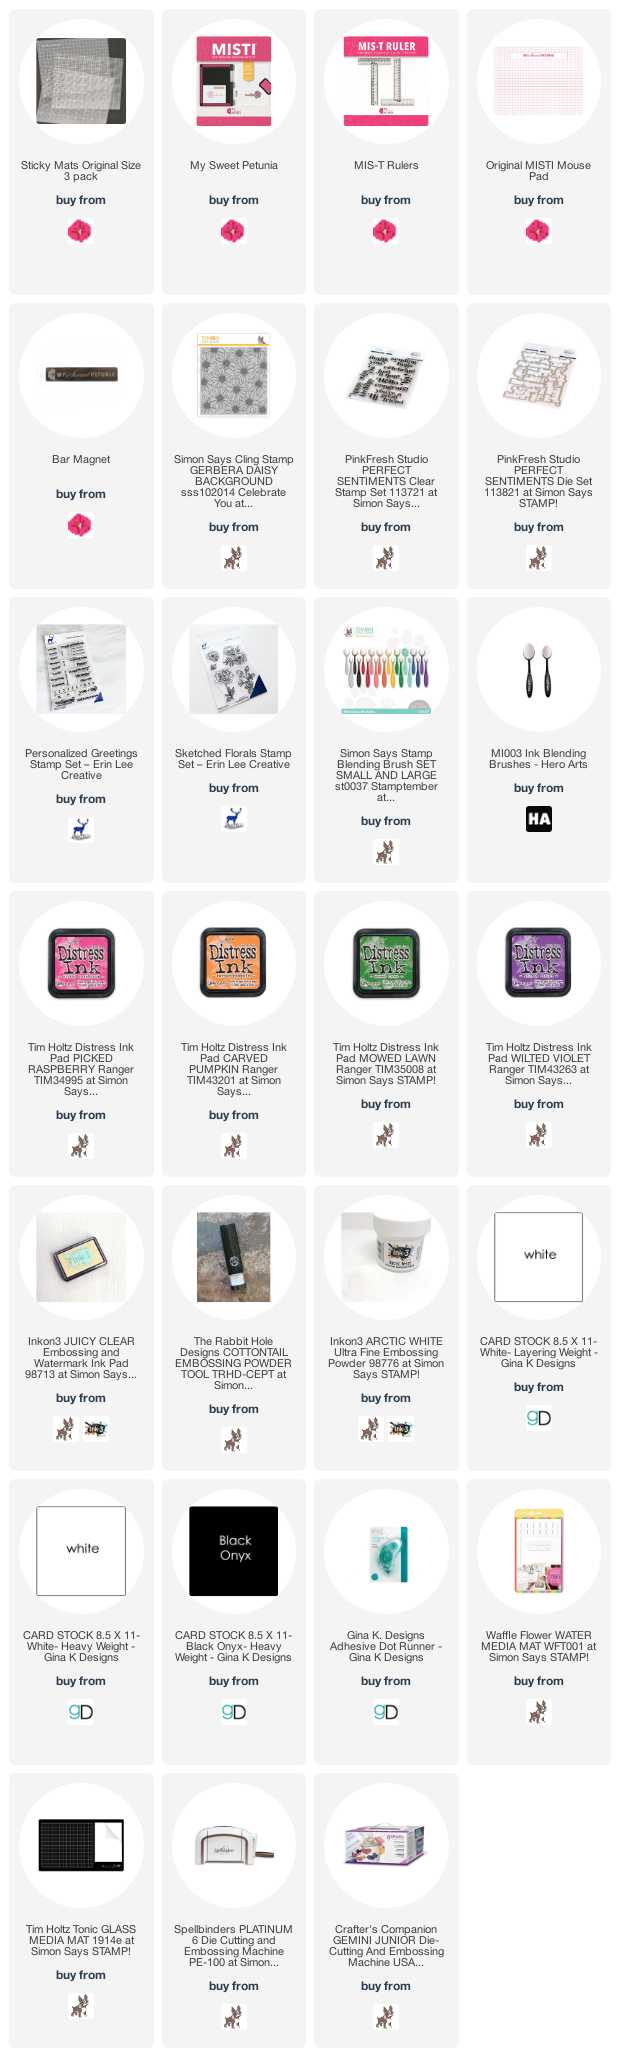
This Post uses compensated affiliate links where possible. When you place an order after clicking one of my links, I receive a small commission at no additional cost to you. Thanks so much for shopping from my links and supporting me <3


Tuesday, February 22, 2022

Masculine Birthday


Hello friends!
It's Ceal, here to share a card with you for Team Tuesday!
Today I'm sharing a card using some products from Ink Blot Shop and Simon Says Stamp.
I don't know about you but masculine cards are challenging for me as you can see the purple on a masculine card, but it's all good because my son in law loves purple. 

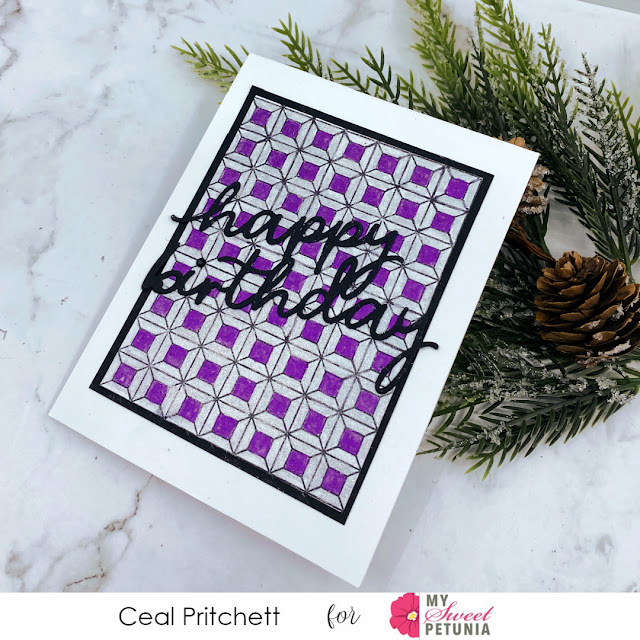
To create this card, I started with a top folding white card base, a black panel and a watercolor panel for the focal point. 
I placed the Sticky Mat inside the Original MISTI and placed the watercolor paper panel in the middle. I LOVE this sticky mat for background stamping and die cut stamping. 
 Next I stamped the Dimensional Block Background with Versafine Clair Nocturne ink and then watercolored it using some new watercolors that I got for Christmas from an Etsy seller, Iuile. They are so sparkly, it was hard to capture the true sparkle.  
To finish the card I added a die cut greeting by Simon Says Stamp. I love how it looks 3 dimensional and so will my son in law. 


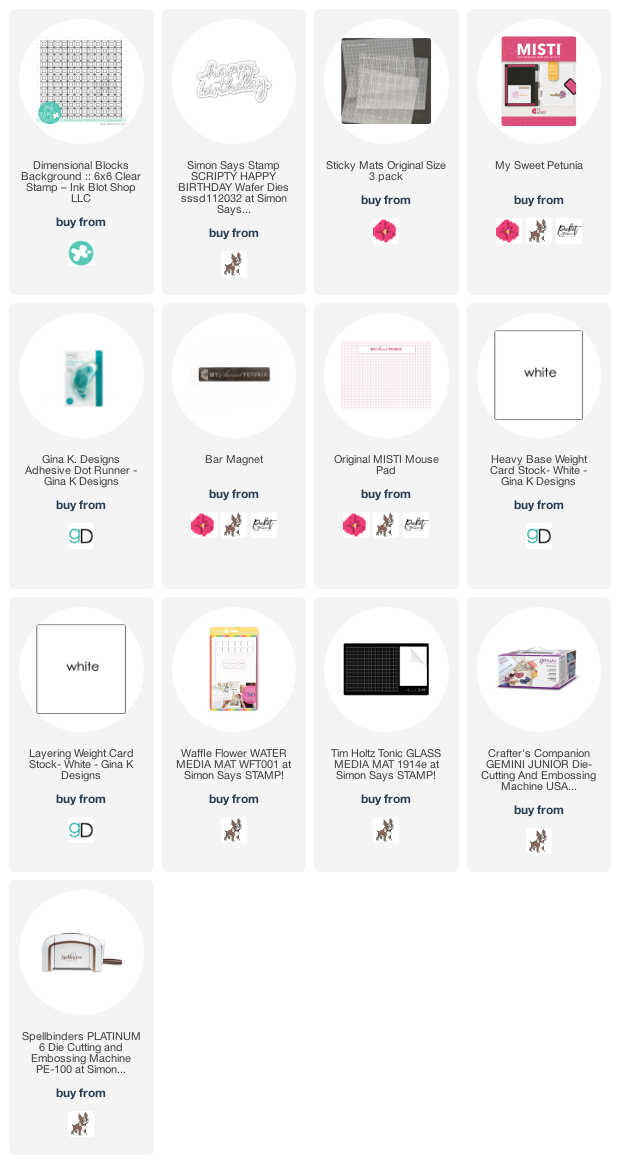
Products used linked below using affiliate links 


Tuesday, July 13, 2021

Sending Love


Hey Y'all!
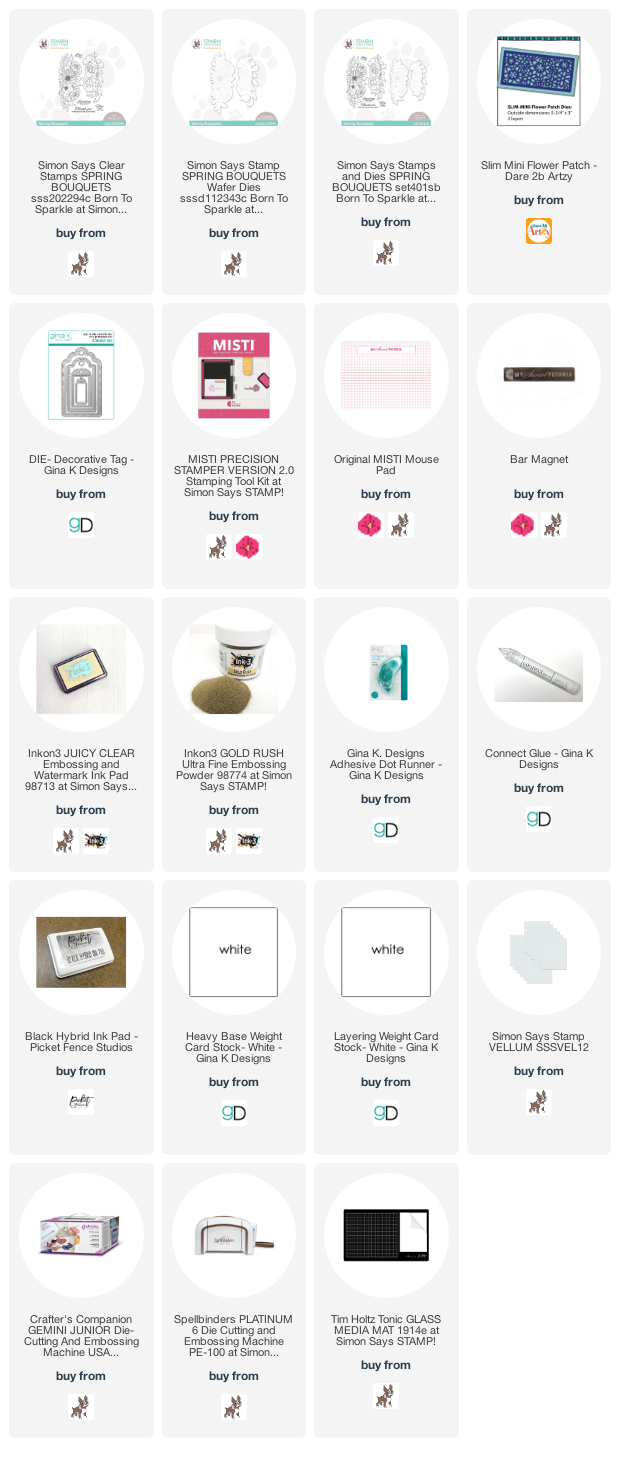
It' Ceal, here. For today's edition of Team Tuesday I am sharing a mini slim card using a Simon Says Stamp set, Spring Bouquets. 

To create this card I placed the stamp in the Original Misti and stamped the image with a black hybrid ink, then colored it using alcohol markers.  I left the stamp in the Misti so when I was done coloring I could overstamp it with embossing ink. 
When using alcohol markers you do not want to emboss first because when you color it will mess up the nib of your marker. This is another reason to have a Misti stamping tool, I don't know what I would do without it. 


Supplies are pictured below along with affiliate links with no additional cost to you but a small commission for me. thank you for your support! 


Tuesday, September 1, 2020

Simon Says Stamp Stamptember Cards

 Hi crafty friends and welcome back.  Sandi MacIver here and as it's September 1st, I'm sharing a couple of cards I created with a New, (released today) stamp set The Boo Crew from Simon Says Stamp Stamptember and my New Misti of course.

I've been asked numerous times in the past couple of weeks what my favorite upgrade is on the Misti 2.0 and I have to say it's the lid (or top).  It has a bit of an overhang now with a little curved bit that makes it so easy to lift as your finger tip just fits right under there.  Do you have your new Misti yet?  If so, What's your favorite new upgrade?

Anyway, I used it extensively on this first card and I just love it:


I started with a piece of Canson watercolor paper and Smooshed the background with Mowed Lawn Distress Oxides.  Once dry, I cut it out with SSS Stitched Rectangle Wafer Dies.


Next, I placed it into the center of my Misti and laid the web stamp in one corner.  I stamped it, and then moved my paper a turn instead of moving the stamp, allowing me to quickly stamp all around the edge of my art piece.  I then added the stamped spider to the top web.


Next I placed a piece of Neenah 80# into my Misti and stamped Frankie and the headstone in copic friendly Simon Says Stamp Intense Black ink.

Once they were colored, I fussy cut them out.

Copic Colors used:
Gray:  C1, C2, C5, C7
Green:  YG21, YG23, YG17
Blue:  B16, B24, B26

I placed a scrap of black card into the Misti and stamped all three rows of the sentiment in VersaMark ink and white heat embossed it before trimming them out into strips.

The art piece was then mounted to a top folding A2 black card base and the little art pieces added with Foam squares to add a little height.


For the second card I decided to do a fall scene.  I die cut the Birch Circle Die out of the stitched rectangle card front and then placed it into my Misti to line up and stamp the sentiment.

Next, I ink blended Distress Oxide ink onto another small panel to fit behind this.  I used Wilted Violet, Picked Raspberry and Mustard Seed and then splattered water on it for the star effect.


Finally I placed a 4-1/4 x 5-1/2 piece of Neenah 80# Solar White card into my Misti and stamped the Bat, Moon and all three pumpkins in Copic friendly Simon Says Stamp Intense Black ink before coloring them and cutting them out.

Copic Colors Used:
Oranges:  Y11, Y15, Y17, Y19, Y38
Browns:  E35, E57

They were also added with foam squares for a bit of 3-d effect.

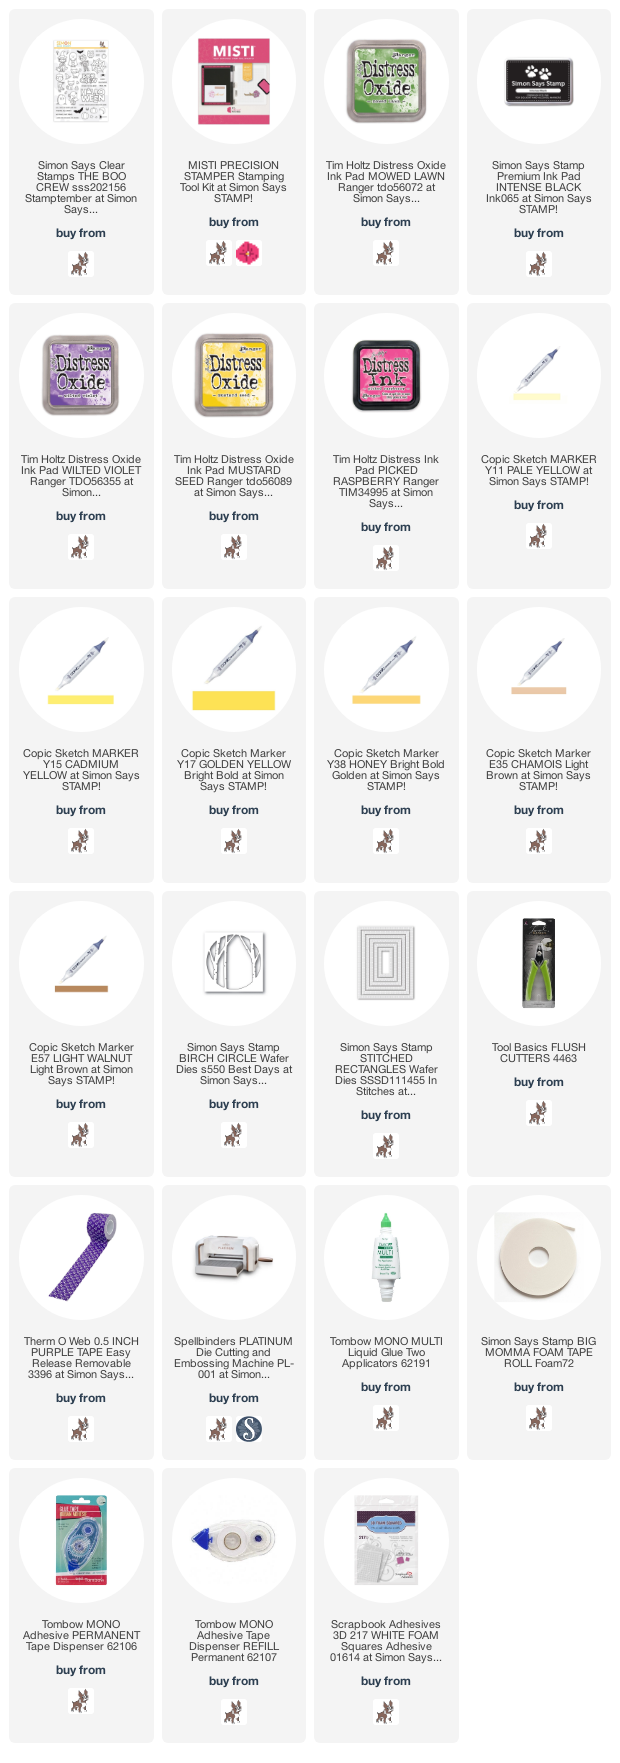
Here are links to supplies I used in today's cards.  Compensated affiliate links are used at no further cost to you.  My Sweet Petunia provided the new regular sized MISTI for these projects and Simon Says Stamp provided the stamp set.  I purchased the remaining products used.  Thank you for your support, it helps to maintain my blog and You Tube Channel.

Tuesday, June 30, 2020

Double Background Stamping with the MISTI


Have you ever wanted to layer one cling background on top of another? Well I have and I am not a fan of kissing stamps. Sometimes, I just want a faint layer to show through a darker pigmented layer.
Using my regular sized MISTI and Neenah Solar White 80 lb card stock, I inked up Impression Obsession's Cover-A-Card Fluff cling stamp with WPlus9 Designs Fairy Dust Dye Ink. It is important to use a dye ink for the first layer as the ink is translucent. Once I was done with the stamping, I heat set the ink.

Leaving my card stock in the same position, I added Simon Says Stamp Wide Stripe to the door of the MISTI. I inked it up several times with Picked Raspberry Distress Oxide. For the second layer I found that using a pigment ink was best as these inks lay down a layer of opaque ink and will hide the first layer. I then set this main panel aside to dry. Once it was dry, I cut it into a 4" x 5.25" panel and mounted it onto a Neenah Solar White 110 lb card stock side folding note card.


I am making this card for my granddaughter so I stamped the cute little girl with a big bow from Ink Blot Shop's Little Something stamp set. I used my mini-MISTI to stamp this image on a scrap piece of Neenah Solar White 80 lb card stock with Memento Tuxedo Black ink. It is very humid here so I had to heat set this before using my Copics to color the image. I colored her in my granddaughter's favorite colors of navy blue and pink. I used B91, B95 and B97 for the blues, RV11, RV14, RV19 for the pinks. I stamped the leaves from WPlus9 Modern Roses with Memento Tuxedo Black ink and colored these in with various greens. Honestly, they were sitting on my desk so I decided to add them at the last minute.

I used my mini-MISTI to stamp the sentiment - Lovely Old World- from Impression Obsession using some Versafine Onxy Black ink. This is a cling stamp so I removed the foam pad from my mini-MISTI. After this I added some droplets from Pretty Pink Posh. I also added Clear Wink of Stella to the bow and her dress. I allowed that to dry and then added some Nuvo Crystal Glaze to the bow.

Thanks to Lydia Fiedler for adding me back to the team 
and to you for stopping by;
Susan

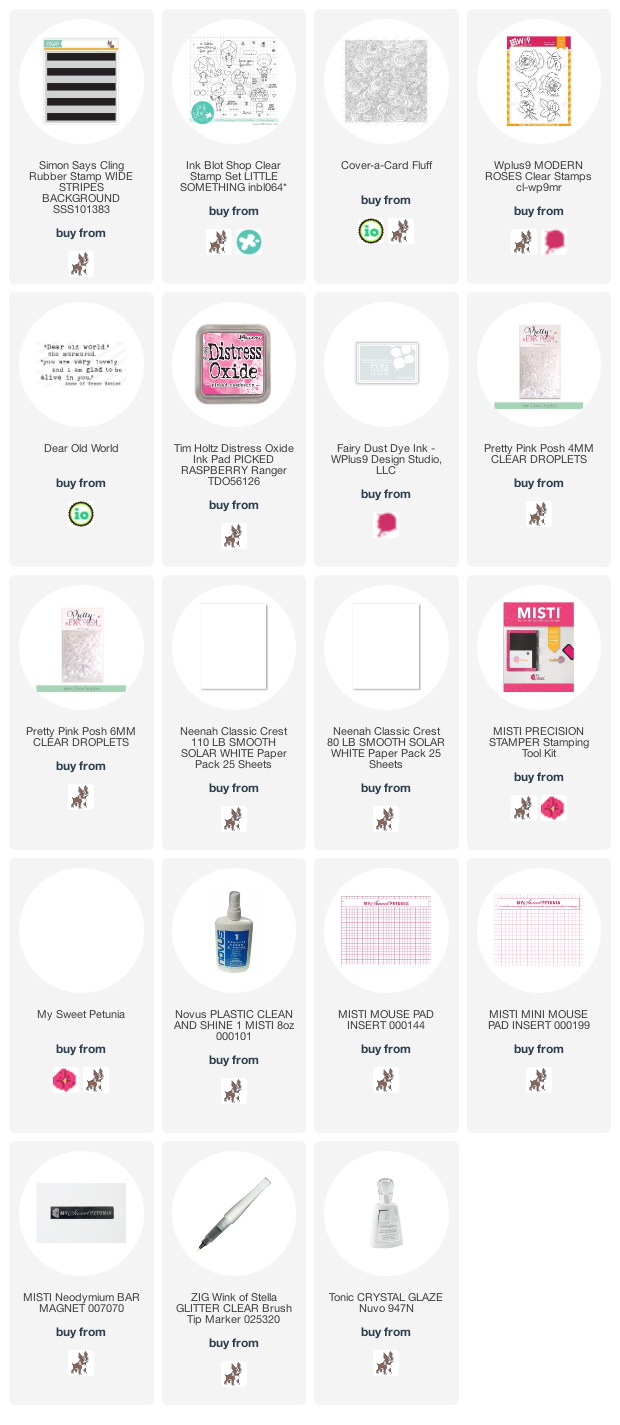
Products Used: I am using compensated affiliate links at no further cost to you. I make a small commission on each sale. I was gifted some of the stamp sets used in this card but the majority of the supplies I purchased myself!