Showing posts with label #craft. Show all posts

Thursday, October 29, 2020

MISTI and Dare2BArtzy Blog Hop Collaboration


Hello crafty friends! Today MISTI has teamed up with Dare 2B Artzy for this fabulous Blog Hop Collaboration full of inspiration and a GIVEAWAY just for you.

GIVEAWAY

Both companies are giving a $20 gift card to each store and a coupon code FALL10 for 10% off purchases from 10/29 - 11/8 (excludes sale items). So please leave a comment on each blog post to enter this awesome giveaway! And Good Luck!


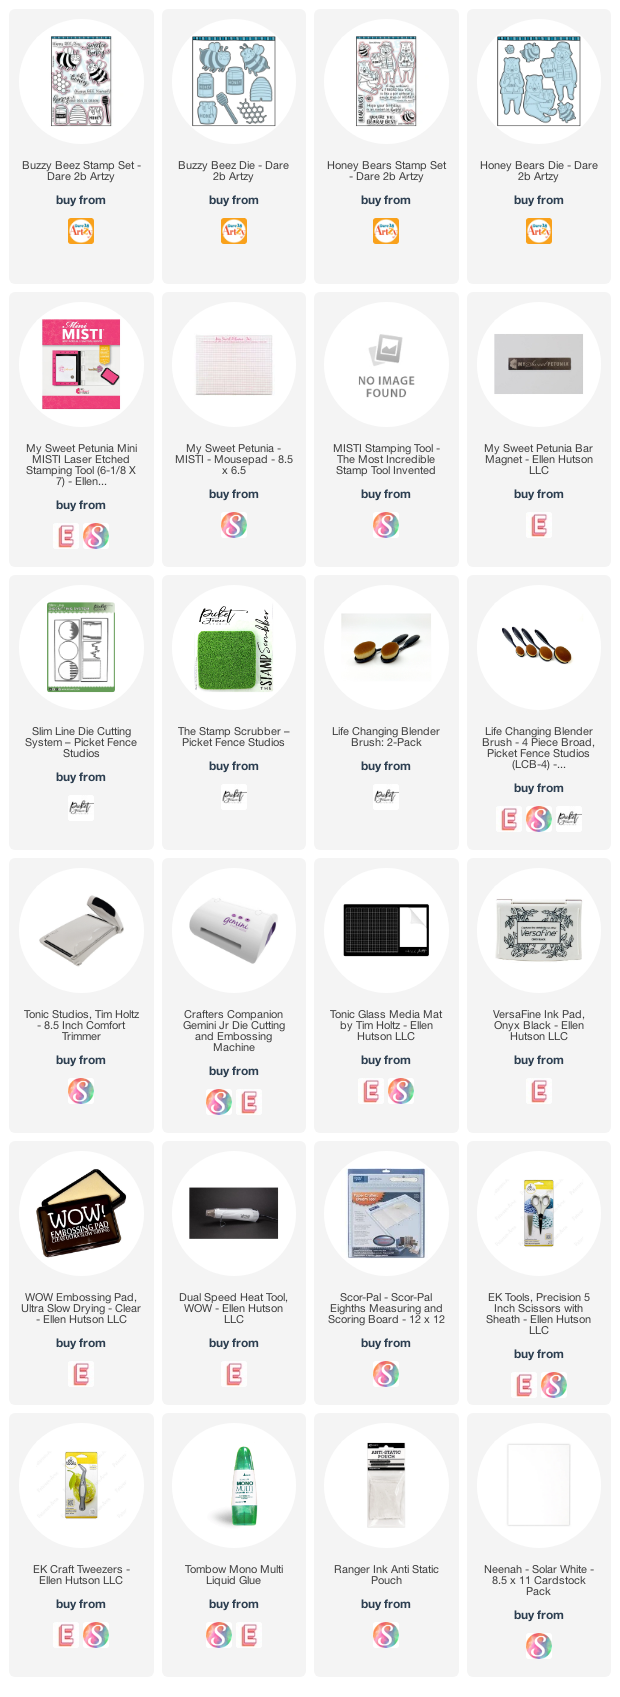
Let’s start! I have created two cards for this blog hop, one slimline and one A2 panel. The stamps and dies are Honey Bear and Buzzy Beez. You can combine these two stamps because they match perfectly.


I placed all stamps inside the MISTI and stamped them using VersaFine Onyx Black ink and I colored them with Copic markers. Before die cutting, I placed my sheet inside the MISTI again to stamp one more time and get those black outlines more define. Next, I proceeded to die cut all images using the coordinating dies.


I die cut the slimline panel and additionally I die cut a circle right in the center of it. I applied Carved Pumpkin Distress Oxide ink in two ends of the panel using a Life Changing Blender Brush. Then I adhered a black slimline notecard at the back of this panel using foam tape.


The circle I die cut from the center of the slimline panel was colored with Speckled Egg and Spiced Marmalade Distress Oxide inks using Life Changing Blender Brushes. Then, I inserted this die cut in the center of the panel using glue.


I die cut the honeycomb out of orange cardstock four times and arranged them along with all the other images at the top, middle and bottom part of the panel using glue and foam tape.


I also, placed another piece of cardstock inside the MISTI and stamped all the sentiments, then I adhered them to the background with foam tape and this card is done.


For my second card, I used a stencil to applied color to this panel. I used Speckled Egg and Curved Pumpkin Distress Oxide inks.


Next, I arranged all images around the panel using glue and foam tape.


Finally, I stamped all the sentiments using VersaFine Black Onyx ink and to do this I simply placed this panel inside the MISTI and stamped both sentiments and this card is finished.

I really hope you enjoyed the process of these cards and below you will find the list of designers participating on this blog hop so remember to stop by all of them and leave some love to enter the GIVEAWAY.


LINE UP


Tuesday, August 11, 2020

Positive Print Turnabout with Ceal


Hello Everyone, 
It's Ceal here. Today I am sharing a couple of cards created with the Positive Print Turnabout
I love turnabout stamps, they were created specifically for the MISTI and they are so fun to use. You can get different multiple backgrounds out of one stamp just by changing the colors or the number of times you stamp it. For both of these card I stamped it all four turns but I used two different color combos. 
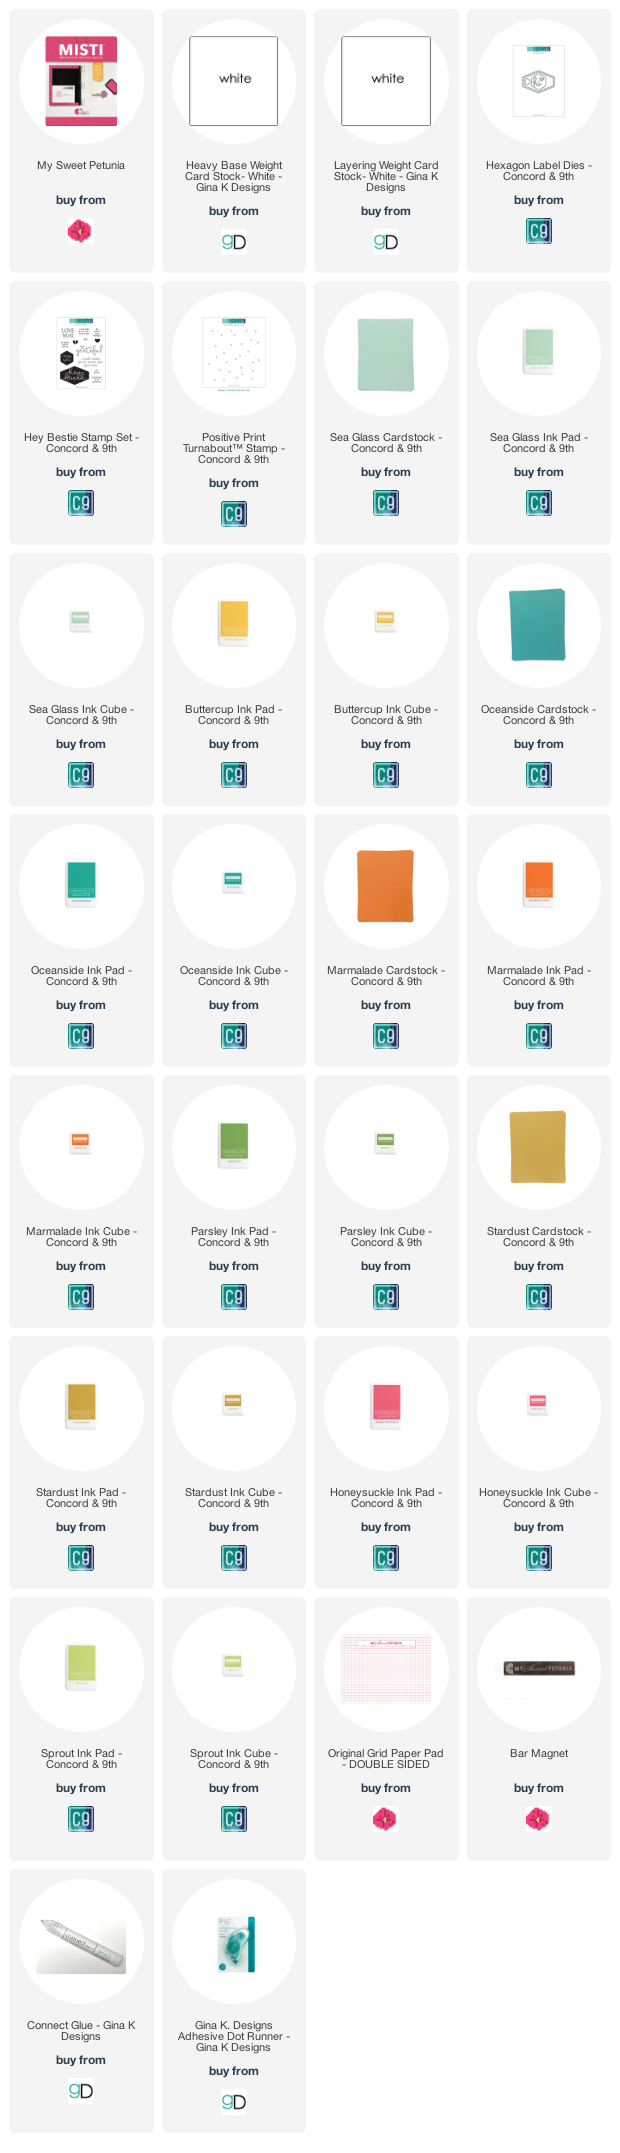
I am sending these off to friends so I used the Hey Bestie stamp set along with the Hexagon Label dies.
 I also used their new inks which I love! 


These card were super fun as the MISTI and C9 turnabouts always are!


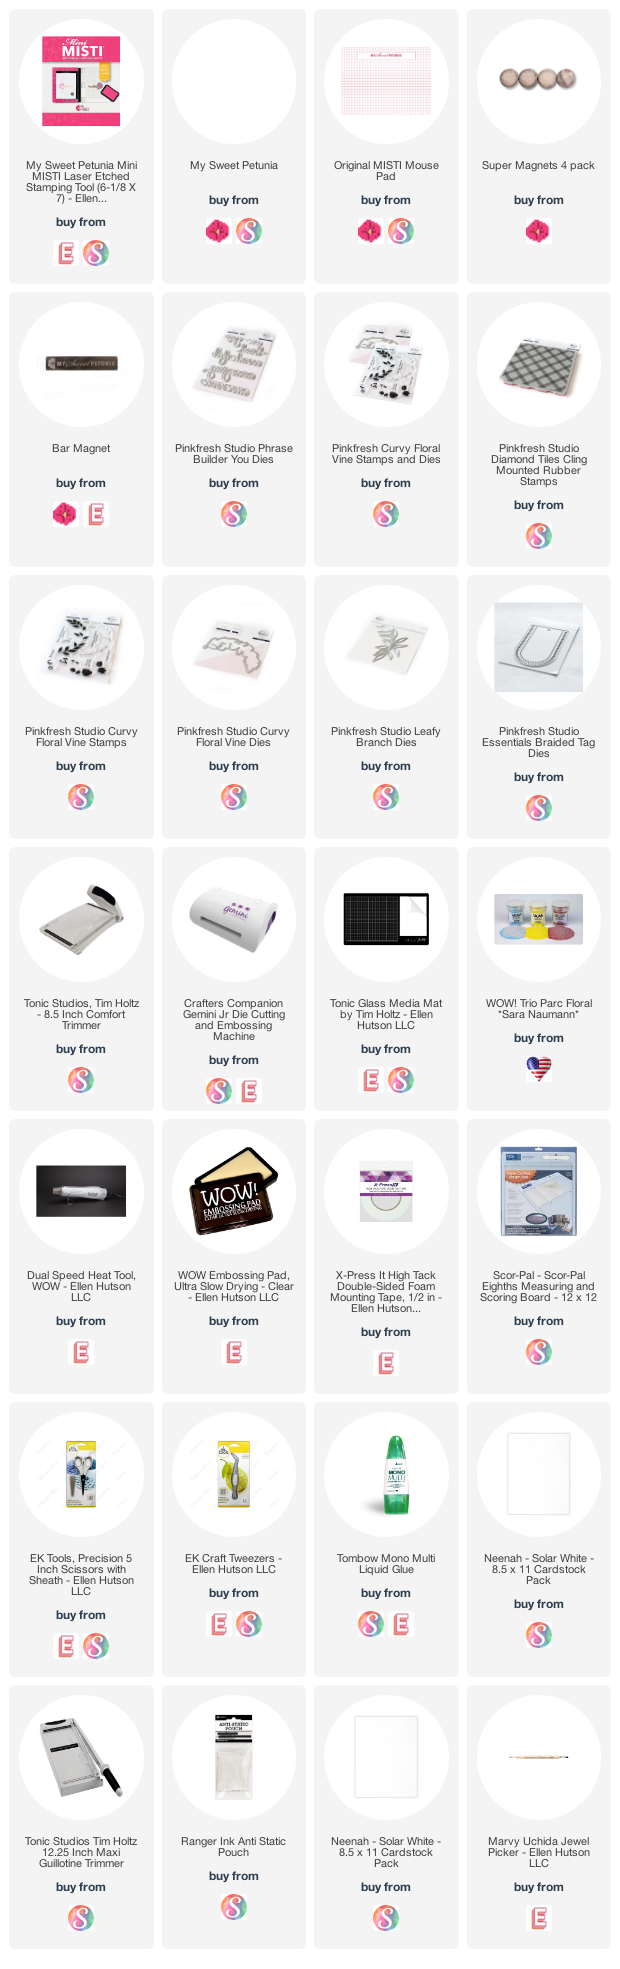
Below you will find links to the products used. Click the picture to start shopping. Compensated Affiliate links are used at no additional cost to you. Your support helps me to keep bringing you new projects and I appreciate that so much!  

Thank you!


Monday, August 10, 2020

You are Awesome with Karen Reategui


Hello crafty friends! Today I'm stopping by My Sweet Petunia Blog to share this card using my new Original MISTI and stamp and dies from Pinkfresh Studio. For this card, I'll be stamping the layering stamps on the negative die for a perfect line up and placement.


Let’s start! I die cut a white piece of cardstock using the Curvy Floral Vine Die from Pinkfresh Studio and placed the negative piece inside my MISTI to line up my stamps. Additionally, I tucked in another piece of cardstock, or it can be any paper you want, behind the negative piece. Then, I started to line up my first stamp, I held it with the MISTI door, set the die cut piece inside, inked up my stamp and stamped the image. Using your negative piece inside your MISTI helps you achieve a perfect lining up of your layering stamps.


I repeated this process with each layer until the image was ready and I stamped two of these florals. Next, I die cut another piece of white cardstock using the Braided Tag Dies. I arranged the florals on top of this Braided Tag using glue along with lilac leaves that I die cut using the Leafy Branch Die.


I also die cut YOU ARE AWESOME from the Phrase Builder: You Dies out of purple cardstock, including a shadow out of vellum for the awesome word. I adhered this phrase on top of the Braided Tag and between the florals using glue and my background was almost done.


For my next step, I put a white panel inside my MISTI and the Diamond Tiles Cling Stamp. I stamped the Diamond Tiles with WOW! Embossing Pad and heat embossed it using WOW! Hydrangea Embossing Powder. This color of embossing powder has a beautiful soft color that I thought would match the colors in my card. A white folded note card was also adhered at the back using glue.


Finally, I adhered the Braided Tag on top of the Diamond Tile stamped panel using foam tape, added a few jewels around and this card was finished. I hope you liked this card and with the help of your MISTI you can even mass produce this type of cards. You can find the new MISTI here. Have a fabulous week and stay safe!

Karen


Thursday, June 25, 2020

Fabulous Card with Karen Reategui


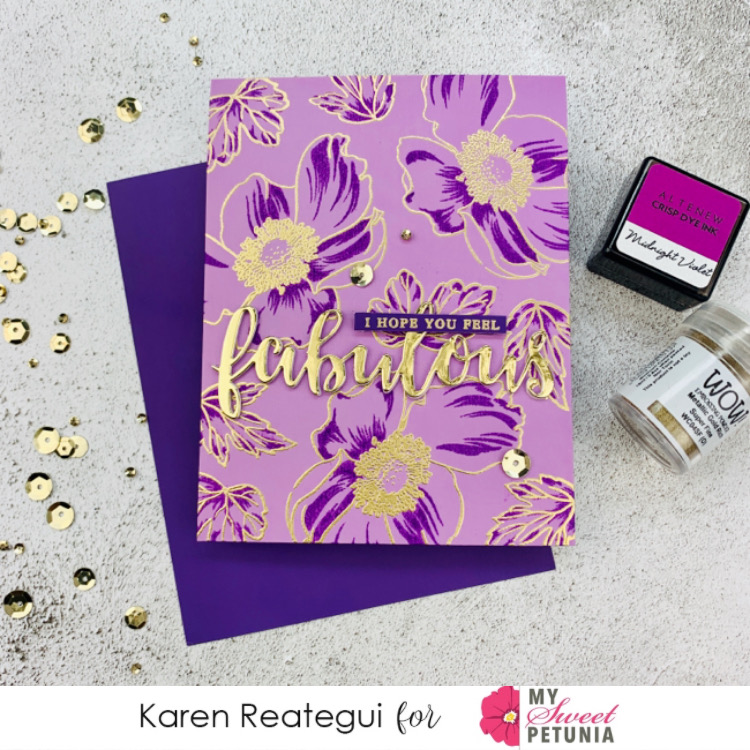
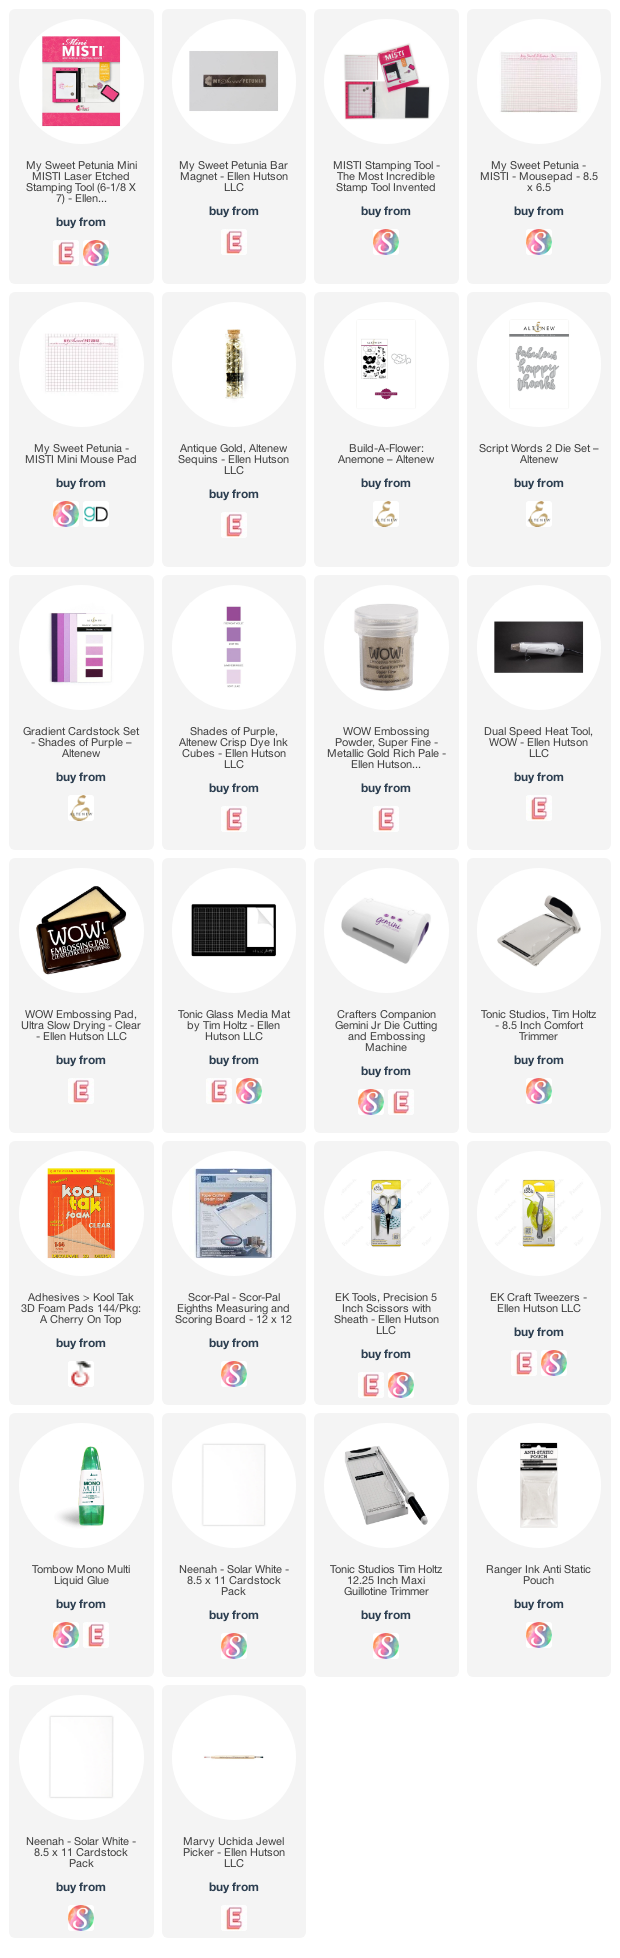
Hello friends! Today I made this card for My Sweet Petunia Blog and I’m using a Build a Flower Anemone Stamp Set and Script Word 2 from Altenew.


Let’s start! I gold heat embossed the outline layer of these flower and leaves using WOW! Metallic Gold Embossing Powder. In order to stamp the 3 images at once I used my MISTI just like you will see in the next picture, this way you gain time and in case you didn’t have a good impression, you can always stamp again with your MISTI.


Once all my images were stamped I gold heat embossed them. By the way, I’m using a colored cardstock Lavender Fields from Altenew for this card. Next, I stamped the detailed part for the flower and leaves using Altenew Midnight Violet ink. I achieved this with the help of my MISTI, positioning and stamping all 3 stamps at once until I completed my panel. See picture below.


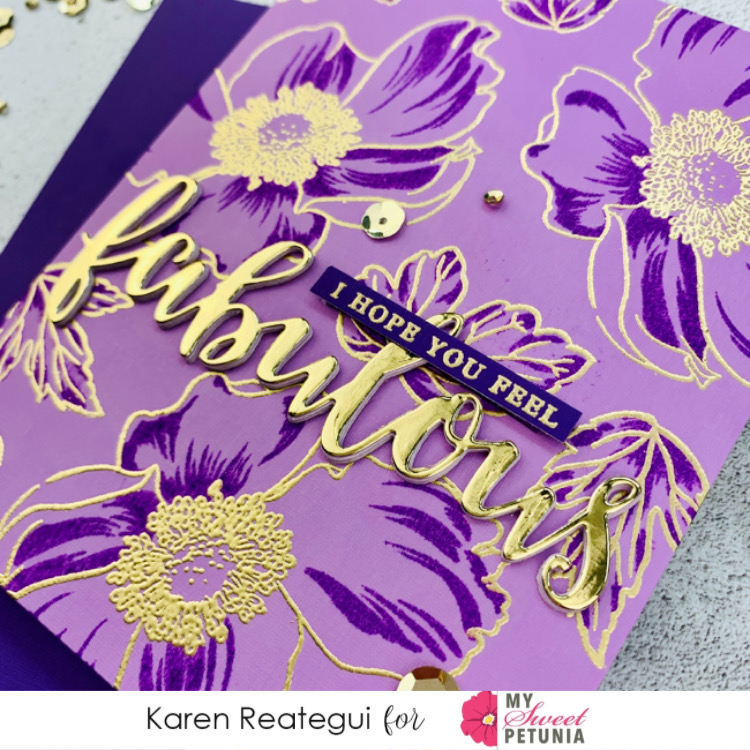
After stamping all the detailed images, I die cut the Fabulous word die out of gold cardstock and to get more dimension I die cut four more times the same die but this time using Deep Iris cardstock.


I added a white note card at the back of my background and then I adhered as well the stack of die cuts that I glued one on top of each other.


Finally, I stamped the sentiment using my MISTI with gold embossing powder over Midnight Violet cardstock and placed it on top of the fabulous word. As the final touch I added a few Antique Gold sequins and my card is finished. Thank you so much for stopping by and have a fabulous day!

Karen