Showing posts with label halloween. Show all posts

Thursday, September 11, 2025

MISTI Magic for Halloween

 Hello friends!

I have a fun Halloween project to share with you today featuring the Open if You Dare set by SweetMissDaisy Designs. I created two cards and a coordinating bookmark—and I have to admit, the bookmark is staying with me!

To start, I die-cut three coffin-shaped tags. I placed them all on a sticky mat inside my Original Teal MISTI and positioned a different image on each one. With just one round of inking, I stamped all three tags at once—a huge time saver!

Next, it was time for sentiments. I reached for my trusty Mini MISTI, tucked a banner die cut inside, and aligned the sentiment perfectly to fit. In no time, I had two crisp, sentiment banners ready to go.

Card One – Cute Dracula

For my first card, I featured the cutest little Dracula. I had so much fun coloring him, right down to matching the tag reinforcement ring with his outfit. I even added a fluffy chenille ribbon to the tag for a fun texture.

For the background, I trimmed a 4x4 piece of patterned paper from the SweetMissDaisy Ghostly Paper Pack, then cut it diagonally to create two triangles. I adhered them at the top and bottom of my card base for a bold frame.

Using my Cut-Align Ruler, I centered the coffin tag with the help of the “0 center” feature—perfect alignment every time! To finish, I popped up the sentiment banner for a touch of dimension.  I used an alignment grid over the sentiment strip to verify its exact alignment.

Card Two—Spooked Ghost

My next card stars the sweetest little ghost, colored in soft shades of purple. I took the coffin tag with the stamped ghost back to the Mini MISTI and added a spider at the top—I just couldn’t resist! Now, it looks like the spider startled her, and I love that playful touch.

I used the same layout as my first card, with patterned paper from the Ghostly Pack, but this time I added a solid piece of purple cardstock in the center to tie in with the coloring. The tag and reinforcement were inked using Seedless Preserves Distress Ink, and a purple chenille ribbon finishes the look. Just like before, I popped up the sentiment banner to complete the card.

Bookmark – Halloween Kitty

My final project is a coffin-shaped tag bookmark—this one’s just for me! No surprise to my regular readers, I chose the kitty image. To give it a sturdier finish, I layered a black coffin tag behind the stamped one. I colored the tag reinforcement to match the kitty and added a black-and-white chenille ribbon to complete it!

I hope these projects inspire you to create your own Halloween treats. The MISTI makes multiple-item projects a breeze, and I love how quick and fun these came together. Thanks so much for stopping by! 

Stop by the My Sweet Petunia Store for the tools I listed above, plus many more of my favorites!  

Stamps and Papers are available at SweetMissDaisy Designs.


Wednesday, September 10, 2025

Open If You Dare


 Hello everyone! Anna here, with greetings from the pacific northwest! The tags I’m sharing today were made using the recently released Open If You Dare clear stamp set from SweetMissDaisy Designs. A delightful set with a vintage flair, perfect for cards, tags, journals, and more! I stamped the images and sentiments on watercolor paper, and painted the images with watercolor paints. I think they just might be the cutest Halloween tags around!


I used the Mini Misti to stamp the images and sentiment several times to ensure a great impression on textured watercolor paper to create each tag. I used the Received Ledger background stamp from SweetMissDaisy Designs to stamp interest on the base of the tag.

Some fun fibers and cute silver pumpkin charms added the finishing details. 

I love how the Mini Misti allows me to stamp perfectly, every time! I can stamp with precision every time, giving me the perfect placement and impression for every project.  Sentiments are stamped perfectly placed, and stamped images on watercolor paper (or other textured papers) are a breeze to create! 

Thanks for joining me on the blog today!

Wednesday, September 14, 2022

Thinking of You


Hello everyone! Anna here! The tag I’m sharing today was made using the Voodoo Doll die set and Voodoo Doll Sayings stamp set, both recently released from Impression Obsession. Once I had the Stitched Tag die cut and added details of faux stitching with the Border Stitches die set, I placed the tag in my Mini MISTI so I could stamp the sentiment nice and straight. 

Using the Mini MISTI saves me so much time, and keeps me from wasting paper due to poor stamping, or having to “creatively cover” mistakes when I stamp a sentiment crooked.

I created a video showing how I made this cute tag. Check it out!


Wednesday, August 24, 2022

A Batty Halloween


Hello everyone! My name is Anna and I’m new to posting on the MSP blog. I hope you love my creative shares! The card I’m sharing today was made using the Batty Halloween stamp set, recently released from Impression Obsession. I don’t really care for bats up-close-and-personal, but these bats are rather adorable! I used my Mini MISTI to stamp the bats and sentiment on a small piece of watercolor paper. Using the Mini MISTI allowed me to stamp the bats several times on the heavily textured watercolor paper and get a nice, crisp impression. The Mini MISTI also allows me to comfortably work on my desk without having to clear off more space…. I’m not sure how my workspace manages to work its way down to about 12” of actual working space, but it does!

I created a video showing how I made this cute Batty Halloween card, as well as another simple watercolor card that also features use of the Mini MISTI. Check it out!

Thanks for joining me here today! I will be back again soon!

Tuesday, October 13, 2020

Halloween Ink Trapping Card with Channin


Hello friends! It's Channin here and today I a have fun halloween card to share! Today’s card was actually inspired by a beloved childhood book of mine called A Halloween Happening. 


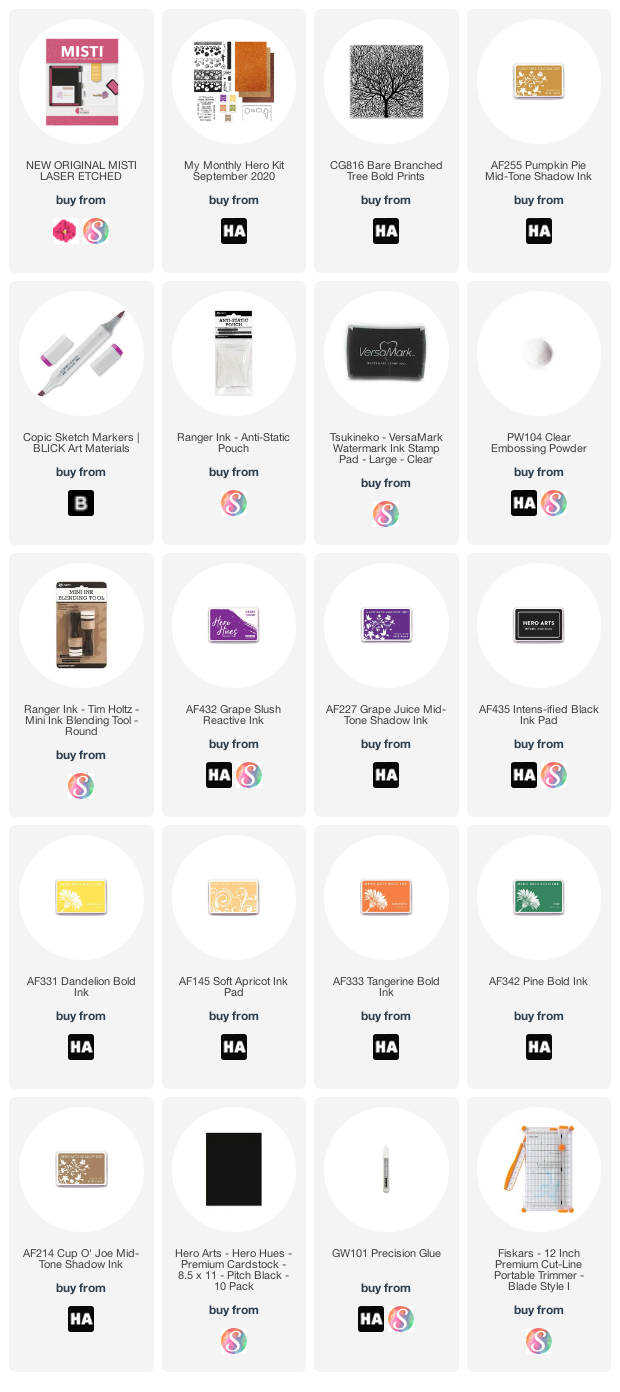
To create this card I first stamped an A2 panel with the Bare Branched Tree Bold Prints in Pumpkin Pie Mid-Tone Shadow Ink. Do to this, I first ppsitioned the background stamp in the center of my MISTI and then used adhesive tape to hold my panel in place inside the well of my MISTI. After I stamped the tree I then added a few details to the trunk and branches with a copic marker, leaving my panel in place inside my MISTI. Next, I stamped the tree again in Versamark ink and then clear heat-embossed the image. Once the embossing powder was heat set I then ink blended over the tree with Grape Slush Reactive Ink, Grape Juice Mid-Tone Shadow Ink and INTENS-ified Black Ink. When I finished ink blending, I then wiped the tree clean with a dry rag to remove excess ink. 


Next, I stamped the pumpkins with the heroscape layering stamp set included in September My Monthly Hero Kit. I first stamped the solid layer for the pumpkins in Dandelion Bold Ink twice onto an A2 panel of white, rotating the panel after I stamped the pumpkins once and then stamping them again so I had the pumpkins on both sides of the panel. I then left the stamp in place in my MISTI and then throughly dried my panel with a heat gun. Next, I positioned the Jack-O-Lantern faces over some of the pumpkins and then stamped them in Versamark Ink and then embossing in clear. I then flipped my panel and stamped the other side of the panel with the Jack-O-Lantern faces, so the pumpkins on both sides had faces. I then repeated this process till I had all the pumpkins I wanted stamped. 


Next, I stamped the solid pumpkin layer again on both sides in Soft Apricot Ink. I then positioned the detail layer for pumpkins and stamped that on both sides in Tangerine Bold Ink. Next, I positioned the solid leaf layer in Pine Bold Ink on both sides. I then finished both sets of pumpkins by stamping the final layer in Cup O’ Joe Mid-Tone Shadow Ink. I then fussy cut several of my pumpkins out and adhered them my panel. 


Next, I trimmed my panel down 1/8” on all sides and then adhered it to the front of an A2 top-folding black card base. Next, I stamped my sentiment (also from the kit) in Dandelion onto a strip of white cardstock. I then stamped the sentiment again in Versamark ink and heat set in clear embossing powder. I then ink blended over the strip with Tangerine ink and then adhered it to the card front to finish the card. 


I hope you enjoyed my card! Thank you so much for stopping by!


~Channin


Supplies: