Hey cardmaking friends, welcome back. It's Sandi MacIver here and today I'm using the Misti Sticky Mat inside my Misti to create these two Clean and Simple cards.
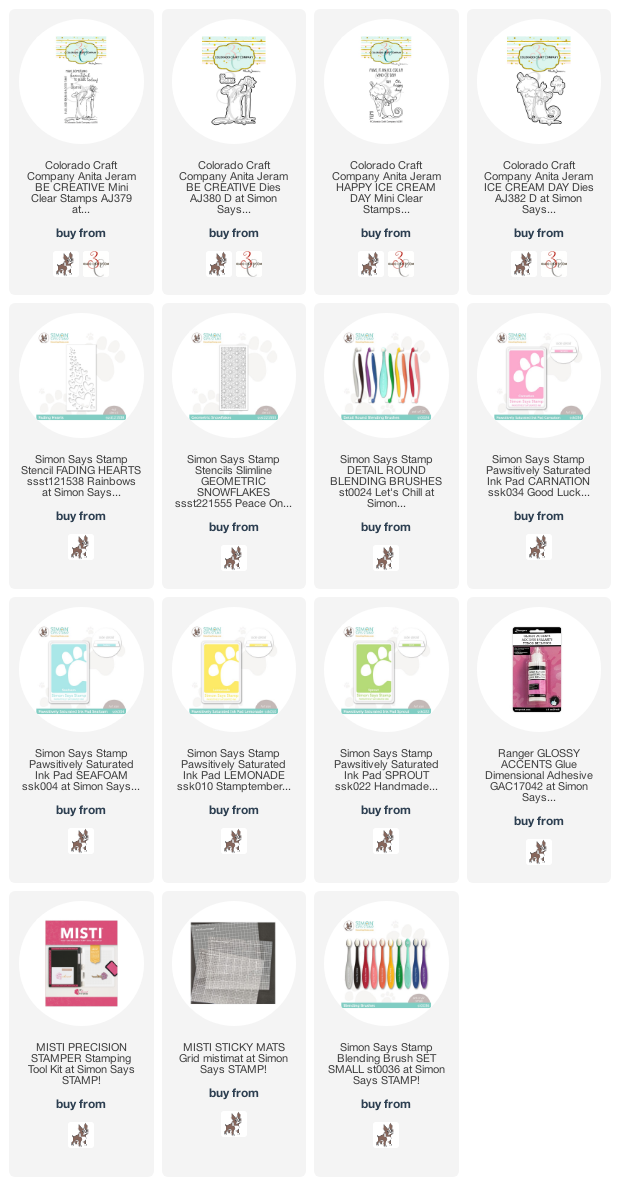
For today's cards (yes there are two), I dug around in the "Purchased but not used" products and came up with 4 items to use. Two of the cutest Colorado Craft Company stamps, little Mini Anita Jeram stamps, Be Creative Mini and Ice Cream Day Mini.
Because these stamps are small, I need something for the background to balance out the images. I chose Simon Says Stamp stencils, Fading Hearts and Geometric.
These are super clean and simple cards and each took less than 10 minutes to create. If you are new to stamping, or just have a few minutes to create a little masterpiece for a friend, these fit the bill.

PLEASE NOTE: This post contains affiliate links. See below for my full disclosure

Measurements for both cards:
All in Hammermill White Cardstock.Card Base 4-1/4 x 11, score and fold at 5-1/4 (A2 top folding card)
Card front: 3-3/4 x 5 - by cutting this down, you make the art piece appear bigger on the card.
Art Piece 2 x 2.

Craft Your Stash 3 Card #1
Start by placing the 2 x 2 piece of white cardstock inside the Misti on the Sticky Mat.Next, ink with the Intense Black Ink
Then, color the image with Copic Markers and Cut out with the coordinating die.
Next, place the card front into the Misti on the Sticky Mat. Dry fit the art piece in the bottom left corner just to help with placement of the other elements.
Next, stamp the sentiment in black ink.
Then, lay the Fading Hearts Stencil over the piece.
NOTE; the sticky mat will hold your stencil in place for you while you work.
Next, use Simon Says Stamp Inks and small blending brushes to ink up the hearts in: Carnation, Seafoam, Lemonade and Sprout
Attach the card front to the top folding A2 card base with foam tape
Finally, use small foam squares to attach the little mouse art piece in the bottom left corner.

Craft Your Stash 3 - Card #2
The steps are the same for card 2.Just change out the stencil to the Geometric one.
Color the ice cream with copic markers and then apply Glossy Accents over the ice cream part to make it shiny.
Copic Markers Used:
Gray: No, N1, N3, N5, N7 Pinks: R81, R83, R85 Browns E31, E35, E57

Card Making Supplies used:
Here are the products I used today. Compensated affiliate links used where available at no cost to you. Clicking on a thumbnail link and shopping supports my website and allows me to continue bringing you new projects and videos. Thank you for your support. Affiliate and product disclosure are found on my disclosure page. All products were personally purchased for today's projects. As always, I was not paid to do this post. I only use and recommend products I love. Click on the icons below each product picture to go to my favorite stores.


No comments:
Post a Comment
Thank you for taking the time to comment.