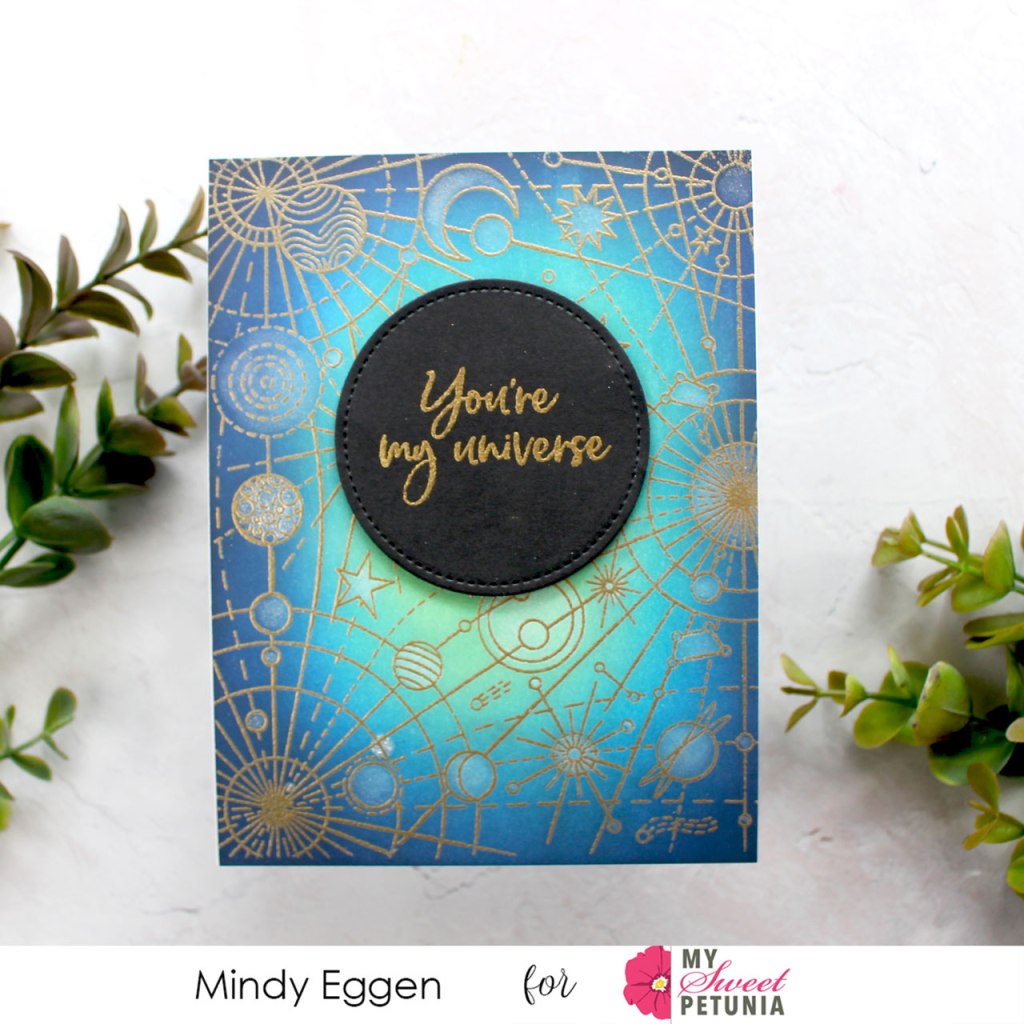
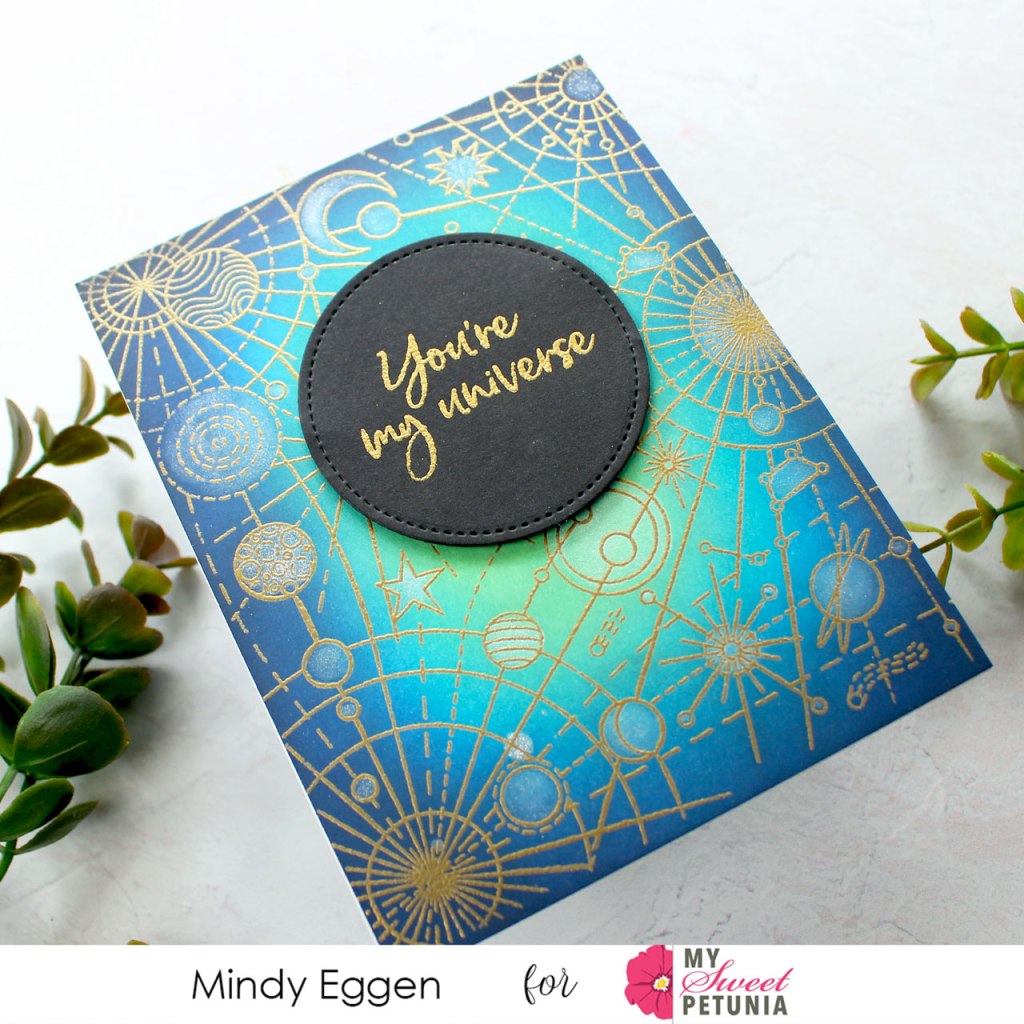
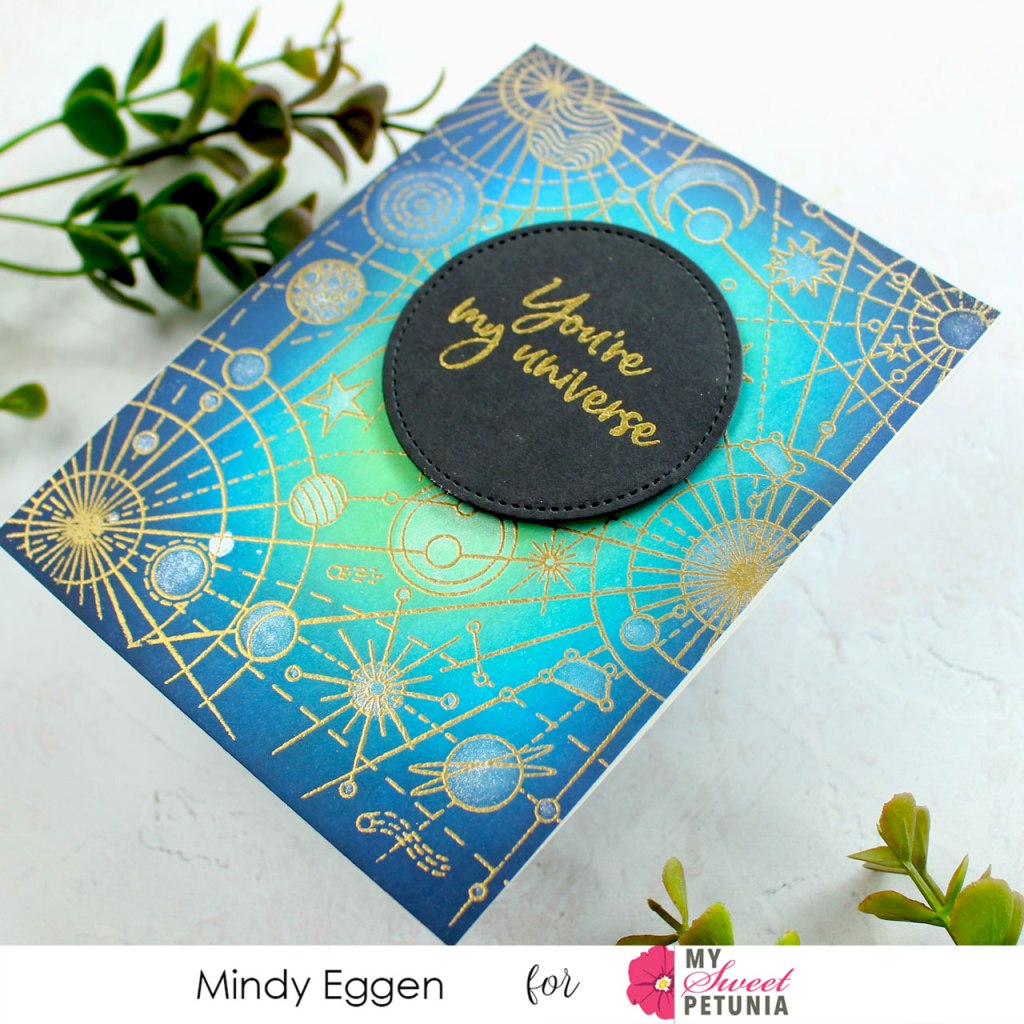
Welcome back everyone! It's Mindy here with you today! I love any chance I get to ink blend and couldn't wait to get some ink on this Galaxy stamp set from Hero Arts.
To create this card, I started by stamping the Galaxy stamp set using the NEW Misti 2.0. Did you pick one up yet? It's incredible! I love the smooth corners and the door is so much easier to open and close.
I stamped the image onto Neenah Solar White card stock with Embossing ink and sprinkled on gold embossing powder.
I then ink blended Cracked Pistachio, Salty Ocean, a dab of Blueprint Sketch and finished off with Chipped Sapphire Distress Oxide inks. Since the embossing powder resists inks, I wiped away the excess to reveal the shiny gold!
To add a bit of sparkle, I colored in some of the shapes of the design with an Aqua Shimmer Pen. To keep the focus on the background, I kept the sentiment simple. This sentiment comes from the You're My Universe stamp set in which I heat embossed in Gold onto black card stock. Then I trimmed the sentiment out with a stitched circle die and added to the front of the card with black foam squares.
Hope you enjoyed today's inspiration!
SUPPLIES
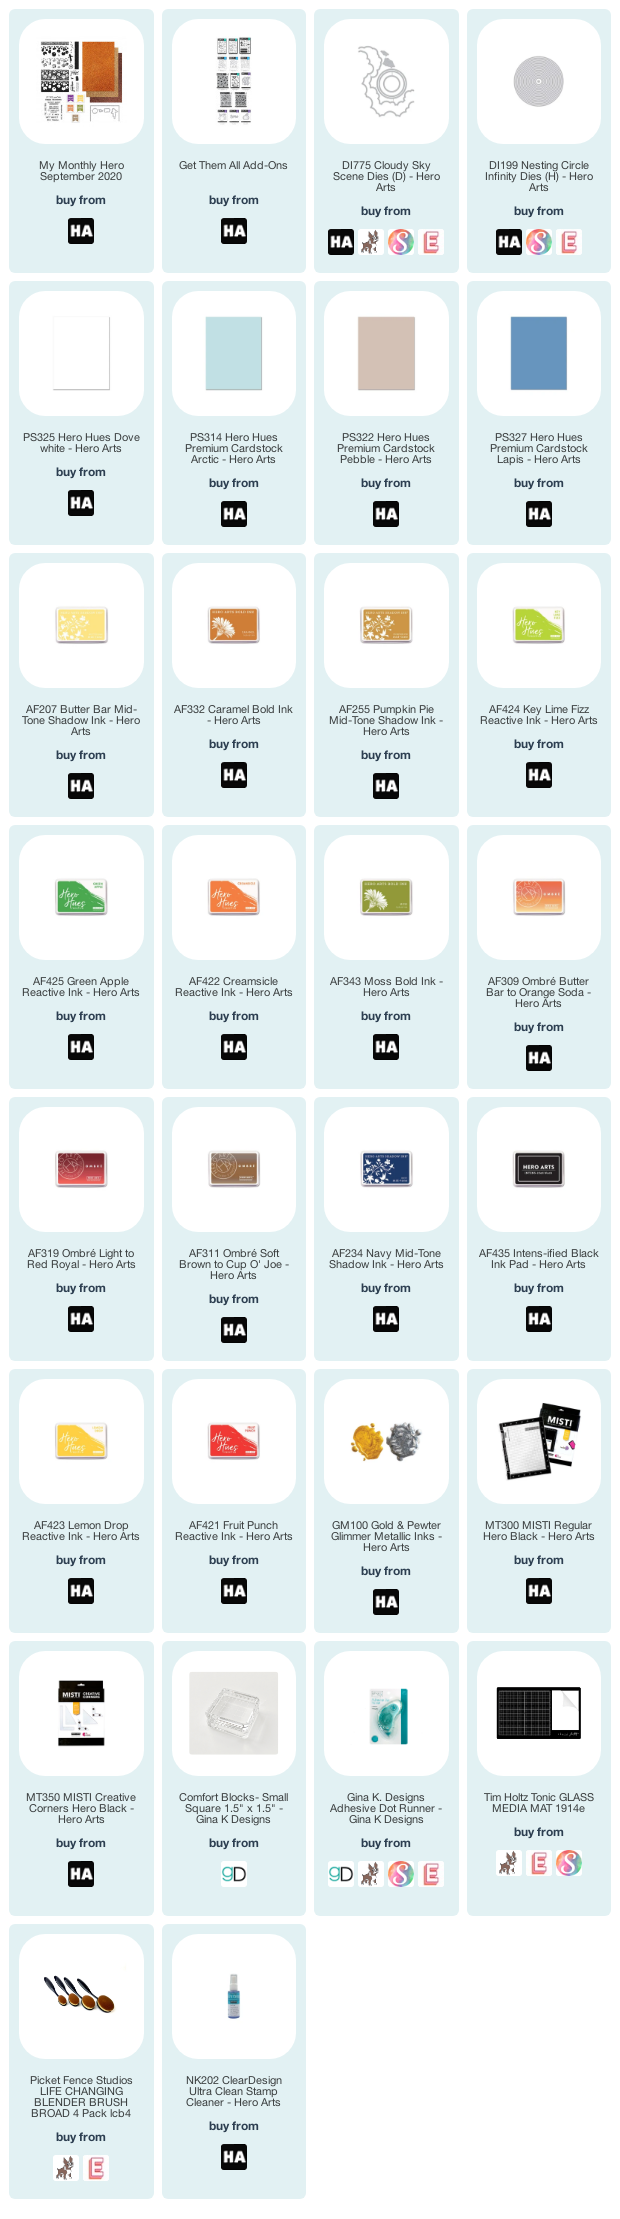
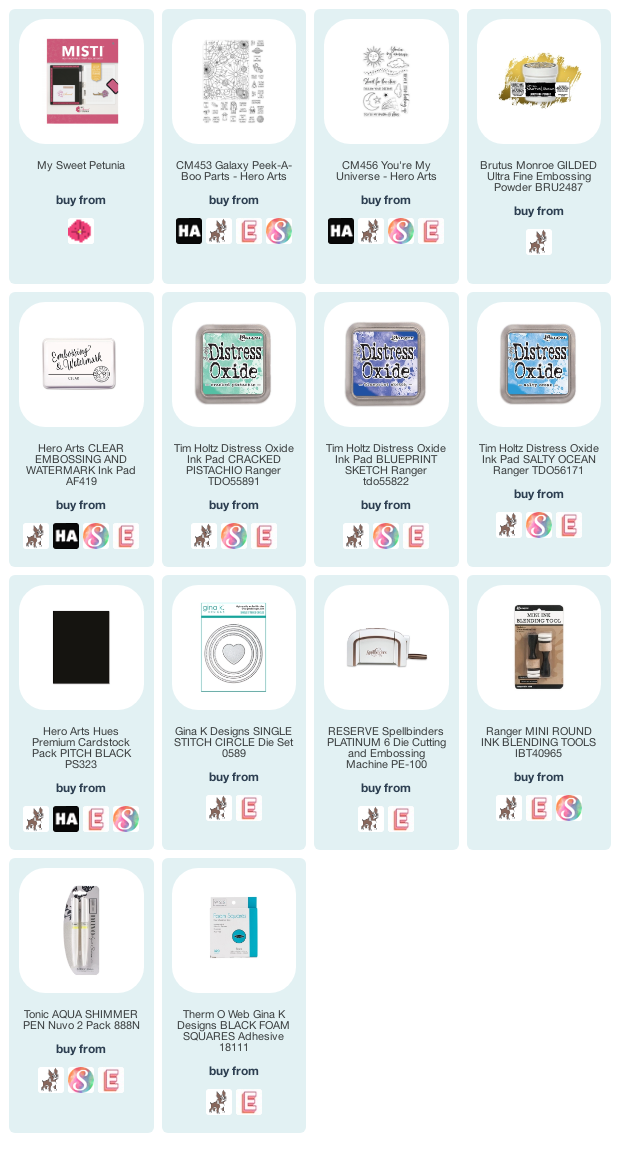
Below you will find links to the products used. Click the icon to start shopping. Compensated Affiliate links are used at no additional cost to you. Your support helps me to keep bringing you new projects and videos. Thank you!
Welcome friends! Today I’m sharing some inspiration using the new Frosty Card Kit from Taylored Expressions. If you are looking to get a jump start for your holiday cards – this is IT!
VIDEO
I have a video sharing the contents of the kit and creating 3 cards from start to finish. You can check out the video down below or HERE on my Youtube channel.
For my first card, the background is stamped in Oreo ink with the bands of the hat stamped in Strawberry Milkshake, Cookie Monster and Lime Zest.
This would be a great one to mass produce! In the video, I show how I created a template in my Misti for stamping the sentiment.
Once you have everything in place in your Misti, stamping is a breeze.
I ventured out of the kit for this next card and added a stencil from my personal collection.
Using the Masking Stencil Rectangle, I ink blended on Cookie Monster ink with a blending brush. Then added the Winter’s Beauty Stencil over the top of the masking stencil and blended that on with Cookie Monster, Blue Raspberry and Jelly Donut ink.
Be sure to check out the video for all the details on creating these cards.
SUPPLIES
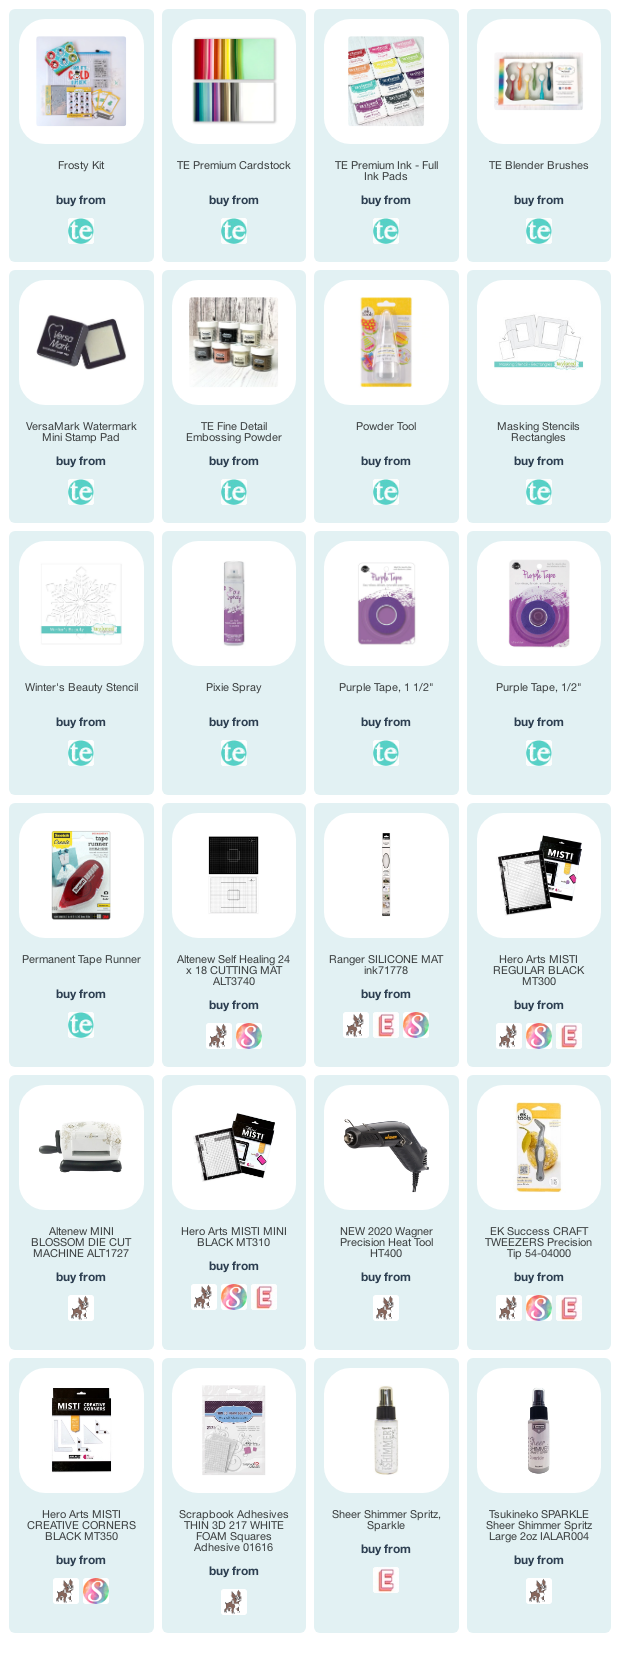
Below you will find links to the products used. Click the icon to start shopping. Compensated Affiliate links are used at no additional cost to you. Your support helps me to keep bringing you new projects and videos. Thank you!
Welcome everyone! Mindy Eggen here and today I'm sharing a card using a fun stamp set from Concord & 9th. The Kite Turnabout stamp. Have you ever used a turnabout stamp? They are tons of fun and create amazing designs. Concord & 9th has a lot of different images available in a turnabout.
With the turnabout stamp, you will need a Misti to do the stamping.
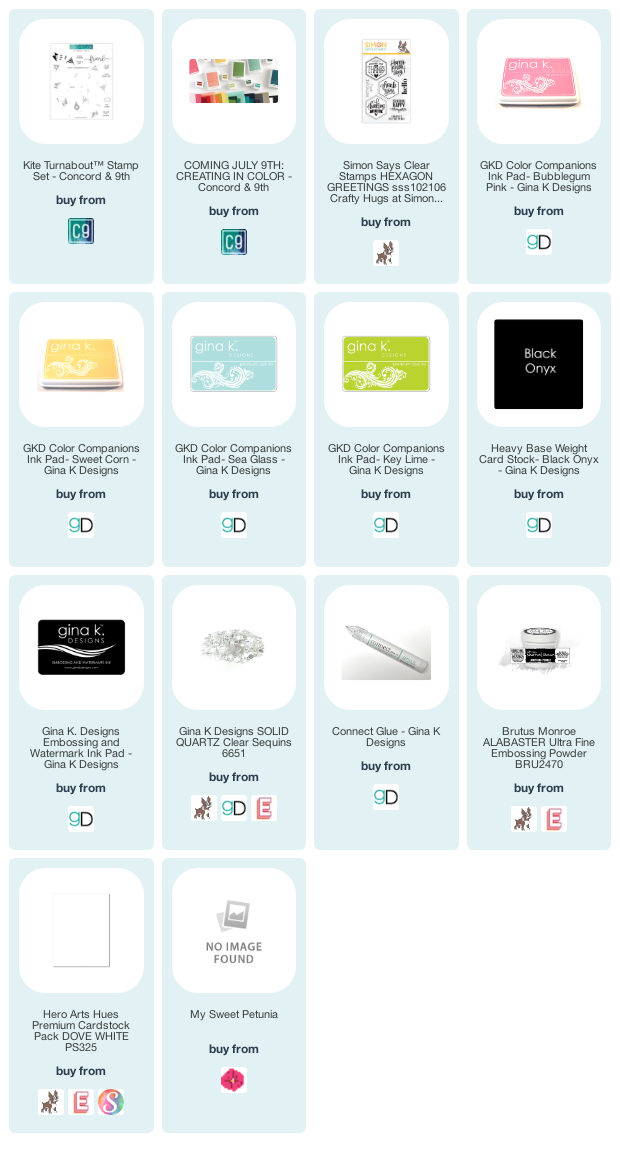
For my colors today I'm using Sea Glass, Key Lime, Sweet Corn and Bubblegum Pink from Gina K Designs. If you haven't heard yet, Concord & 9th is releasing their own line of ink pads today. I will definitely be snagging some of those beautiful colors up! The release of the new colors go LIVE at 9:00 AM MT time.
I finished off my card by heat embossing a sentiment from the Hexagon Greetings stamp set from Simon Says Stamp. I added a few Clear Quartz Sequins from Gina K Designs.
Thanks for joining me to day and hope you have a fabulous day!
SUPPLIES
Below you will find links to the products used. Click the icon to start shopping. Compensated Affiliate links are used at no additional cost to you. Your support helps me to keep bringing you new projects and videos. Thank you!
Welcome everyone! Mindy Eggen here today to share a colorful card using the Mini Wreath Builder from Gina K Designs!
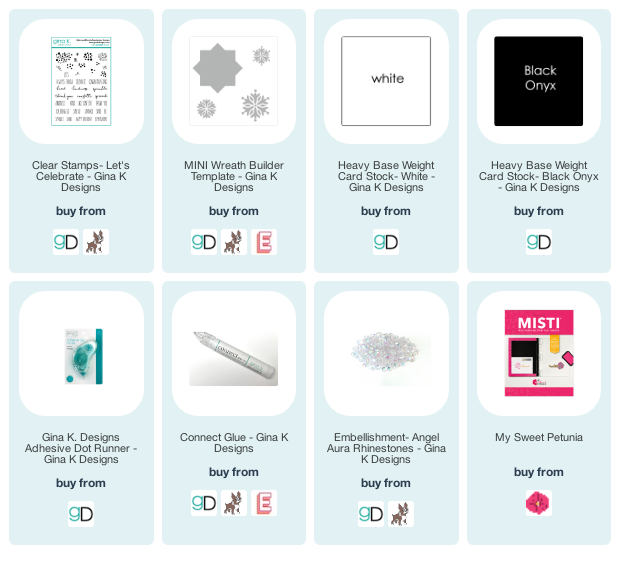
I love using the Wreath Builder to make cards because it's so easy to use and very relaxing. I'm using the new Let's Celebrate stamp set from Gina K Designs. I fell in love with this small grouping of stars and stamped them in a variety of colors.
I matted my panel with black card stock and added to a small 3″ x 3″ notecard.
I wanted to fill in the card a little more so I added Angel Aura Rhinestones in between the larger stars.
Creating these little notecards are great because they are a perfect size to stuff in your purse if you want to hand some out. I know there are plenty of times I wish I would have had a card with me to give someone who looks like they need a smile.
I hope you enjoyed today’s inspiration!
SUPPLIES
Below you will find links to the products used. Click the icon to start shopping. Compensated Affiliate links are used at no additional cost to you. Your support helps me to keep bringing you new projects and videos. Thank you!
Welcome everyone! I have some cards to share where I show you how I used the Creative Corners to stamp my images.
I also have a video showing you how I did this that you can view down below or HERE on my Youtube channel.
Creative Corners are such a handy tool to have. The first thing I want to point out is how they allow me to hang my images off the edge of my card front.
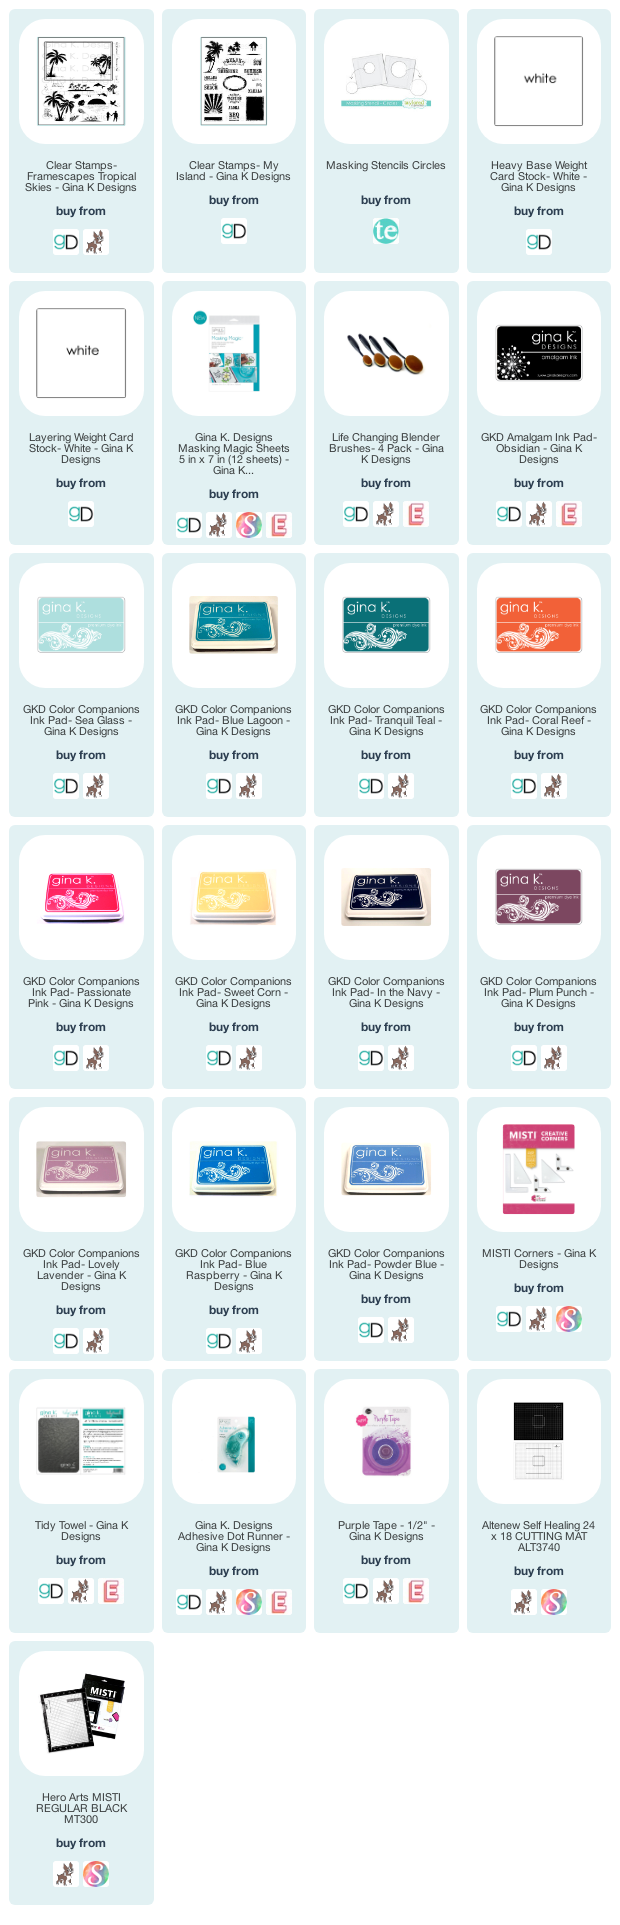
By placing the corner down in the bottom of my Misti, I'm hanging my large palm trees off the edge.
The second thing I love about them is it helps me line up my sentiments.
These are screen shots from my video so be sure to check it out as I go into more detail how to use the corners.
I'm also using the Black Misti which is a collaboration between Hero Arts and My Sweet Petunia.
I hope you enjoyed these cards and dig out your corners if you have them! They are becoming a staple for me when stamping.
SUPPLIES
Below you will find links to the products used. Click the icon to start shopping. Compensated Affiliate links are used at no additional cost to you. Your support helps me to keep bringing you new projects and videos. Thank you!
Welcome everyone! Today I'm sharing a card using a turnabout stamp from Concord & 9th that has been begging to be played with!
Turnabout stamps are great to pull out if you feel like you lost your mojo, which is where I've been lately. They make it easy to create a full background. All you need to do is pick out some colors.
The Original Misti stamping tool is quite essential when using the Turnabout stamps.
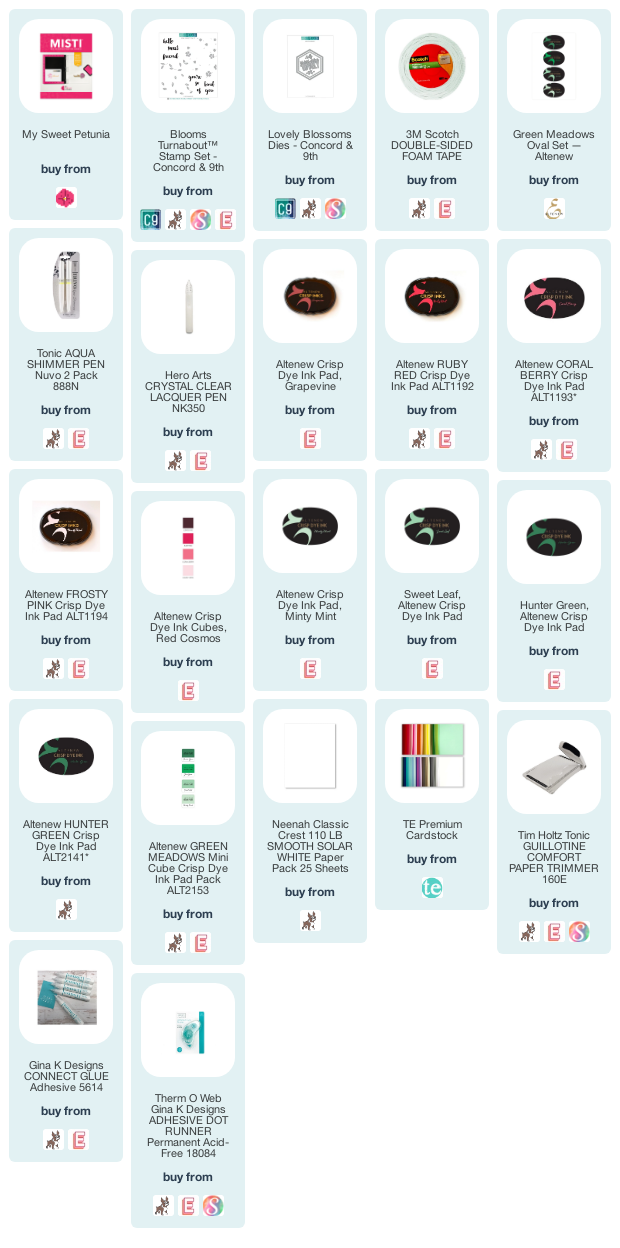
This card features the Blooms Turnabout which actually has two parts to it. You'll first stamp your flowers. I stamped mine in Red Cosmos Ink set from Altenew. The second part of the stamping is the leaves that I stamped in the Green Meadows ink set.
I used the Lovely Blossoms die set to cut the octagon shape from the background. Technically, I could have created two cards from this but I was in the mood for a lot of white space so I'm just using the shape piece for now.
I also die cut the sentiment from Black Oreo cardstock using the Lovely Blossoms die set. I picked out a Mint green cardstock to match my stamping and topped off the sentiment with an Aqua Shimmer Pen and a Lacquer Pen for shine.
Hope you enjoyed today's inspiration!
SUPPLIES
Below you will find links to the products used. Click the icon to start shopping. Compensated Affiliate links are used at no additional cost to you. Your support helps me to keep bringing you new projects and videos. Thank you!
Welcome everyone! It's Mindy Eggen here with you today to share a bright and glittery project with you today.
I'm working with the new Neon Glitz Glitter Gel from Rina K Designs and Thermoweb and how to use them on dark colored card stock.
I have a video that you can view down below or HERE on my Youtube channel.
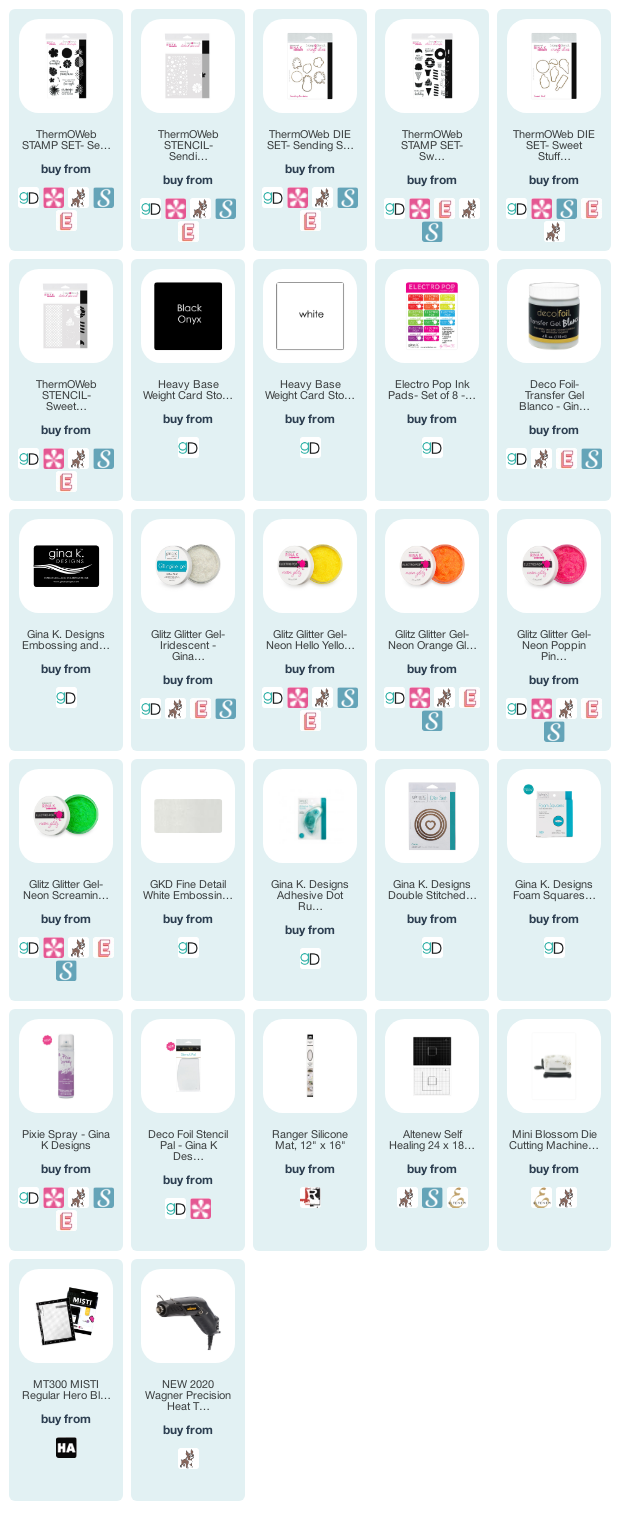
Since these images have multiple layer to them, I die cut the images first. I then used the Misti to stamp my layers in a variety of Neon colors. In the video I only show a couple of the popsicles but when I really sit down to play, I stamp a TON of these all at once.
Be sure the watch the video on all the tips and tricks on applying the glitz glitter gel to dark cardstock.
I tied everything together by stamping a sentiment in an embossing ink and heat embossing with white embossing powder.
Below you will find links to the products used. Click the icon to start shopping. Compensated Affiliate links are used at no additional cost to you. Your support helps me to keep bringing you new projects and videos. Thank you!
Welcome everyone! It's Mindy here with you today to share some watercoloring.
The minute I saw the new Watercolor Roses set from Altenew, I knew just what I wanted to do. A while back I saw Kristina Werner do some watercoloring by first stamping in Distress Ink. This is the perfect set to try that technique out.
I have a video that you can view down below or HERE on my Youtube Channel.
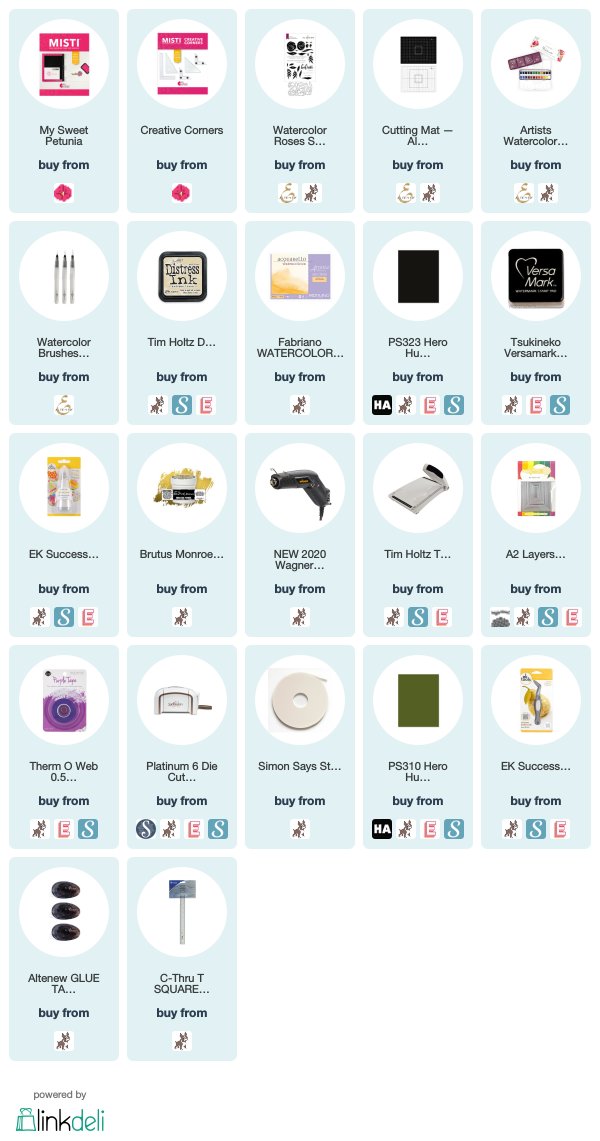
I first stamped my images onto Artistico Extra White Cold Pressed paper using Antique Linen Distress Ink and my Misti Stamping Tool. It doesn’t matter if you get a good impression of the images, as long as you can basically see them.
Using my Altenew Watercolor brush and the new Artist Watercolors, I water colored my images.
Once the watercolor was completely dry, which you can help along with a heat tool if you have little patience like me, I trimmed down my card front to 3 3/4″ x 5″.
One thing I really love doing is double heat embossing. The Misti tool makes this possible for me. I stamped the Believe sentiment in clear ink and heat embossed with Gold Embossing Powder. Once the panel was cool, I prepped the card stock again with an anti-static powder tool and stamped the sentiment again in clear ink. Since I had left the sentiment in the Misti, I was able to get perfect alignment.
This technique is a really good way to practice watercoloring if you struggle with it.
Welcome everyone! It's Mindy Eggen here with you today and I am featuring a project creating 4 Cards with 1 Stencil (plus a layout!)
VIDEO
I have a video that you can view down below or HERE on my Youtube channel. I'll be showing you how to create 4 cards with 1 stencil + a layout.
CARD DETAILS
Since this stencil is 9x12 all you need is one sheet of card stock. For my cards today, I'm using an 8 1/2" x 11" piece of Neenah Solar white 80lb card stock.
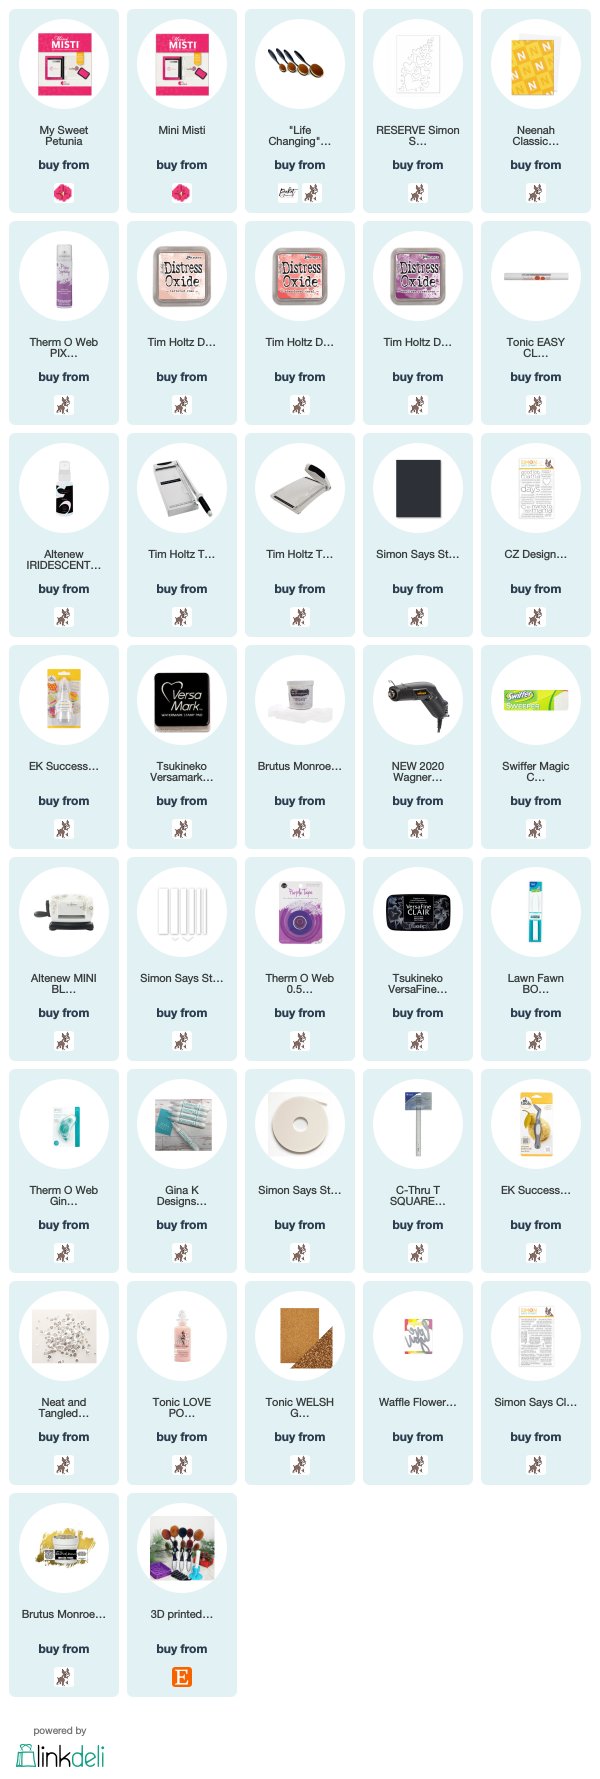
I'll spray my stencil with Pixie Spray, attach to my card stock and then ink blend Tattered Rose, Abandoned Coral and Seedless Preserve Distress Oxide inks using Life Changing Blender Brushes.
While the stencil is still in place, I'm going to spray Iridescent Shimmer Spray for a little sparkle. Then after carefully removing the stencil, I'm going to let this dry or you can heat with a Wagner Heat Tool.
After the card stock is dry, I'll trim my panel down first cutting at 5 1/2" and then 4 1/4" so that I end up with 4 card front panels. Four cards with one sheet of card stock and they all have a different design using the same stencil. Cool Right?!
I'm going to use the Good Job Mama Stamp Set and the Mini Misti Tool to stamp sentiments onto my card fronts with Versafine Clair ink. This is a great ink for stamping onto of Distress Oxides.
I also heat embossed sentiments off of the Good Job Mama stamp set onto Black card stock with White Embossing Powder. I love how I can stamp all of my sentiments at once using the Misti Tool. Quick and easy!
I'll use the Mini Blossom Die Cut Machine from Altenew and the Sentiment Label Die to cut my sentiments down to thin strips. I'll then attach my sentiments to my card front using the Big Momma Foam Tape from Simon Says Stamp.
A last finishing touch to my cards is adding some Clear Sequins using Connect Glue and then topping them off with Love Potion Dream Drops.
Now this is a little different coming from me but honestly, it's the first thing I thought of when I saw this stencil. One of my scrapbooks is actually a 9x12 album. I stenciled the hearts using the same colors as my cards, onto white card stock.
I printed off a 5x7 picture of my daughter that I took of her in November and attached it to my card stock.
Using Black card stock and Tonic Gold Glitter card stock, I die cut the Over Sized Love You from Waffle Flower and layered together with Connect glue for a shadowed look.
I heat embossed in Gilded Embossing Powder some small sentiments from the Tiny Words Encouragement stamp set onto Black card stock. Again, the Misti Tool is a time savER being able to stamp all of those sentiments in one pass. Then using the Sentiment Labels I die to cut them out and add to my label with foam tape.
I absolutely adore this layout and the sentiments are so powerful. It'll be great when my daughter goes back to look at the album and sees these encouraging messages.
I hope you enjoyed today's inspiration! I have the full release and my supplies listed down below.
SUPPLIES USED IN VIDEO
Below you will find links to the products used. Click the icon to start shopping. Compensated Affiliate links are used at no additional cost to you. Your support helps me to keep bringing you new projects and videos. Thank you!
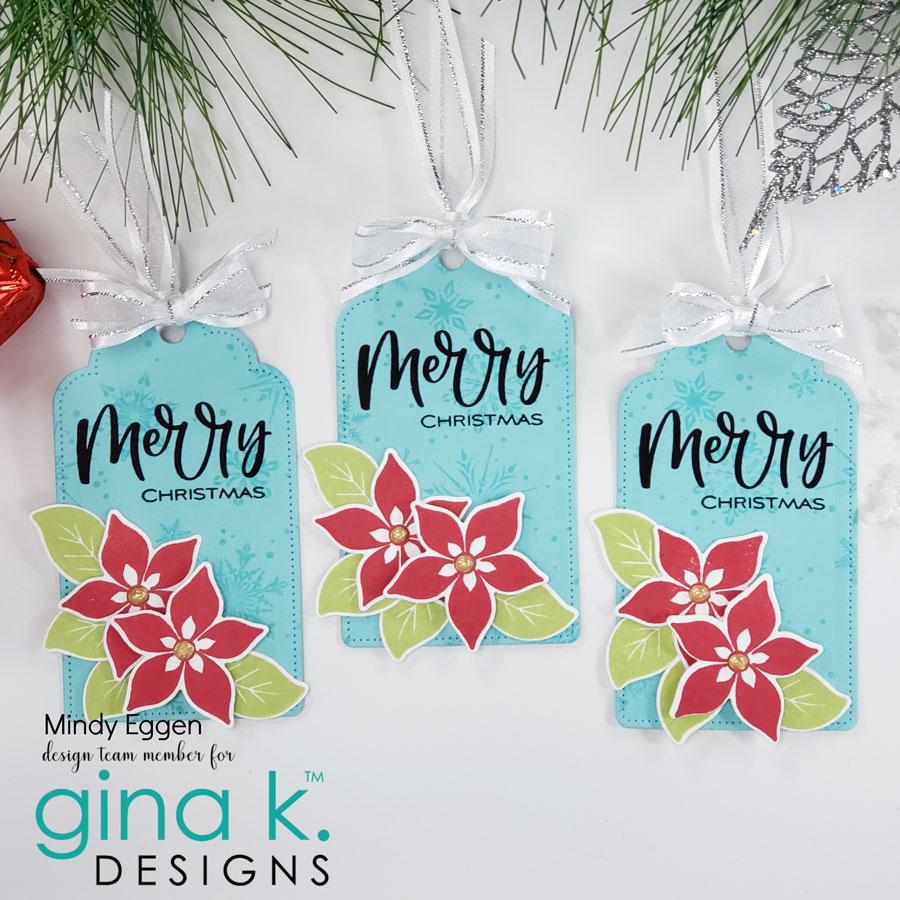
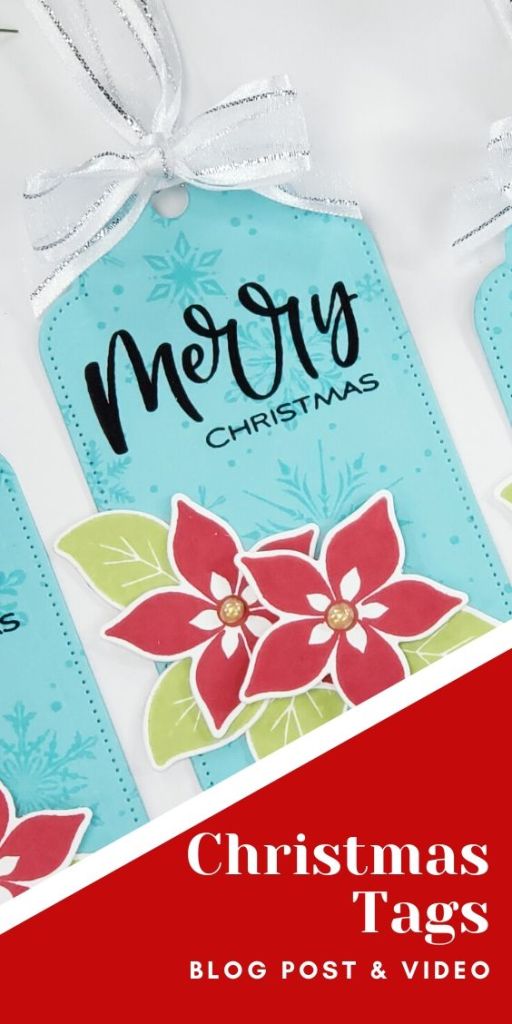
Welcome everyone! I'm hosting the December 2019 Challenge over at Gina K Designs and the challenge this month is... Tag! You're It! Sounds fun right?!
All you need to do to enter is create a tag. That's it! It can be any theme. I happen to create some Christmas tags but feel free to use whatever Gina K Designs products you have on hand.
VIDEO DETAILS
I have a video showing how I created my tags that you can view down below or HERE on my Youtube channel.
CARD DETAILS
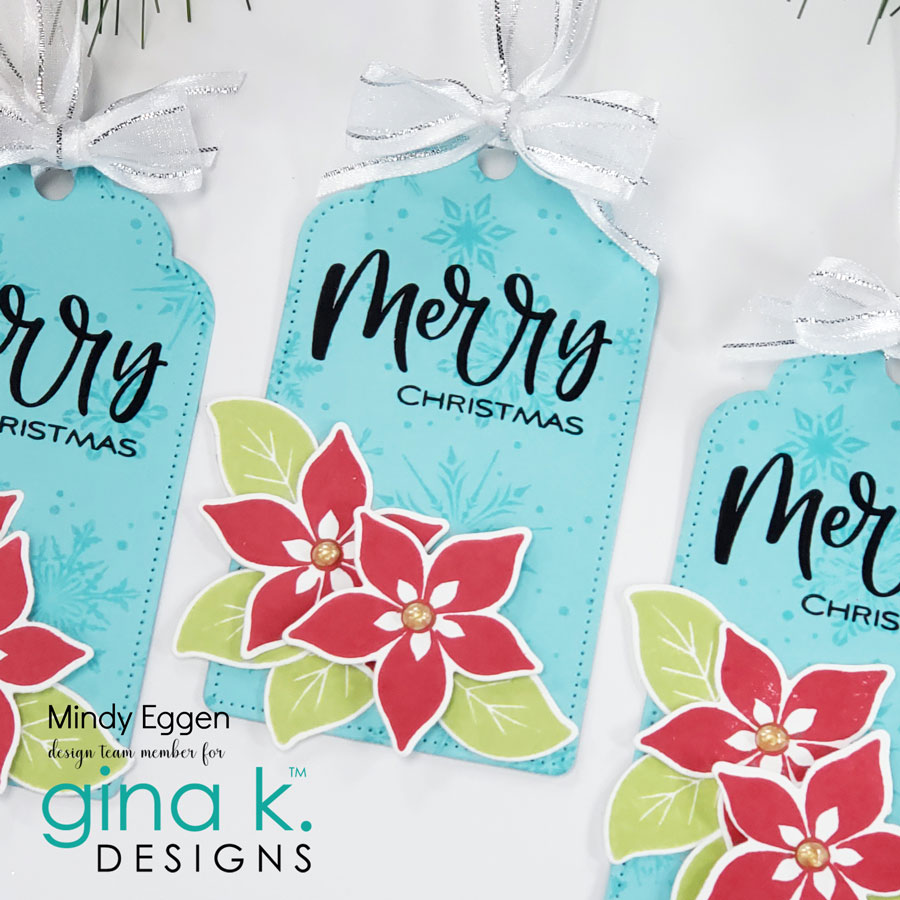
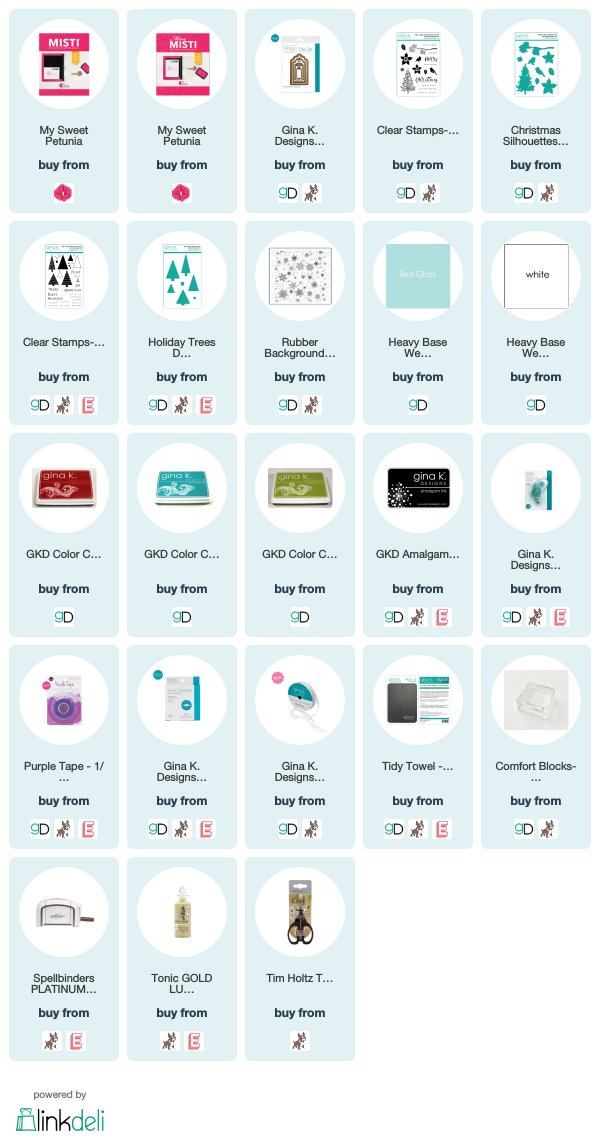
For my cards, I'm stamping the Delicate Snowflake Background stamp onto Sea Glass cardstock using Turquoise Sea ink with my Misti Tool.
I die cut out my tags using the Decorative Tag die.
On White Heavy Base Weight cardstock, I stamp the flowers from the Christmas Silhouettes stamp set using Cherry Red and Jelly Bean Green Ink. I use the coordinating die to cut out my images. The Misti is so helpful when I need to stamp multiples of the same image. I do a type of assembly line when stamping.
Before attaching my images, I'm going to stamp my greeting in Obsidian Black ink. I use the "Merry" from Christmas Silhouettes and the "Christmas" from Holiday Trees.
After stamping my greetings, I can attach my images using a dot runner.
I'll add the Sheer Satin Fancy Ribbon to my tag. If you haven't checked out this ribbon, I highly recommend it. It's gorgeous and perfect for tags!
I finish off my tags by adding Dream Drops in Gold Luxe to the centers of my flowers.
I hope you'll join us this month! Be sure to head over to the Gina K Designs Blog to find out how to link up your project and be eligible to win a gift certificate to the Gina K Designs store!
Welcome everyone! Mindy Eggen here with you today and I’m excited to share with you some inspiration using the Spellbinders Small Die of the Month for November 2019, the Kaleidoscope Snowflake.
Sign up to be a club member and never miss out on these amazing deals! You can read all about becoming a member (HERE).
VIDEO DETAILS
I have a video creating these two cards that you can view down below or (HERE) on my Youtube channel.
For this first card, I layered together the pieces to create a large snowflake for my card front. I die cut the pieces from Pixie Dust card stock and Gold Glitter card stock and layered together with Lawn Fawn Liquid Glue.
I attached my snowflake to the top of the card with liquid glue.
The sentiment is from the Bitty Holiday Wishes stamp set. I heat embossed it in Gold Embossing Powder onto Pitch Black card stock and trimmed down to a thin strip. I attached the sentiment to the center of my snowflake using foam tape.
My next card is featuring the actual snowflake dies from the Small Die of the Month. These can layer together up to 3 times but I only did 2 layers. I die cut the pieces from Pixie Dust card stock and Silver Glitter card stock. Then used my Lawn Fawn Liquid Glue to adhere together.
I created a very simple background for this card which would be really easy to recreate in quantities. I ink blended Grape Juice Ink onto the edges of Plum card stock using a blending brush.
Then added my snowflakes to the card front with liquid glue.
The sentiment is from the Very Merry Sentiments from Concord & 9th. I stamped the sentiment in Altenew Obsidian Ink using my Misti tool and then trimmed them down into individual strips. I love the look of the labels.
I attached foam tape to the back of each strip and added to my card front.
Can I say I am really loving this Plum card stock from Hero Arts! Such a unique color for Holiday cards!
I hope you enjoyed today’s inspiration!
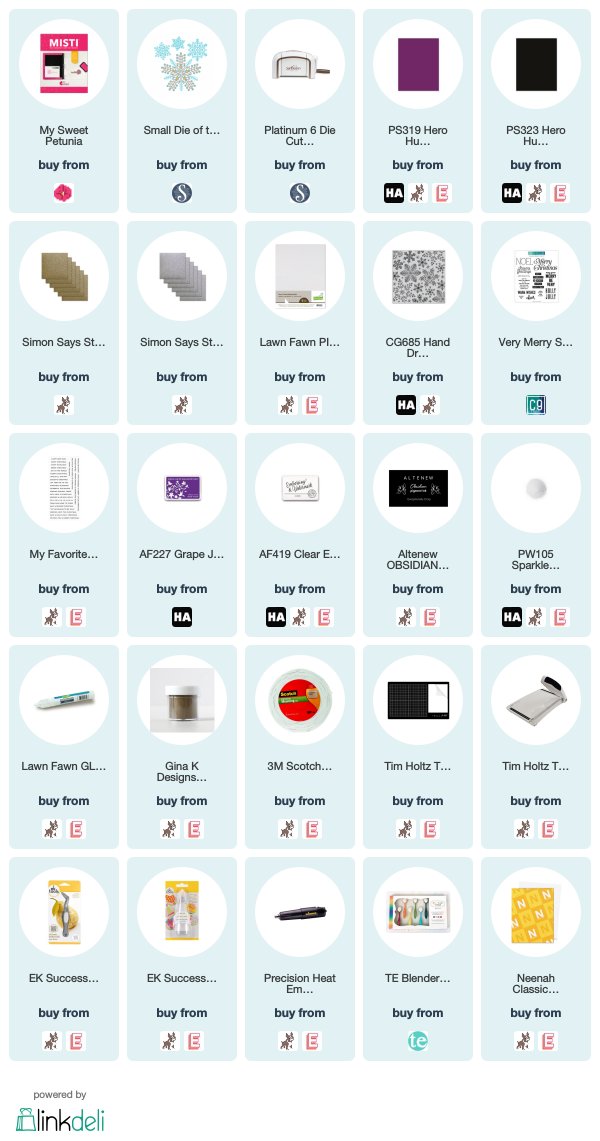
SUPPLIES
Below you will find links to the new release. Click the icon to start shopping. Compensated Affiliate links are used at no additional cost to you. Your support helps me to keep bringing you new projects and videos. Thank you!