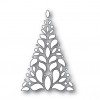
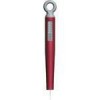
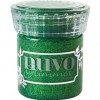
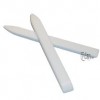
As soon as I saw the Corbel Tree die from Simon Says Stamp, I knew exactly what I wanted to do. The Tonic Novu Glimmer paste was the first thought for my idea.

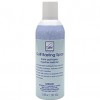
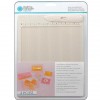
Stamping the sentiment first and then embossing, made it easy to have several done for the next step. It was easy to mass produce with my MISTI. I used it more for positioning, with very little stamping. There was no need to tape my background down. The magnets did all the work. However, I did need to use a quilt basting spray to prevent the emerald green glimmer paste from seeping under the stencil.

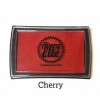
If the glimmer paste is not your thing. try using an ink blender to add color. After waiting patiently for the glimmer paste to dry, I just added a Pretty Pink Posh Confetti Star to the top.
I hope you enjoy the video. Be sure to subscribe to see all the videos as I post them. Thanks for stopping by.


Oh wow! Great project!!! I would love to try to realize something like this for my Christmas decorations!!! <3
ReplyDeleteStunning and beautifully elegant !
ReplyDeletethanks for another idea for using the Misti.
ReplyDeleteI am not sure what the mouse pad is. My Misti (I think the original one) has a piece of black fun foam that I use. Is this Mouse Pad the same thing.
ReplyDeleteBeautifully done Iliana...thank you for the video!!!
ReplyDeletePaper Hugs,
Jan
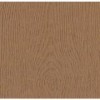
Just beautiful. Love the tree die and the wood grain paper is lovely.
ReplyDeleteOH my goodness! AWESOME stenciled cards! I love the wood panels!
ReplyDeleteI really enjoy your videos. So many tips and tricks plus your voice is very calming. I am still using the original printed misti "cracks and all". It still is working perfectly and I LOVE IT. Totally brought me back to stamping. Now with this video and alignment tricks the MISTI is the perfect tool PERIOD!!!!!!!!!!
ReplyDelete