Tuesday, October 26, 2021

Cozy Wishes Christmas Card


Hey cardmaking friends.  It's Sandi MacIver here for Team Tuesday and today I'm sharing Simon Says Stamp Cozy Wishes with you.  

This is the November Card Kit of the Month and it's fabulous.

 First up I'm going to be using the adorable new 6 x 8 stamp set called Cozy Wishes full of lanterns, bird houses and sweet little birds.

There is also a great selection of sentiments. The kit also includes a Scandinavian Christmas Embossing Folder which I have used on todays card. 

So let's get started on the card.

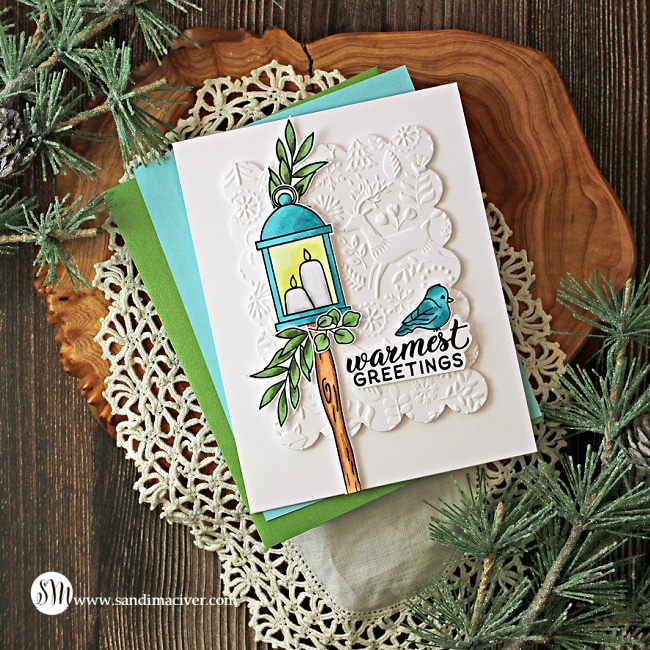
s. handmade christmas card with a lantern, candles and a sweet little bird created with card making and paper crafting products from Simon Says Stamp

How to create the Simon Says Stamp Cozy Wishes Card:

Start with a top folding A2 sized card base in Hammermill white. 

Next, use the Chunky A2 Scalloped Rectangles to cut a rectangle (second largest in the set). 

Place the cut rectangle inside the Scandinavian Christmas Embossing Folder and run it through your die cutting machine.

Finally, use foam squares to attach it to the card front.

  handmade christmas card with a lantern, candles and a sweet little bird created with card making and paper crafting products from Simon Says Stamp

Creating the Art Pieces for the Card.

Place a 4-1/4 x 5-1/2 piece of hammermill white card into the Misti.

Lay in the stamps needed for the card and stamp them with the Intense Black Ink from Simon Says Stamp (this ink is copic friendly). 

Color the images with the Copic Markers:
  •  Blues:  BG 53, BG57, BG09 
  •  Yellows: Y00, Y11, Y15 
  •  Greens:  G21, G94, G99 
  •  Browns:  E21, E23, E25, E27 

On a separate scrap of white cardstock stamp the sentiment in black.

Once the sentiment is dry, fussy cut it out (there is a coordinating die set for this stamp set but I don't have it). 

Cut out the lantern, the bird and the three branches. 

Finally, use foam squares to attach them to the card front. 

TIP - you could also add a bit of Clear Stickles to the lantern for some candle light glisten, or frost on the outside of the lantern.


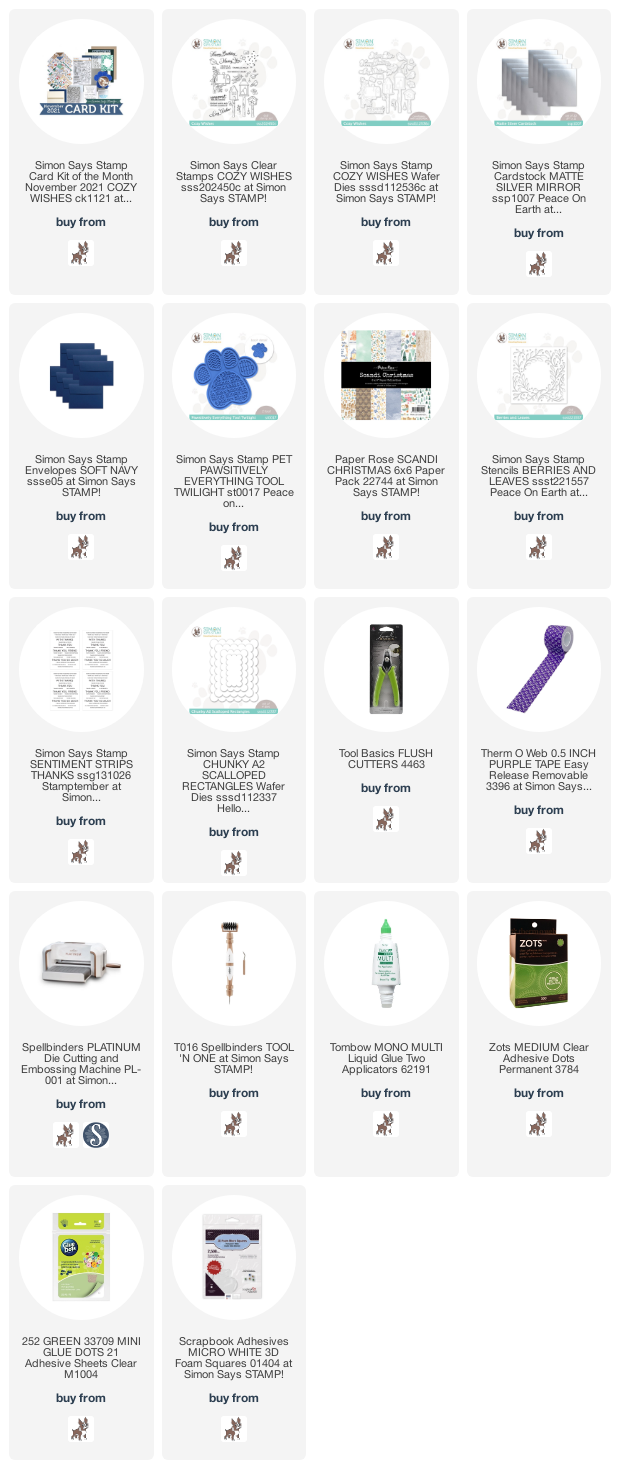
used for the Simon Says Stamp Cozy Wishes Card:

Here are the products I used today.  Compensated affiliate links used  where available at no cost to you. When you click on a thumbnail link and shop you are supporting my website allowing me to continue bringing you new projects and videos.  Thank you.       

Thursday, October 21, 2021

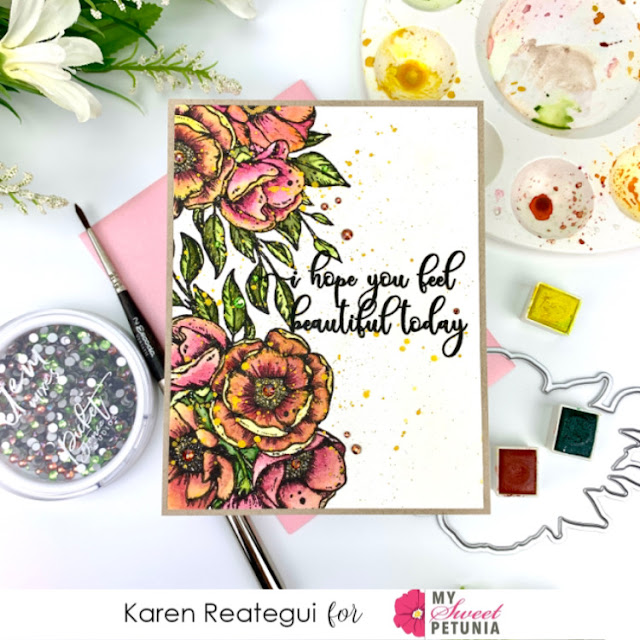
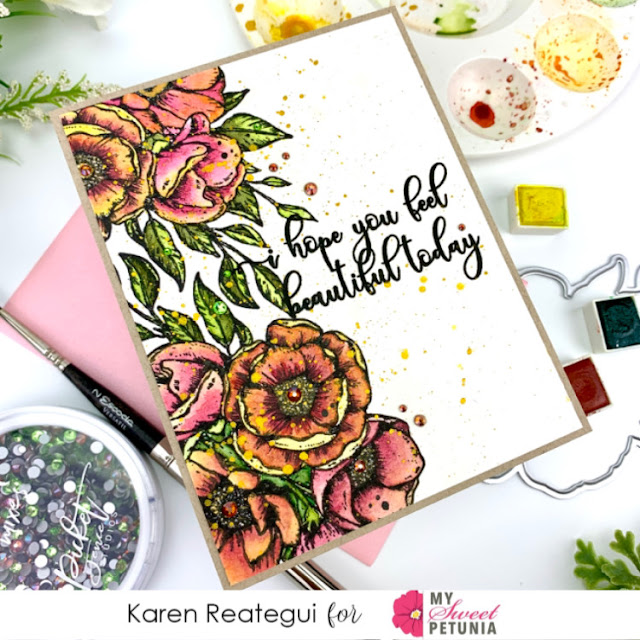
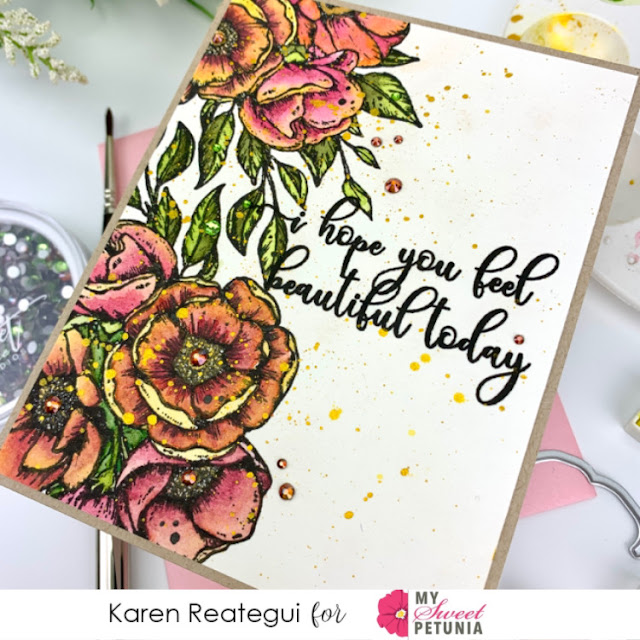
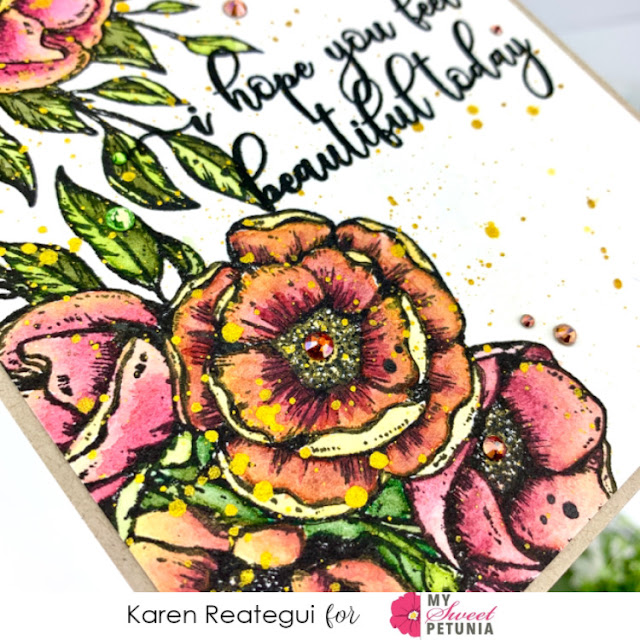
Watercolor Roses with Karen Reategui


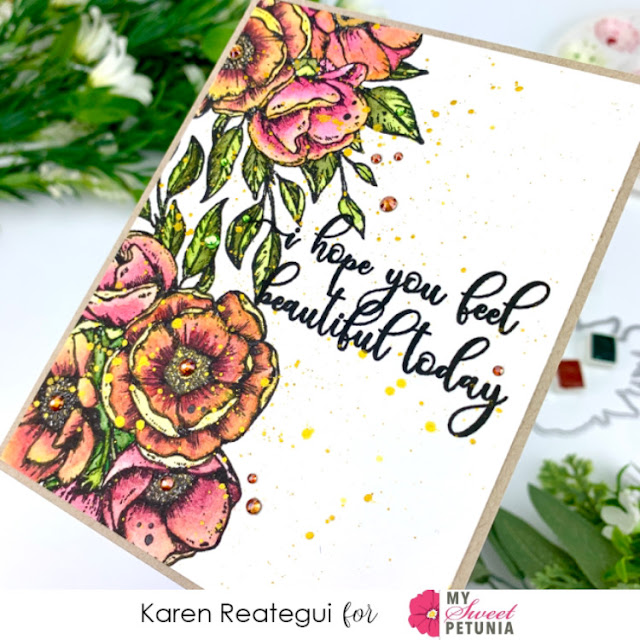
Hello friends, I'm so happy to be here today sharing this watercolor card that I made using products from Picket Fence Studios and my original MISTI.


Let's start! With the help of my original MISTI I stamped the Watercolor Roses stamp using Black Hybrid ink onto an A2 watercolor panel.  


Then, using a watercolor brush I applied Jane Davenport Watercolors. Also, I added some splatters of metallic gold ink from Hero Arts around the panel using a fan brush.


Once my panel was dry, I stamped my sentiment from the same Watercolor Roses Stamp using my MISTI and the Black Hybrid ink from Picket Fence Studios.


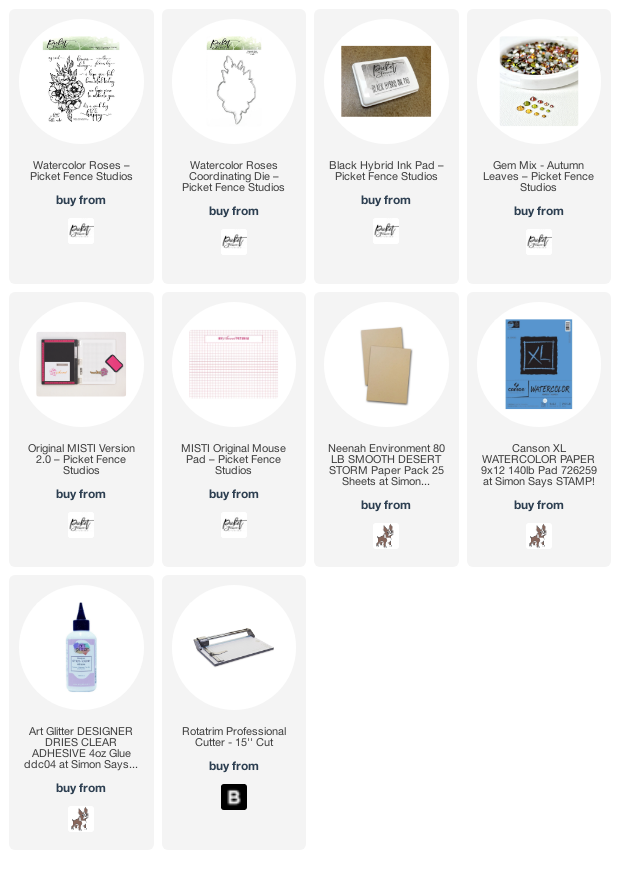
I trimmed down my panel a little bit and I adhered a panel of Neenah Desert Storm plus a white card base at the back. As a final touch I added some Autumn Leaves Gem Mixes from Picket Fence Studios and this card was done.


I hope you like this card and give this a try. 
Thank you so much for stopping by, please have a wonderful day and you will find the list of supplies below.

Your friend, Karen


Tuesday, October 19, 2021

Using My MISTI to Build Scenes


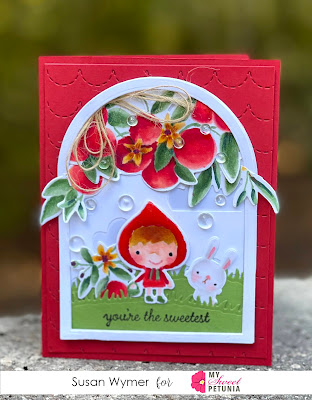
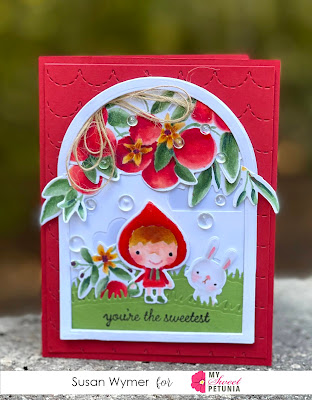
Hi, Welcome to the My Sweet Petunia blog. I am Susan. Today, I have a card that I made for my oldest granddaughter who is doing so well in first grade! I had not colored in a person/fairy in a long time and decided to give it a go with Reverse Confetti's Enchanted Garden. I also decided to color in some apples using Reverse Confetti's Orange Blossom set. 

I set up all the stamps I was using in the MISTI along with some Neenah Solar White Super Smooth 80 lb card stock. This card stock can handle a ton of ink so I have switched to using this type of Neenah rather than the straight 80 lb card stock. I stamped each image twice with Ink On 3 Fade Out Ink. I adore this ink. Even though I have to stamp twice in order for my old eyes to see the lines, the stamped lines fade out as I color. 

For the reds, I varied up the colors but pretty much used Copic Sketch Markers R12, R14, R17, R24 and R29. For greens, I used YG61, G24, YG63 and YG67. The yellows sadly I did not write these down. For the very darkest centers and tiny buds I used RV99. 

For the background, I die cut a panel with Reverse Confetti Cloudy Day cover plate. I then die cut this with one of the Nested Dome die set from Waffle Flower. To make this panel I die cut a piece of Gina K. Designs Soft Stone (perfect shade of gray) card stock to adhere to the background. 


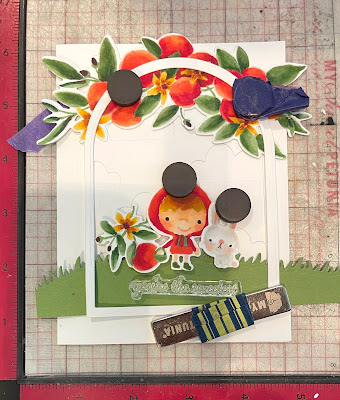
Once I had all my pieces colored and die cut, I place the card base in my MISTI (see above - please excuse how dirty and well-loved my MISTI is) and arranged my pieces. Let's be honest the picture above is an honest picture of crafting except I edited out my messy desk! Using some magnets I finalized this version of the card. I do this instead of using Press N' Seal because I feel that I have better control over placement. Once I have the piece in place I adhere it with liquid glue or tape runner. However, as I was doing this I changed my mind, of course. Once I had moved everything where I wanted it now on the dome, I used liquid adhesive to adhere everything. 

For the back panel that the dome is mounted on, I used Reverse Confetti Stitched Scallops Coverplate to die cut a piece of Reverse Confetti Salsa card stock. I trimmed this to 4" x 5.25". For the card base, I also used Reverse Confetti Salsa card stock to make an A2 side folding card. Once everything was altogether, I added Pretty Pink Posh Dew Drops and some Glossy Accents over Wink of Stella clear glitter ink. 


Thanks for stopping by;

Susan

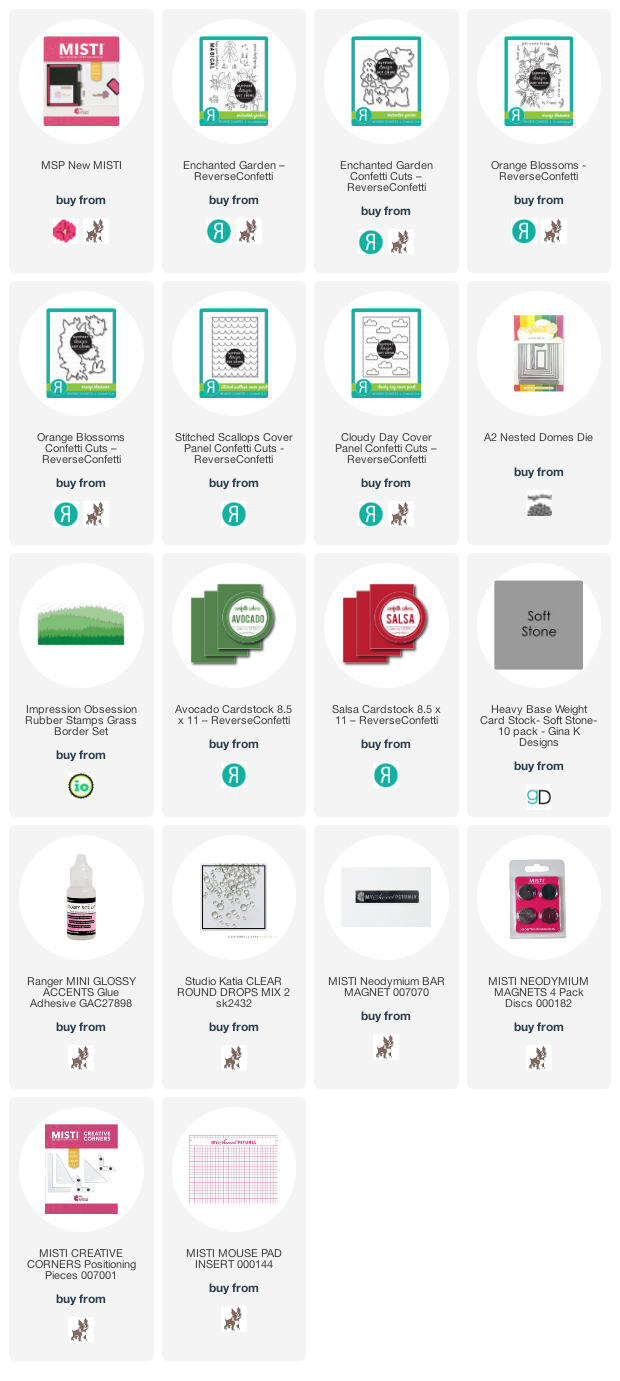
Products Used: I am using compensated affiliate links at no further cost to you.


Thursday, October 14, 2021

Slim Scenes and the MISTI

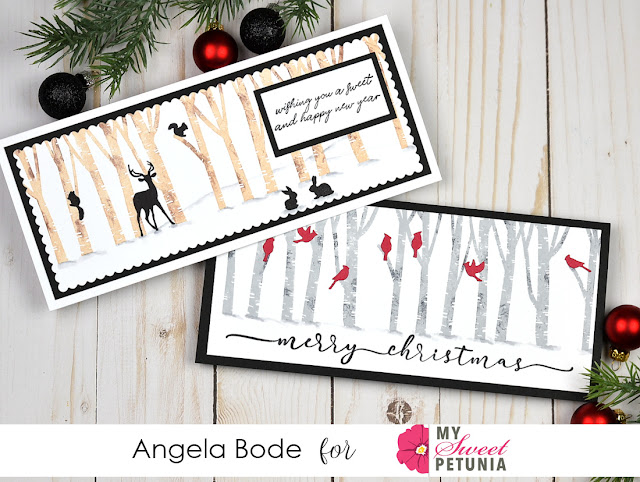
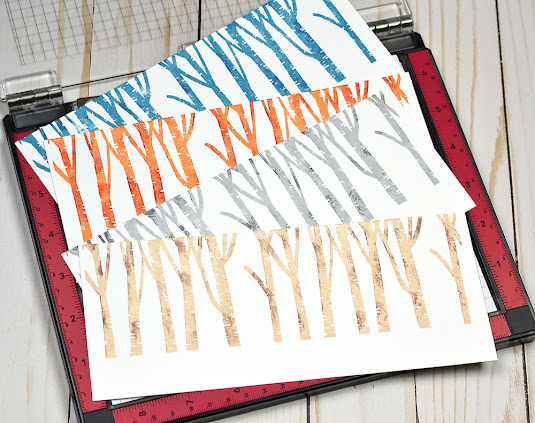
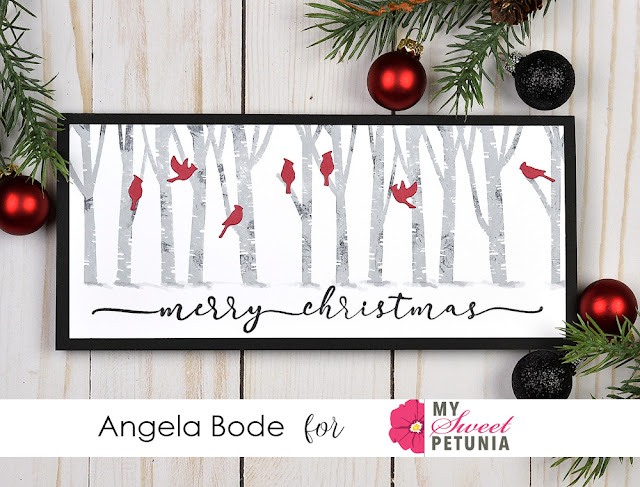
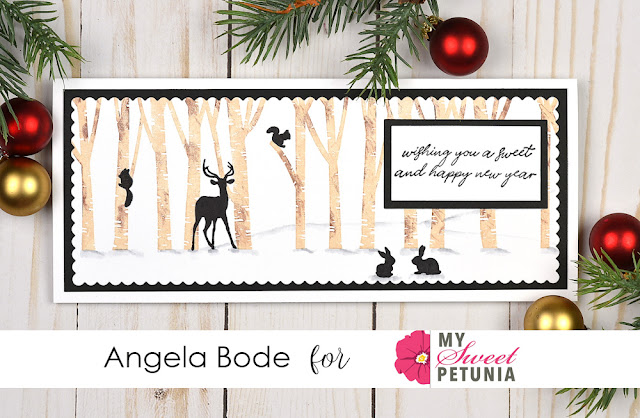
Hello! Angie here! For today's project, I pulled out a stamp that had not seen ink yet.  I really like my NEW Original MISTI when stamping a Slim Scene.  If the ink coverage isn't absolutely perfect the first time it's easy to add another layer when utilizing the MISTI.  A fun technique I like to use with the MISTI and a Silhouette stamp is to stamp in a light ink tone and add highlights with a dark ink tone.  To add the dark highlights simply grab a piece of cling wrap and place it around a finger.  Next, tap your finger in the dark ink and randomly add color to the silhouette stamp.  Lastly, close the MISTI lid to stamp over the lighter image.  The technique adds interest and texture! 


The MISTI is magic when it comes to stamping multiples! Once the stamp is in the MISTI it's a breeze to create more than one background!  


I love how the gray and black trees turned out! For a pop of color, I die-cut some cardinals and placed them in the trees.  Lastly, I added a Slim Sentiment.


Next, I used a light tone of brown on the trees then added a darker brown using the technique mentioned above.  I created a scene by scattering woodland animals among the trees. So cute!  I die cut the layer with the small scallop die, and lastly, I used the Mini MISTI to stamp the sentiment.


Thanks so much for stopping by!  

** Affiliate links used when possible at no charge to you!**


Tuesday, October 5, 2021

Getting Started on Christmas


Hello and welcome to another edition of Team Tuesday!
It's Ceal, here. I am getting started with Christmas cards and sharing these two with you. 
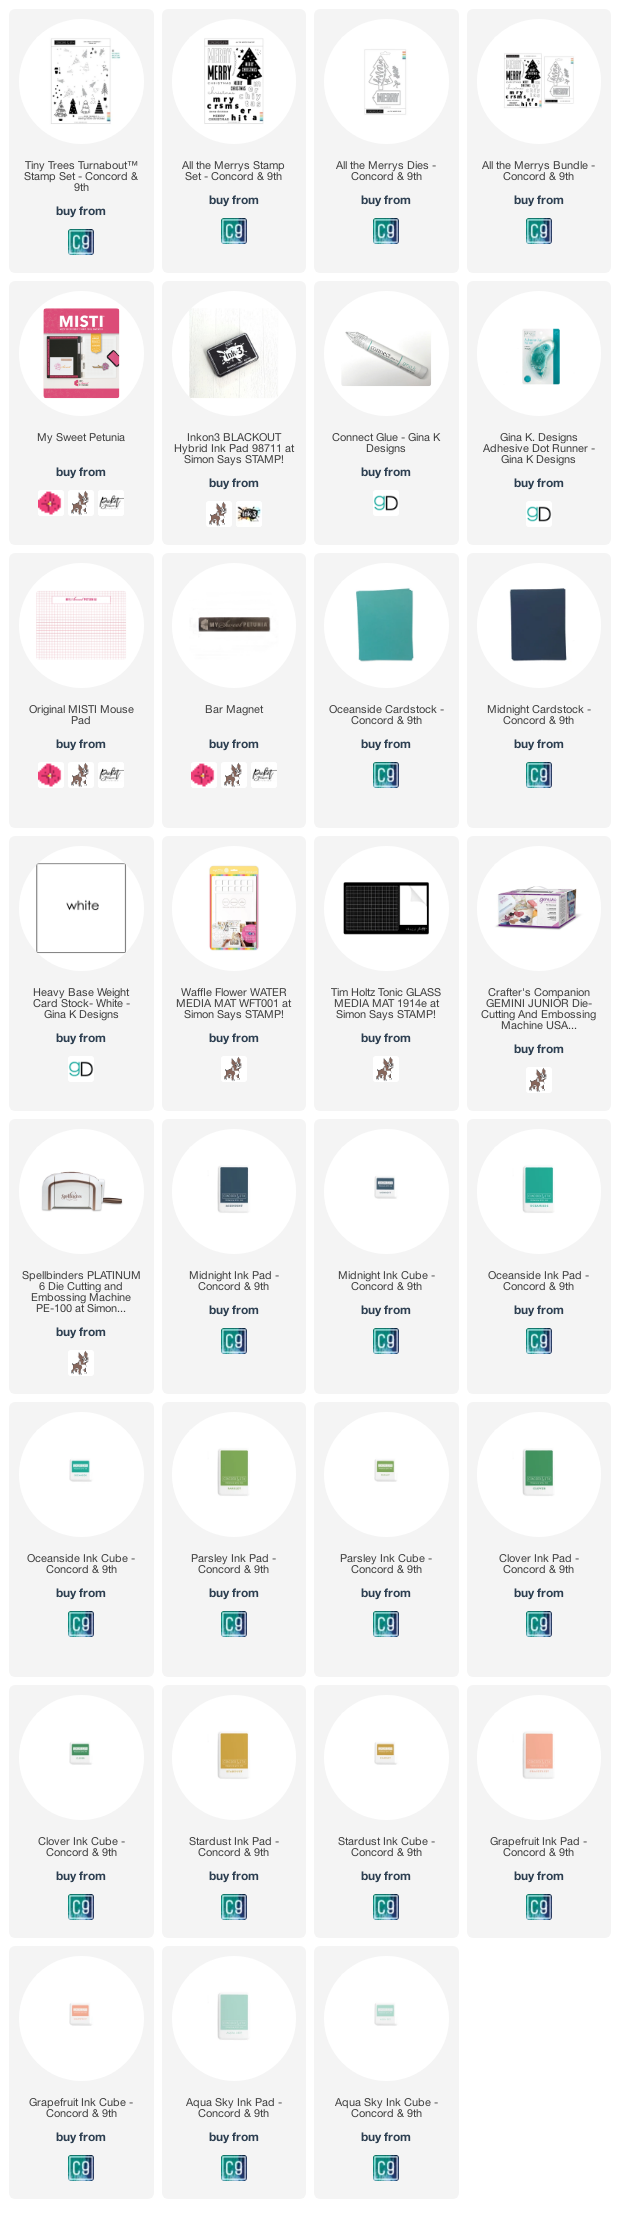
For these two cards I used the new Tiny Trees Turnabout. If you have followed me any at all, you know that I love turnabouts. They allow you to make so many backgrounds at once to have to use later. And they were made especially made for the Misti.

The color combos I used are Midnight, Oceanside, Parsley, and Clover for the first card and Stardust, Grapefruit, Aqua Sky and Oceanside for the second one. 
I added some gems to the first card and kept the second one plain. 
I also created some more backgrounds for a later use.

All products are linked below using affiliated compensation links.  When you shop using these inks I get a small commision at no cost to you. 


Wednesday, September 29, 2021

Just Buzzin' Around

Hello everyone and Happy Fall! As I (Judy) am writing this, I can hear a symphony of crickets, cicadas, and bees, and I am ok with that as long as they stay OUTside! There are so many bees in my marigolds this year (which went wild from seeds last year!), and although they aren't the big fat bumbles like these, I am happy to see them buzzing around pollinating everything still.

Most of these stamps and dies are from the Hero Arts January 2021 MMH Kit. I had not even used them yet! So today they got to see some ink - and embossing! This kit is not available anymore, but there are other fabulous options out there to recreate this card.

I first cut a circle using a wonky stitched circle die (MFT Stamps) out of the Pale Yellow Glitter paper that came with the kit. I added the Honeycomb window die, also cut with the same circle. I stamped the flowers from the kit using my Original MISTI 2.0 and cut them out as well. And guess what? They were huge for my A2. I could have made a square card, but decided to stick with the usual A2, and just cut each side off the circle. I ended up really liking it. The flowers layer is popped up with foam tape.

Into the MISTI went my fat bees! The bees are stamped in VersaFine Onyx Black and embossed with clear embossing powder. I colored them with Copic markers, cut them out, and popped them up on the flower layer. I added some sequins from Honeybee Stamps. I layered all of this on a black mat, cut out with a wonky stitched rectangle die (MFT). To finish the card, I added some metallic gold Kreinik thread around the middle, and the word "buzz" using the Tall Skinny Alphabet from scrapbook dot com. If you're having trouble lining things up evenly (such as these skinny letters), use your MISTI Mouse Pad or Grid Paper Pad gridlines!

Off to get my morning coffee BUZZ. :-)


Tuesday, September 28, 2021

Misti and Hero Arts Dahlia


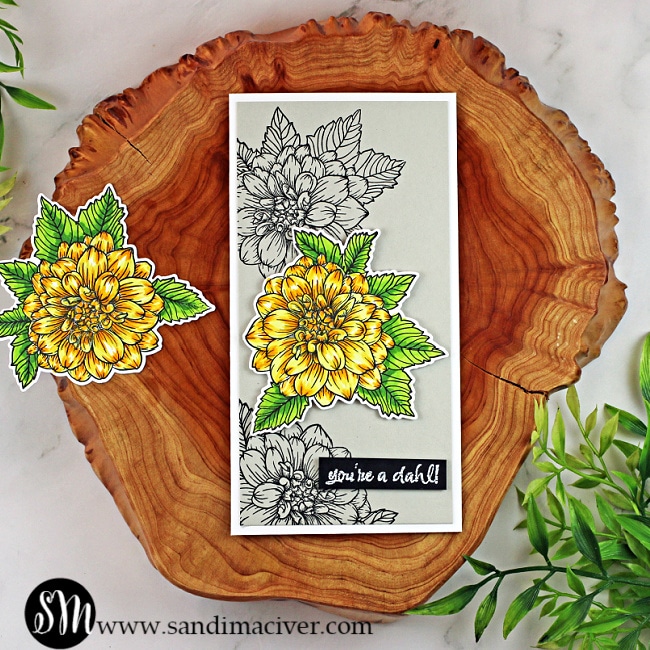
Hi cardmaking friends and welcome back.  It's Sandi MacIver here and today I have a Mini Slimline Hero Arts Dahlia Card to share with you.  

Yet another stamp and die set from that bin labeled "bought but not used yet"....I am determined to empty that thing, LOL. 

 As all the Dahlia's are showing their fall colors right now, I thought it would be the perfect time to color this sweet stamp up.  

I decided on a gray/yellow color combo as I really like how the yellow contrasts and POPS. 


How to create the Mini Slimline Hero Arts Dahlia Card:

Use the Misti Stamping Tool to stamp the Dahlia in Gina K Amalgam Ink (copic friendly). 

 Heat set it until it's dry and then color with copic markers 

 Next, use the coordinating die to cut out the image. 

 Place the card front into the Misti and use VersaFine Clair Nocturne Ink to stamp the image twice in black. 

 TIP - this is my favorite black ink for outline stamping, it's so BLACK.....you will love it, you only have to stamp once. Finally, white heat emboss the sentiment onto a scrap of black and trim.

  handmade mini slimline card with a yellow Dahlia using cardmaking and paper crafting products from Hero Arts

Mini Slimline Cards:

I decided on the mini slimline size of card because of the size of the image. 
 It's smallish, and looks fabulous stamped in black to create interest in the background.
 I also didn't have time for a pile of coloring.  Being able to color just one image and have it absolutely POP of my card is ideal.

 I also find mini slimline cards are the perfect size to send someone a little hello how are you. (you don't have to write a book to fill the inside, LOL). 

 
  handmade mini slimline card with a yellow Dahlia using cardmaking and paper crafting products from Hero Arts  

Copic Markers Used:

Yellows:  Y11, Y15, Y19, Y38 
 Greens:  YG03, YG23, YG67 

 Finally, mail it in one of the beautiful Lemon Chiffon mini slimline envelopes from Simon Says Stamp (they are so pretty) .


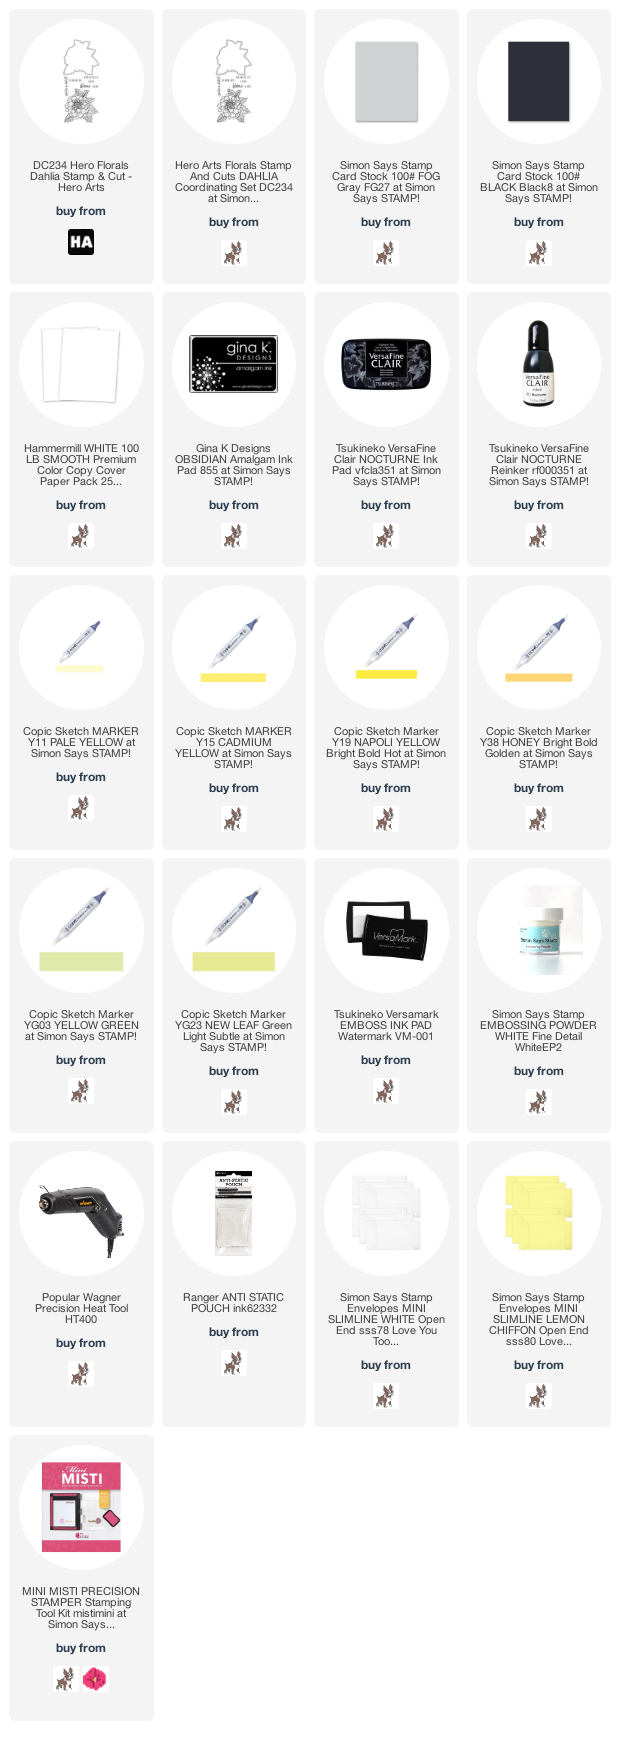
used for the Hero Arts Dahlia Card:

Here are the products I used today.  Compensated affiliate links used  where available at no cost to you. When you click on a thumbnail link and shop you are supporting my website allowing me to continue bringing you new projects and videos.  Thank you.