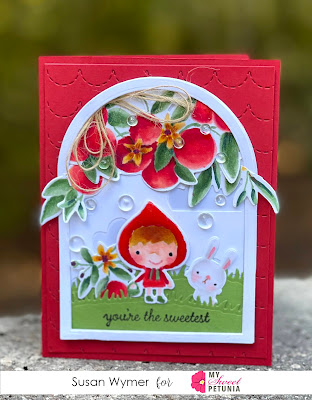
Hi, Welcome to the My Sweet Petunia blog. I am Susan. Today, I have a card that I made for my oldest granddaughter who is doing so well in first grade! I had not colored in a person/fairy in a long time and decided to give it a go with Reverse Confetti's Enchanted Garden. I also decided to color in some apples using Reverse Confetti's Orange Blossom set.
I set up all the stamps I was using in the MISTI along with some Neenah Solar White Super Smooth 80 lb card stock. This card stock can handle a ton of ink so I have switched to using this type of Neenah rather than the straight 80 lb card stock. I stamped each image twice with Ink On 3 Fade Out Ink. I adore this ink. Even though I have to stamp twice in order for my old eyes to see the lines, the stamped lines fade out as I color.
For the reds, I varied up the colors but pretty much used Copic Sketch Markers R12, R14, R17, R24 and R29. For greens, I used YG61, G24, YG63 and YG67. The yellows sadly I did not write these down. For the very darkest centers and tiny buds I used RV99.
For the background, I die cut a panel with Reverse Confetti Cloudy Day cover plate. I then die cut this with one of the Nested Dome die set from Waffle Flower. To make this panel I die cut a piece of Gina K. Designs Soft Stone (perfect shade of gray) card stock to adhere to the background.
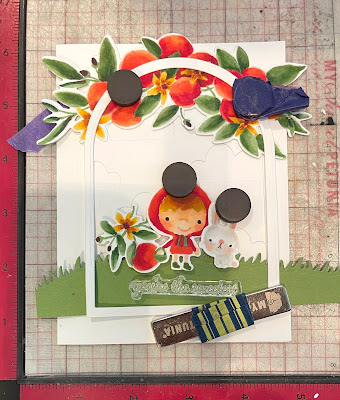
Once I had all my pieces colored and die cut, I place the card base in my MISTI (see above - please excuse how dirty and well-loved my MISTI is) and arranged my pieces. Let's be honest the picture above is an honest picture of crafting except I edited out my messy desk! Using some magnets I finalized this version of the card. I do this instead of using Press N' Seal because I feel that I have better control over placement. Once I have the piece in place I adhere it with liquid glue or tape runner. However, as I was doing this I changed my mind, of course. Once I had moved everything where I wanted it now on the dome, I used liquid adhesive to adhere everything.
For the back panel that the dome is mounted on, I used Reverse Confetti Stitched Scallops Coverplate to die cut a piece of Reverse Confetti Salsa card stock. I trimmed this to 4" x 5.25". For the card base, I also used Reverse Confetti Salsa card stock to make an A2 side folding card. Once everything was altogether, I added Pretty Pink Posh Dew Drops and some Glossy Accents over Wink of Stella clear glitter ink.

Thanks for stopping by;
Susan
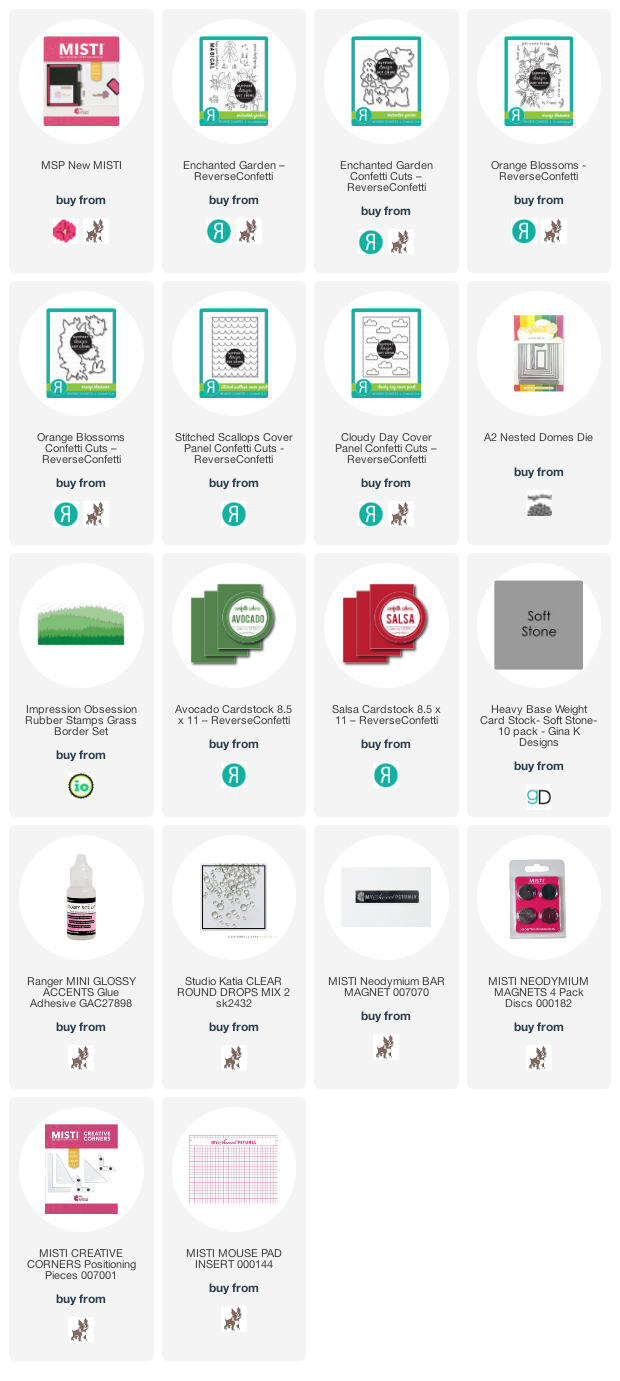
Products Used: I am using compensated affiliate links at no further cost to you.
No comments:
Post a Comment
Thank you for taking the time to comment.