Tuesday, December 24, 2019

Team Tuesday with Ilina

Hi everyone!
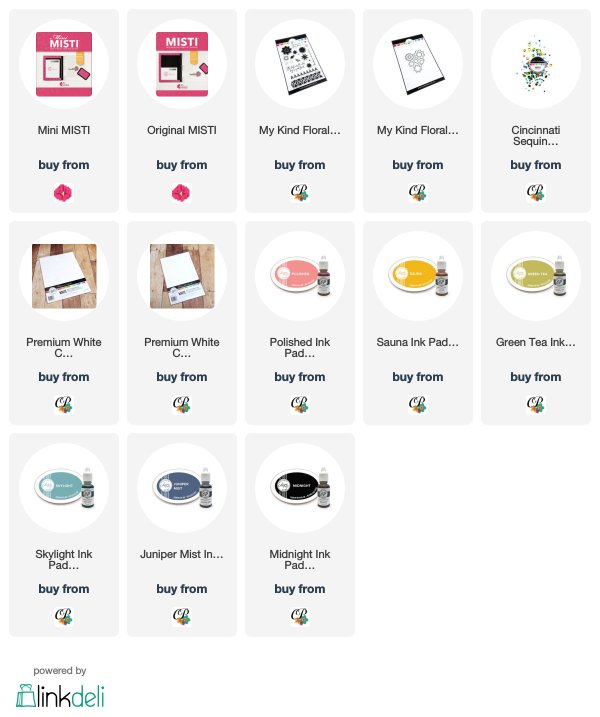
Ilina here! Today I am sharing a fun card using the new Catherine Pooler Designs set called My Kind Floral.
To make the card I started by stamping the border stamp repeatedly in my MISTI changing colors with each line. Then I skipped a border to leave space for the sentiment. Stamping with the MISTI allowed me to line those borders perfectly and have seamless transition and make it look like it's a continuous stamp.
Once done, I trimmer to size. Also I stamped the florals from the set in coordinating colors. First I die cut bunch of them from white card stock, then stamped with the help of the MISTI (I was stamping bunch at a time, so this method made it really fast. I used the negative space as a guide).
Once I decided which flowers I wanted to use I adhered them to the panel. Adhere to top folding note card and add sequins as a finishing touch!


Tuesday, December 17, 2019

Team Tuesday with Channin


Hello friends!! It's Channin here and today I'm sharing a sweet card featuring some adorable products from Reverse Confetti!


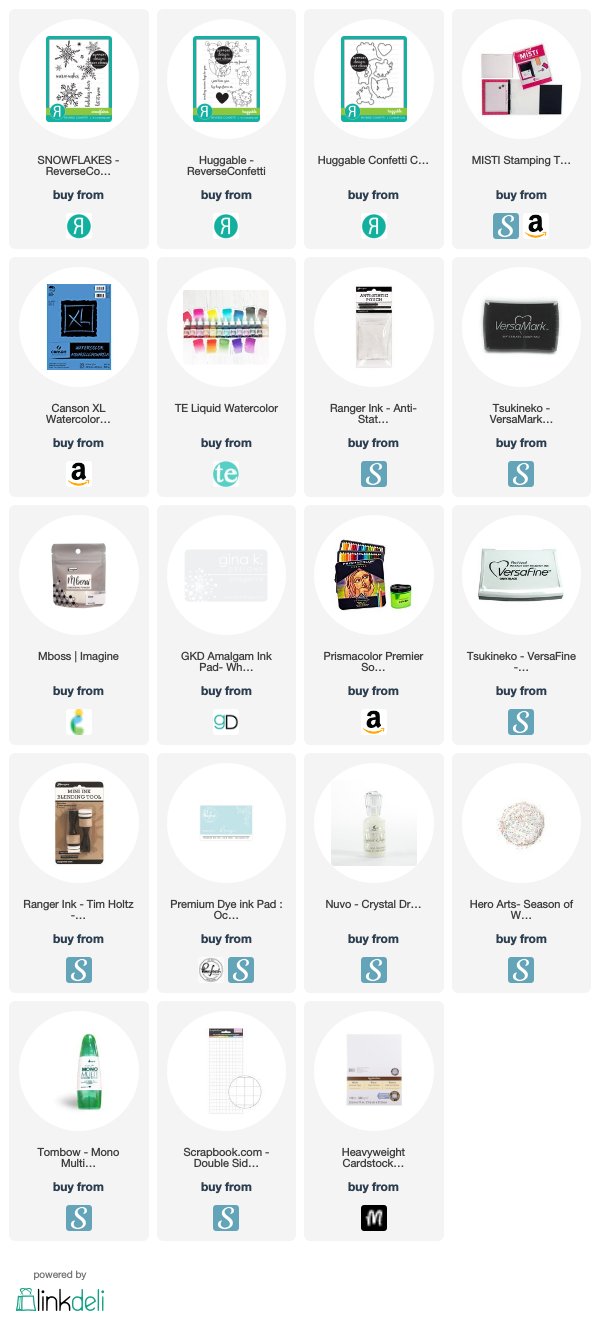
First I watercolored an A2 panel of watercolor paper with some liquid watercolors (Cookie Monster, Jelly Donut, Lollipop). Once I finished watercoloring I then stamped several snowflakes in Versamark ink and then heat embossed with opaque iridescent embossing powder. Next, I then stamped the cute hugging mice in Gina K. ink onto white cardstock. I then colored the images in with prismacolor pencils and then die cut with the matching dies. I then hand cut a snow drift from white cardstock and then stamped a sentiment from the set in Versafine Onyx Black ink using the MISTI to help me curve the stamp.


Next, I ink blended with Pinkfresh Studio's Ocean Breeze dye ink along the bottom of the drift and then applied Morning Dew Nuvo Crystal Drops along the top of the snow and added iridescent glitter. I finished the card by adhering the watercolor panel onto an A2 top-folding card base and then adding the snow drift and critters with foam squares.

I hope you enjoyed my card! Thank you so much for stopping by!!

~Channin

Supplies:

Tuesday, December 10, 2019

Team Tuesday with Mindy Eggen!

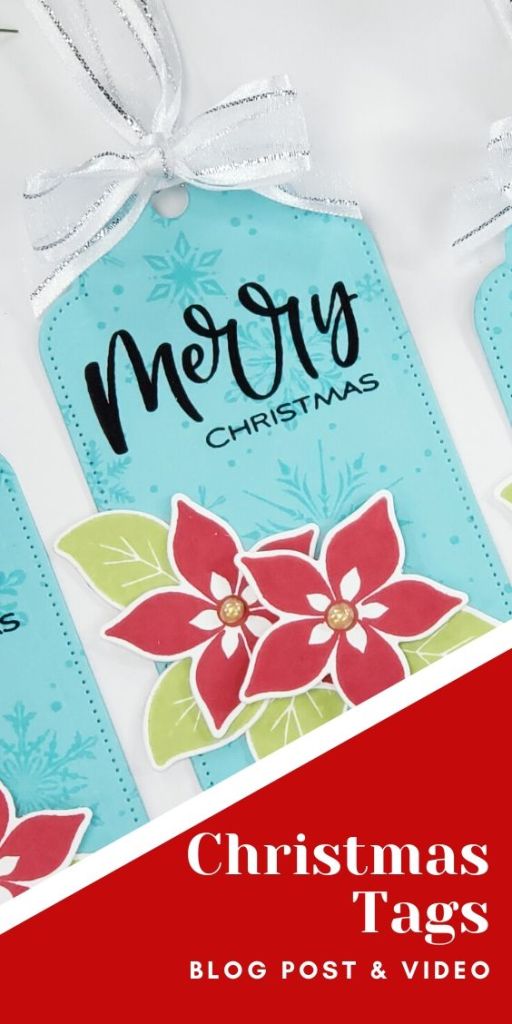
Welcome everyone! I'm hosting the December 2019 Challenge over at Gina K Designs and the challenge this month is... Tag! You're It! Sounds fun right?!

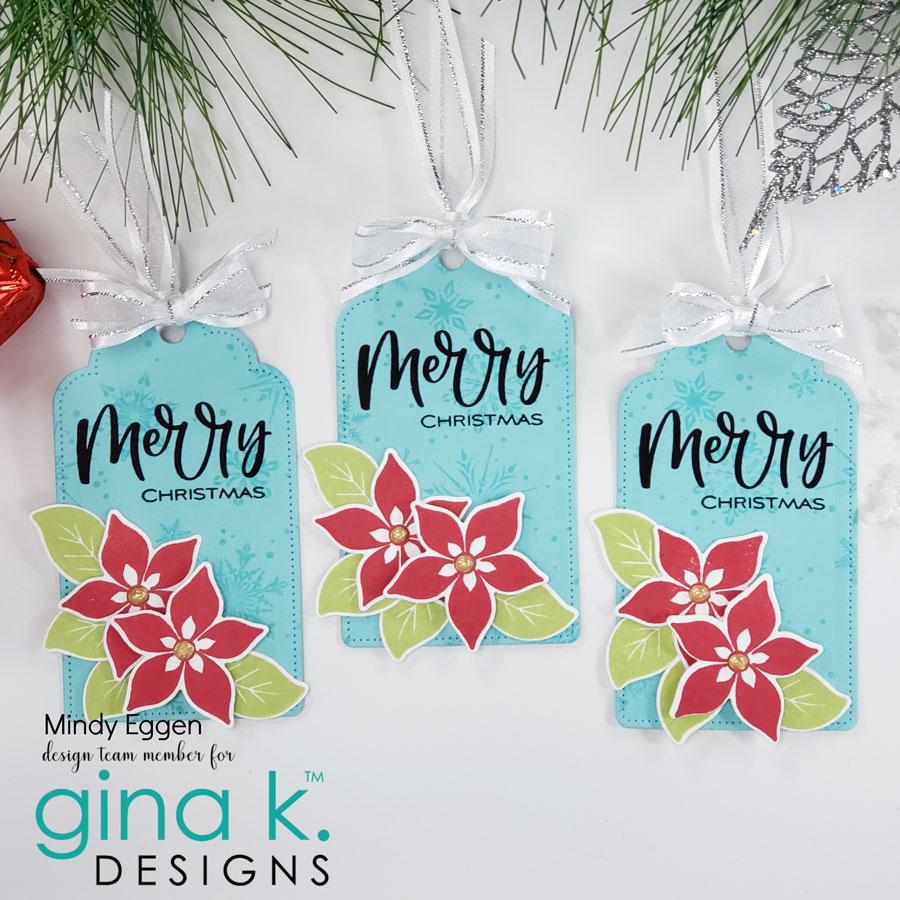
All you need to do to enter is create a tag. That's it! It can be any theme. I happen to create some Christmas tags but feel free to use whatever Gina K Designs products you have on hand.

VIDEO DETAILS


I have a video showing how I created my tags that you can view down below or HERE on my Youtube channel.


CARD DETAILS


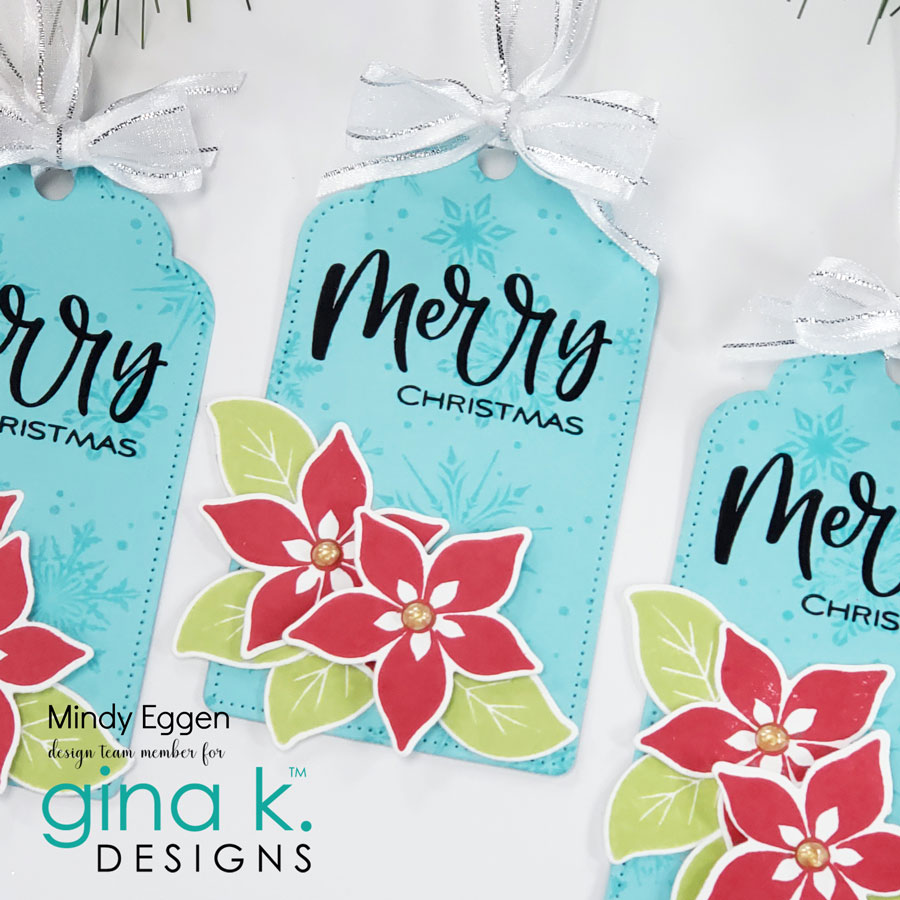
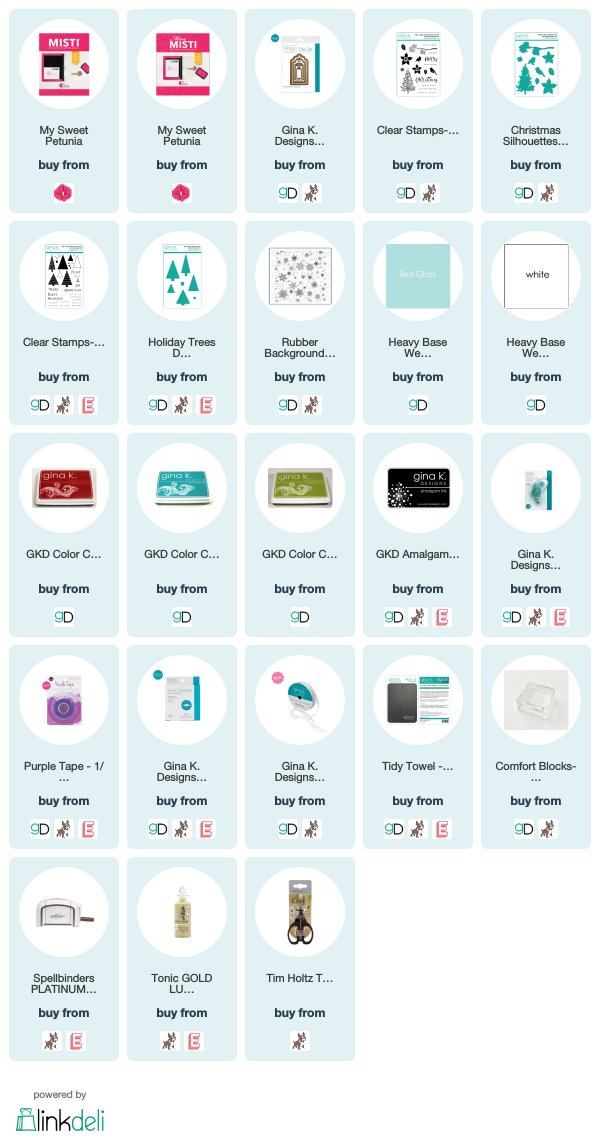
For my cards, I'm stamping the Delicate Snowflake Background stamp onto Sea Glass cardstock using Turquoise Sea ink with my Misti Tool.


I die cut out my tags using the Decorative Tag die.


On White Heavy Base Weight cardstock, I stamp the flowers from the Christmas Silhouettes stamp set using Cherry Red and Jelly Bean Green Ink. I use the coordinating die to cut out my images. The Misti is so helpful when I need to stamp multiples of the same image. I do a type of assembly line when stamping.


Before attaching my images, I'm going to stamp my greeting in Obsidian Black ink. I use the "Merry" from Christmas Silhouettes and the "Christmas" from Holiday Trees.


After stamping my greetings, I can attach my images using a dot runner.


I'll add the Sheer Satin Fancy Ribbon to my tag. If you haven't checked out this ribbon, I highly recommend it. It's gorgeous and perfect for tags!


I finish off my tags by adding Dream Drops in Gold Luxe to the centers of my flowers.

I hope you'll join us this month! Be sure to head over to the Gina K Designs Blog to find out how to link up your project and be eligible to win a gift certificate to the Gina K Designs store!

SUPPLIES


Tuesday, November 26, 2019

Team Tuesday with Kia and Gnomes

  
Gnomes seem to be very popular recently, so I decided to use the only Gnome I have, which is by Picket Fence Studios, to make a winter card. 

I started by stamping the image on white card stock using Memento Ink in my Original Misti. I set up the Misti with the stamp in the bottom right corner so I could just turn the paper to stamp each image.

I then coloured each image using Copic Markers in different colours, nut did the beard for the green Gnome slightly different, as he was going to be front and centre.
Using my Penny Black die Elegant Stitching I die cut white cardstock then stamped with the Let It Snow stamp using VersaMark and White Embossing Powder, going around the edge. I goofed up on the left side, but as you will see I fixed it.
Using Penny Black's Trio Snowflake set I die cut the smallest snowflake to cover my mistake. I attached the Let It Snow piece to my card base, tucked the snowflake in and gluing with Nuvo glue, then added my top die cut panel using foam squares.
I added my card to my Mini Misti and stamped the sentiment using VersaFine Clair ink in Nocturne. I also added a bit of Wink of Stella to the beard of the Green Hat Gnome and Midas Touch Shimmering Pen to the centre snowflake on the hats.
 I can certainly understand why everyone love Gnomes, they are great fun.
I hope you have enjoyed today's Team Tuesday card, and I thank you for visiting.

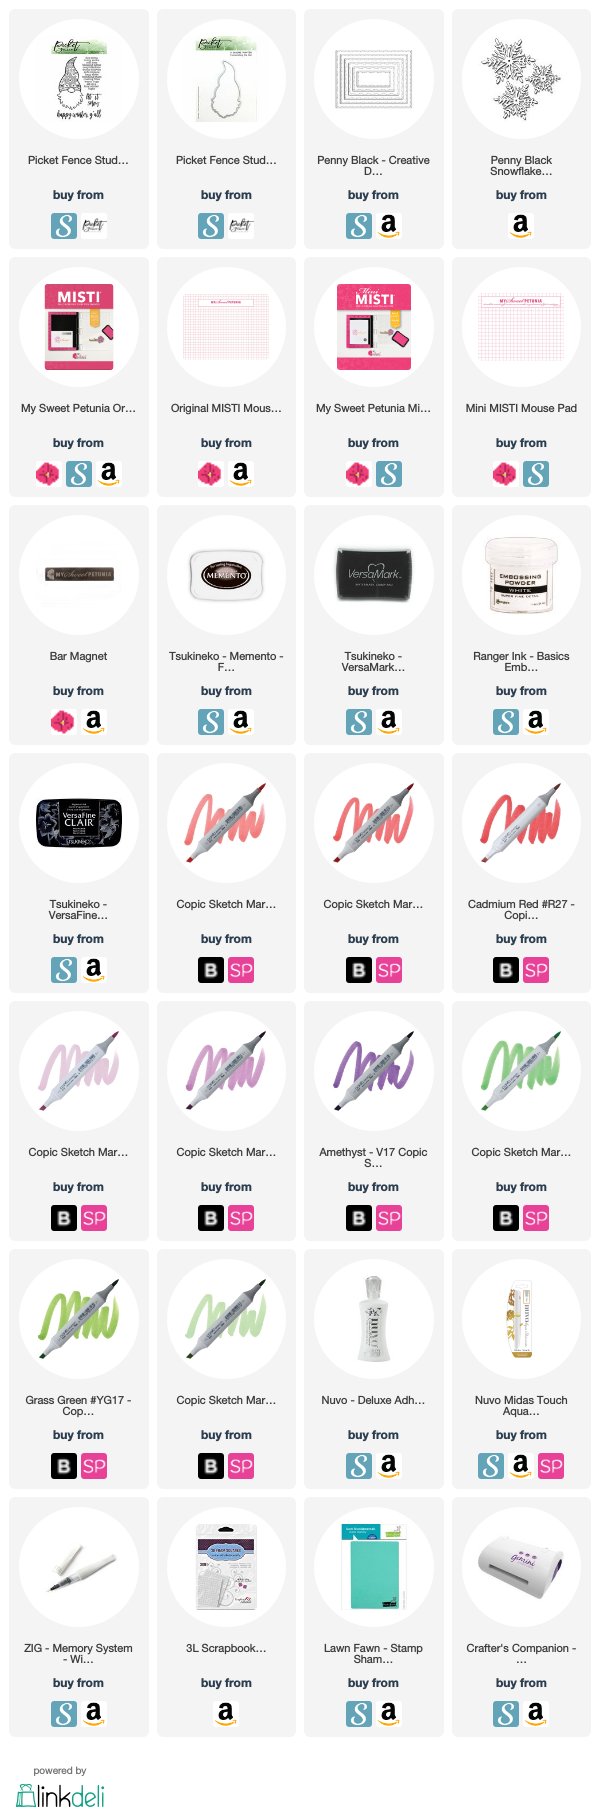
Following are Affiliate Links to the products that I have used for this card, at no extra cost to you.

Tuesday, November 19, 2019

Team Tuesday with Ilina

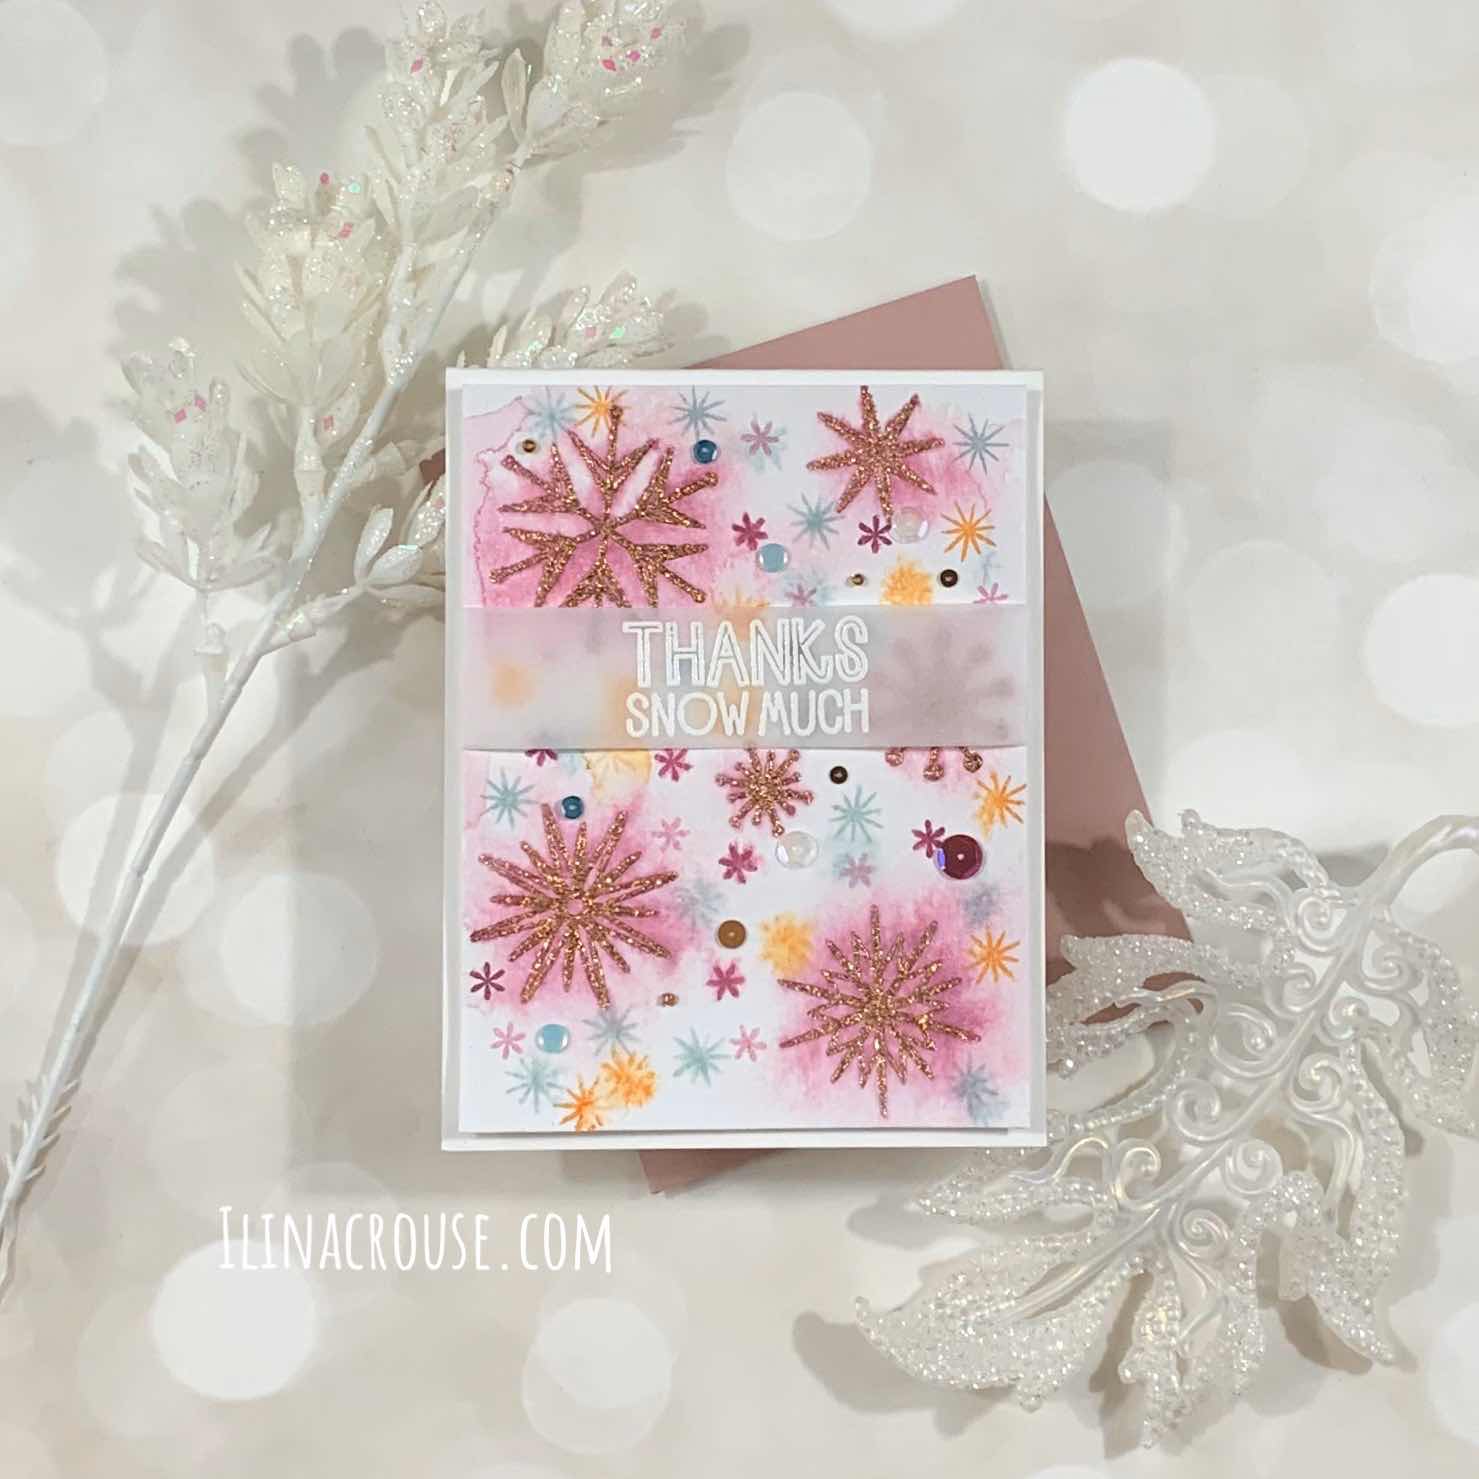
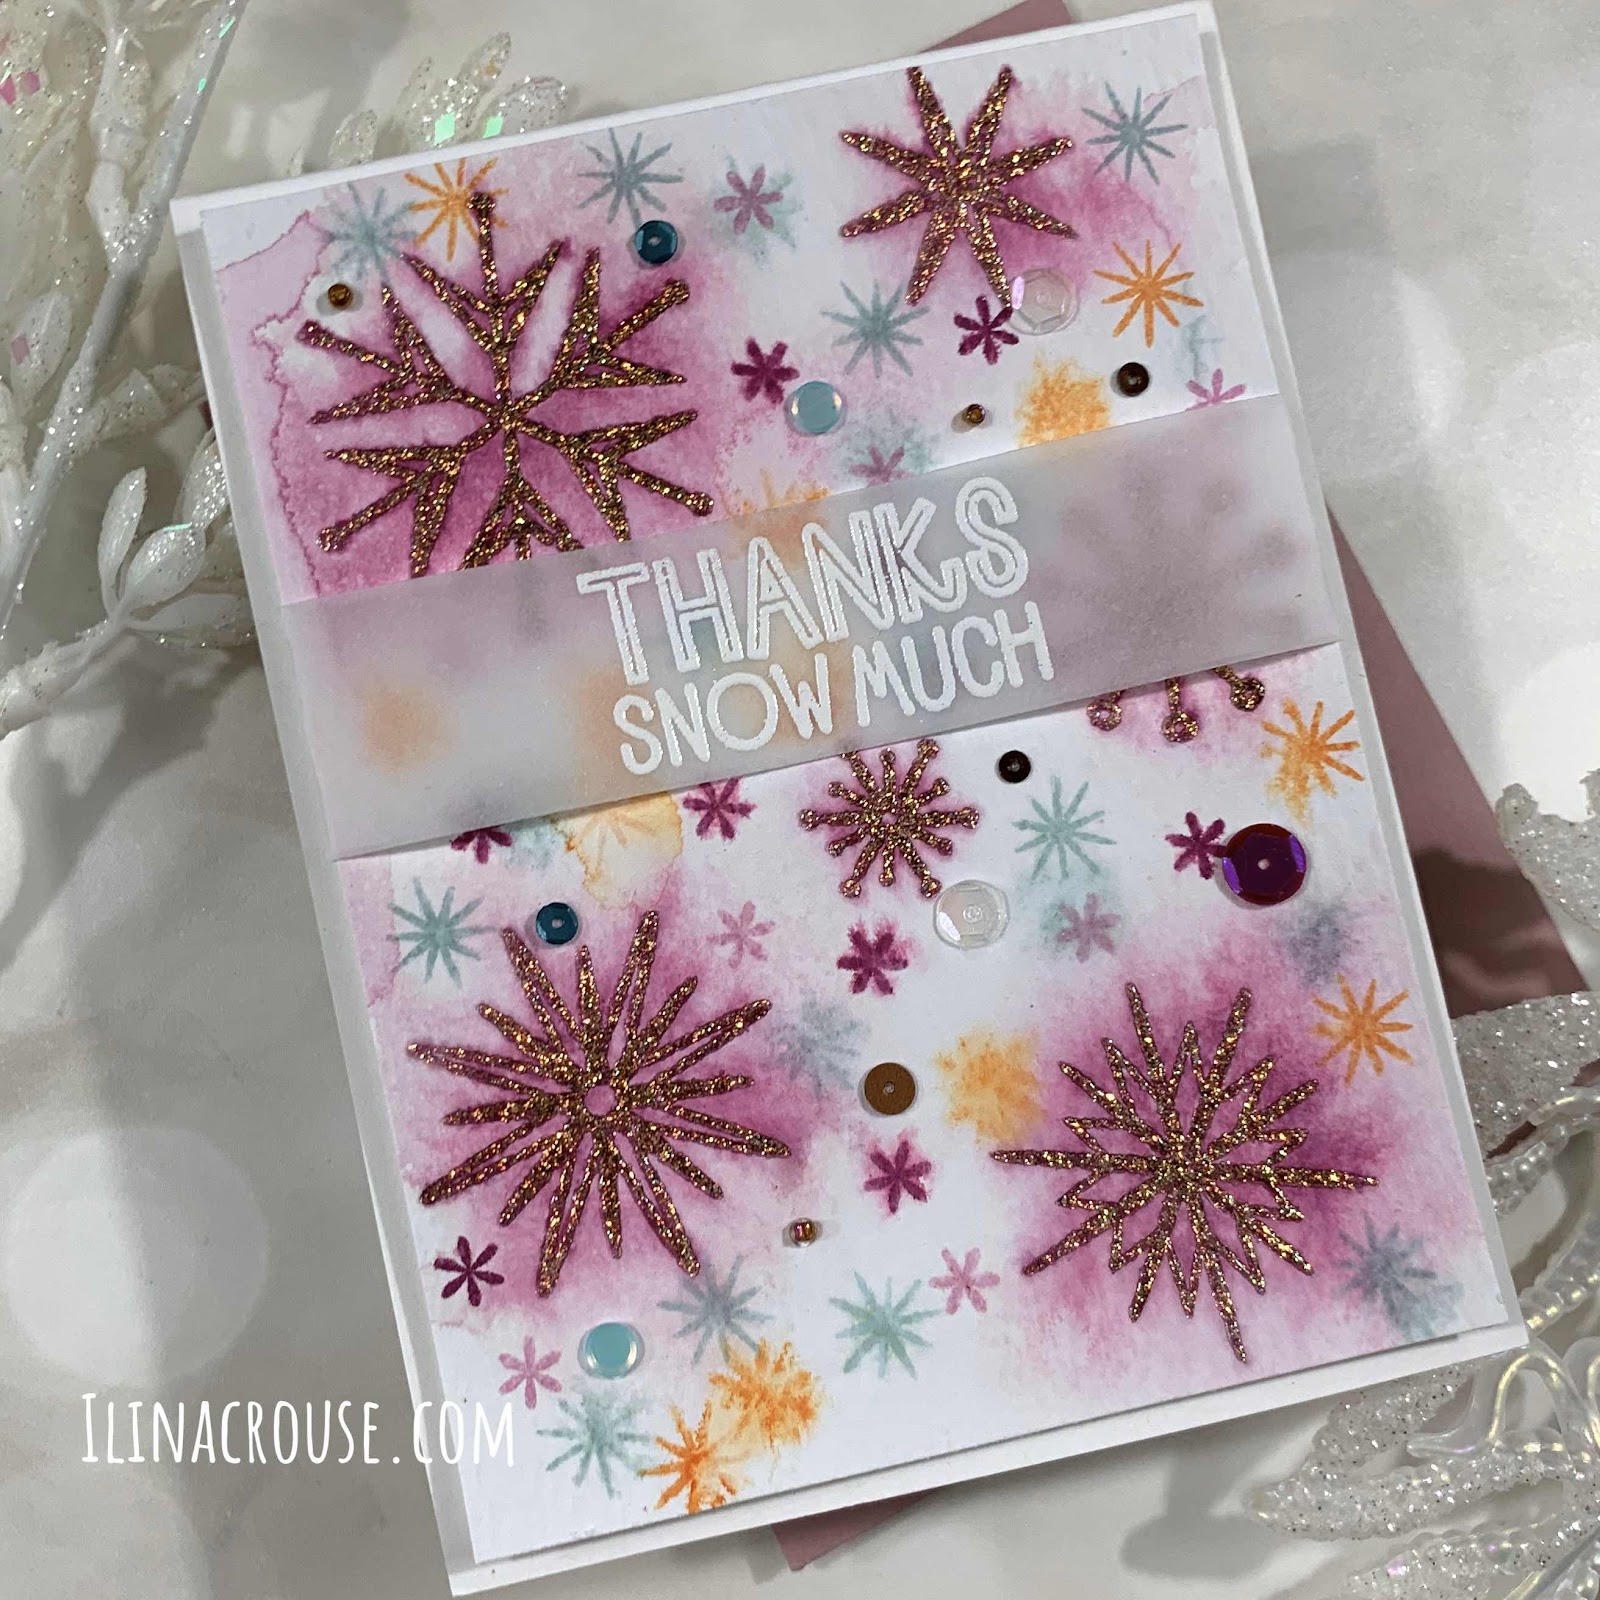
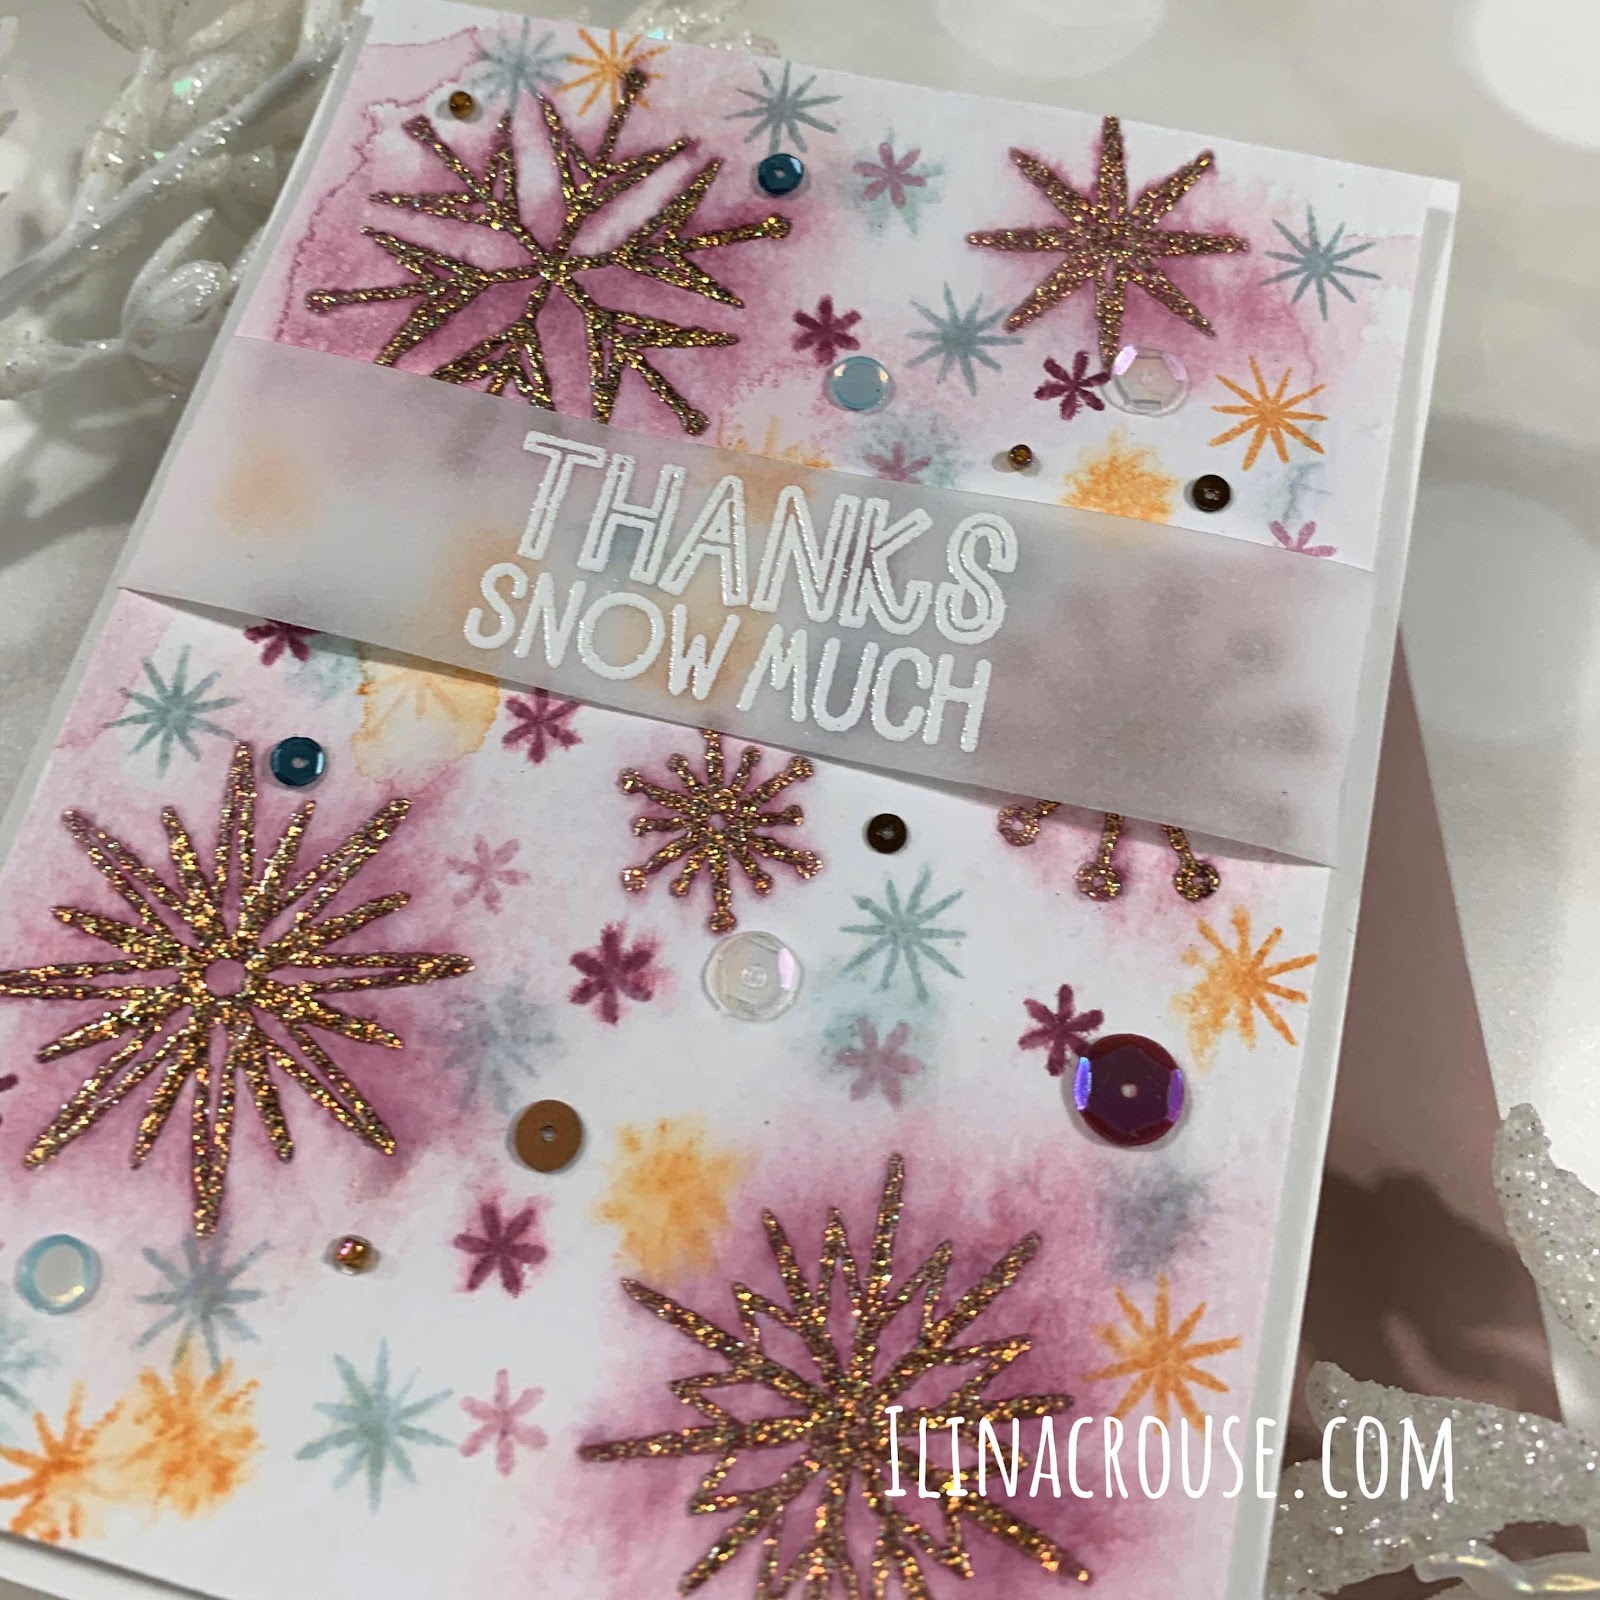
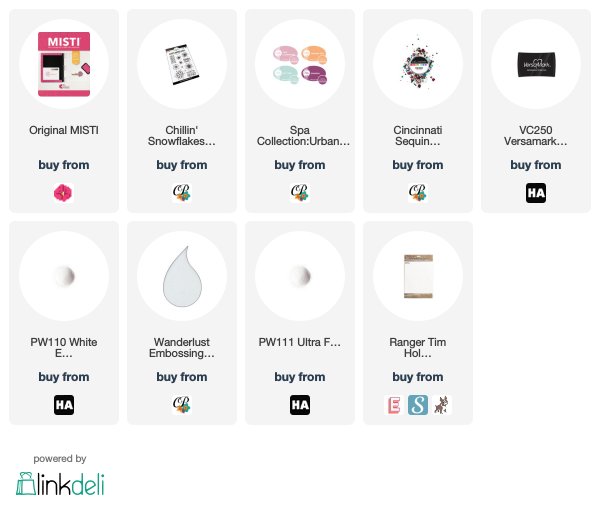
Hi everyone! Ilina here! Today I am taking over the blog and sharing a fun card using some Catherine Pooler Designs goodies and doing multi layered stamping using same images, as well as embossing. I started with watercolor paper panel and secured it in my MISTI. I arranged the large snowflakes on the door of the MISTI, sprayed the paper with water (so I achieve bleeding effect) and stamped with Pink Champagne ink few times. I dried the panel using heat tool and put it back in the MISTI. Now, I stamped the same snowflakes (didn't remove them from my MISTI) in Sangria. Repeated few times. Once dry, I stamped again with Versamark and embossed in Wanderlust embossing powder. Stamped again in Sangria and spritzed with water to get some more bleeding. Next I used one of the smaller snowflakes and while the paper was still wet I stamped them in Hot Tub and Orange peel. Dried the panel and stamped again. Stamped the smallest snowflake in Sangria and Pink Champagne. Once done, I put it back in the MISTI and stamped the snowflakes again in Versamark and embossed with Clear embossing powder. Trimmed the panel down to 4" x 5 1/4" and set it aside. Stamp sentiment in Versamark on Vellum and emboss in white. Trim to size. Wrap around panel and adhere the ends on the back. Add Cincinnati sequins and adhere to white note card and you are done ;)


Tuesday, November 12, 2019

Lovely Blossom Pattern Stamping with Channin


Hello everyone!! It's Channin here with you today and I'm so excited to share with you a couple of cards that I created with one of my most favorite MISTI stamping techniques, pattern stamping!!

I learned this ingenious technique from the queen of techniques, Jennifer McGuire, and quickly became obsessed! Pattern stamping is such an incredibly quick and easy way to create beautiful full panel patterns!

Lovely Blossom Pattern Stamping with Channin

I have a video that you can view down below or on my YouTube channel.


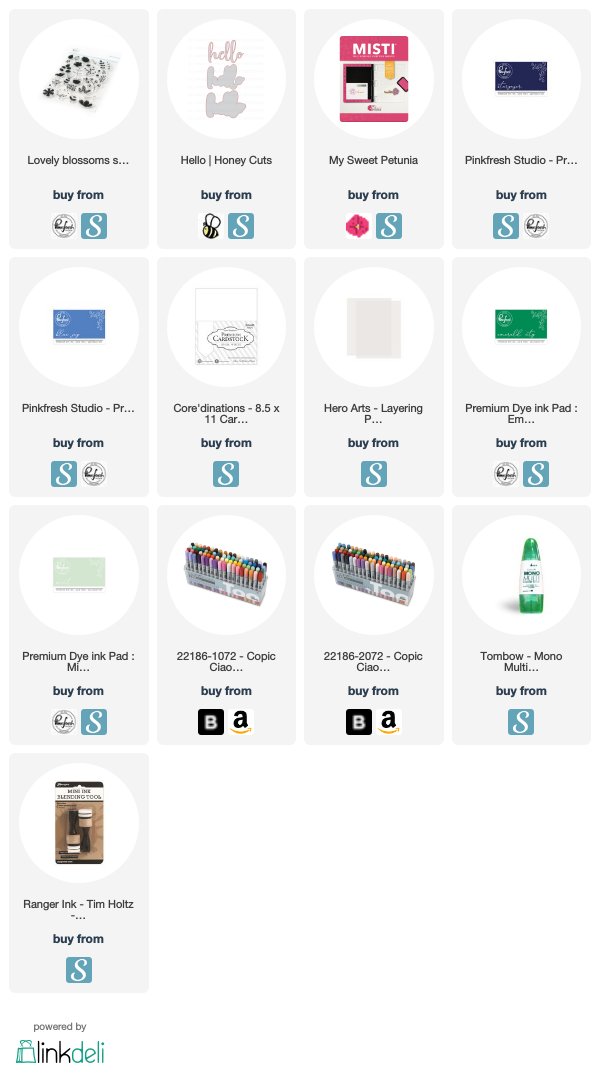
First, I arranged several stamps from the Lovely Blossoms Stamp Set from Pinkfresh Studio on the lower half an A2 panel. Lovely Blossoms is a layering stamp set so the first group of stamps that I arranged are the first layer for the images. I then picked them up with my MISTI and then stamped them in Stargazer dye ink. I then rotated my panel 180 degrees and stamped the other half. Next, I removed the stamps and positioned the second layer stamps. I then inked the stamps up in Blue Jay dye ink and stamped half of the panel. I then rotated the panel 180 degrees and stamped the other half.


Next, I decided to fill in some of the white space by making small dots with a copic marker (B32). Once I finished adding all the dots I then die cut a "hello" out of white cardstock 4 times. I adhered two of the "hello's" together and set aside. Next, I die cut a shadow layer out of vellum and adhered the two glued "hello's" to the underside of the vellum.


I then ink blended over one of the "hello's" with Stargazer and Blue Jay ink and then adhered it on top of the last "hello". I then adhered this pair on top of the vellum shadow layer. I then trimmed 1/8" off all the sides of my stamped panel and then adhered the panel on to an A2 top-folding card base. I then finished my card by adhering my sentiment.


I actually made my second card simultaneously with my first. After I stamped the first layer stamps onto my first panel and while I still had all the stamps arranged in my MISTI, I stamped a second A2 panel with them but this time used a green shade, Emerald City.


I then arranged the second layer stamps, stamped the first panel and then stamped my second panel in Mint. I used YG11 for the dots and then finished the card in the same manner just using Emerald City and Mint instead.

I hope you enjoyed! Thank you so much for stopping by!

~Channin

Supplies:


Tuesday, November 5, 2019

Kaleidoscope Snowflakes with Mindy Eggen


Welcome everyone! Mindy Eggen here with you today and I’m excited to share with you some inspiration using the Spellbinders Small Die of the Month for November 2019, the Kaleidoscope Snowflake.
Sign up to be a club member and never miss out on these amazing deals! You can read all about becoming a member (HERE).
VIDEO DETAILS
I have a video creating these two cards that you can view down below or (HERE) on my Youtube channel.
The Kaleidoscope Snowflake Small Die of the Month comes with 7 individual dies. You can use them separately or layer together to create beautiful dimension snowflakes.
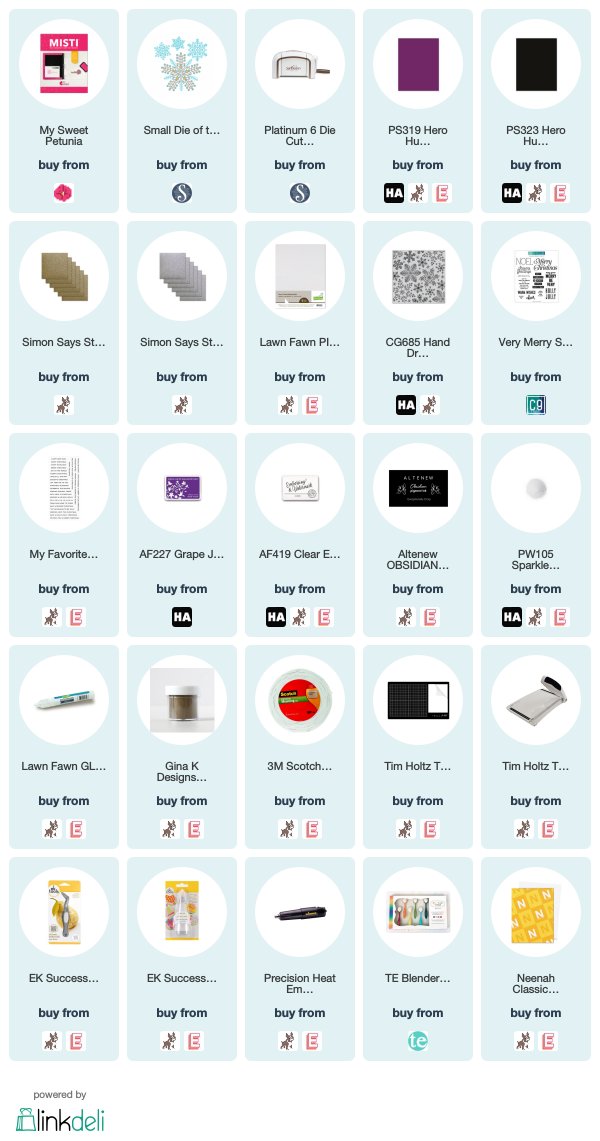
For this first card, I layered together the pieces to create a large snowflake for my card front. I die cut the pieces from Pixie Dust card stock and Gold Glitter card stock and layered together with Lawn Fawn Liquid Glue.
My background is created by stamping the Hand-Drawn Snowflake stamp from Hero Arts onto Plum card stock with embossing ink using my Original Misti. Then heat embossing Sparkle Embossing powder.


I attached my snowflake to the top of the card with liquid glue.
The sentiment is from the Bitty Holiday Wishes stamp set. I heat embossed it in Gold Embossing Powder onto Pitch Black card stock and trimmed down to a thin strip. I attached the sentiment to the center of my snowflake using foam tape.


My next card is featuring the actual snowflake dies from the Small Die of the Month. These can layer together up to 3 times but I only did 2 layers. I die cut the pieces from Pixie Dust card stock and Silver Glitter card stock. Then used my Lawn Fawn Liquid Glue to adhere together.
I created a very simple background for this card which would be really easy to recreate in quantities. I ink blended Grape Juice Ink onto the edges of Plum card stock using a blending brush.
Then added my snowflakes to the card front with liquid glue.
The sentiment is from the Very Merry Sentiments from Concord & 9th. I stamped the sentiment in Altenew Obsidian Ink using my Misti tool and then trimmed them down into individual strips. I love the look of the labels.
I attached foam tape to the back of each strip and added to my card front.


Can I say I am really loving this Plum card stock from Hero Arts! Such a unique color for Holiday cards!
I hope you enjoyed today’s inspiration!


SUPPLIES

Below you will find links to the new release. Click the icon to start shopping. Compensated Affiliate links are used at no additional cost to you. Your support helps me to keep bringing you new projects and videos. Thank you!