Showing posts with label kia gibson-clapper. Show all posts

Tuesday, November 26, 2019

Team Tuesday with Kia and Gnomes

  
Gnomes seem to be very popular recently, so I decided to use the only Gnome I have, which is by Picket Fence Studios, to make a winter card. 

I started by stamping the image on white card stock using Memento Ink in my Original Misti. I set up the Misti with the stamp in the bottom right corner so I could just turn the paper to stamp each image.

I then coloured each image using Copic Markers in different colours, nut did the beard for the green Gnome slightly different, as he was going to be front and centre.
Using my Penny Black die Elegant Stitching I die cut white cardstock then stamped with the Let It Snow stamp using VersaMark and White Embossing Powder, going around the edge. I goofed up on the left side, but as you will see I fixed it.
Using Penny Black's Trio Snowflake set I die cut the smallest snowflake to cover my mistake. I attached the Let It Snow piece to my card base, tucked the snowflake in and gluing with Nuvo glue, then added my top die cut panel using foam squares.
I added my card to my Mini Misti and stamped the sentiment using VersaFine Clair ink in Nocturne. I also added a bit of Wink of Stella to the beard of the Green Hat Gnome and Midas Touch Shimmering Pen to the centre snowflake on the hats.
 I can certainly understand why everyone love Gnomes, they are great fun.
I hope you have enjoyed today's Team Tuesday card, and I thank you for visiting.

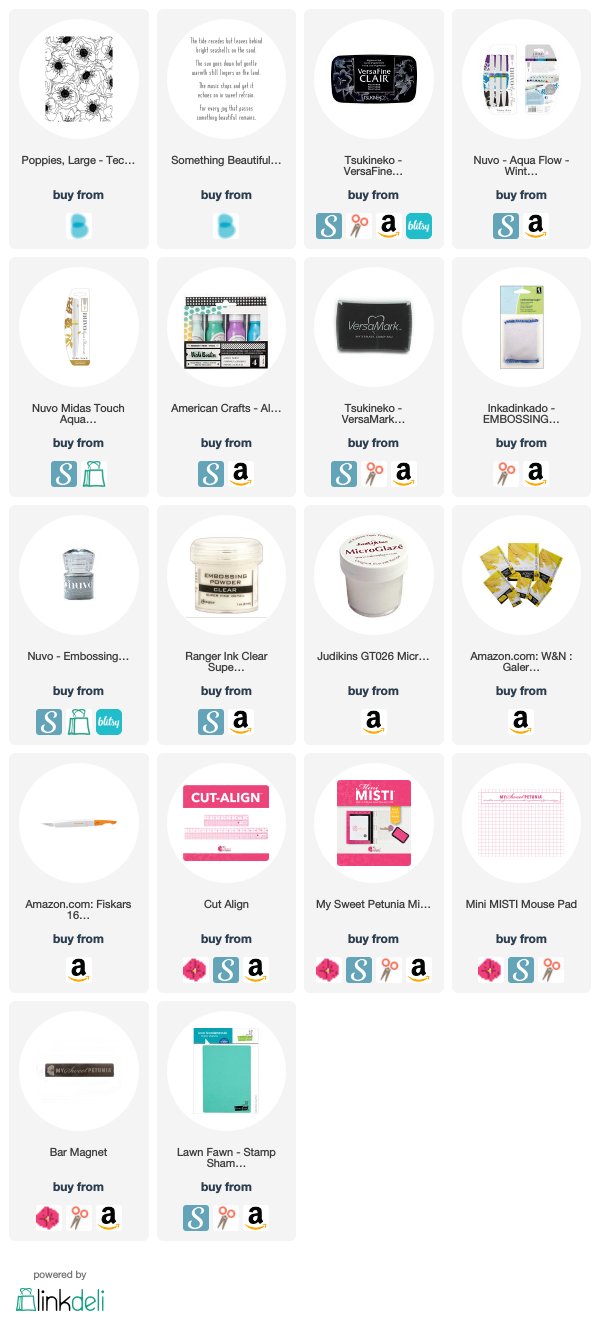
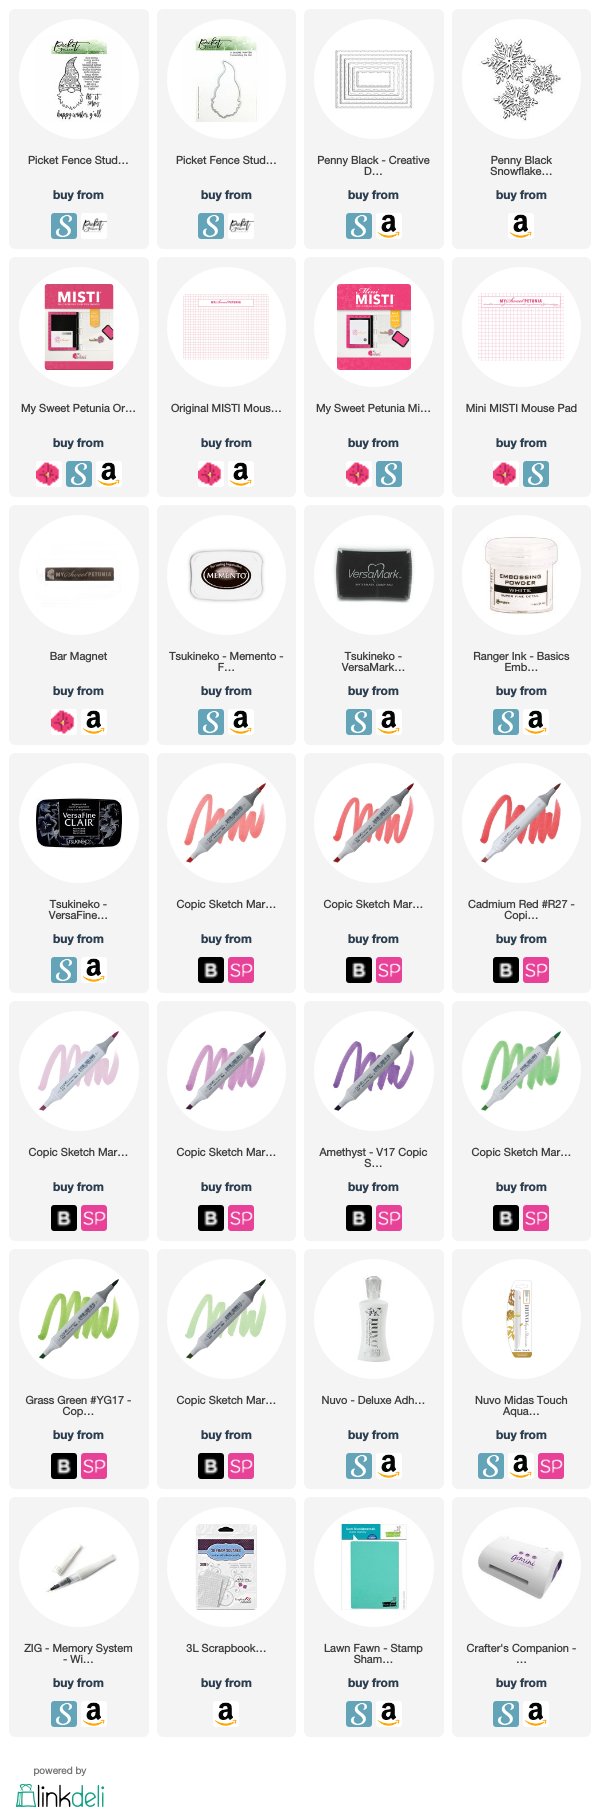
Following are Affiliate Links to the products that I have used for this card, at no extra cost to you.
Tuesday, May 28, 2019

Team Tuesday with Kia

Hello everyone.  I thought I would do something a bit different for today.  I do not do mixed media very often, but I was in the mood for some paint and play.
 Using my Mini Misti and acrylic card stock, I stamped my image with Versa Fine Ink in Nocturne, doing several passes.  As this card stock is heavily textured, the ink did not entirely cover the flower centres, so with my Nuvo Aqua Pen in Obsidian Black, I coloured in the centres.  I then heat embossed the panel using clear embossing powder.
 Then, using a credit card I applied the acrylic paint and spread it across the panel.  Once done, I rubbed the piece with paper towel to get further blending. As the acrylic paint lightens the black of the image, I again stamped and heat embossed the panel for those crisp details.
 This kind of panel is perfect to cut up, and that is what I did using my Cut Align ruler.  I used the small ruler, to cut the pieces, then cut the matting pieces slightly larger. 

I did not have card stock in a colour that I liked for this piece, so I made the background, again using the acrylic paints and a credit card. Once dry I attached the background to a black card base.  
 Moving back to the floral piece I applied a thin layer of Micro Glaze to the panels, then attached the panels to the black matting pieces.  Again, using my Cut Align ruler, I measured for placement of my panels to the card base. 
 For a bit of sparkle, I splattered on some Midas Touch Shimmer, not being too concerned about where it landed.  
Back in my mini Misti, I stamped the sentiment and heat embossed with silver embossing powder, then attached with foam squares. 

I very much like the look, and I hope you do as well.  Thanks for dropping by today.
Following are affiliate link to the products used for today's project.

Tuesday, February 5, 2019

Team Tuesday with Kia ~ Monogram

 Hello everyone! Kia here with you today to share this Monogram card I did using the new Cut-Align Rulers from My Sweet Petunia. As soon as I received the rulers I thought of Monograms. I am in need of a new craft knife as the one I have hurts my hands to hold. But, in the mean time, I decided I would do this card using what I had. 
 I have some pictures following my card that show the process of what I did to make this card. I am very happy with the outcome, and kept the card very simple. I think the floral and leaves inside the block K soften the letter up.
 I used Distress Inks for the stamping and die cut the panel with my wonky rectangle. I attached it to my pale pink base using fun foam.
 On the inside I also stamped the die cut sentiment, then brushed on pink ink.
 What I loved first about the ruler was that it was a full ruler of measurement. The Omnigrid ruler shown in the picture is what I used to use. But as you can see, it lacks all the measurements necessary for card makers. It is a sewing ruler. But it is made from the same material as the Cut-Align rulers. Heavy duty, manufactured to last. I used the inches side of the ruler as I needed to have exact measurements for my K.
 Once finished I transferred the K to some masking paper using Graphite Transfer paper, then I used the ruler to cut out the K from the masking paper along the lines.  I peeled off the backing and attached it to my card front die cut card panel.
 I picked some smallish stamps from various stamp sets and proceeded to stamp using different colours of distress inks until the letter was full. 
 I die cut "Just a Note" which I also stamped in different colours, then brushed on pink ink to finish.
 Using my ruler I aligned the sides of the die cut panel for a straight line, taped the ruler and glued in the die cut sentiments.
I then went back to the block K and added colour with my Distress Ink markers to parts of the stamping that had only one colour, which can be seen clearly in the picture below.
I hope you have enjoyed today's card, and wish to thank you for dropping by.

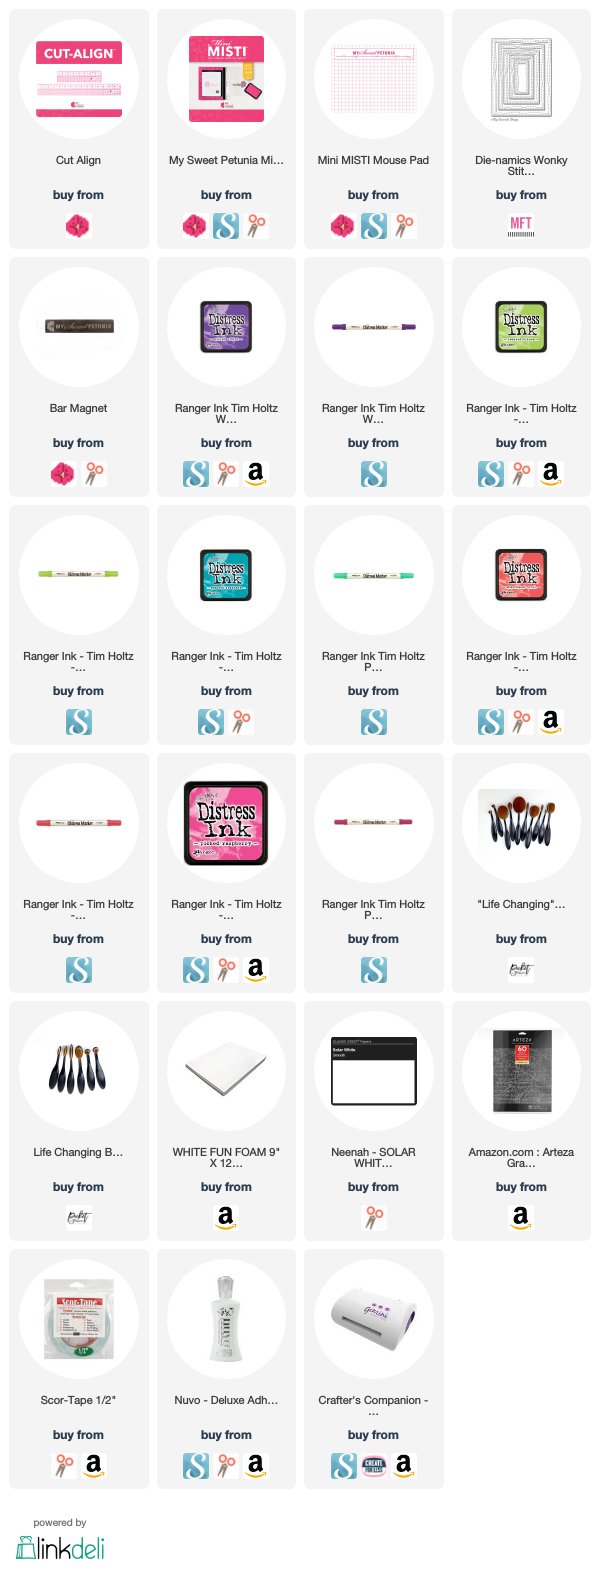
Compensated Affiliate Links used.

Tuesday, January 16, 2018

Team Tuesday with Kia


Hello to all. Kia here with you today to share this card I did for Team Tuesday called Love is in the Air. I love birds and have a Cockatiel named CC. They are quite the characters which I tried to incorporate into this card. 

I used my Mini Misti for this project, first stamping the images using Ranger Archival Ink in Jet Black. In the video I have done for this you will see that I stamped several of the leaves, moving my paper, not the stamps. I do this as I watercolour them differently and this way I can pick the best for my card. 
To paint the leaves and the birds I used Zig Clean Color Brushes. 

For the background, I did what is known as the smooshing technique using Tim Holtz Distress Inks in Lemonade, Picked Raspberry and Ripe Persimmon, spritzed with water. I did 3 layers of colour, drying with my heat gun in between each layer, then die cut using the wonky rectangles die. Once finished I flicked on acrylic paint in yellow to the panel. I did a mini smooshing to the stacked hearts using Lemonade spritzed with water and dragging the die through the wet ink.

The panel is attached to the card base using foam tape. I glued on the stacked hearts, then styled and attached the birds and leaves adding in the flowers as if they were sequins.

Here is a close-up to show more of the details.

It was once I was done all of this that I remembered I did not stamp my sentiment. Misti to the rescue ... I put the card back in my Misti and did several passes with the ink, which is the Ripe Persimmon. As I am stamping on a hallow, the top of the t and h  from "the" did not stamp well, so I touched that part up with my ripe persimmon distress marker. 

This video shows my process, I hope you enjoy it, and thank you for visiting My Sweet Petunia and Team Tuesday.