Thursday, November 8, 2018

Bundle Up!

Here's how you know it's time to bundle up - THE DANDELIONS ARE GONE! Well not here - because we have dandelions all year and don't have winter, but probably where you are! :)

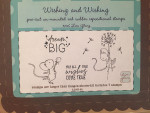
When I saw this ADORABLE new stamp from Unity, I thought that I could turn that little dandelion in the tiny paw into a thistle, and sort of make the card match my MISTI. So I did! 

He is SO, so cute, and I watercolored him simply - stamping him in Morning Mist and then watercoloring him with Shadow Violet and Potter's Pink. The thistle is painted in Rose of Ultramarine and Bordeaux. This image is truly the perfect size - big enough to color, but also small enough to color quickly. I added this sequin mix, matted it with Passionate Pink and put it on a white card base. It's painted on this watercolor paper.


Wishing and Wishing
[ UNT ]
Tsukineko VersaFine Clair MORNING...
[ SSS | CST ]
VersaFine Clair Ink Pad, Nocturne -...
[ ELH | SSS ]
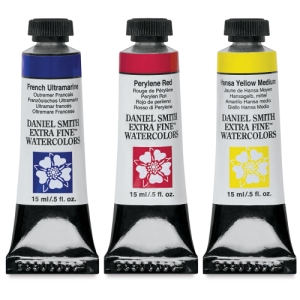
DANIEL SMITH Extra Fine Watercolors...
[ ELH ]
DANIEL SMITH Extra Fine Watercolors...
[ ELH ]
DANIEL SMITH Extra Fine Watercolors...
[ ELH ]
DANIEL SMITH Extra Fine Watercolors...
[ ELH ]
Daniel Smith Extra Fine Watercolors
[ BLIC ]
Escoda Versatil Brushes, Travel Round...
[ UTR | BLIC | INK ]
Heavy Base Weight Card Stock- White
[ GNK ]
Pretty Pink Posh Sequins, Limited...
[ ELH ]
Heavy Base Weight Card Stock-...
[ GNK ]
Fabriano Extra White Cold Press...
[ BLIC ]
MISTI Stamping Tool
[ MSW | HA | SSS | ELH | MFT ]
Lawn Fawn STAMP SHAMMY Cleaner LF1045
[ SSS | ELH | CST | ART ]
Rotatrim Professional Series Cutter -...
[ BLIC ]
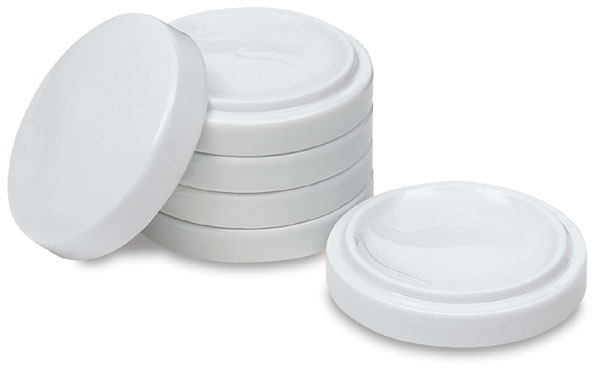
Nesting Porcelain Bowls - BLICK art...
[ BLIC ]
My Favorite Watercolor Sketchbook
[ UTR ]
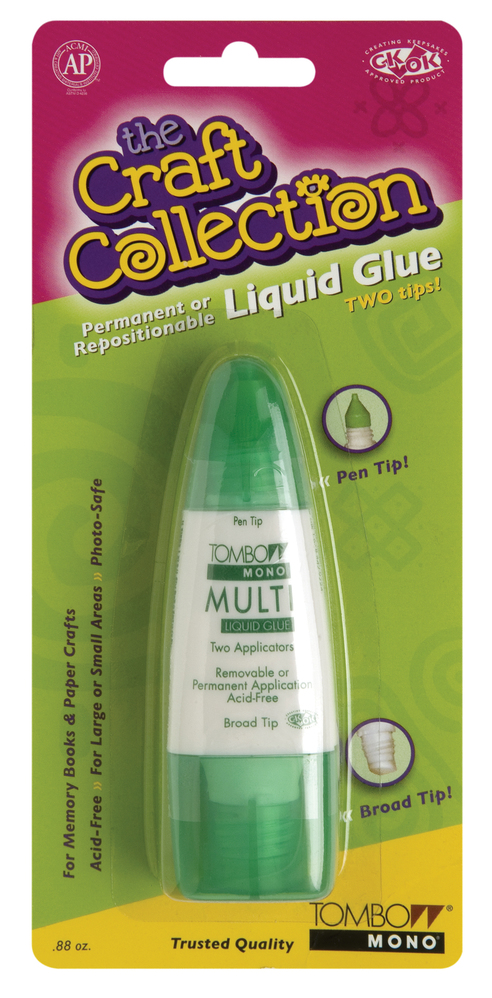
Tombow MONO MULTI Liquid Glue Two...
[ SSS | MFT ]
Absorber - Synthetic Cleaning Cloth
[ AMZUS ]
Mudder 10 Pack White Buffer Sanding...
[ AMZUS ]
Xyron ADHESIVE ERASER 23675
[ SSS | ART | AMZUS ]
Essentials by Ellen Storage...
[ ELH ]
Teflon Bone Folder - Ellen Hutson LLC
[ ELH | SSS ]
Tombow Mono Multi Liquid Glue
[ ART | BLIC | ELH ]
Ink Off Cloth
[ INK ]

This is part of a super fun collaboration with Unity today! We are doing an Instagram hop and both teams are posting on their blogs.


To celebrate our amazing partnership with some of the SWEETEST people on earth - seriously - the Unity people should be running the world - that's how awesome they are - we are both having a giveaway.

Comment on this post for your chance to win a $60 shopping spree with us - and click here for your chance to win their prize! And here's your list of inspiration for this evening!


Wednesday, November 7, 2018

Team Tuesday (on Wednesday) with Jeanne Streiff


Hi everyone! Hope you are having a good week!

I thought I would share another way I use my MISTI today. Did you know the back of the MISTI works with magnets too? Well, that's creates the perfect surface for stencils! 


I chose 3 stencils to create my background (all from A Colorful Life Designs). I used Marvelous Masks Rectangles, Flamboyant Flourishes and Grunge Dots

First I layered Marvelous Masks Rectangles (to create a border)and Flamboyant Flourishes onto the back of my MISTI and used MISTI magnets to hold them in place. I used my "Life Saving" Blender Brushes and Distress ink in Twisted Citron and Tumbled Glass. 


This is what it looked like with these layers.


Then I added another stencil layer with Grunge Dots and Tumbled Glass


I used a fun sentiment from Picket Fence Studios called Levels of Friendship.


I added a some Nuvo Drops in Simply White and Caribbean Ocean to finish my card.


Have a great day!

Tuesday, October 30, 2018

Team Tuesday with Giovana


Hello friends! Giovana here today with a super sweet Fall card.
I don't know if you like Fall or not, but I love it!! 
Even though around this area it can get a little too cold for a regular Fall season, I love the cold morning and warm afternoons, all the beautiful changing colors of the trees and the birds chirping around looking for a warm spot.
I love the PNW, it's beautiful here, and not I am not talking about Seattle, lol. I live far away from the city, which makes it a lot better. 
I don't know if you knew it, but I am from Peru, exactly from Lima, and we don't get this kind of Fall, actually right now over there is Spring (South Hemisphere) and it is not warm yet!!

Anyway, I have a fun project for you, who doesn't like a little bit of cheer, right?
I used this beautiful Layered Pinecone set from Impression Obsession.
I used my Mini Misti and stamped the pinecone twice using Mist, Beige, Sienna, Chocolate and Black Inks, then die-cut the image using coordinate die.


I created a super diluted background using a piece of watercolor paper with Liquid Metals: Metallic Saffron and Iron Oxide and lots of water!! 
The shimmer from these 2 liquid metals is beautiful!!
Stamped the sentiment from same set in Chocolate Ink.
Die-cut the panel using the frame from Bunny Frame Set. 


Added watercolor panel to a white card base.
Die-cut Arched Leaves in Vellum and Gold cardstock and adhered them to panel, then adhered one pinecone direct to panel and the other one used foam adhesive.
Covered the pinecones with Wink of Stella.
Finally added copper sequins and little dots of White Nuvo Drops.


Hope you like this project!
Have a wonderful day!!


Tuesday, October 23, 2018

Team Tuesday with Ceal

Hello! 
It's Ceal, here on Team Tuesday to share a card with you using the Misti for the Ombre' technique.
To create my card, I started with a Turquoise Sea card base and a white panel cut down a quarter of an inch smaller.
The stamp set I used is Sparkling Snowflake from the Gina K Designs Stamp TV kit - Fruit of The Season. 
Using the Original Misti, I stamped the large snowflake first in Sea Glass ink and then just inked up the edges with a darker color, Turquoise Sea and overstamped it. This gives the ombre effect especially if you use more than two colors. This would not be possible for me to do this without the Misti because even if stamps are clear I can not get them to line back up to overstamp.  

I also used the same technique on the smaller snowflakes as well and then to finish the card I added some Nuvo crystal drops in the centers. 


Tuesday, October 16, 2018

Team Tuesday with Kia

 Hello everyone, Kia here today. I have a little tutorial for you on the above card. 
First though, I should mention that deco foil does not like to photograph head on, so I did some angle shots to try and capture the look of the card. 
 I am using my Mini Misti and Concord & 9th's Lace Leaf for my card today. I started with the shadow stamp first, stamping with versamark ink, heat embossing with white embossing powder, and covering with deco foil, then running through my laminator, as suggested by Jennifer McGuire. I then die cut the panel using my wonky stitched die and attached it to a teal card base.
 I then stamped the leaf, again using versamark embossing ink, and heat embossing with a Vintage Mint embossing powder.
 To add colour to the leaf I sponged on cracked pistachio, spiced marmalade, evergreen bough and abandoned coral, buffed with a soft cloth, then fussy cut the leaf.
 I flipped over my mouse pad using the back to style my leaf to add movement, and attached it to my card panel using foam squares. I put the card back in my Misti and stamped the sentiment using Ranger Paradise Teal ink.
 I then wanted some splatters, so made a mask with photo copy paper to cover the card base and splattered with gold ink. I did not want to do it before as then I would have to wait for the panel to dry before attaching it to my base.
 The photos taken on the angles show the way the card really looks, even when look at it full on. 😊
 I hope you have enjoyed this little tutorial and would like to thank you for visiting My Sweet Petunia today.

Tuesday, October 9, 2018

Team Tuesday with Ilina

Hi everyone,
Ilina here today with a simple Christmas card design that is easy to mass produce thanks to the MISTI. If you are like me (have 3 little kids and a full time job aside from crafting) you appreciate cards that can be easily mass produced.
And I do love how easy this set is to layer and create striking design.
To make the card start by stamping the first layer of the branch in Fresh Lawn ink, then the second in Pine. For the ornament I used Pale Tomato and Strawberry.
Once done, stamp the sentiment with Intense Black and adhere your panel to red card base.
tip: Once you have the first layer set in the MISTI, stamp all panel with that layer, then more onto the second, this will make mass production a breeze.