Showing posts with label Jeanne Streiff. Show all posts

Tuesday, June 18, 2019

Team Tuesday with Jeanne Streiff

Happy Tuesday!!!


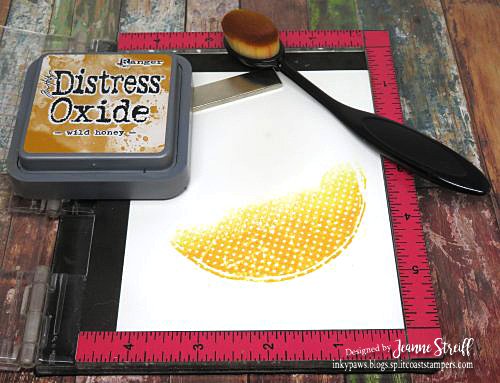
I found a new trick to share today for easy ink blending directly on a stamp. I placed the Polka Dot Grunge stamp from Picket Fence Studios onto my Mini MISTI and inked a section with Wild Honey Oxide ink. Tap the edge with a Life Changing Blender Brush to soften the edge of the ink. Wipe brush clean on a paper towel.


Repeat inking and tapping off with the blender brush with Peacock Feathers Oxide
ink and Gathered Twigs Oxide ink. Pretty, huh? So easy too!


Next I stamped a chicken from One Hot Chick from Picket Fence Studios, watercolored and then cut out using the coordinating dies. I used my Cut-Align to cut my sentiment and then tore the edge.


Here's a closer look at the finished card.


I use affiliate links.  All this means is if you purchase something after 
clicking on one of my links I get a few pennies. This costs you nothing.
 

Have a great day!
Jeanne
Monday, March 4, 2019

A Delayed Team Tuesday with Jeanne

Happy Monday!

I have a card to share today using some fun stamps from Picket Fence Studio! 
I just love this quirky flamingo stamp set. It's called That's Flocking Great. 


I made my background using Color Burst and then when it was completely dry I used a 
stencil (Marvelous Masks Heart) to add a heart shape with a Life Changing Blender Brush in pink.


Next I used my Mini MISTI to stamp the Flamingo.


I stamped my sentiment on my Mini MISTI and cut with my Cut-Align ruler (I used the 6 inch)


Perfecto!

I colored my flamingo with Arteza Real Brush pens and then cut out with scissors. 
I assembled my card and then added Nuvo Glow drops to the accent the heart. 


Products used:

Have a great day!
Jeanne
Wednesday, November 7, 2018

Team Tuesday (on Wednesday) with Jeanne Streiff


Hi everyone! Hope you are having a good week!

I thought I would share another way I use my MISTI today. Did you know the back of the MISTI works with magnets too? Well, that's creates the perfect surface for stencils! 


I chose 3 stencils to create my background (all from A Colorful Life Designs). I used Marvelous Masks Rectangles, Flamboyant Flourishes and Grunge Dots

First I layered Marvelous Masks Rectangles (to create a border)and Flamboyant Flourishes onto the back of my MISTI and used MISTI magnets to hold them in place. I used my "Life Saving" Blender Brushes and Distress ink in Twisted Citron and Tumbled Glass. 


This is what it looked like with these layers.


Then I added another stencil layer with Grunge Dots and Tumbled Glass


I used a fun sentiment from Picket Fence Studios called Levels of Friendship.


I added a some Nuvo Drops in Simply White and Caribbean Ocean to finish my card.


Have a great day!

Tuesday, September 11, 2018

Team Tuesday with Jeanne Streiff

Happy Tuesday!

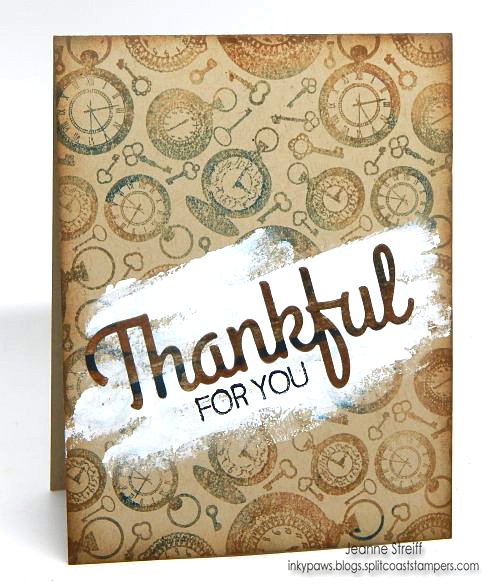
I'm on the tail end of a long weekend with some dear friends and I can't think of a better phrase than "thankful for you" right now.  We get together a couple times a year and it's such a soul recharge to be among a great group of friends for a few days.


I used Impression Obsession CC163 Cover-a-Card Watches & Keys, MC656 Thankful clear set &
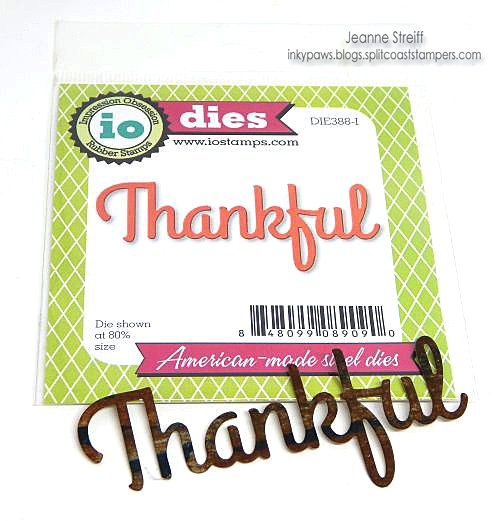
DIE388-Thankful die along with my MISTI for today’s project (links below).
Thankful Jeanne_Streiff
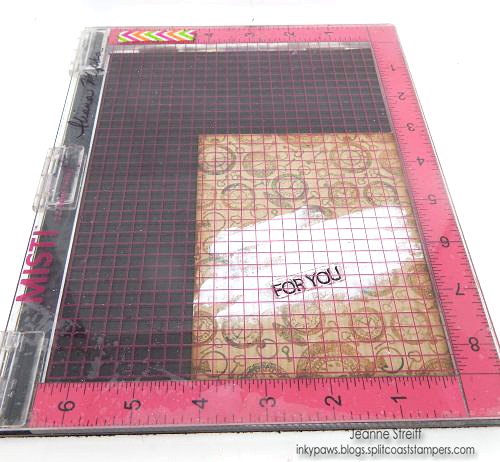
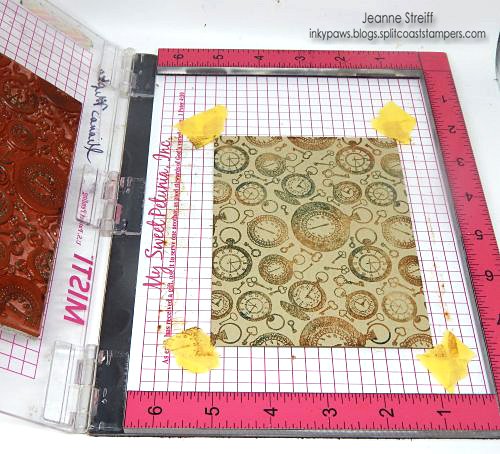
Since this was a big background stamp I used tape on the corners of my card to keep it in place
 on my MISTI tool and then moved the tape and restamped to fill in the places I missed the first 
stamping. I inked the stamp with Chocolate ink and then added some blue ink (Peacock and Seafoam) with a blending tool before stamping my background (CC163 Cover-a-Card Watches & Keys). 
I inked and stamped a couple times to get a nice blend in the colors.

1 Thankful Jeanne_Streiff
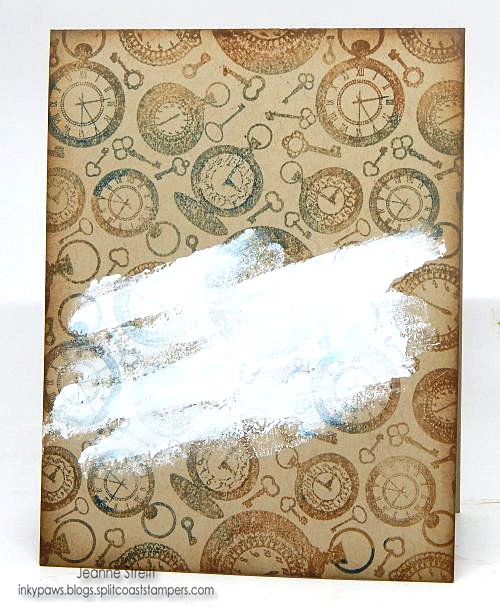
I added a few swipes of white acrylic paint (with my finger) along the card.
Set aside and let dry completely.

5 Thankful Jeanne_Streiff
I created a panel by swiping Chocolate and Peacock inks onto cardstock.3 Thankful Jeanne_Streiff
I die cut the DIE388-Thankful die with my Big Shot.

4 Thankful Jeanne_Streiff
To finish my card I stamped “for you” and then added the Thankful die cut.6 Thankful Jeanne_Streiff
Supplies used:

Have a great day!
    Jeanne
Tuesday, July 17, 2018

Team Tuesday with Jeanne


Hi! Jeanne here today.
I have an easy technique card to share today using my Mini MISTI.


Products used (see links below):
white glue
cardstock (white and light blue)
craft sponge 
inks (Distress inks or dye inks)
MISTI (or Mini MISTI)
Nuvo Glitter Drops Golden Sunset
black fine pen


I used a fun technique called Distressed Glue to make my background. 
Sponge at least two colors of lighter ink on your cardstock. I used Ranger Distress Mustard
 Seed and Twisted Citron for my project. You can add ink in any pattern you like.

Spread white glue onto your sponged panel. Leave some spaces open. You can make a
pattern or just smear it on. I squirted a few lines straight from the bottle and smeared it
 across my paper with a scrap piece of cardstock.


Once your glue is dry (mine took about an half hour) sponge a darker color over the panel. 
I used Ranger Distress Wild Honey for my card. Wipe off extra ink.


Using my MISTI Stamp Tool I stamped the sunflower (Sunflower Duo) 
and  colored and restamped to bring out the details in the outline (always leave 
your stamps in the MISTI until after you've colored! 

I also stamped the Bless Your Heart sentiment from Butter My Butt (set of 8)


Here's a closer look at my finished card.


Want a discount? Use code TJ10Jeanne for 10% off at Technique Junkies!

Have a great day! Jeanne
Tuesday, May 22, 2018

Team Tuesday with Jeanne

Ever made an ATC?

Cut your cardstock (or whatever paper you plan to use) to 2 1/2" by 3 1/2" and get decorating! Think small!
ATC's are great to have around to add to a card base for a quick card.

Here is a template that shows how to cut 10 ATCs from one sheet of cardstock.


I created the background by placing one of the solid circles from Technique Junkies Here We Go Round in Circles (set of 12) on my Mini  MISTI, misting with water (just a little) and then tapping a few grains of Color Burst (Alizarin Crimson and Lemon Yellow from the Brights Collection)onto the stamp. I misted with water again (again very lightly) and stamped onto watercolor paper.


Repeat until you have a pattern you like.


Here is my pattern.


I stamped the a few of the images from Technique Junkies 60's Chic in the center of my circles to 
create  a flower look. 


I stamped Technique Junkies Love You in black over the top of my flowers, trimmed and added a mat.


Use code TJ10Jeanne for 10% off at Technique Junkies stamps!

Tuesday, March 27, 2018

Team Tuesday With Joy Clair!


Happy Tuesday!

The girls at  My Sweet Petunia are having fun with the Joy Clair team this month. 
Leave a comment whenever you see this banner you will be entered  to win our 
prizes: 2 $25 Joy Clair Gift certificates and one MISTI - your choice of original or mini. 
Winners will be announced in April on both the My Sweet Petunia and Joy Clair blogs.


There is also a fun challenge going on at Joy Clair right now. You can see all the details here. 
I was inspired by the beautiful pinks and yellows today for my cards.


My first card uses my  MISTI, Hugs & Smiles and Get Well Wishes

My next card uses my MISTI, Hello Sentiments, and Hugs & Smiles


Have a great day!
Jeanne
Friday, February 9, 2018

Spirit of a Fairy


Hello! Jeanne here today.

Did you notice my MISTI changed colors? There are now stickers available to change your MISTI to turquoise or white. How fun is that?

I started with a quick Color Burst background (Marigold and Peony). I put a little powder onto a panel of Bristol and misted with water. I let the panel dry completely. Then I used my MISTI to stamp the sentiment and the heart. I added a black edge with a pen and then put my panel on a white card. I used Gold IrRESISTible to fill in 2 of the rings of my heart to add a little texture.


Have a great day!