Tuesday, September 29, 2020

Tonic Studios Envelope Stamp Set

 Hi card making friends and welcome back.  It's Sandi MacIver here and today I'm sharing a card and envelope set I created with the NEW Tonic Studios Envelope Stamp Set.
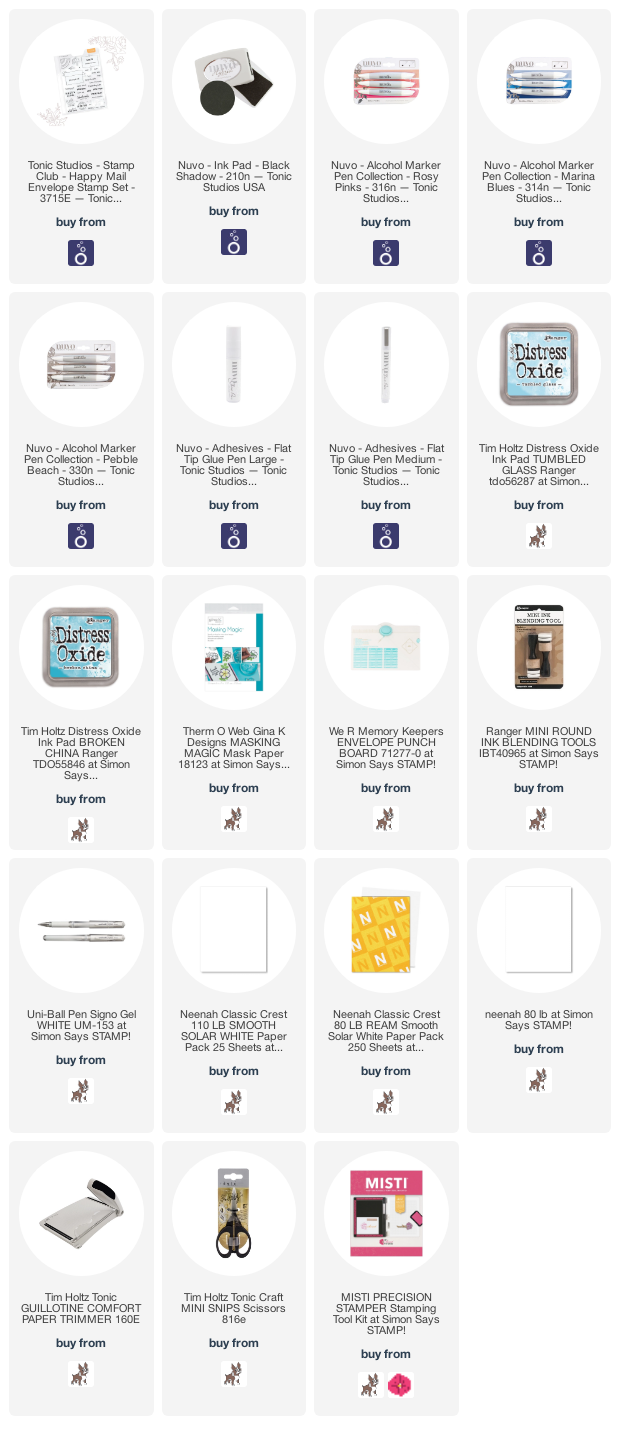
I started by using an envelope punch board to create an A2 sized envelope out of Neenah Solar White 80# card. I knew I was going to use alcohol markers to color the images and I like this paper for that purpose.

By folding the flaps of the envelope back, the piece fits into the Misti to stamp the images in black ink.

Open the flaps back up so the envelope lays flat and color the images.  Next, use the Misti again to stamp the same images onto masking paper.  cut them out and mask the image off.


Blend the entire envelope with Distress Oxide Inks in Broken China and Tumbled Glass.  When the ink is dry, splatter it with water and dab up with a dry paper towel to further distress the look.

Adhere the flaps at the back to create the envelope.


The co-ordinating card is created with exactly the same steps.  I used a piece of Neenah 80# card 3-3/4 x 5 inches.
Once the water was dry from the splatter I also splattered the piece with white paint before removing the masking.

Place the piece back into the Misti and stamp the sentiments onto the sign.

Finally, I attached it to the center of a top folding A2 sized card base made from Neenah 110# card.

This is a new stamp set from Tonic Studios and is part of the New Stamp Club release from this past weekend.  There are all kinds of fun sentiments for your envelopes and cards and it's a must have for your crafting stash!

Ok, that's it for me today, I hope you enjoyed my quick and easy project and until next time
Happy Stamping.


Thursday, September 24, 2020

It's Beginning to Look Like Christmas

...Or maybe not. 
Hi everyone, it's Ilina and here in Georgia it's beginning to look like Fall, but I couldn't resist using the new Concord and 9th release today.
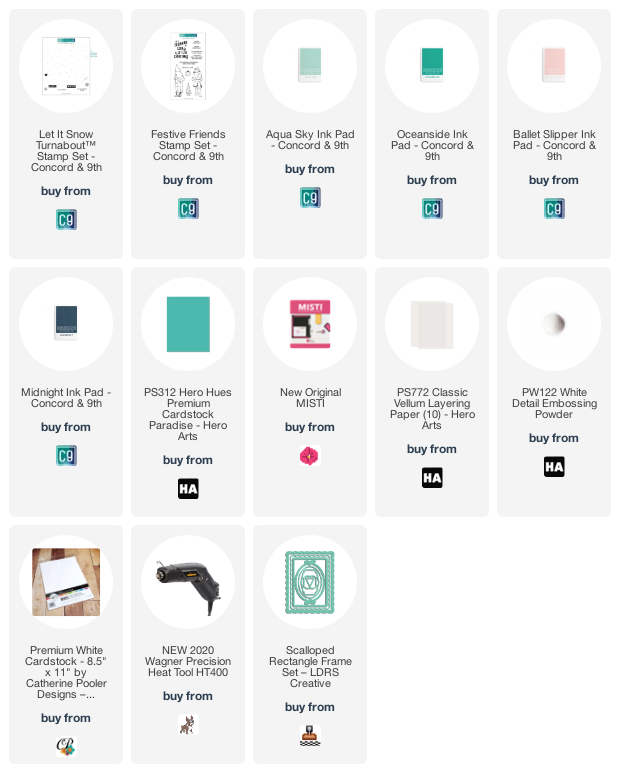
For my card today I used the new Turnabout set called Let it Snow and the sentiment from the Festive Friends set. 

To make the card start by stamping the background using your MISTI and the Turnabout Jig. I used shades of blue and pale pink. Once stamped I set it aside .
Stamp sentiment in Versamark on Vellum and emboss in white. Trim to size. Die cut one of the scallop rectangles from Paradise cardstock. Adhere the vellum sentiment and trim the side. 
Adhere some silver thread onto the stamped panel and adhere the sentiment panel on top using foam  tape. 
Add star sequins and adhere to Paradise note card. 


Tuesday, September 22, 2020

Complicated Background Stamps with the MISTI


Welcome to Team Tuesdays! This is Susan here on the blog. For today's card I am using the STAMPtember collaboration set between Simon Says Stamp and the Ink Blot Shop called Life is An Adventure. When I saw this set several designs came to mind but this one is my favorite. My son was a Boy Scout and I have saved his letters home from summer camp. 

For the background I used the Lined Paper background because my son often used this for his letters. Using my MISTI and Neenah Solar White 80 lb card stock I lined up the stamp carefully in alignment with the grid lines on the MISTI. First I inked the horizontal lines with Reverse Confetti Salsa.


I stamped the blue first and then keeping the stamp and paper in the same place, I used Reverse Confetti Salsa to stamp the red line. To make this look more realistic I added finger prints and splatters of Walnut Ink Distress Ink to the paper. I also added some Picked Raspberry to emulate the candy and jelly on his letters. 


For the focal image I stamped the little boy with Memento Tuxedo Black and colored him with my grandson's coloring but my son's orange Boy Scout camping uniform. I also used some of the back ground images from the set and a few other sets, Skyline Borders, Just the Months and Dateline to make a doodled letter like I used to receive. I had a lot of fun traveling down memory lane to make this card and I hope my son recognizes the uniform colors when his son gets the card!

Copics Used:
Hair: E50, E51, YR24
Orange: YR12, YR14 and YR18
Blue: B93-95
Red: E07 and E09
Skin: E11, E01, E00, E000 and R32
Tent: YG91, YG93 and YG95
Star: Y17

Thanks for stopping by;
Susan

Products Used: I am using compensated affiliate links at no further cost to you. My Sweet Petunia provided the MISTI used in this project and the Ink Blot Shop and Simon Says Stamp provided Life is an Adventure stamp set. 


Tuesday, September 15, 2020

Layered Floral Wreath with Channin


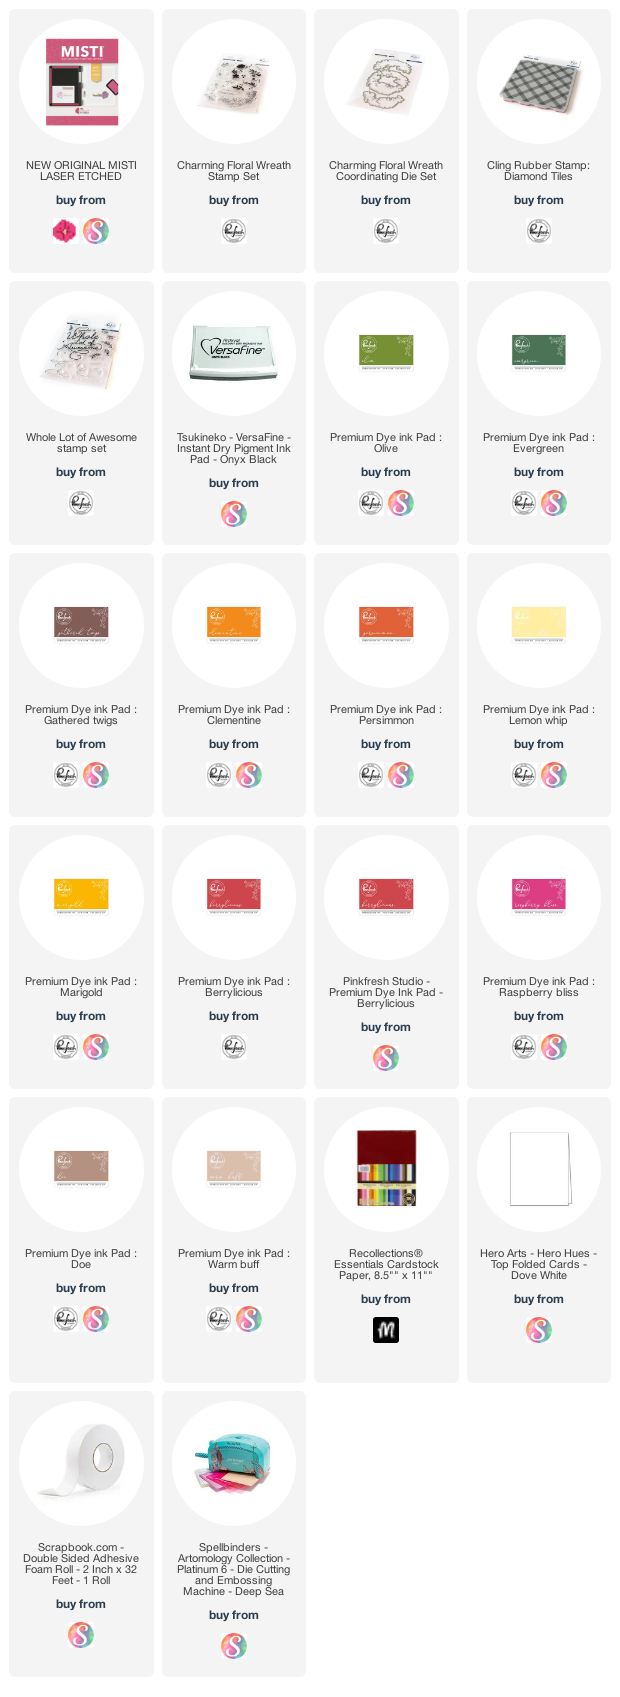
Hello friends! It's Channin here and today a have layered floral card to share. I changed things up a little and combined the beautiful Charming Floral Wreath Stamp Set with a fall palette to give this card a very festive feel!

To create this card I first stamped the floral accents with the Charming Floral Wreath Stamp Set. I started with the leaves and stamped them first in Olive. I then partially inked up the same leaves by holding my ink pad at an angle in Evergreen and then stamped again. I then positioned next the layer, the detail layer for the leaves, and stamped it in Gathered Twigs. 


Next I positioned the base for the flowers and stamped the large flowers in Clementine and then partially in Persimmon. I then inked up the flowers in the middle in Lemon Whip and then partially in Marigold. Lastly I stamped the remaining flowers in Berrylicious and Raspberry Bliss. I then positioned the last layer, the detail layer for the flowers. I then inked up the details for the orange and yellow flowers in Persimmon and stamped it. Next, I inked up the details for the red flowers in Gathered Twigs and stamped. With my floral accents stamped I then die cut them out with the matching dies. 


I then stamped an A2 panel of cream cardstock with the Diamond Tiles cling stamp in Doe. Next, I stamped the sentiment from the Whole Lot of Awesome in Gathered Twigs and then off-set the sentiment and stamped it in Warm Buff. I then adhered the panel onto an A2 top-folding card base and then adhered the floral accents with foam adhesive.

I hope you enjoyed my card!! Thank you so much for stopping by!

~Channin

Supplies:

Thursday, September 10, 2020

Stamping Heroscapes with Mindy Eggen

 Welcome everyone! I'm always thankful for the Misti but especially when stamping Heroscapes from Hero Arts. 

In my video, I share how I use my Misti to create multiple sets ready to use.

I'm using the September 2020 My Monthly Hero Kit from Hero Arts.


By using the Misti, I quickly stamped out my pumpkin patch to create 2 totally different scenes.

SUPPLIES


Tuesday, September 8, 2020

Easy Holiday cards with Ceal


Hello Everyone!
It's Ceal. I am up for the Team Tuesday segment today and I am sharing some easy Christmas/holiday cards. 
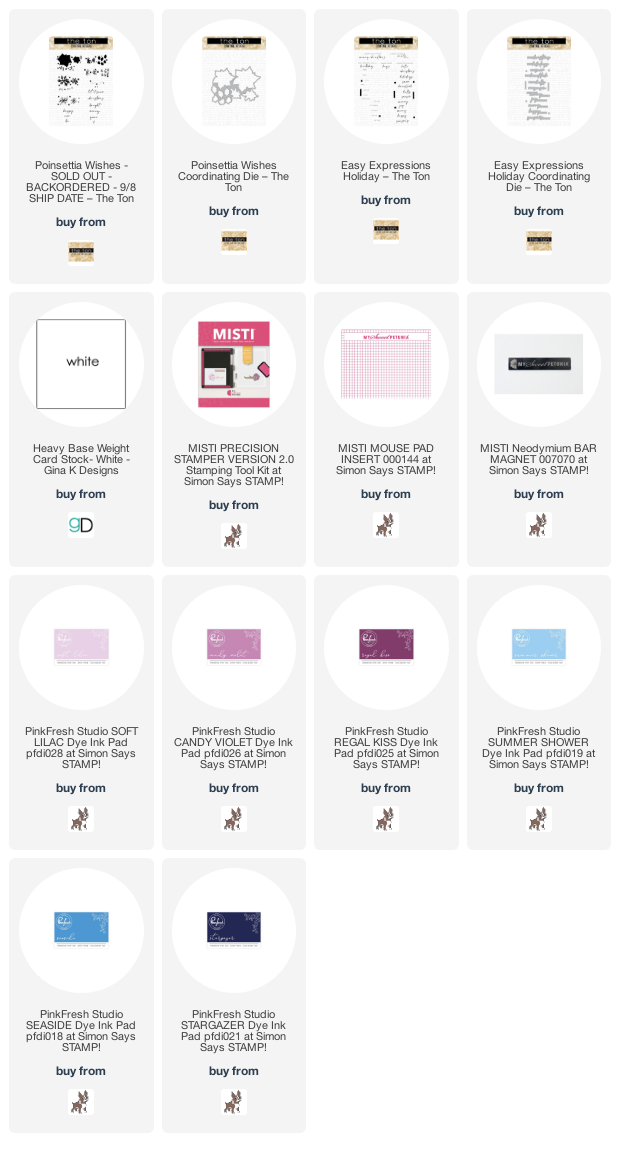
The Ton has come out with some holiday group layering stamps and greetings to make holiday card making super simple. All you need is A MISTI, a die cutting machine and inks of course. 
I used the Poinsettia Wishes which is a group layering set. All you do is place in your MISTI 2.0 and line up registration marks with each layer, its pretty much fool proof as long as your paper size doesn't vary. When you get to the end you will have something that look like this 

Is this genius or what? And get this, there is only one die, yep one die cuts it all out at once! 
I made several of them in different colors, Red, Pink, Purple and Blue and it will be super easy add them to a card front. The sentient is also a group layering set, Easy Expressions. It consists of two layers, I inked these up in colors to match the poinsettias. I placed the first layer in the MISTI 2.0 and inked it up in black and then the second layer in color. 
I am making Christmas cards for a nursing home that our small group adopted and with the MISTI and these sets from The Ton I can get them made so much quicker. 


Thursday, September 3, 2020

The Ton Group Layering

 Hi everyone!

Ilina here. Today I am sharing a card using the newest The Ton release and the Group layering sets and dies. These make stamping and die cutting images a breeze and they are made to work with the MISTI.

I personally think it's a genius idea (it's patent pending) and make lining up the layer super easy.


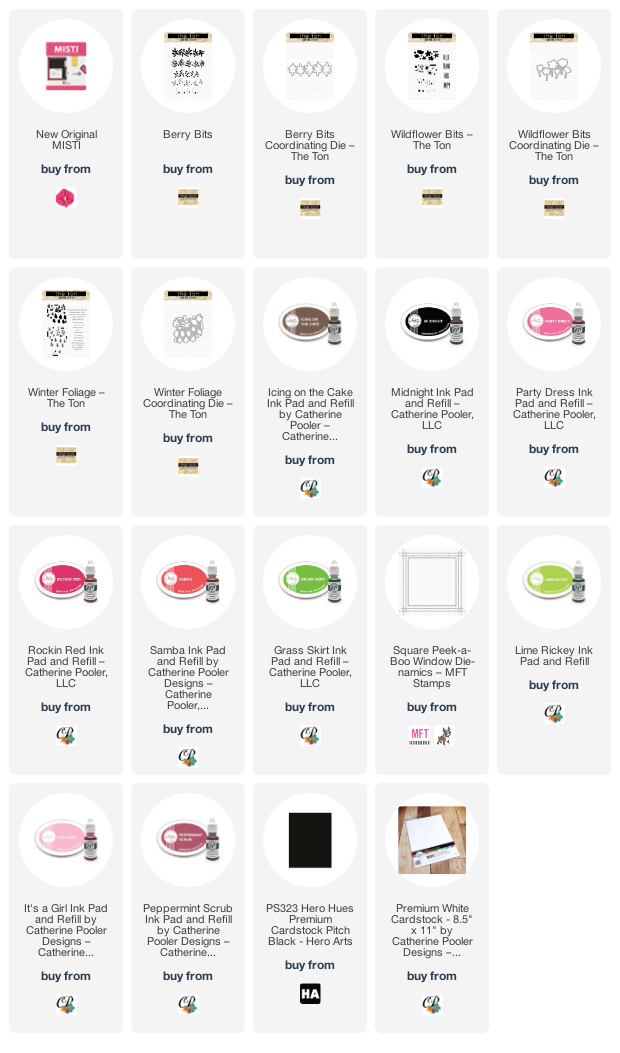
For my card I used 3 sets from the newest release : Berry Bits, Wildflower bits and the Winter foliage along with coordinating dies. Using my MISTI I stamped bunch of them and will save the rest for cards when I don''t have time to put together. Once stamped I die cut them all. All supplies are listed on the bottom

Cut panel 4" x 5 1/4" and die cut the peeking square window die from MFT Stamps. 

Next stamped the sentiment in black. Using foam tape I adhered the window panel to piece of black card stock. Arranged and adhered the flowers and adhered to Black note card. Voila ;)


Tuesday, September 1, 2020

Simon Says Stamp Stamptember Cards

 Hi crafty friends and welcome back.  Sandi MacIver here and as it's September 1st, I'm sharing a couple of cards I created with a New, (released today) stamp set The Boo Crew from Simon Says Stamp Stamptember and my New Misti of course.

I've been asked numerous times in the past couple of weeks what my favorite upgrade is on the Misti 2.0 and I have to say it's the lid (or top).  It has a bit of an overhang now with a little curved bit that makes it so easy to lift as your finger tip just fits right under there.  Do you have your new Misti yet?  If so, What's your favorite new upgrade?

Anyway, I used it extensively on this first card and I just love it:


I started with a piece of Canson watercolor paper and Smooshed the background with Mowed Lawn Distress Oxides.  Once dry, I cut it out with SSS Stitched Rectangle Wafer Dies.


Next, I placed it into the center of my Misti and laid the web stamp in one corner.  I stamped it, and then moved my paper a turn instead of moving the stamp, allowing me to quickly stamp all around the edge of my art piece.  I then added the stamped spider to the top web.


Next I placed a piece of Neenah 80# into my Misti and stamped Frankie and the headstone in copic friendly Simon Says Stamp Intense Black ink.

Once they were colored, I fussy cut them out.

Copic Colors used:
Gray:  C1, C2, C5, C7
Green:  YG21, YG23, YG17
Blue:  B16, B24, B26

I placed a scrap of black card into the Misti and stamped all three rows of the sentiment in VersaMark ink and white heat embossed it before trimming them out into strips.

The art piece was then mounted to a top folding A2 black card base and the little art pieces added with Foam squares to add a little height.


For the second card I decided to do a fall scene.  I die cut the Birch Circle Die out of the stitched rectangle card front and then placed it into my Misti to line up and stamp the sentiment.

Next, I ink blended Distress Oxide ink onto another small panel to fit behind this.  I used Wilted Violet, Picked Raspberry and Mustard Seed and then splattered water on it for the star effect.


Finally I placed a 4-1/4 x 5-1/2 piece of Neenah 80# Solar White card into my Misti and stamped the Bat, Moon and all three pumpkins in Copic friendly Simon Says Stamp Intense Black ink before coloring them and cutting them out.

Copic Colors Used:
Oranges:  Y11, Y15, Y17, Y19, Y38
Browns:  E35, E57

They were also added with foam squares for a bit of 3-d effect.

Here are links to supplies I used in today's cards.  Compensated affiliate links are used at no further cost to you.  My Sweet Petunia provided the new regular sized MISTI for these projects and Simon Says Stamp provided the stamp set.  I purchased the remaining products used.  Thank you for your support, it helps to maintain my blog and You Tube Channel.