Thursday, October 31, 2024

Happy Haunting!

Happy Halloween! I hope you have a safe and sweet Halloween.  

The MISTI is a fantastic tool for everyday stamping and more! It did a spectacular job with the clear, solid stamps I used on this project. 

First, I masked the moon and blended Distress Ink over the entire cardstock. Then I placed a Sticky Mat and my inked cardstock in the MISTI. I positioned the haunted mansion in the center of the cardstock and picked up the stamp with the lid. Clear, solid stamps usually need to be stamped more than once, so I love that the Sticky Mat holds my paper in place for precision stamping every time!  I stamped the bats twice to get a dark impression and added the sentiment!  

Tools used in making this fun Halloween card:


The spooky stamp set is called Happy Haunting.

Thanks so much for looking!  

Wednesday, October 30, 2024

Caught a Bug!



Hello everyone! Anna here, with greetings from the pacific northwest! The card I’m sharing today was made using the recently released Get Well Bug limited edition clear stamp set from Whipper Snapper Designs. Since I was stamping on watercolor paper, I needed to be able to stamp the images and sentiment multiple times to ensure a great impression! I used to Mini Misti to stamp the happy bug and his trail lines in various places on the watercolor panel. The Mini Misti also allowed me to precisely place the sentiment and stamp it several times to get a great impression!

I love how the Mini MISTI allows me to stamp perfectly, every time! On card panels or on smaller sentiment banners, I can stamp with precision every time, giving me the perfect placement and impression for every project.  Sentiments are stamped perfectly placed, and stamped images on watercolor paper (or other textured papers) are a breeze to create!

Thanks for joining me on the blog today!

Tuesday, October 22, 2024

Fantastic Use of the Sticky Mat

 Hello friends, 

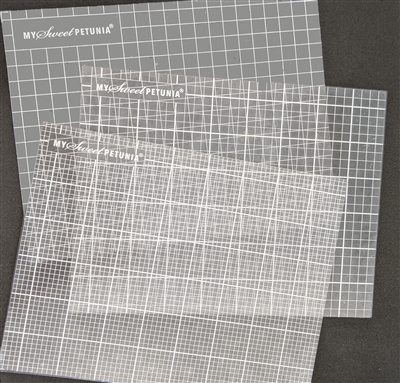
I just love my MISTI Sticky Mats for holding in place smaller die cuts, or large pieces of cardstock to stamp a large image.

When your stamp must cover your entire cardstock piece, slip in a sticky mat and you're all set.


In this example, my cardstock is cut at 3-1/4" x 8-1/4" for a slimline layer. The adorable stamp from Trinity Stamps is just slightly larger than this piece of cardstock, leaving no space for the magnet on the cardstock to hold it in place. 

Insert a sticky mat and add your magnet to the sticky mat to hold it in place and you're ready to stamp.


I created this fun card using the Beary Cute Layered Mug die set.


The full product list for this card is below.

Sunday, October 13, 2024

Best Witch Halloween Card


Hello everyone!!!  I know it has been a long time since I have posted.  I had to share this card.  In September, I went to a craft retreat and meet a new friend named Tara.  She created an amazing background.  I was so inspired, I had to go get all the supplies to make it.  I had actually never made a Halloween card, so I had to get Halloween themed supplies.

You know me, I like to keep posts short so here is the video - supplies are below!  


NEW teal mini
[ MSP ]
Precision Glue Press
[ MSP ]
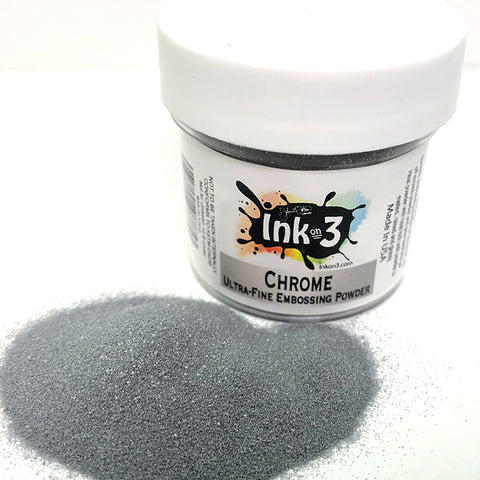
Chrome Embossing Powder
[ INK ]
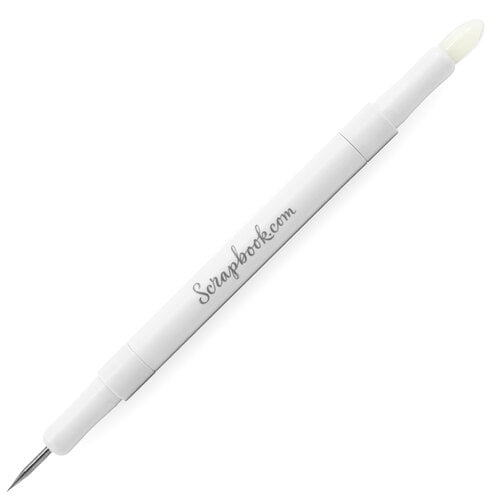
Craft Pick
[ SBC ]
Light Grey Ink
[ SBC ]
Stencil Extender
[ SBC ]
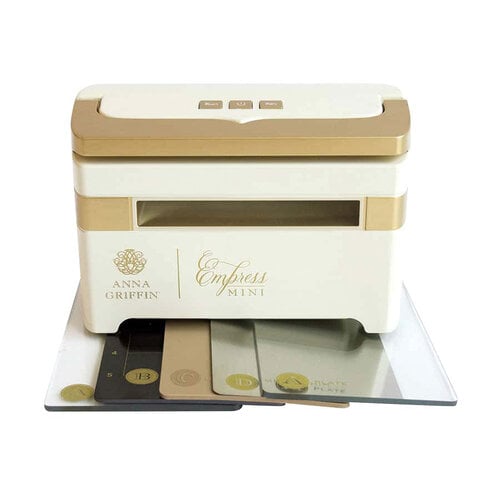
Mini Empress
[ SBC ]
Spiderweb Press Plate
[ SPL ]
Rainbow foil
[ SBC ]
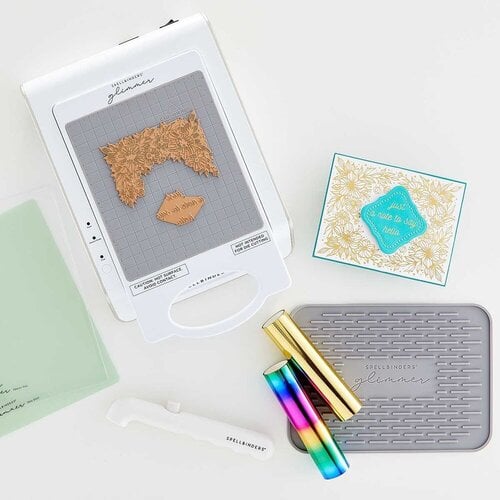
Glimmer system
[ SBC ]
Black licorice cardstock
[ TE ]
Swiffer
[ AMZUS ]
Cut Align
[ MSP ]
Craft Knife
[ AMZUS ]
Circle Dies
[ HA ]
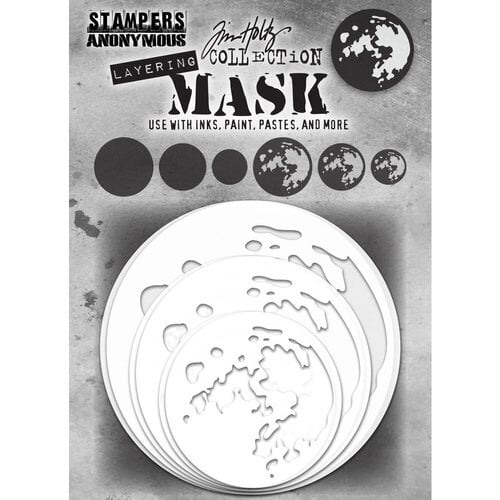
Moon Mask
[ SBC ]
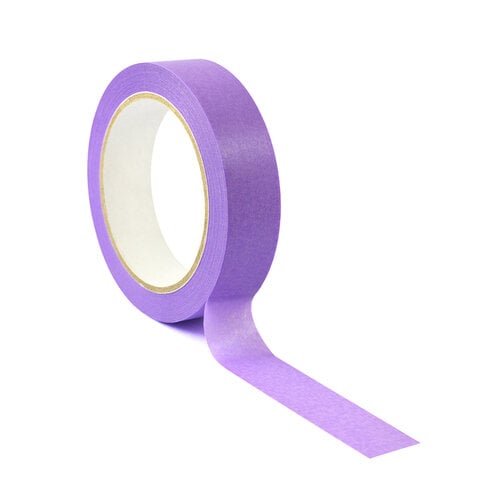
Purple Tape
[ SBC ]
1 Inch Blending Brush
[ SBC ]
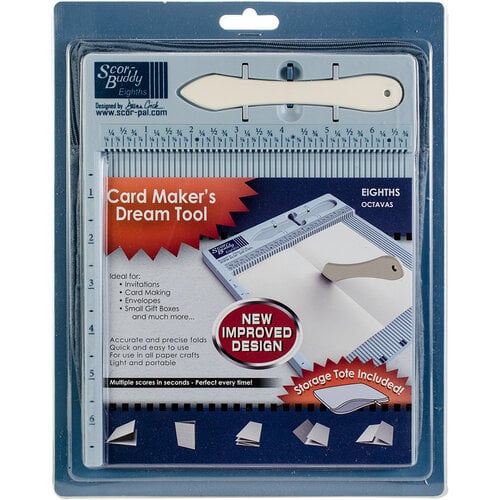
Scor-Buddy
[ SBC ]
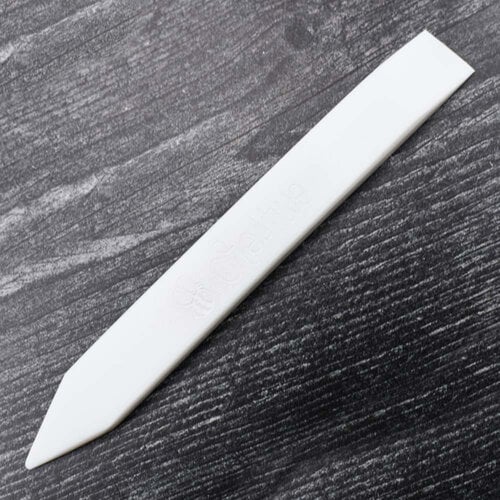
Teflon Folder
[ SBC ]
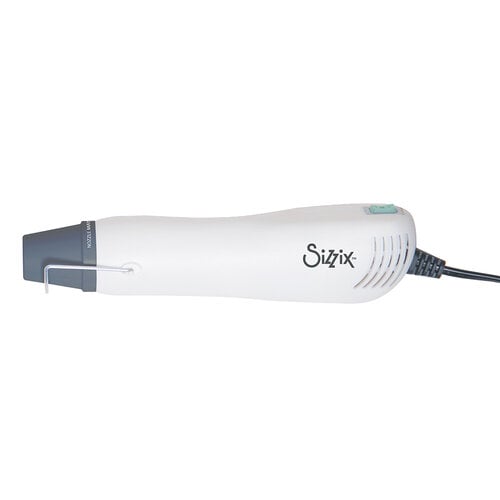
Heat tool
[ SBC ]
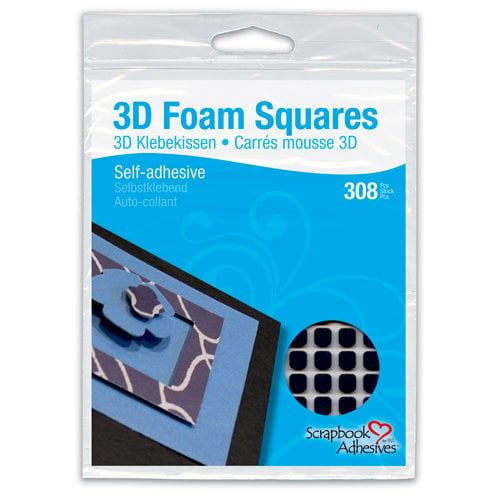
Black foam squares
[ SBC ]
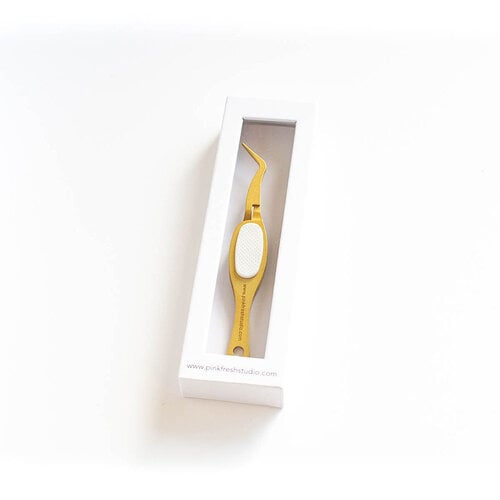
Tweezers
[ SBC ]
Sea Salt Cardstock
[ TE ]
Foam Strips
[ TE ]
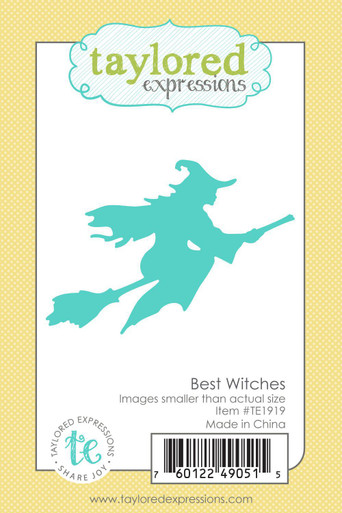
Best Witches
[ TE ]
Grid Paper
[ MSP ]
Sticky Mats Original Size 3 pack
[ MSP ]
My Sweet Petunia
[ MSP ]
Bar Magnet
[ MSP ]
Sheer Shimmer Sparkle
[ AMZUS ]
Pure Black
[ OLM ]

Tuesday, September 24, 2024

Lots of Stamping All At Once

 One of my very favorite things about the MISTI is the ability to stamp many images at one time.

For today's cards, I created a fun fall shaker card and a second card using the arch cut out of the gold foil for the shaker card.


I stamped and colored all the pumpkins, wagon and foxes with copic markers. The inside background of the shaker is colored with a very light blue copic marker. All of the copic markers used are listed at the bottom of this blog post.


I hope you're busy making some fun fall shaker cards this season and using the MISTI to stamp all your gorgeous images.


Here is the supply list for these cards:

Copic Colors Used:

Pumpkin YR09, YR04, Y19, Y15, Y13

Main Zinnia Flower R59, R29, R27, R22

Greenery YG95, YG93, YG91

Orange Flowers YR09, YR04, Y38, Y35

Yellow Flowers Y19, Y18, Y15, Y11

Foxes E17, E15, E13, E11

Wagon E49, E37, E35, E33 Wheels and Handle C5, C3, C1

Sky Background B01, B00, B0000

Tuesday, September 3, 2024

Team Tuesday with Pinkfresh Studio

(Our team uses affiliate links where possible)


Hey there crafty friends!
It's Ceal, here. Welcome to Team Tuesday, today I am sharing a couple cards using come holiday products from Pinkfresh Studio along with the Original Misti, Sticky Mat and Precision Glue Press. 
To make these cards, I started with a white top folding A2 card bases and a a couple of panels. I stamped the image on the panels using the Original Misti because it a cling stamp and you cannot see through it which means the Misti is a necessity to use this stamp.  After I got the images stamped, I placed the panel on a Sticky Mat inside the Misti so I could use the coordinating stencils to color the image. 


The first card, I actually created it second. Once I was done with the card below I realized I forgot to use the die and I had already cut the panel down so I created a second card (above). I cut several layers out so i could stack them for dimension. I also embossed the sentiment in gold to match the berries. 
The card below I added the stenciled panel on a panel of black and embossed the greeting on black with white embossing powder. 


The top one is my favorite, which one do you like best?


Here are the supplies I used 


Friday, August 30, 2024

Using Multiple MISTIs For Creating

 Today I am sharing two cards I created using both my Original MISTI and my Mini MISTI

For this card, I used the Mini MISTI and the sticky mats to get my stamping just right on this tiny piece of inked cardstock. I chose to heat emboss the sentiment and knew I would need to stamp multiple times on this tiny piece of paper.

Using the sticky mat is the perfect solution for stamping on small bits of cardstock. For all the items glued together, I used the Precision Glue Press.


For the second card, I used my Original MISTI to stamp the turnabout stamp. Unfortunately, I did not have the correct products to use the turnabout correctly, but I was able to make it work with the help of the MISTI.

After creating this background I cut it down to use for smaller pieces on the card base.


Here is the supply list for these cards: