Thursday, November 4, 2021
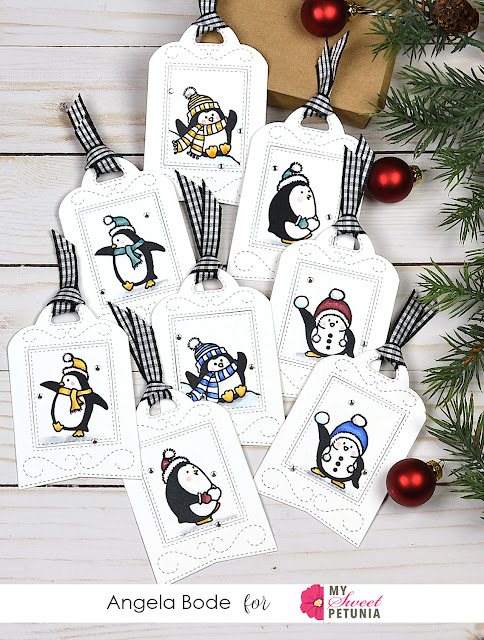
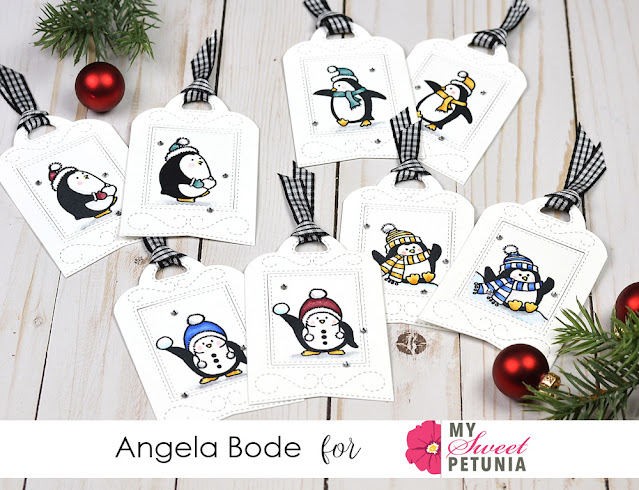
Holiday Tags with the MISTI
Tuesday, November 2, 2021
Team Tuesday with Ceal
It's Ceal, here with a Christmas card for team tuesday.
To create this card I started with a top folding white card base and a white panel and some stamp sets by Concord & 9th.
I inked up the image from the Fill in Poinsettia set with Wheat ink and then used the Weathered Wood background stamp to kiss it (laid it on top and removed it). Next using the Misti 2.0 I filled in the flowers, leaves and berries. I tell ya if I didn't have a Misti, there is no way I could have used this set as it was tough for me even with the Misti. The greeting I used is from the Big on Christmas stamp set and i added some enamel dots to finish the card.
Tuesday, October 26, 2021
Cozy Wishes Christmas Card
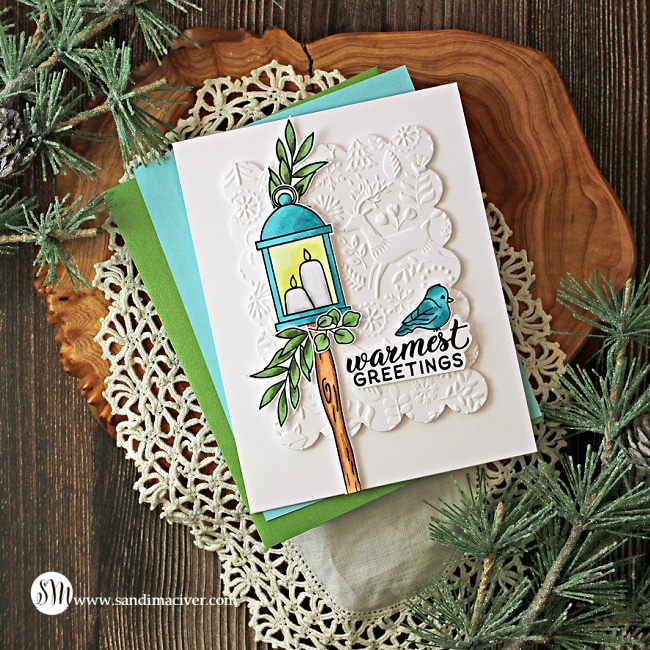
Hey cardmaking friends. It's Sandi MacIver here for Team Tuesday and today I'm sharing Simon Says Stamp Cozy Wishes with you.
How to create the Simon Says Stamp Cozy Wishes Card:
Start with a top folding A2 sized card base in Hammermill white.
Creating the Art Pieces for the Card.
Place a 4-1/4 x 5-1/2 piece of hammermill white card into the Misti.- Blues: BG 53, BG57, BG09
- Yellows: Y00, Y11, Y15
- Greens: G21, G94, G99
- Browns: E21, E23, E25, E27
Thursday, October 21, 2021
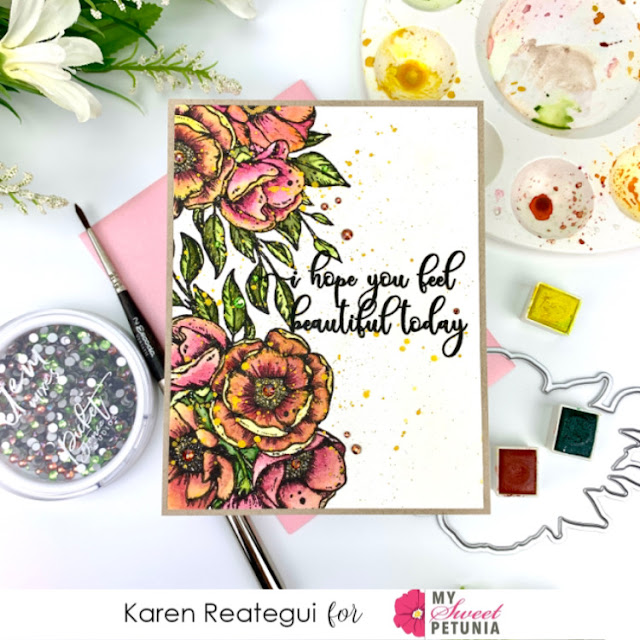
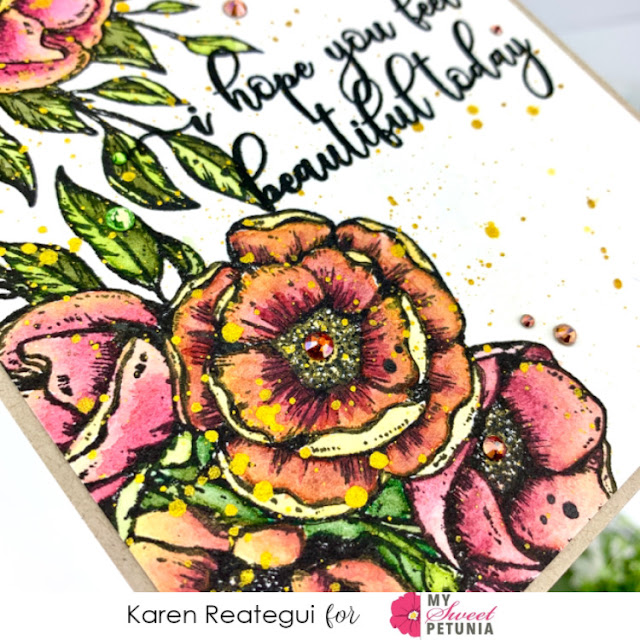
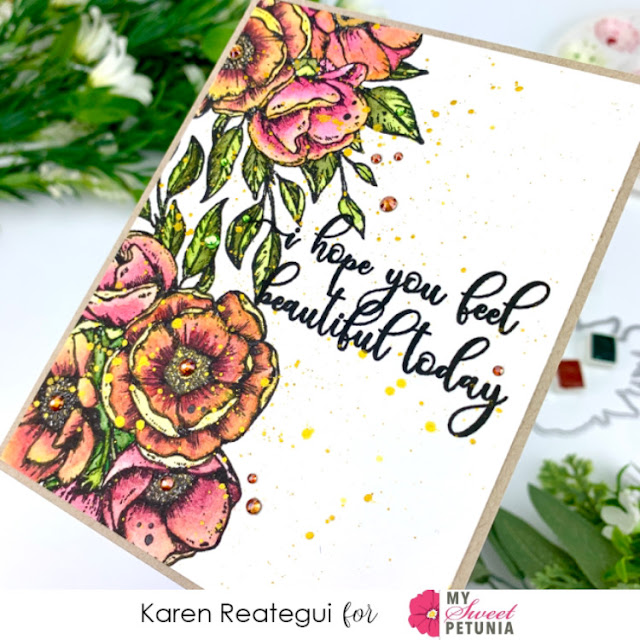
Watercolor Roses with Karen Reategui
Tuesday, October 19, 2021
Using My MISTI to Build Scenes
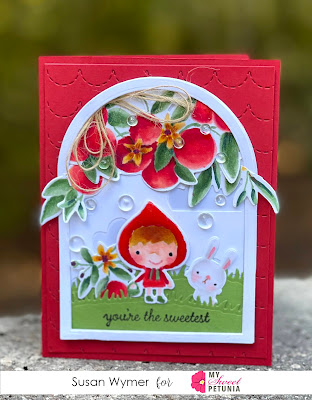
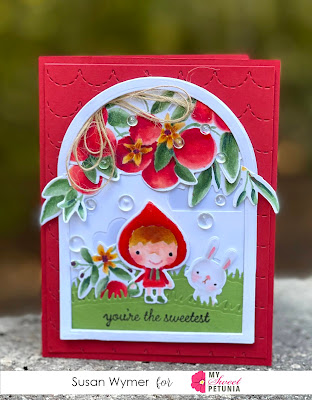
Hi, Welcome to the My Sweet Petunia blog. I am Susan. Today, I have a card that I made for my oldest granddaughter who is doing so well in first grade! I had not colored in a person/fairy in a long time and decided to give it a go with Reverse Confetti's Enchanted Garden. I also decided to color in some apples using Reverse Confetti's Orange Blossom set.
I set up all the stamps I was using in the MISTI along with some Neenah Solar White Super Smooth 80 lb card stock. This card stock can handle a ton of ink so I have switched to using this type of Neenah rather than the straight 80 lb card stock. I stamped each image twice with Ink On 3 Fade Out Ink. I adore this ink. Even though I have to stamp twice in order for my old eyes to see the lines, the stamped lines fade out as I color.
For the reds, I varied up the colors but pretty much used Copic Sketch Markers R12, R14, R17, R24 and R29. For greens, I used YG61, G24, YG63 and YG67. The yellows sadly I did not write these down. For the very darkest centers and tiny buds I used RV99.
For the background, I die cut a panel with Reverse Confetti Cloudy Day cover plate. I then die cut this with one of the Nested Dome die set from Waffle Flower. To make this panel I die cut a piece of Gina K. Designs Soft Stone (perfect shade of gray) card stock to adhere to the background.
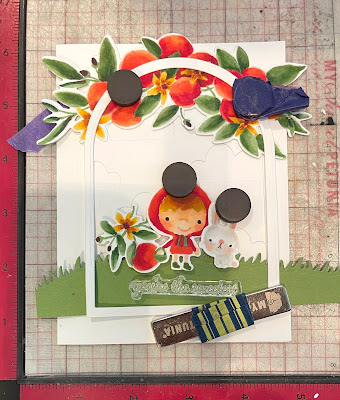
Once I had all my pieces colored and die cut, I place the card base in my MISTI (see above - please excuse how dirty and well-loved my MISTI is) and arranged my pieces. Let's be honest the picture above is an honest picture of crafting except I edited out my messy desk! Using some magnets I finalized this version of the card. I do this instead of using Press N' Seal because I feel that I have better control over placement. Once I have the piece in place I adhere it with liquid glue or tape runner. However, as I was doing this I changed my mind, of course. Once I had moved everything where I wanted it now on the dome, I used liquid adhesive to adhere everything.
For the back panel that the dome is mounted on, I used Reverse Confetti Stitched Scallops Coverplate to die cut a piece of Reverse Confetti Salsa card stock. I trimmed this to 4" x 5.25". For the card base, I also used Reverse Confetti Salsa card stock to make an A2 side folding card. Once everything was altogether, I added Pretty Pink Posh Dew Drops and some Glossy Accents over Wink of Stella clear glitter ink.
Thanks for stopping by;
Susan
Products Used: I am using compensated affiliate links at no further cost to you.
Thursday, October 14, 2021
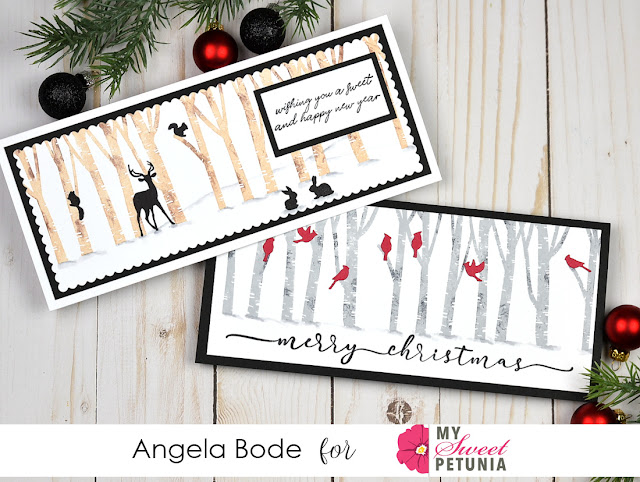
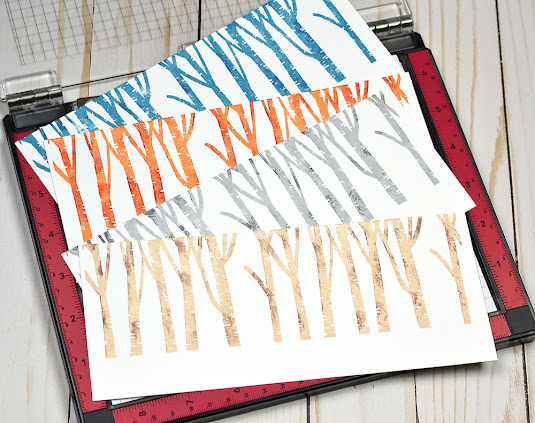
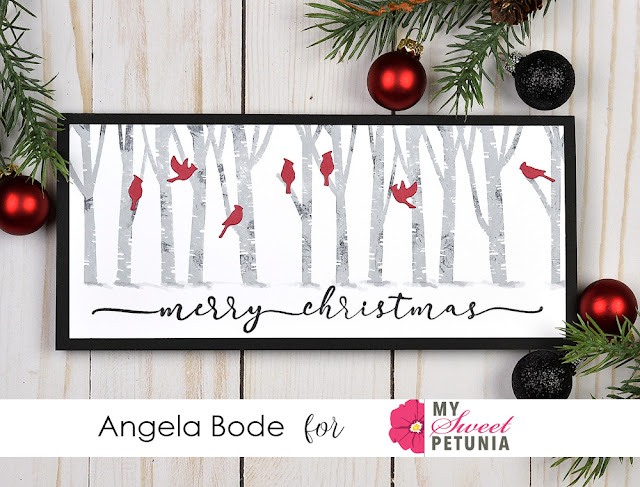
Slim Scenes and the MISTI
Tuesday, October 5, 2021
Getting Started on Christmas