VIDEO
I have a video that you can view down below or HERE on my Youtube channel. I'll be showing you how to create 4 cards with 1 stencil + a layout.
CARD DETAILS
Since this stencil is 9x12 all you need is one sheet of card stock. For my cards today, I'm using an 8 1/2" x 11" piece of Neenah Solar white 80lb card stock.
I'll spray my stencil with Pixie Spray, attach to my card stock and then ink blend Tattered Rose, Abandoned Coral and Seedless Preserve Distress Oxide inks using Life Changing Blender Brushes.
While the stencil is still in place, I'm going to spray Iridescent Shimmer Spray for a little sparkle. Then after carefully removing the stencil, I'm going to let this dry or you can heat with a Wagner Heat Tool.
After the card stock is dry, I'll trim my panel down first cutting at 5 1/2" and then 4 1/4" so that I end up with 4 card front panels. Four cards with one sheet of card stock and they all have a different design using the same stencil. Cool Right?!
I'm going to use the Good Job Mama Stamp Set and the Mini Misti Tool to stamp sentiments onto my card fronts with Versafine Clair ink. This is a great ink for stamping onto of Distress Oxides.
I also heat embossed sentiments off of the Good Job Mama stamp set onto Black card stock with White Embossing Powder. I love how I can stamp all of my sentiments at once using the Misti Tool. Quick and easy!
I'll use the Mini Blossom Die Cut Machine from Altenew and the Sentiment Label Die to cut my sentiments down to thin strips. I'll then attach my sentiments to my card front using the Big Momma Foam Tape from Simon Says Stamp.
A last finishing touch to my cards is adding some Clear Sequins using Connect Glue and then topping them off with Love Potion Dream Drops.
Now this is a little different coming from me but honestly, it's the first thing I thought of when I saw this stencil. One of my scrapbooks is actually a 9x12 album. I stenciled the hearts using the same colors as my cards, onto white card stock.
I printed off a 5x7 picture of my daughter that I took of her in November and attached it to my card stock.
Using Black card stock and Tonic Gold Glitter card stock, I die cut the Over Sized Love You from Waffle Flower and layered together with Connect glue for a shadowed look.
I heat embossed in Gilded Embossing Powder some small sentiments from the Tiny Words Encouragement stamp set onto Black card stock. Again, the Misti Tool is a time savER being able to stamp all of those sentiments in one pass. Then using the Sentiment Labels I die to cut them out and add to my label with foam tape.
I absolutely adore this layout and the sentiments are so powerful. It'll be great when my daughter goes back to look at the album and sees these encouraging messages.
I hope you enjoyed today's inspiration! I have the full release and my supplies listed down below.
SUPPLIES USED IN VIDEO
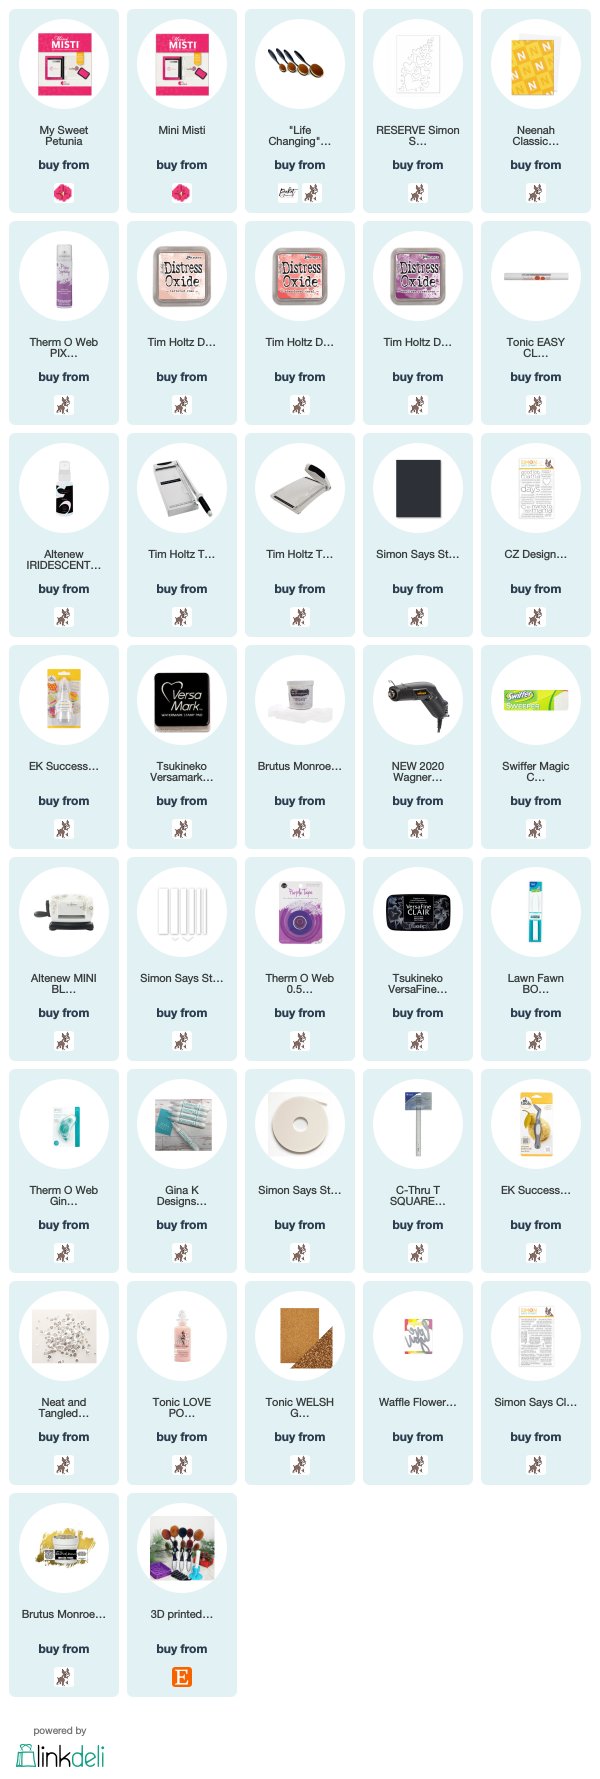
Below you will find links to the products used. Click the icon to start shopping. Compensated Affiliate links are used at no additional cost to you. Your support helps me to keep bringing you new projects and videos. Thank you!


No comments:
Post a Comment
Thank you for taking the time to comment.