
Hi, This is Susan up for Team Tuesdays! I have been spending most every Tuesday and Thursday evenings watching Facebook Lives from Dawn Woleslage from WPlus9 Designs. Her group can be found here. I have learned a lot watching the lives and she has a technique for making a jig for layered florals or other images - here. I was doubtful when I started making them but wow it is a game changer!!! I can die cut and stamp so much at one time now. I think in one stamping session I stamped 20 poinsettias and 10 bows and bells!!! That is pretty much a record for me.
To make and use the jigs you MUST HAVE A MISTI. There is no other way to make the jigs and use them properly. I have a picture below which shows my messy jig and my dirty MISTI but both were very busy in the craft room. For each image, I counted the number of layers and die cut that many. I trimmed out the negative images. I then followed Dawn's tutorial. To use the jig just move the die cut through the negative images until you are finished the stamping all the layers. You can see a the final silver bell on the far right.

Colors:
Reds: Abandoned Coral Distress Oxide, Candied Apple Distress Oxide, Fired Brick, smidge of Black Soot with a dauber
Greens: Mowed Lawn Distress Oxide and Peeled Paint
Boughs: Evergreen Bough Distress Oxide and Pine Needles Distress Ink
Silver: White Pigment ink daubed with Hickory Smoke Distress Oxide, Black Soot Distress Oxide, Black Soot Distress Ink
Browns: Gathered Twigs Distress Oxide and Walnut Stain
The background is a mixed media piece using a technique from Lydia Fielder. I applied grey acrylic paint to Neenah 110 lb card stock and let it dry. I then applied a thick layer of Elmer's Glue - yes the stuff we used in school. I allowed this to air dry until tacky. I then applied a layer of white chalk paint. I left this out overnight and probably longer to dry. As it dried the cracks formed making it look like birch bark. I decided though that birch bark was boring. I added splatters of Black Soot Distress Oxide. Then I squeezed some Versamark reinker out onto my craft mat and used a brush to apply dots of ink around the background. I added Wow Metallic Platinum embossing powder and heat embossed. I also heat embossed the edges. Finally, I added some thin layers of Black Soot using a dauber. To add some sparkle to the bough, I added matte medium and Rock Candy Distress Glitter.

Thanks for stopping by;
Susan
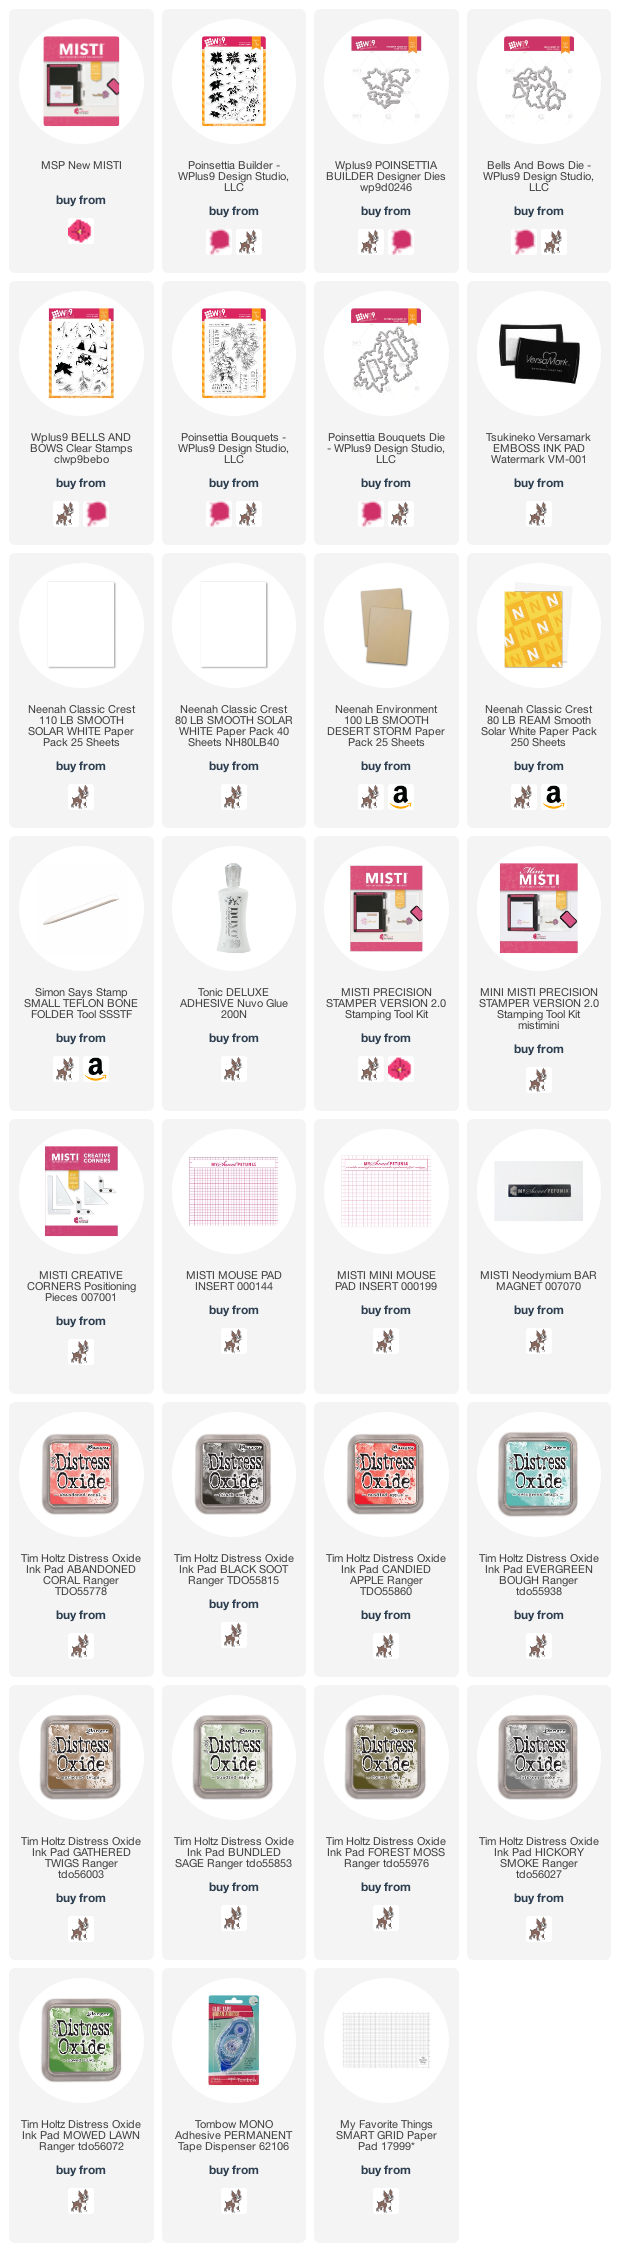
Products Used: I am using compensated affiliate links at no further cost to you. My Sweet Petunia supplied the MISTI used in this project. I purchased the remaining supplies myself.
Great explanation, Susan! Love that background!
ReplyDeleteSusan, you must remind me to come to that Live!! I just joined, and continue to forget!! LOve this gorgeous creation... WOW what a background!! The products you've used today are on my most recent wish-list! [right alongside that new mini MISTI!]
ReplyDelete=]