Tuesday, August 4, 2020

Slimline Card with Altenew Build a Flower Poppy

Hey stamping friends, Sandi here and welcome back to the Misti Blog.

Today I'm using my Misti to do some layered stamping and to create a Slimline Card with Altenew Build a Flower Poppy stamp and die set.


The Misti is the perfect tool for the Layered Stamping.  With the slimline cards additional real estate I was also able to use the Misti Stamping Platform to stamp all three sentiments at the same time.  It also made quick work of stamping those adorable background images too.  Check out the video below for the details.


I used the Pinkfresh Slim Diagonal Stitched Rectangle Dies to create the layers for my Slimline card.  There are four dies in this set, two with stitched edges, and two slightly larger dies to create the mats as well.

Here's today's video, you can watch it here, or over on my YouTube Channel in HD.


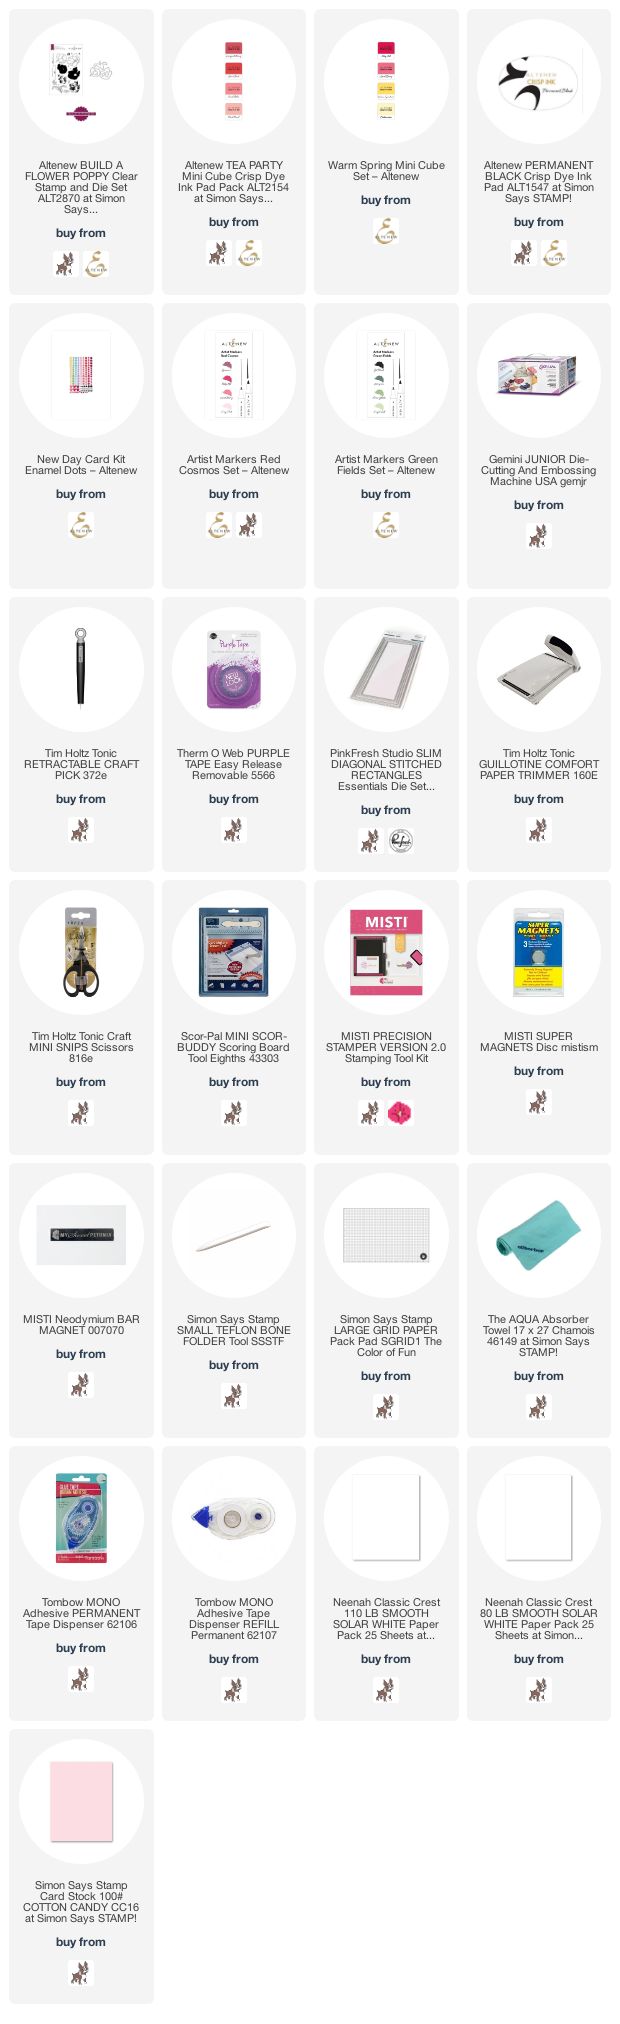
Thanks so much for stopping by and I hope you enjoyed the Slimline Card.  Below I have listed the products used in today's video with affiliate links where available.

Have a great rest of your day


Thursday, July 30, 2020

Quick & Easy Holiday Cards

Welcome friends! Today I’m sharing some inspiration using the new Frosty Card Kit from Taylored Expressions. If you are looking to get a jump start for your holiday cards – this is IT!

VIDEO

I have a video sharing the contents of the kit and creating 3 cards from start to finish. You can check out the video down below or HERE on my Youtube channel.

For my first card, the background is stamped in Oreo ink with the bands of the hat stamped in Strawberry Milkshake, Cookie Monster and Lime Zest. 


This would be a great one to mass produce! In the video, I show how I created a template in my Misti for stamping the sentiment.
Once you have everything in place in your Misti, stamping is a breeze.


I ventured out of the kit for this next card and added a stencil from my personal collection.

Using the Masking Stencil Rectangle, I ink blended on Cookie Monster ink with a blending brush. Then added the Winter’s Beauty Stencil over the top of the masking stencil and blended that on with Cookie Monster, Blue Raspberry and Jelly Donut ink.

Be sure to check out the video for all the details on creating these cards.

SUPPLIES

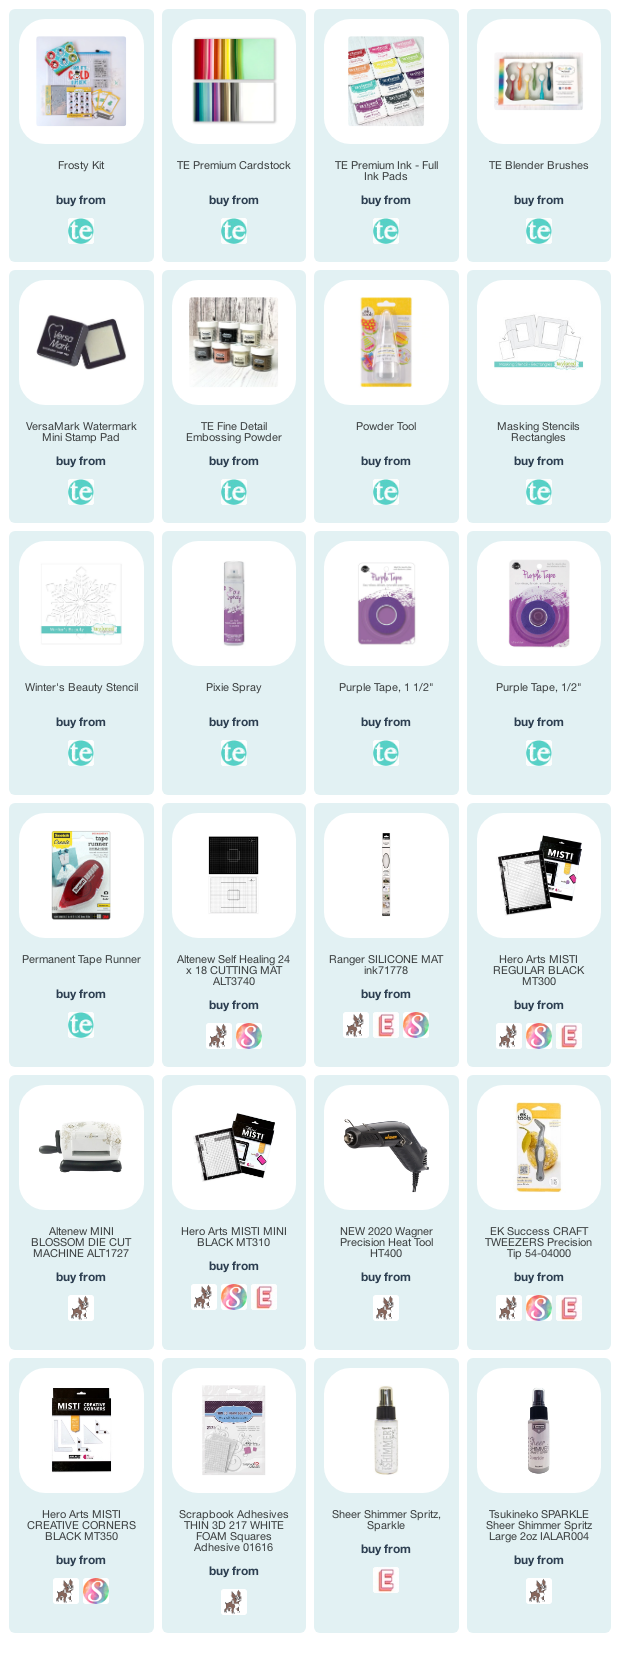
Below you will find links to the products used. Click the icon to start shopping. Compensated Affiliate links are used at no additional cost to you. Your support helps me to keep bringing you new projects and videos. Thank you!


Tuesday, July 28, 2020

Team Tuesdays with Susan and Reverse Confetti Background Builder


Hi, This is Susan on the blog today. I am making a background pattern and absolutely needed my regular MISTI. For today's card I wanted to play with greys and reds and sort of do a color study. I used all of the Reverse Confetti reds that I have and the one grey - listed below. Reverse Confetti Inks stamp crisply always. I highly recommend them.

Technique wise when you use the new Background Builder set from Reverse Confetti you will need to use a MISTI. For this card I decided to alternate the stamps and the inks. I stamped them all onto an A2 sized panel of Neenah Solar White 80lb card stock. Once the stamping was done, I trimmed the panel to 5" X 3 3/4". 

I then began stamping the circle with Reverse Confetti using my MISTI and all of the red RC ink that I have. I plan on purchasing more. I used Flamingo, Brick, Salsa, Tangerine and Rose. I did repeat stamp some of the colors to get the depth I wanted. I used a Hero Arts Circle Infinity die to die cut the red circles. I then popped them up with 3M Foam tape for added dimension. I also added Clear Wink of Stella glitter pen to each circle. 

For the sentiment I used the hello die from the Hello and Thanks Duo. I cut it 3 times from RC Black card stock. The sentiment on the strip is from the So Very Lovely set using Versafine Onyx Black and my MISTI. I also added Clear Wink of Stella to Hello and coated it with Nuvo Crystal Glaze. I popped up the sentiment strip with 3M foam tape. 

Thanks for stopping by;
Susan

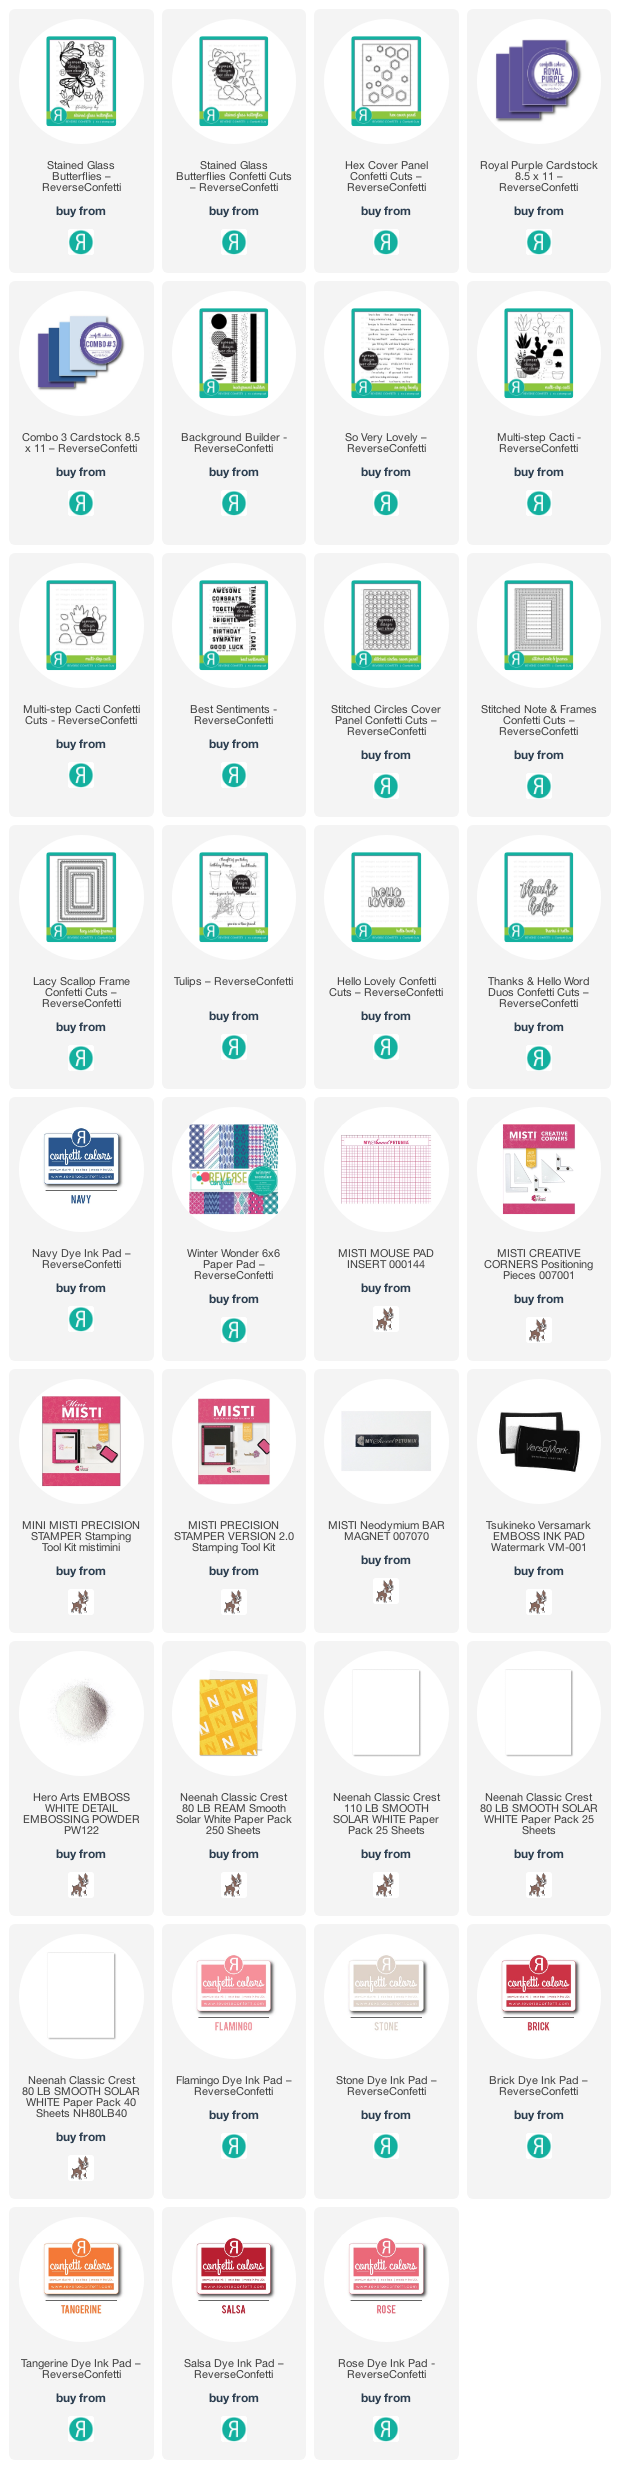
Products Used: I am using compensated affiliate links at no further cost to you. Reverse Confetti provided the Background Builder stamp set. The remaining products I purchased myself.

Thursday, July 23, 2020

Oh, Baby

Hi everyone,
Ilina here. Today I am sharing super cute baby card using the new Catherine Pooler designs set Born to be Wild and the coordinating dies and the new A to Z Background stamp.

To make the card start by stamping the background using your MISTI to create the ombre look. Use soft towel or ink blending brushes to soften the edges of each section when you ink the stamp to have smoother transition between the colors.
Die cut the Zebra and keep the negative. Position the negative in your MISTI and the first layer stamp (striped). Stamp in black. Do the same thing for the second layer (feet and face) and stamp in pink. 
Die cut a circle from vellum and assemble your card.


Tuesday, July 21, 2020

Anemone Floral Background with Channin


Hello all!! It's Channin here and today I have a layered floral card to share!! This card also combines my two absolute favorite MISTI stamping techniques pattern stamping and partial inking!!

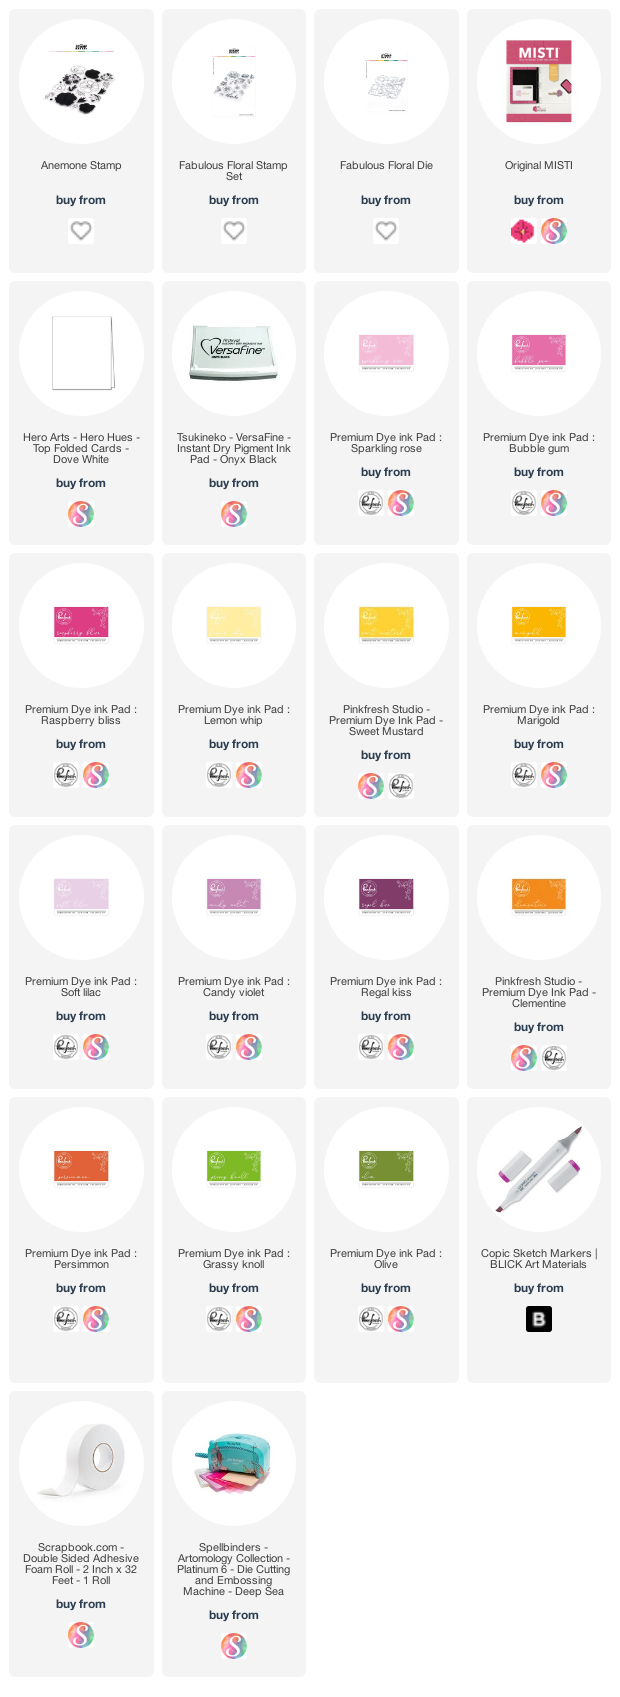
To create this card I first stamped the background with Anemone Stamp Set from The Stamp Market. I first positioned the outline layer for the three flowers on the left half of an A2 top-folding white card base. I then picked up the stamps with my MISTI and then stamped them in Versafine Onyx Black. Next, with stamps unmoved and still on my MISTI, I then rotated my card base 180 degrees and stamped the other half of my panel in Versafine Onyx Black as well. With both halves stamped, I then moved onto the next layer for the flowers, the solid layer. 


I first positioned them, picked them up with my MISTI and then stamped them in either Sparkling Rose, Lemon Whip, or Soft Lilac Pinkfresh Studio Ink. Then with the solid layer stamps unmoved in my MISTI, I then partially inked up each flower in a slightly darker shade (Bubble Gum, Sweet Mustard, or Candy Violet) and stamped to create a gradation. To partially ink up a stamp, you hold the ink pad at an angle so only a portion of the ink pad comes in contact with the stamp. I like to partially ink up the edge of the stamp, meaning the ink pad makes the most contact with the edge and then lessens towards the center, and again this is done by simply holding your ink pad at an angle. Once I finished partial inking and stamp the solid layer, I then rotated my panel and then repeated the process for the other half of the card. 


When I was finished stamping the solid layer on both halves I then positioned the detail layer and then stamped them in either Raspberry Bliss, Marigold, or Regal Kiss. Next, I rotated my card base and repeated the process for the other half. I then finished the flowers by stamping the centers first in Clementine and the partially in Persimmon. Once I had finished stamping the centers for all the flowers I then moved onto the leaves with Grassy Knoll and Olive. When I had finished all the leaves I filled in the negative space with by adding little dots with a copic marker (G43). Next I created my sentiment by stamping “thanks” from the Fabulous Floral stamp set in Versafine Onyx Black on white cardstock. I then die cut it out with the matching die and adhered it to my card front with foam tape. 

I hope you enjoyed my card! Thank you so much for stopping by!

~Channin

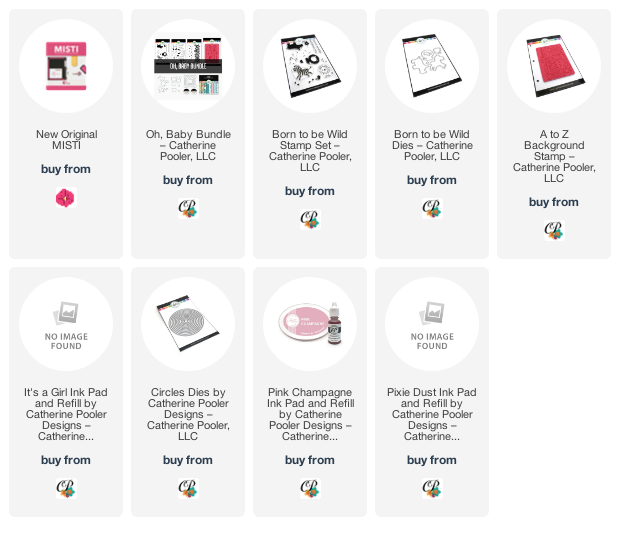
Supplies:
Friday, July 17, 2020

Thankful Card with Karen Reategui


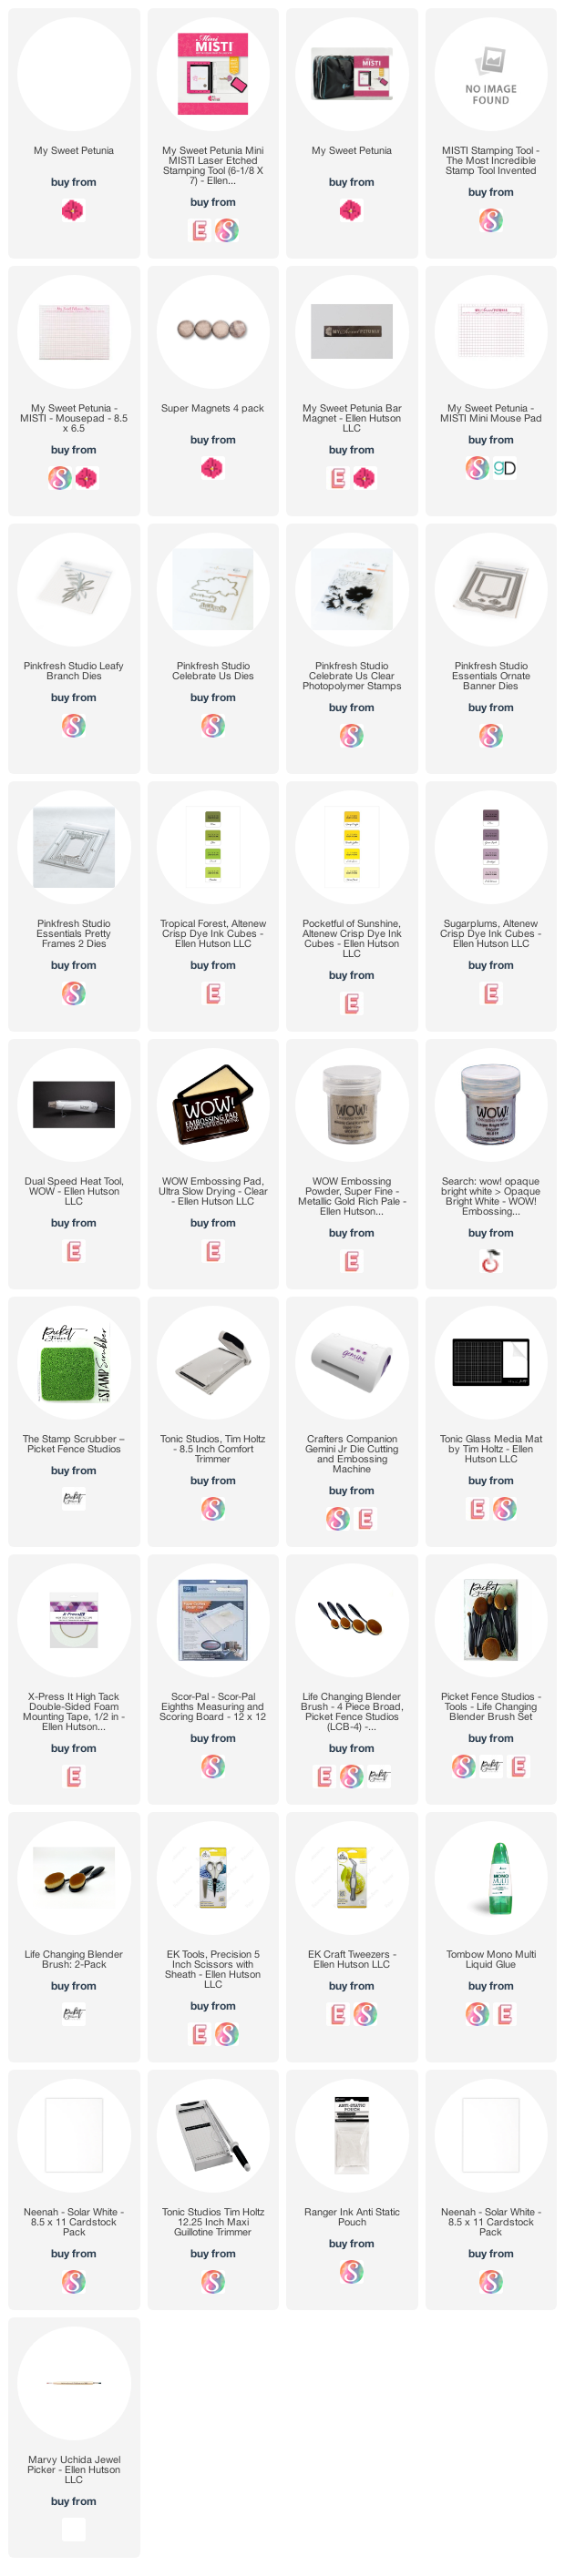
Hello friends! Today I’m sharing this card over My Sweet Petunia Blog. I’m using my Original and Mini MISTI along with Pinkfresh Studios stamp and dies.


Let’s start! With the help of my MISTI I stamped the Celebrate Us Stamp Set using Pale Mauve, Amethyst and Parrot inks from Altenew. The outline part was heat embossed with WOW! Metallic Gold Embossing Powder and then I die cut both flowers using the matching dies. You can see the process in the picture below. I simply rotated my cardstock inside the MISTI to stamp both images.


Next, I die cut twice the Leafy Branch Die from Pinkfresh Studio out of gold foil mirror cardstock.


I also die cut the two larger pieces of the Ornate Banner Dies out of white cardstock. I left the larger piece white and on top of the smaller I white heat embossed the outline of the flowers again and then applied Fresh Lemon ink from Altenew using a Life Changing Blender Brush.


Then, I embossed a teal cardstock using the Pretty Frames 2 from Pinkfresh Studios. I adhered a white folded note card at the back using glue.


On top I placed the white frame from the Ornate Banner using foam tape and the part with the heat emboss resist technique was added inside.


Finally, I arranged the flowers and leaves and added a thankful sentiment that was die cut three times out of white cardstock and glued one on top of each one to create a die cut stacked and get more dimension. Some jewels were added also and my card was finished.

Thank you so much for stopping by and have a great weekend!

Karen


Tuesday, July 14, 2020

Seamless Stamping With Ceal Pritchett

Hello Everyone! It's Ceal here with you for Team Tuesday. 
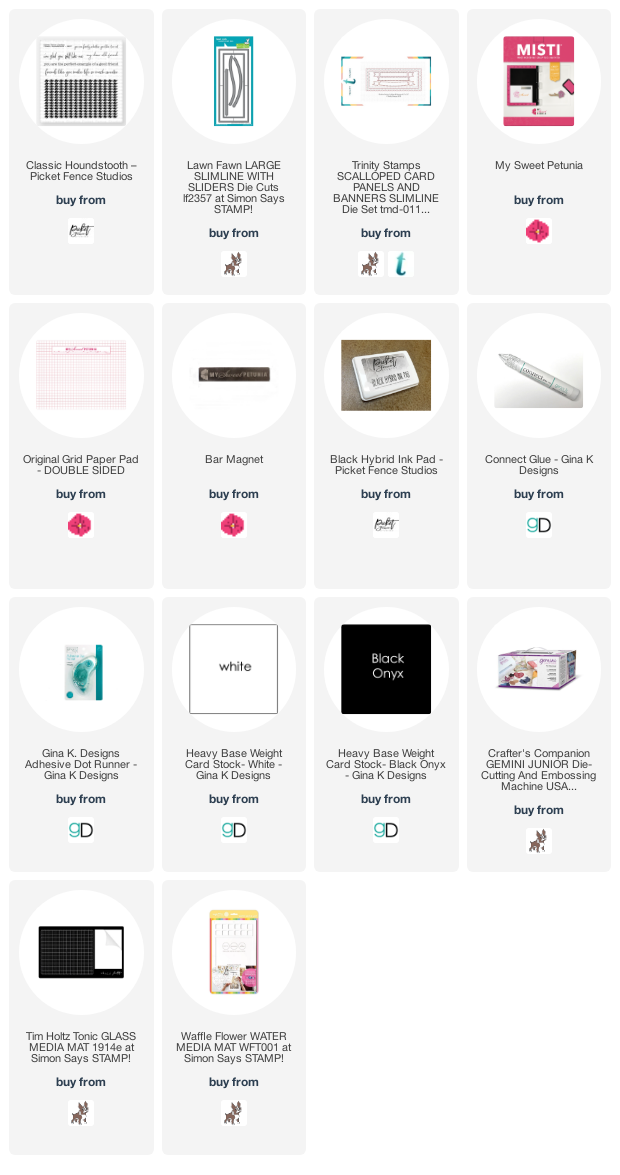
Today I am sharing a new release stamp by Picket Fence Studios, Autumn Harvest
This is a 4x4 seamless stamp and what that means is you can stamp it continuous for as long or wide as you want it. I created a slimline card with it which measures 
8 1/2 x 3 1/2 of course the width stamps fine but in order to get coverage for the length I had to stamp it three times. To do that I placed the stamp in the MISTI 2.0 at the bottom corner and stamped, I moved it up and lined it up and stamped it again, for the third stamping I had a portion of the panel outside of the MISTI but was still able to line it up and cover the entire panel. 
There is absolutely no way would I ever attempt to line one of these stamps up using an acrylic block. I am so thankful that the MISTI allows me to use stamps that otherwise I would never try. 
The greeting is from the Classic Houndstooth set, with the ravens it seemed appropriate.
 Also the MISTI 2.0 is available for Preorder and will be shipping next week. have you ordered yours?


Below you will find links to the products used. Click the picture to start shopping. Compensated Affiliate links are used at no additional cost to you. Your support helps me to keep bringing you new projects and I appreciate that so much!  Thank you!