Hello stamping friends and welcome back. It's Sandi here and today I'm sharing some Altenew Multi Layering Stamping combined with the Spotlight Technique. This combo is stupid simple when using the Misti and I have a quick video below to show you how.
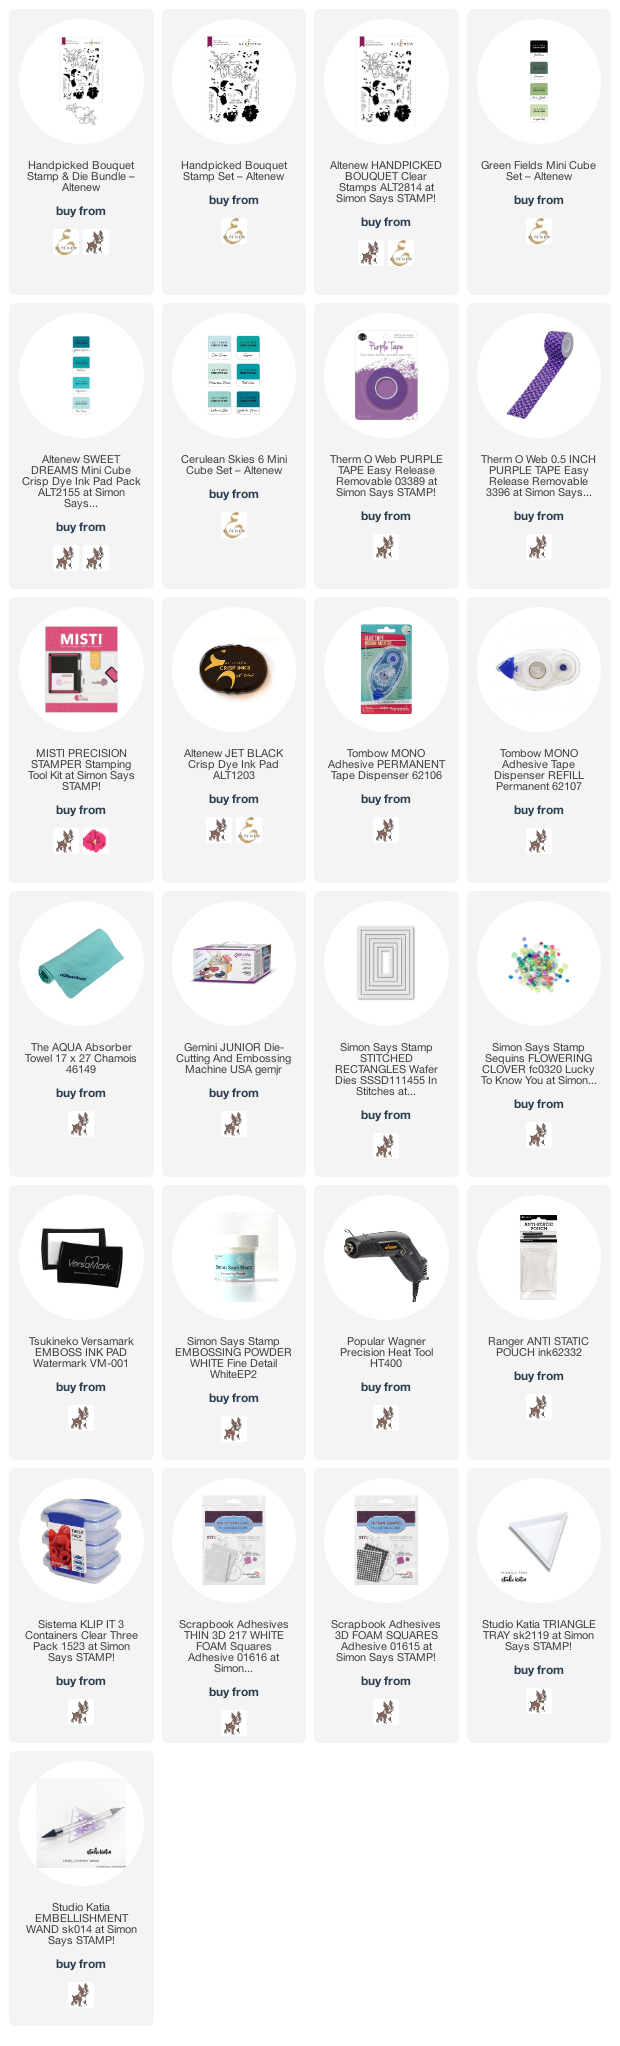
I'm using the Handpicked Bouquet stamp set from Altenew for today's share and the inks used are:
Blue: Dew Drops, Aqualicious, Teal Cove
Greens: Frayed Leaf and Forest Glades
To create the spotlight technique you need to stamp the images on two card fronts, one in black and white and one in color. I'm using Hammermill 100# for today's card and both card fronts are cut at 4-1/4 x 5-1/2 for ease in the stamping process.
Once the colored image is stamped, I used the Simon Says Stamp Stitched Rectangle Wafer Dies to cut down the image before matting it and attaching to the card front.
Watch my quick video for lots of tips and tricks to using the Misti Stamping Platform for this technique.
Thanks so much for stopping in and I hope you will give this fun technique a try.
Here are the supplies used in today's card. Affiliate links are used where possible at no additional cost to you. Thank you so much for your support as I use these commissions to help cover my blogging and youtube expenses.
Oh my gosh!!! Three weeks in a row. Don't get too used to it. Summer is here and there is sunshine to spend time with. I have a few cards for today using Pink Fresh Studio products. There are more in the video so be sure to watch to see them all.
I finally got around to playing with Ken Oliver Color Burst. They are fun and messy. Consider yourself warned. In the video, I also show you how to stack dainty die cuts.
I hope you enjoy the video. Be sure to tell me what card is your favorite.
Hello friends! Today I’m up at MISTI blog sharing my first post with this fun and easy card using the ink smooshing technique but instead of using an acrylic block I will use the MISTI door to apply the Distress Oxide inks.
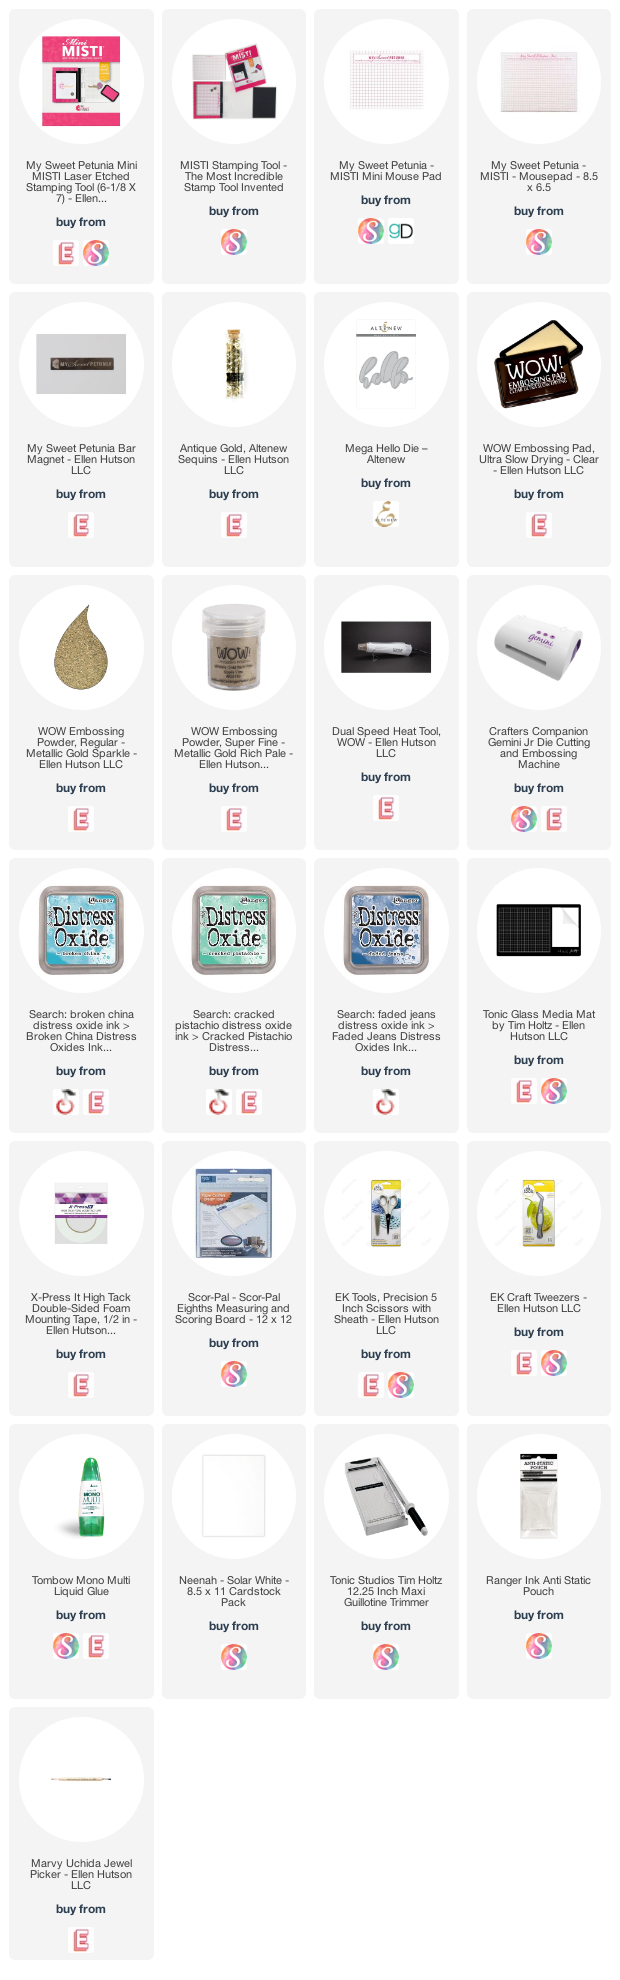
Let’s begin! I placed a watercolor panel inside the MISTI and I smooshed Cracked Pistachio Distress Oxide ink onto the MISTI door, sprayed water and then I closed the door to apply the color. I repeated these steps using Broken China and Faded Jeans Distress Oxide inks and let my panel dry. For a final touch I added splashes of gold metallic ink from Hero Arts.
Once the panel was dry I placed on top the Mega Hello Die from Altenew and run it through my die cutting machine. I saved the Hello die cut for another project and I adhered a white card base at the back of my negative panel. Additionally, I die cut one more Hello die cut out of white cardstock and heat embossed it with WOW! Metallic Gold Sparkle Embossing Glitter.
I glued the heat embossed Hello to the background and also stamped and heat embossed the sentiment onto white cardstock using WOW! Metallic Gold Embossing Powder. I added my sentiment on top of the card, a few gold sequins and my card was finished. I really hope you like this card and try this technique using your MISTI. Have an amazing day!
Congratulations Mary! Please set up an account at Sweet Petunia and then send an email from the email account you used to create your My Sweet Petunia account to send an email to hello@mysweetpetunia.com with the subject line: Prize PFS/MSP Hop.
And a big thank you to all those who commented, your kind words truly made our day!!
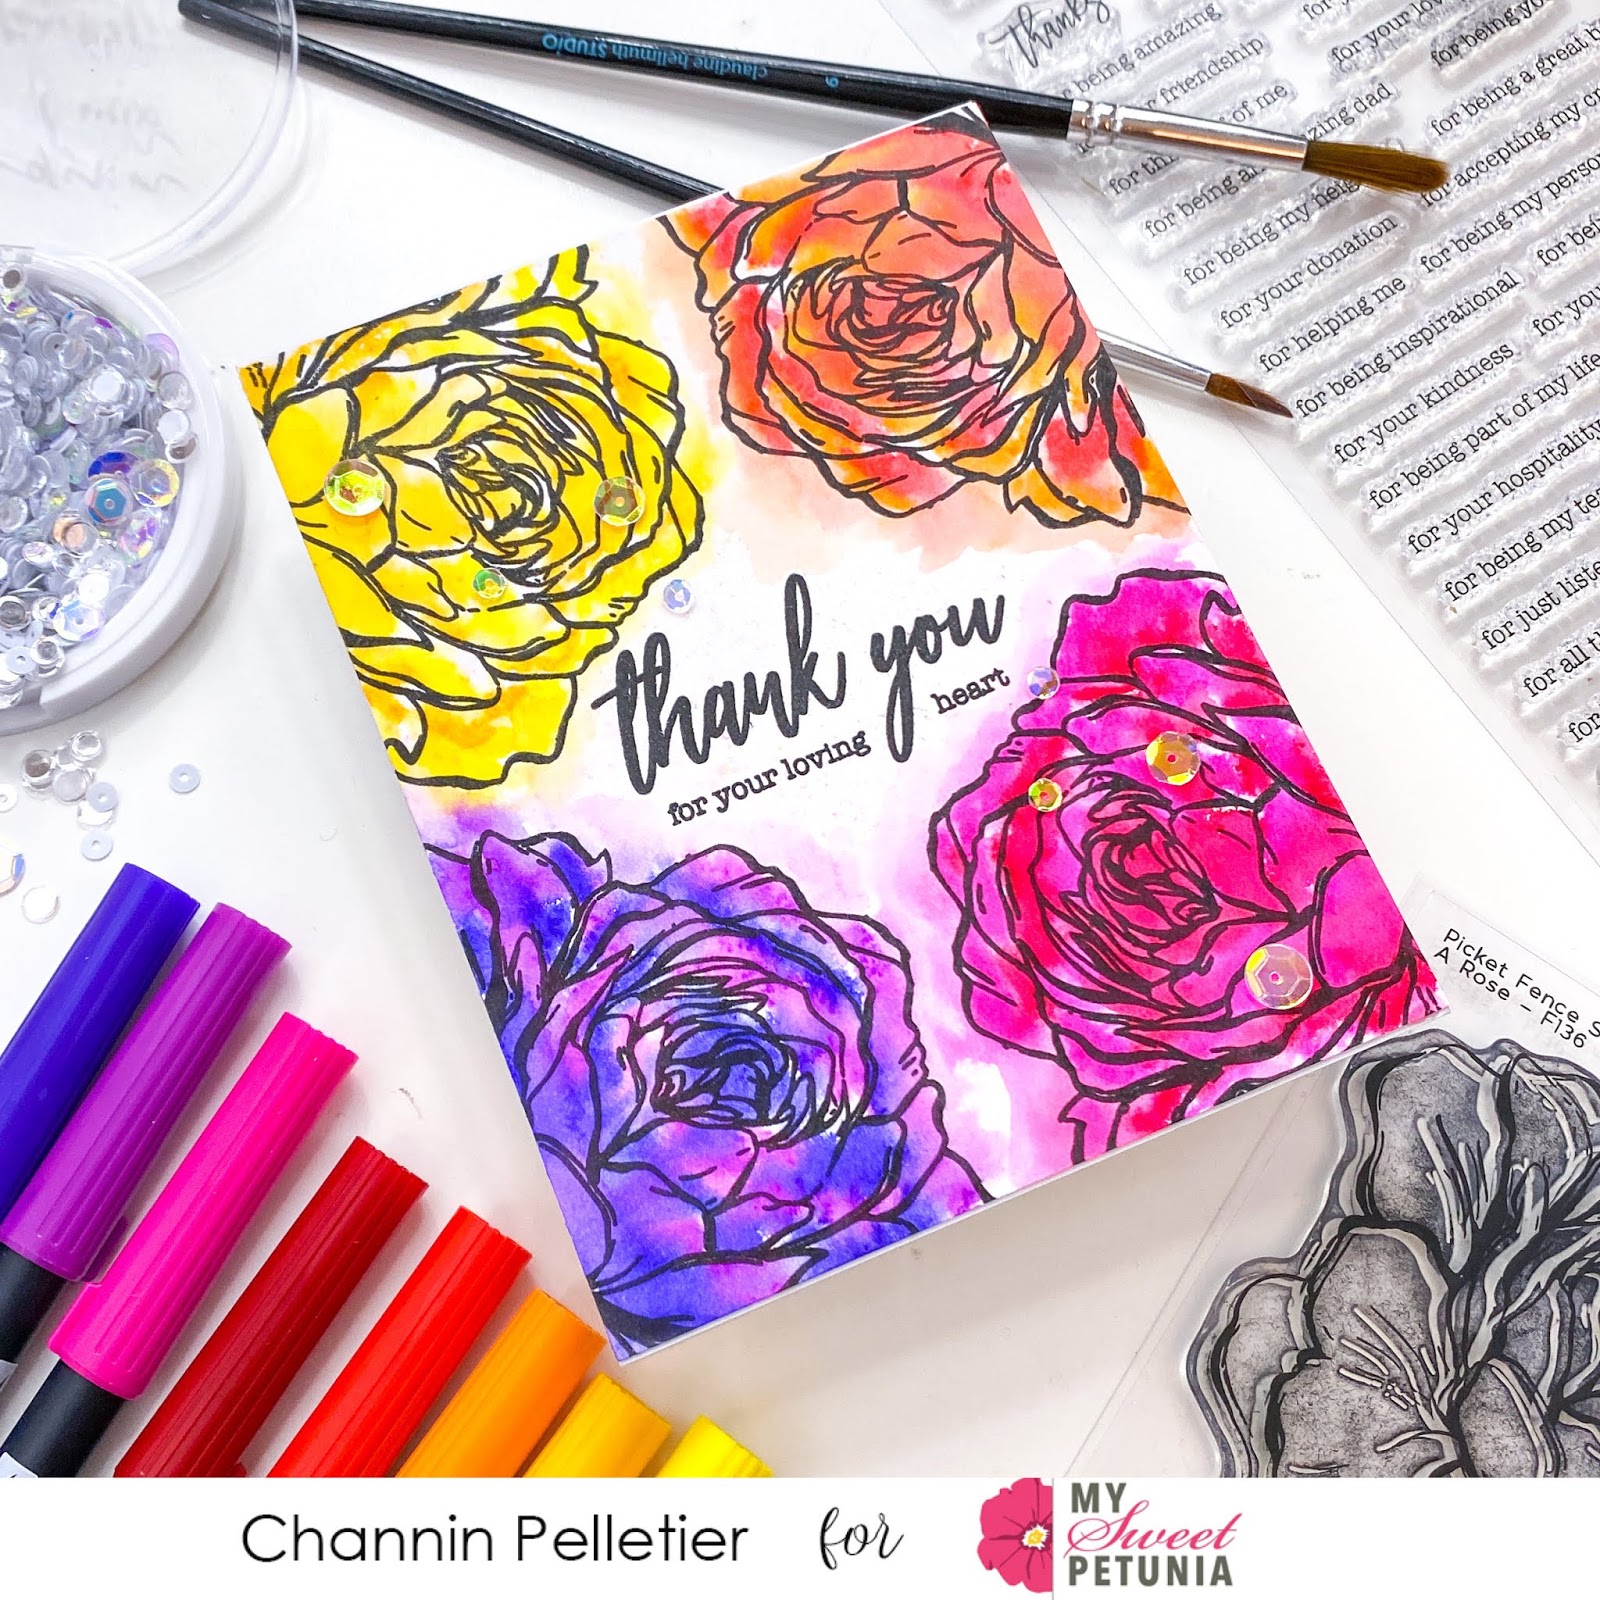
In today's video I create super easy watercolored card with the beautiful A Rose Stamp Set from Picket Fence Studios and Tombow Dual Brush Pens!
Easy Peasy Watercolored Roses
To create this card I first stamped a sentiment from the Small Ways to Say Thanks Stamp Set in the center of an A2 panel of Bristol smooth paper in Versafine Onyx Black Ink. I then stamped the rose from the A Rose Stamp Set on all fours corners of the panel, using the pattern stamping technique to make it quick and easy!
Next, I quickly and loosely colored in the roses with Tombow Dual Brush Pens. Once I had colored all the flowers I then spritzed them with water to activate the ink. Then with a paint brush I moved some of the watered-down ink beyond the edge of the flower to color in some of the white space.
Once I had finished coloring the flowers, I then allowed the panel to completely dry and then adhered it to an A2 top-folding white card base. I then finished the card by adhering some iridescent sequins from the Gin & Tonic Sequin Mix.
I hope you enjoyed today's card and video! Thank you so much for stopping by!