Thursday, May 25, 2023

Making Me Laugh

***Affiliate links are used when possible at no charge to you!***

Hi! Angie here! The MISTI blog is a treasure trove of stamping tips and techniques. It's definitely worth the time to check out past posts! I stumbled upon this little tip last night by Judy. She posted the process on Nov. 24, 2021. Judy used a Memory MISTI for her project, but I used  Teal Original MISTI.

 Tape the cardstock to the base of the MISTI (pads removed). Place the stencil over the cardstock and hold it in place with the MISTI magnets. No need for taping down the stencil or using Pixie Spray!   

I use a MISTI(s) for every project I make, but there are times when the MISTI is especially useful, as when stamping on brightly colored ink as it took multiple inkings to get rich, opaque coverage. As always, I used several MISTIs in the making of this card. I like to leave stamps in place until the project is completely finished in case I make a mistake along the way.  

Thanks for stopping by!  


Wednesday, May 24, 2023

Dropping You a Line


 Hello everyone! Anna here, greetings from the pacific northwest, where fishermen are prevalent! The card I’m sharing today was made using a recently released stamp set from Impression Obsession. The set is filled with wonderful summer and fishing themed images and sentiments perfect for making masculine cards.  


I stamped the image on watercolor paper using a permanent brown ink and watercolored the image with some regular and shimmering watercolors. I used a sentiment from the set to add a greeting.  
Using a Mini MISTI is my favorite way to stamp on watercolor paper. The texture of watercolor paper can be challenging to get a good impression without making multiple impressions. Thankfully, the Mini MISTI allows me to stamp an image several times, giving me the perfect impression for every project! 

Thanks so much for joining me on the blog today!

Tuesday, May 16, 2023

Team Tuesday with PinkFresh Studio
(Our team uses affiliate links at no extra cost to you.)


Hey everybody!
It's Ceal, here for another edition of Team Tuesday.
 Today I am sharing a card using some Pinkfresh Studio products. 
To make this card I started with a top folding white A2 base and a white panel. 
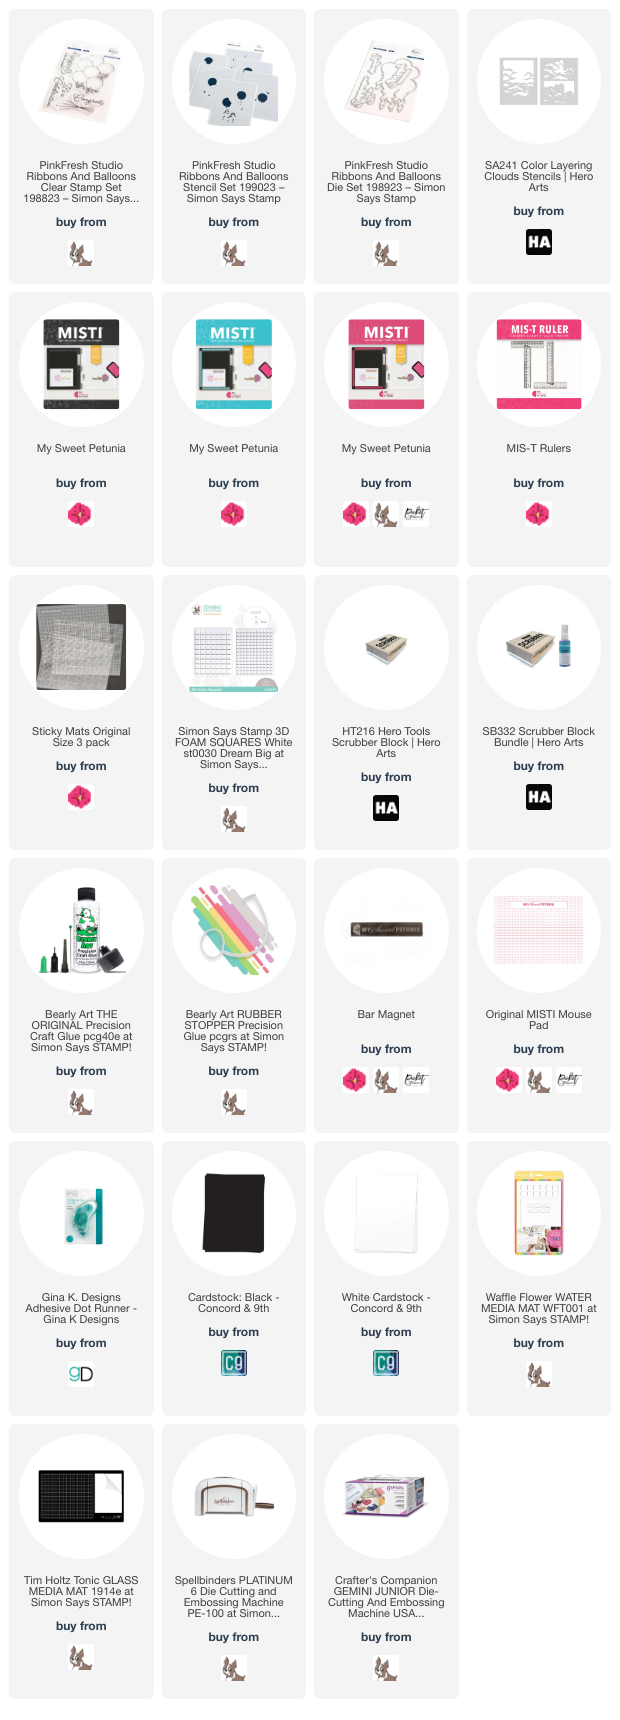
I used a stamp/stencil combo by Pinkfresh Studio. I love using layering stencils now that I have a Sticky Mat, it makes it so easy. 
After I completed the balloons using the stencil, I cut them out with the coordinating die and popped them up on the background which was created by using a layering stencil by Hero Arts. 


Tuesday, May 9, 2023

Perfect Placement with MISTI Sticky Mat

 Hi there,

I'm Wendy, a new design team member. I am so excited to share with you today and very excited to be part of the MISTI design team. 

I used the original MISTI for this card and the amazing MISTI sticky mat.  The MISTI Sticky Mat might be one of my favorite items ever.

The stamping perfection you can get on a small piece of paper without it moving at all is brilliant.


The stamp set I used for this card is Coffee Characters from Your Next Stamp. The ink-blended background is using a free gift stencil from Picket Fence and Honeysuckle Ink from Concord & 9th. Our cute little hedgehog friend is colored with Copic Markers.


If you're like me you really like card measurements. Here are the measurements for this card:

+ 4-1/4" x 11" white cardstock for the card base

+ 3-3/4" x 5" white cardstock for the ink-blended layer

+ 2-1/2" x 2-3/4" white cardstock, colored red with Copic markers

+ 2-3/8" x 2-7/8" white cardstock for stamping the image and sentiment

Oh, and I can't fail to mention the adorable hearts and sequin embellishments from Picket Fence as well.

Thank you so much for hanging out with me today. 

**Affiliate Links are used when possible at no charge to you!**
Thursday, May 4, 2023

Magnificent Multiples with the MISTI

I would not have attempted today's project without a MISTI! It's not that I don't love the stamp set; it's gorgeous! However, I would only have enjoyed building the image with a MISTI since it requires layering to construct the image.  


**Affiliate Links are used when possible at no charge to you!**

I used a Mini MISTI Sticky Mat and placed a piece of cardstock on the mat. I stamped the stems first, picked up the sticky mat with the cardstock, and put it in a Teal Original MISTI. I placed a transparent acetate sheet over the cardstock and set the flower buds where I hoped they would appear on the stems. I inked the stamp and stamped the acetate with the stems on the cardstock showing through. Naturally, the flowers were not aligned perfectly, so I adjusted the stamp as many times as was needed until I felt they were positioned well. I removed the acetate, then stamped the flowers on the cardstock. I moved to a Black Original MISTI and did the same for the broad green brush strokes. I skipped the fourth stamp on these samples but did the same for the fourth stamp in this set on one lone card not pictured here.  

Once the stamps were in the correct place, it was easy to create multiples. Also, instead of using four MISTIs, this could have been done with a Memory MISTI.  The stamps could have been placed in the four corners and stamped the same as mentioned above.  

Thanks for stopping by!  


Wednesday, May 3, 2023

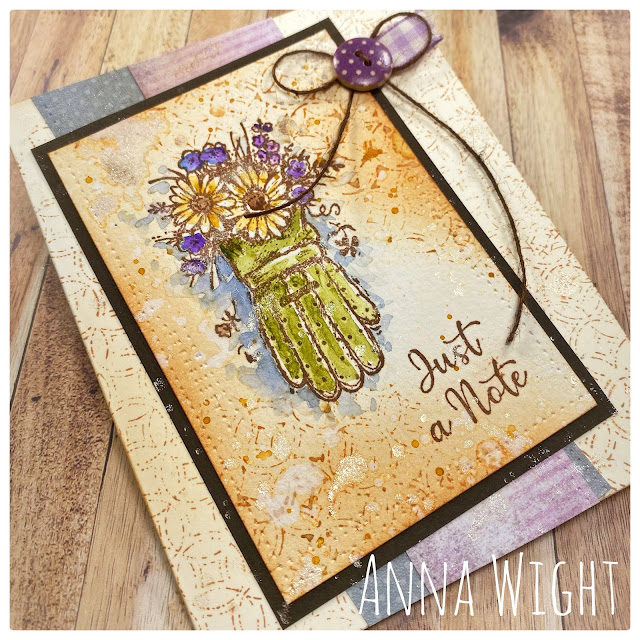
Just a Note


 Hello everyone! Anna here, greetings from the pacific northwest! The card I’m sharing today was made using a recently released stamp set from Impression Obsession. The set is filled with beautiful summer and garden themed images and sentiments perfect for making lovely cards.  


I stamped the image on watercolor paper using a permanent brown ink and watercolored the image with some shimmering watercolors. I used a sentiment from the set to add a greeting. I splattered some gold and silver watercolor pigments over the card once everything was painted and assembled. I love the look of the splatters over the image! 
Using a Mini MISTI is my favorite way to stamp on watercolor paper. The texture of watercolor paper can be challenging to get a good impression without making multiple impressions. Thankfully, the Mini MISTI allows me to stamp an image several times, giving me the perfect impression for every project! 

Thanks so much for joining me on the blog today!