Hi card making friends and welcome back. It's Sandi MacIver here and today I have a fun Tulip Rainbow Card to share with you. I used the new Misti Sticky Mats in and out of my Misti to create this simple one layer card.
Start by placing a 4-1/2 x 5-1/2 white card front in the center of the Misti on top of the Sticky Mat.
Next, Use Hero Arts Intense Black ink to stamp the tulips from the Tulip Bouquet Stamp and Die bundle. Just pick up the Sticky Mat and move it around inside your Misti to stamp the images.
Leave the card front on the Sticky Mat, but remove it from the Misti to a protected work surface.
Start with the solid image flower and lay the stencil down. The Sticky Mat will hold it in place for you while you blend the color.
TIP - I did all of one color at once, cutting down on how often I had to clean my stencils.
eg. All the pink tulips, wash the stencil, all the yellow tulips, wash the stencil.
TIP 2 - When you add the highlight stencil, use the same color of ink. It will be twice as dark, but the same color and eliminates finding a second color of ink.
Once all the tulips are done, repeat the process with the leaves.
Do the solid image stencil in the light green ink, Key Lime Fizz and the highlight stencil in the darker Green Apple ink color.
Place the card front back into the Misti and stamp the sentiment.
Gently remove it from the Sticky Mat and attach it to a top folding A2 White card base and you are done.
It's beautiful, clean lines and flat with lots of fun rainbow colors.
I did use a white gel pen to add a few highlights to the flower but that was it.
I hope you enjoyed today's card and until next time.
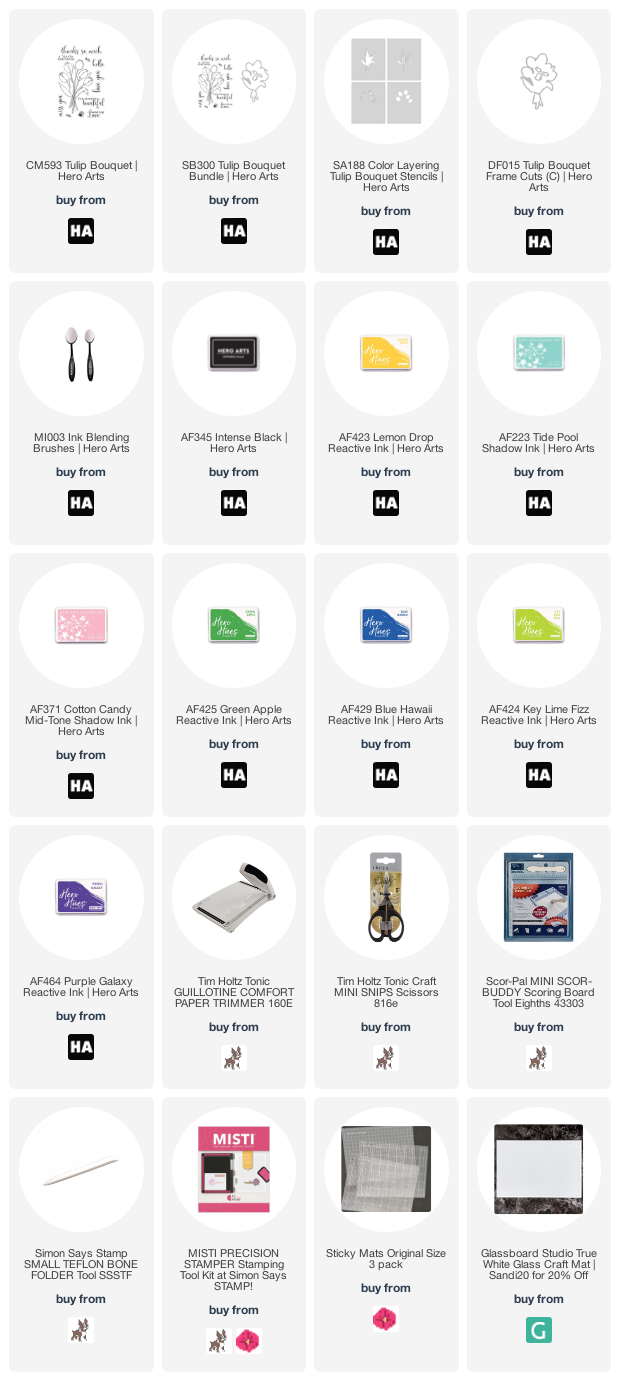
Card Making Supplies used for the Tulip Rainbow Card:


Hi from Janesville, WI! Love your card! I can’t wait until the Misti Sticky Mat is back in stock…I need one!
ReplyDelete