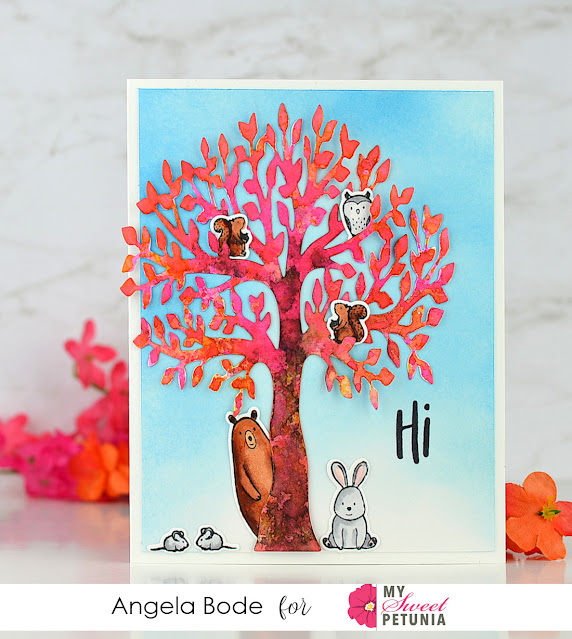
Hello! I love building scenes with cute die-cuts but I don't enjoy cranking out all the pieces I need. It can take quite a bit of time to make sure the images are die-cut perfectly and I am always impatient to get to the creative part! The following technique makes it so much easier to get to the coloring and setting the scene! It's also an especially helpful technique for die-cutting very small images.
First, stamp the images on a scrap sheet of paper. Do not remove the stamps from the lid.
Next, die-cut all the images from cardstock. Allow some space in between so that the individual negative die-cuts can be separated.
Next, remove the inside pieces and set them aside. Place the negative frames over each image. This is where the magic happens. Arrange the frames precisely around the images so that the images are exactly centered inside the framing.
Once the frames are placed precisely, add the negatives back into the frames taking care not to move the frames.
Ink the stamps that are still on the lid, close the lid, and stamp! Viola! perfectly centered images; even the teeny tiny ones! If the images are too small to color, pop them back into the frame, adhere on the back with a little bit of removable tape or Washi tape, and color!
I am Angie, and I am so glad you stopped by today! If you would like to see the super cool painting my daughter painted for me, click HERE. The painting inspired my design with its vibrant colors!
Thanks so much for stopping by!
**Affiliate links used when possible at no cost to you!**


No comments:
Post a Comment
Thank you for taking the time to comment.