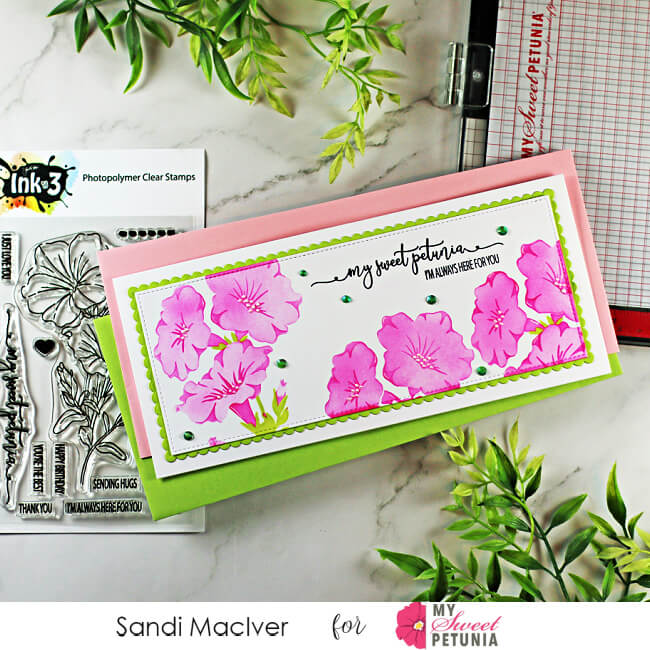
Hey crafty friends, Sandi MacIver here and today I have something super fun to share with you, a My Sweet Petunia Slimline Card.
So, a week ago, I was supposed to be in a blog/IG hop with Ink on 3 and My Sweet Petunia (Misti) - but the products didn't arrive in time.
They finally arrived, and I had a nice quiet morning yesterday so I made a big pot of coffee and sat down to play.
I decided to turn on the video camera because this Ink On 3, My Sweet Petunia - 3 layer Stencil rocked my world.
 As you can see from the photo there is also a similar stamp set.
 The stamped image actually points the other direction from the stencil, so you can't use it as an outline stamp over the stenciled image.
I used the Misti to stamp two of the sentiments on the top right corner of my Slimline Card so I could then stencil around it.
The Mind Blowing Triple Layer Stencil:
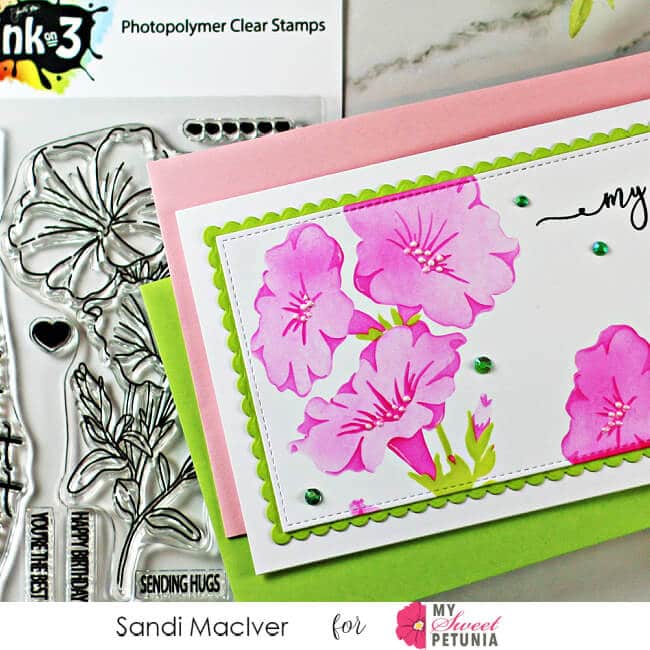
There are three stencils in the My Sweet Petunia 3 Layer Stencil.The first does the solid image background.
I used the Picket Fence Studios Life Changing Brushes to add the ink in a circular motion.
Next, add the second stencil and the same color ink, I'm using Sweet Petunia Pink Fusion Ink from Ink on 3 (I need more colors, this ink rocks).
The second layer provides a darker pink and the stencil adds all the highlights and depth to the florals.
Finally, overlay the third stencil and it provides the greenery. I used Gina K Designs Key Lime Ink for this step. It was raining and I wanted bright happy colors, haha.
Now you know why I call it the Mind Blowing Triple Layer Stencil. It's so easy to use and it creates beautiful results each time. I can't wait to try it in purple, LOL

How to create the Slimline Card
First I used the Picket Fence Studios Slimline Nested Rectangles Dies to die cut my card front. I LOVE the finished edge and the pretty stitched border, it adds quiet interest to my cards. Next, stencil the images and use the Misti to stamp the sentiments
Then, use the Picket Fence Studios Slimline Scallop Frames Dies to create a pretty scalloped layer in Key Lime behind the card front.
Finally, cut down a piece of Hammermill 100# white to 8 x 9 inches.
Score on the 8 inch side at 4 inches to create the card base.
Here's the Mind Blowing Triple Layer Stencil card making video so you can see just how slick this 3 layer stencil is.

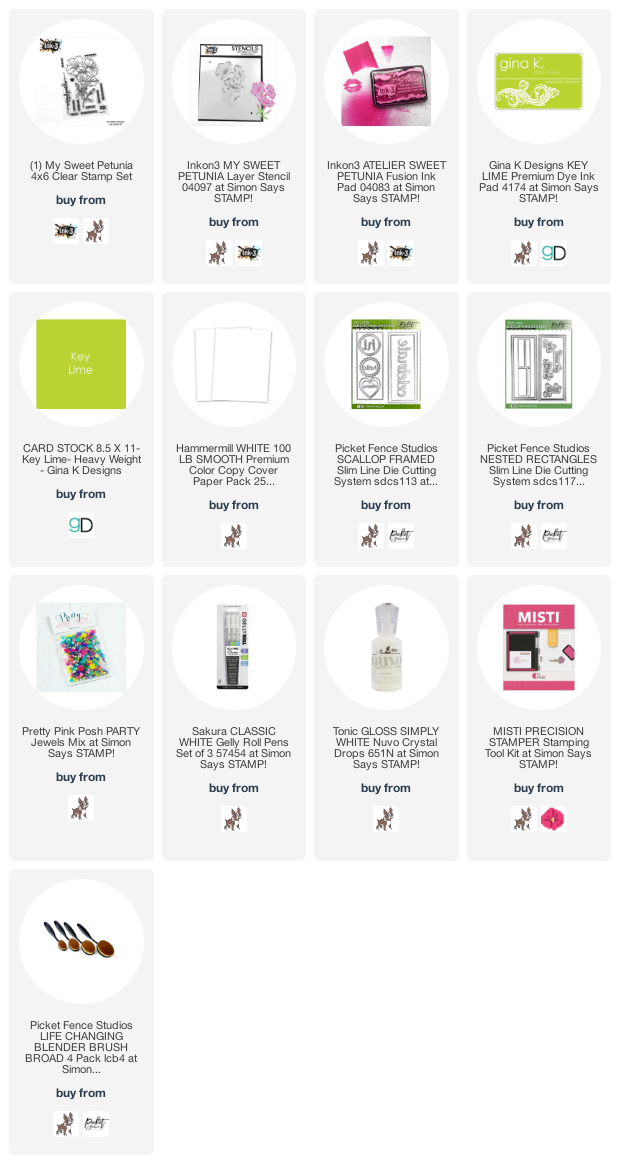
Here is a list of supplies I used in today's card. Affiliate links are used where possible meaning I receive a small commission when you click and purchase from the links.
Thanks so much for stopping in today and hope you find time to stamp a little today.

No comments:
Post a Comment
Thank you for taking the time to comment.