
Hi, These sets and dies are older sets from WPlus9 Designs. I am still trying to work through my older stamps and trying to use them. So I pulled out my MISTI and made this for my daughter. The background uses the trellis background die but that is no longer available. I would use The Lawn Fawn Fancy Trellis background die instead or the Honey Bee Garden Trellis Stencil. I carefully placed the stamp on my standard MISTI making sure there were no bubbles left on the MISTI door behind the stamp. I used a bright yellow ink because Spring is such a cheerful time. I adhered it to a Neenah 110lb notecard.
Next, I die cut the Lavinia Layers die out of Bazzill Vellum and out of Neenah 110lb card stock. I adhered the vellum to the frame die using a liquid adhesive to ensure good bonding.
I then proceeded to stamp out lots of florals, bird houses and nests from Spring Blessings and The Little Things. Using my MISTI makes stamping extras easier. I keep the extra bits in small containers for future cards. When I do this I sometimes play with different colored inks to see what color combinations work for layering. I die cut everything out using the accompanying die cuts. I stamped the word Spring and die cut that out as well.
Using my MISTI and the magnets I arranged everything. I then placed the blessings sentiment on the MISTI door and stamped with Versafine Onyx Black. Because I was using vellum, it was essential to heat set the ink so it would not smear. You could substitute Archival Inks here but those will need to be heat set as well just to be on the safe side.

Once all of that was done. I used Press N' Seal to keep the arrangement together. This technique is never works perfectly for me so I rely heavily on the MISTI magnets. I use both the bar magnets and the round magnets. I started with adhering the bottom layers flat with liquid adhesive and worked my way up through the arrangement. I did pop up some elements. The Spring die cut is popped up with two layers of foam tape where it is just overhanging the the vellum. I added some clear sequins and called it done!
Thanks for stopping by the MISTI blog!
Susan
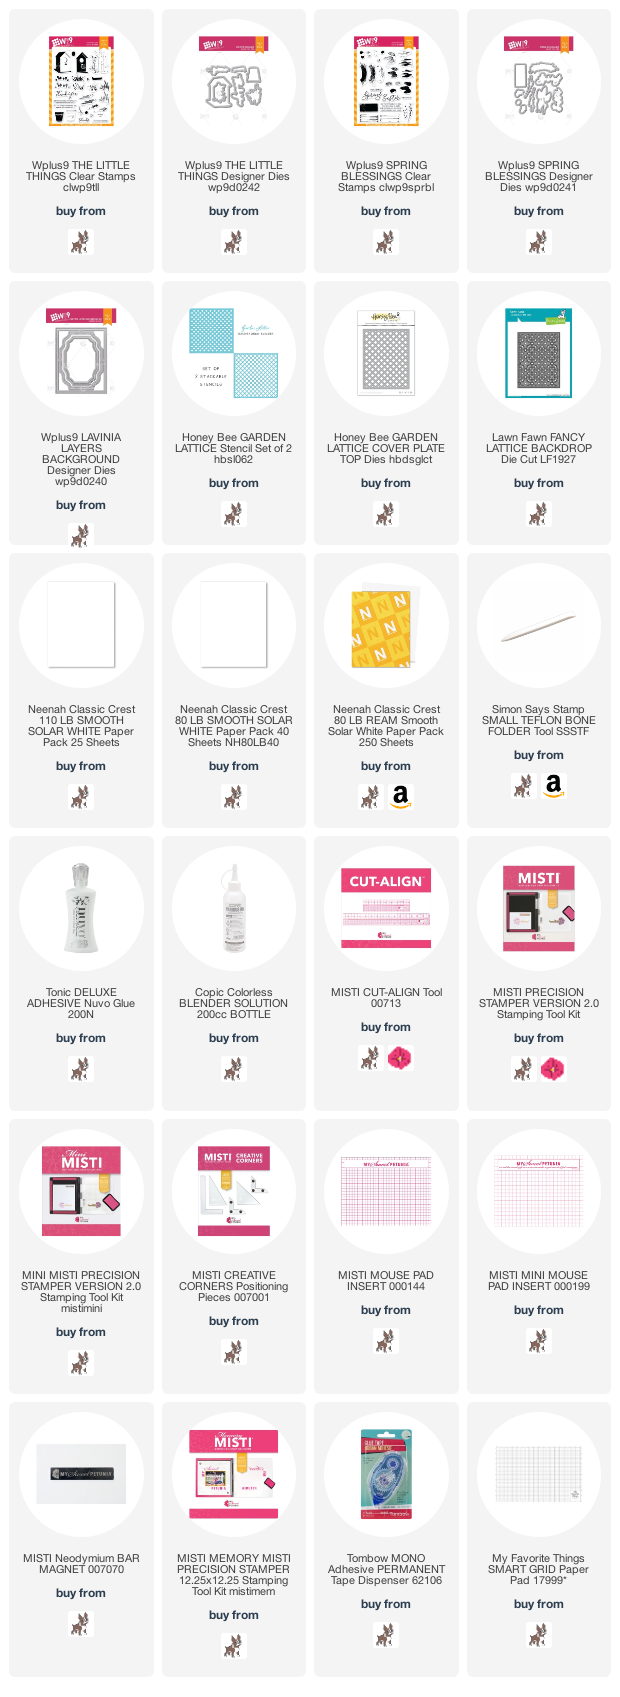
Products Used: I am using compensated affiliate links at no further cost to you.
The Misti has changed my life! Thank you
ReplyDeleteI loved the colors, and the beautiful stamp image. Just lovely!
ReplyDelete