Saturday, February 29, 2020

Penny Black Copic Markers and Heat Embossing

Hello crafty friends, it's Sandi MacIver here and welcome back to the blog.  My share today is Penny Black Copic Markers and Heat Embossing.

Yes I know, Copic Markers and Heat Embossing don't necessarily go together.  Embossing powder is made with small shards of plastic and even though we heat and melt it to attach it to our cards, it still has sharp edges and coloring around it with our Copics can tear up our tips.

So, today I'm sharing some tips on a fun and easy solution to that issue, using the Misti.
It's also impossible to get this type of an image coloring with copics on dark card stock, so there's a simple solution for that as well.

Here's a quick video sharing how I used the Misti to create today's card tricks, along with a quick lesson on Copic Markers Flicking Technique which I used on the flowers.


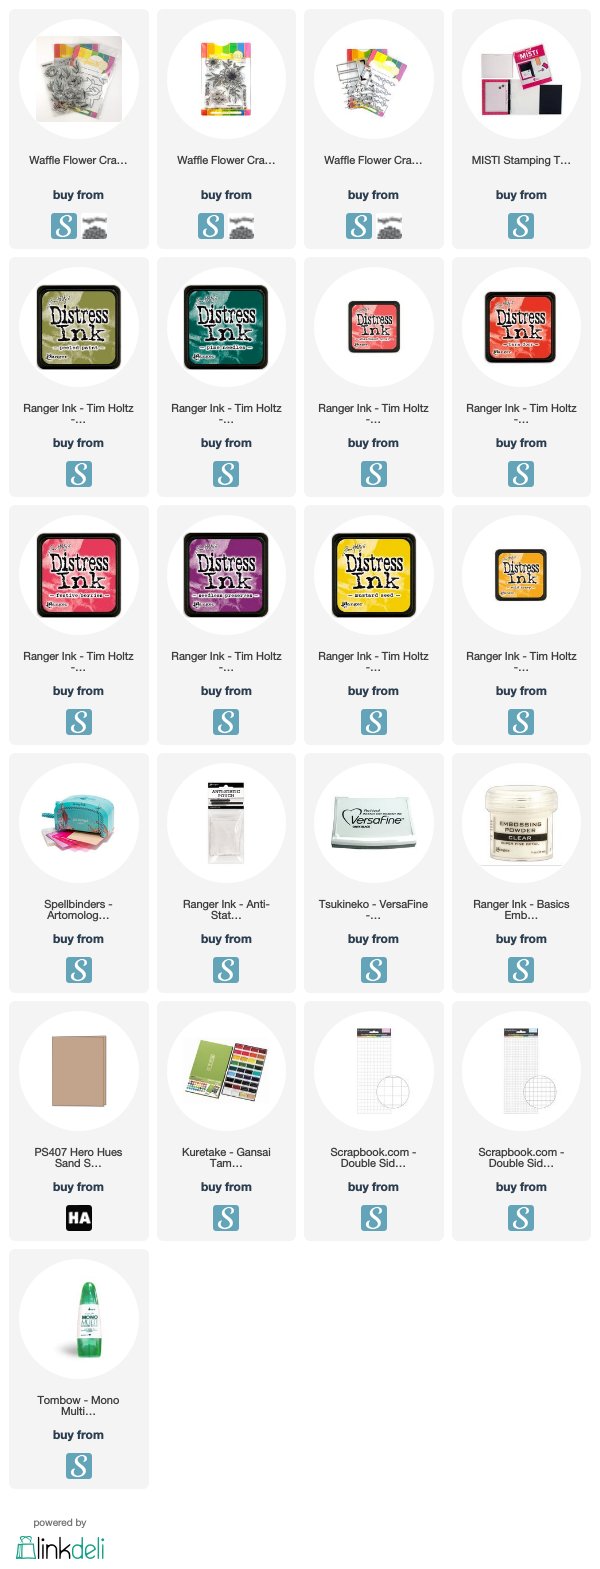
That's it for me today and I hope you enjoyed my share..  Below is a list of supplies used to create today's card.  Affiliate links to various stores are shared at no additional cost to you.

Tuesday, February 25, 2020

Video: Faux Watercoloring with a MISTI


Hello friends! It's Channin here with a new card and video to share!! In this video I share how to create a colorful bunch of flowers and leaves with a faux watercolor technique using a MISTI. This easy technique gives your florals that watercolor look with very little actual painting.


Faux Watercoloring with a MISTI

Watch below on my YouTube channel.


To create this card I first stamped several leaves from the Peony Bouquet Stamp Set onto a panel of watercolor paper. I partially inked the top portion of the leaves in Peeled Paint distress ink and then stamp. Next, I inked up the bottom portion of the leaves in Pine Needles distress ink and then stamped. I then inked up the top of the leaves again in Peeled Paint, then spritzed with water and then stamped. I then inked up the bottom of the leaves with Pine Needles, spritzed with water, and then stamped. 


Next, with a brush I quickly colored in the open areas of the leaves with the water downed ink. Then I used my heat gun to dry the ink and then stamped the leaves one last time with two inks to enhances the details in the images.


Next, I basically repeated this process for flowers from the Peony Bouquet and the Zinnia Stamp Sets with different distress ink colors. After I had finished stamping my flowers I then die cut them and the leaves out with the matching dies. I then created my sentiment by stamping "hello" from the Simply Said 1 Stamp Set in VersaFine Onyx Black and then heated embossed it in clear. Next, I die cut the sentiment and two unstamped "hellos" out and then adhered them all together to create a dimensional sentiment. 


I then splattered white watercolor paint over the front of a Kraft A2 card base. Once the paint had completely dried I then adhered the flowers with foam squares and then the sentiment with liquid glue. 

I hope you enjoyed my card and video! Thank you so much for stopping by!

~Channin

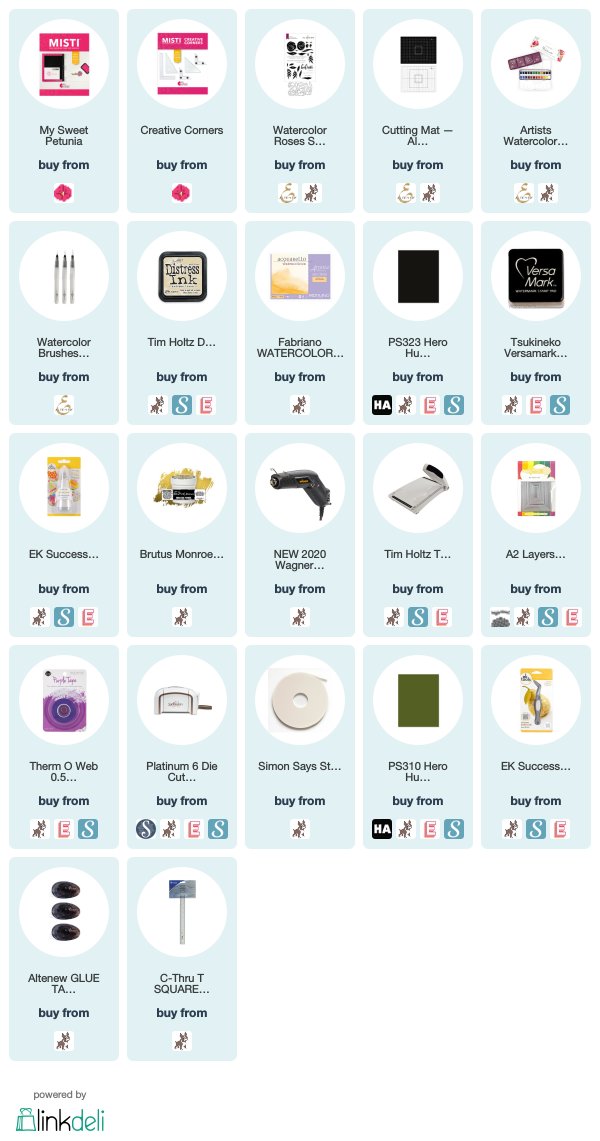
Supplies:
Watch below or on my YouTube channel.

Video


Tuesday, February 18, 2020

Team Tuesday with Mindy Eggen! Watercoloring

Welcome everyone! It's Mindy here with you today to share some watercoloring.

The minute I saw the new Watercolor Roses set from Altenew, I knew just what I wanted to do. A while back I saw Kristina Werner do some watercoloring by first stamping in Distress Ink. This is the perfect set to try that technique out.

I have a video that you can view down below or HERE on my Youtube Channel.

I first stamped my images onto Artistico Extra White Cold Pressed paper using Antique Linen Distress Ink and my Misti Stamping Tool. It doesn’t matter if you get a good impression of the images, as long as you can basically see them.
Using my Altenew Watercolor brush and the new Artist Watercolors, I water colored my images.

Once the watercolor was completely dry, which you can help along with a heat tool if you have little patience like me, I trimmed down my card front to 3 3/4″ x 5″.


One thing I really love doing is double heat embossing. The Misti tool makes this possible for me. I stamped the Believe sentiment in clear ink and heat embossed with Gold Embossing Powder. Once the panel was cool, I prepped the card stock again with an anti-static powder tool and stamped the sentiment again in clear ink. Since I had left the sentiment in the Misti, I was able to get perfect alignment. 
This technique is a really good way to practice watercoloring if you struggle with it.

Tuesday, February 11, 2020

Team Tuesday with Ceal


Hello everyone!
It's Ceal here and I have a card to share today using the gorgeous Be Kind set by Simon Says Stamps from their Hey Bestie collection. 
A couple weekends ago I attended a retreat in Kansas and I also participated in a shoebox swap so my card had to be quick to make. I came up with this design for a quick and easy card.
 I started with a white card base and some watercolor paper.  I cut out several of the foliage using the coordinating dies from the Be Kind Bundle without stamping them first because it was quicker.  After cutting it out I placed the negative piece in the MISTI and then placed the positive piece inside the negative one and laid the stamp on top, I picked up the stamp with the door of the Misti and inked it u with Fadeout ink by Ink on 3. By using this technique I was able to stamp all the die cut pieces in the exact place that they needed to be stamped. 
I used Tombow markers to watercolor the foliage and for the background I used a Grid stencil by Simon Says Stamp and some Sandy Beach ink blended with the Life Changing Blender Brushes by Picket Fence Studios. 

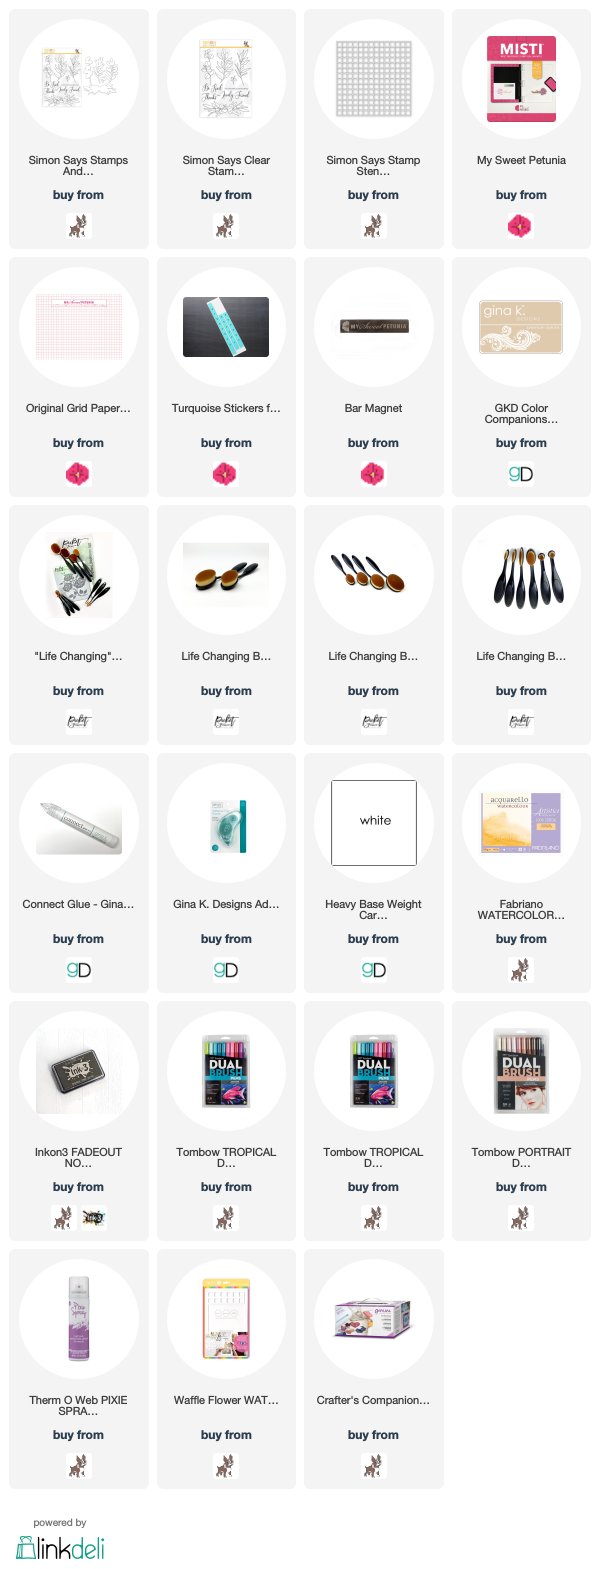
This card would not have been easy or quick without the MISTI, I don't know how I ever stamped without it!