Tuesday, May 29, 2018

Team Tuesday with Chris

Hello!  It's Chris with you today.  I hope you all had a wonderful Memorial Day weekend!  

Today I'd like to start by announcing the winner of one of the prizes from the May 19th My Sweet Petunia/Technique Tuesday Collaboration hop.  The winner is Sue D.!  Congratulations, Sue!  Sue, please set up an account at My Sweet Petunia, then email hello@mysweetpetunia.com and say you are the Technique Tuesday blog hop winner.  If you already have an account, just email to claim your prize.

Today I have a quick post using some of the more recent Turnabout stamps from Concord & 9th.    The Turnabout stamps are so much fun to stamp, creating colorful patterns and backgrounds, and using your MISTI makes this type pattern stamping such an absolute breeze.  Here is a simple Father's Day that I created using the Mosaic Turnabout stamps and the jig I created to fit in my MISTI for easy and nearly foolproof stamping of these fun backgrounds.


I begin by creating a jig for these stamps.  I carefully cut a 6 1/2 x 6 1/2" square from heavy tag weight cardstock.  This will become my base to hold my actual card panel.

 Using the diagonal line on my cutting mat, I use a piece of Purple Tape to secure my square in place, then lining up by ruler on that diagonal line, I drew a pencil line from corner to corner.

 I turned my square and repeated the process for the other diagonal.  Where those two lines intersect is the center of my jig.


 Next, I remove the Mosaic Turnabout stamps from the carrier sheets, and then replace one of the stamps stamp-side down to one of the carrier sheets.  I like to use the carrier sheet, to make it easier to move the stamp into place.  The stamps come with a printed guide on the back of the stamp set.  I removed the mouse pad from my MISTI placed the printed guide into my MISTI and used the bar magnet to secure it.  Then I lined up the stamp set exactly over the printed guide.  Using the diagonal lines on the printed guide, I drew the lines using a fine-tipped Sharpie marker onto the back of the stamp.


 This shows the lines drawn on the back of the larger stamp.


 Next, I did the same process for the smaller "inner" stamp from the set.

Now they are both ready to stamp!

I have replaced the mouse pad, and added my jig into the corner of my MISTI.  Now, since this large stamp has no center point, I carefully line up the stamp with the diagonal lines on my jig.  When I have them so that they line up completely in all four marked areas, I should be centered on my jig!


Now I can close the lid and pick up the stamp and it will be centered.  
I added an A2 panel of natural white cardstock to the center of my jig, securing it to the jig with some temporary adhesive.   Since this is such a large stamp, my magnet is a bit too large to secure my jig and fully clear the stamp, so I used a small piece of Purple Tape to secure my jig to the lower corner of my MISTI. This ensures I will stamp in the exact place should I need to reink a second time.  I can now stamp.  I forgot to take a photo of the first ink color, Stone; but here it is with two colors after the second stamping.  I turned the whole jig 1/4 turn counterclockwise before stamping the second color, Sand.  (I even penciled in an arrow, to make sure I always turn my jig in the same direction.


 Here is my image after turning the jig again 1/4 turn and adding the third color, Dark Roast.


 Once again I turned the jig 1/4 turn before adding the final Navy blue color.


I used this Mosaic panel to create a Father's Day card.  I trimmed it to 4 x 5 1/4", and used a large 3 1/8" circle cut from Navy cardstock and stamped and heat embossed the Thanks from the May freebie stamp set, Everyday Greetings, and also spelled out the word Dad using the letters from the Bold and Brushy Uppercase stamp set.


I used the same jig to create another card, this time using the Retro Petals Turnabout stamp set.  This time I stamped the petals in SunshineTangerine and Rust, and then stamped the fourth petal with Versamark and heat embossed it with gold.  I finished the card with a stitched circle die and stamped the Happy Thoughts in Tangerine, and heat embossing the word Sending onto a small terra cotta colored piece of cardstock.


These make such simple, but interesting backgrounds.  I find them particularly useful for creating masculine cards, where the geometric patterns and color combinations can be star of the card.

Thanks for stopping by!
Happy stamping!

Tuesday, May 22, 2018

Team Tuesday with Jeanne

Ever made an ATC?

Cut your cardstock (or whatever paper you plan to use) to 2 1/2" by 3 1/2" and get decorating! Think small!
ATC's are great to have around to add to a card base for a quick card.

Here is a template that shows how to cut 10 ATCs from one sheet of cardstock.


I created the background by placing one of the solid circles from Technique Junkies Here We Go Round in Circles (set of 12) on my Mini  MISTI, misting with water (just a little) and then tapping a few grains of Color Burst (Alizarin Crimson and Lemon Yellow from the Brights Collection)onto the stamp. I misted with water again (again very lightly) and stamped onto watercolor paper.


Repeat until you have a pattern you like.


Here is my pattern.


I stamped the a few of the images from Technique Junkies 60's Chic in the center of my circles to 
create  a flower look. 


I stamped Technique Junkies Love You in black over the top of my flowers, trimmed and added a mat.


Use code TJ10Jeanne for 10% off at Technique Junkies stamps!

Saturday, May 19, 2018

Technique Tuesday Blog Hop & Giveaway

Do you have pets? I do, and I think that everyone who does at some point has to admit that their pet is better than most people in the world. :)

We love our furry friends, and we love STAMPS featuring our furry friends most of all.

I laughed so hard when I saw this hilarious stamp set from Technique Tuesday. I could not wait to make this card. It would be pretty hard to stack up against my awesome kitties, that's for sure. This stamp set does come with matching dies.

I used my beloved woodless watercolor pencils and a water brush to color the little kitty, which I stamped in Fadeout ink. Then I stamped the sentiment with Nocturne Ink and added these gorgeous embellishments from Honey Bee. These are my favorites lately. Not more favorite than my cats, of course...
Technique Tuesday Clear Stamps, Sassy...
[ ELH ]
Technique Tuesday Dies, Sassy Love...
[ ELH ]
Woodless Watercolor Pencils — Set of 24
[ ARTZ ]
Arteza Water Brush Pens, Set of 6
[ ARTZ ]
Fadeout No Line coloring Detail Ink
[ INK ]
VersaFine Clair Ink Pad, Nocturne
[ ELH ]
Aurora Lights | Confetti Mix - Honey...
[ HNB ]
Ranger Multi Medium, Matte Mini, 1/2 oz.
[ ELH ]
Marvy Uchida Jewel Picker
[ ELH ]
Whisper White Cardstock - Thick
[ SUP ]
Sizzix BIG SHOT EXPRESS Gray and...
[ SSS | CST | BMS | ART | SBC ]
Global Art Classic Leather Pencil Cases
[ BLIC ]
Ipoint Orbit Pencil Sharpener, Turquoise
[ AMZUS | BLIC ]
Rotatrim Professional Series Cutter -...
[ BLIC ]
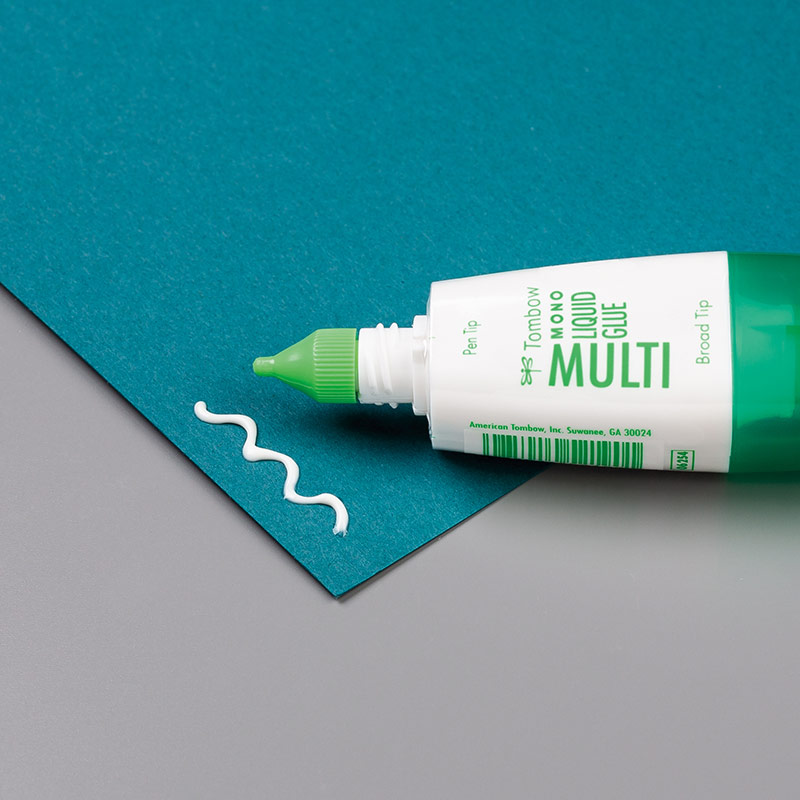
Multipurpose Liquid Glue (110755)
[ SUP ]
MISTI Stamping Tool
[ MSW | HA | SSS | ELH | SBC | MFT ]
Absorber - Synthetic Cleaning Cloth
[ AMZUS ]
Mudder 10 Pack White Buffer Sanding...
[ AMZUS ]
Xyron ADHESIVE ERASER 23675
[ SSS | ART | AMZUS ]
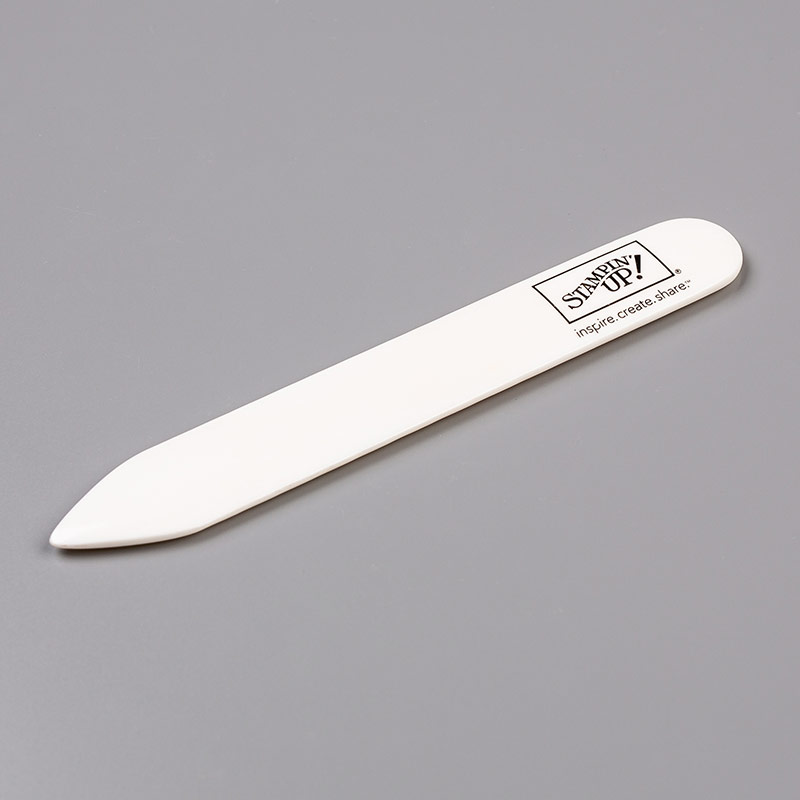
Bone Folder by Stampin' Up!
[ SUP ]

This card is part of a fun blog hop with my friends at Technique Tuesday and My Sweet Petunia.


If you leave a comment on all the blogs in the hop, you will be entered to win one of two prizes - $50 shopping sprees at these two sites! Leave your comments by Monday, May 28th at 11:59 PM Central Time to be eligible. Winners will be announced on the My Sweet Petunia and Technique Tuesday blogs on Tuesday, May 29th.
So here are all the hop stops - enjoy! I have another card in this hop - you'll see it when you get there. :)

Friday, May 18, 2018

Waffle Flower Over-Stamping with The MISTI


Before I left for vacation, I stamped out a lot of images to color.  I just received my Faber-Castel Polychromos Pencils and I wanted to practice.   The first thing I did was create a swatch card for my pencils.  It really helps to see what colors look like on different kinds of paper.   I colored on both white and kraft cardstock.


The plus side of colored pencils is that you can use an eraser.  It may not completely erase, but at least the project is not totally ruined.  Another plus of colored pencils is that there is no drying back.  The color you see on the paper is what you get.


For my cards, I used Spring Time, Summer Time and Autumn Time from Waffle Flower.   I just colored away with no plan.  After, I over-stamped with Versafine Clair Nocturne Ink and used clear embossing powder.  Then I die cut them with the coordinating dies.  Some easy ink blending for back grounds.  I played around with placement until I found arrangements I liked and I adhered everything down with foam tape.  I kept it simple and did not add embellishments.  Mainly because I couldn't find a look I liked. 

Thanks for stopping by!

Please enjoy the video.  Don't forget to subscribe to the YouTube Channel and hit the like button.


Affiliate links to supplies used:


Original MISTI
[ MSW ]
Original MISTI Mouse Pad
[ MSW ]
Original Grid Paper Pad - DOUBLE SIDED
[ MSW ]
Bar Magnet
[ MSW ]
Novus 1 Plastic Polish
[ MSW ]
Fine Scratch Remover Novus 2
[ MSW ]
Waffle Flower Stamp & Die Combo,...
[ ELH ]
Waffle Flower Clear Stamps, Summer...
[ ELH | SSS ]
Waffle Flower Dies, Summer Time -...
[ ELH | SSS ]
Waffle Flower Stamp & Die Combo,...
[ ELH ]
Waffle Flower Clear Stamps, Spring...
[ ELH | SSS ]
Waffle Flower Dies, Spring Time -...
[ ELH | SSS ]
Waffle Flower Stamp & Die Combo,...
[ ELH ]
Waffle Flower Clear Stamps, Autumn...
[ ELH | SSS ]
Waffle Flower Dies, Autumn Time -...
[ ELH | SSS ]
Altenew Clear Stamps, Beautiful...
[ ELH | SSS ]
Altenew Clear Stamps, Many Thanks -...
[ ELH | SSS ]
Artist's Choice 110lb White Card Stock
[ GNK ]
GKD Amalgam Ink Pad- Jet Black
[ GNK | SSS ]
Tsukineko VersaFine Clair NOCTURNE...
[ SSS | ELH ]
Faber-Castell POLYCHROMOS COLORED...
[ SSS ]
Amazon.com: Faber-Castel 110060...
[ AMZUS ]
Amazon.com : Koh-I-Noor Battery...
[ AMZUS ]
Inkadinkado STAMPING MASK PAPER...
[ SSS ]
Ranger Distress Oxide Ink Pad, Broken...
[ ELH | SSS ]
Ranger Distress Oxide Ink Pad, Lucky...
[ ELH | SSS ]
Ranger Distress Ink Pad, Mustard Seed...
[ ELH | SSS ]
Ranger Distress Ink Pad, Spiced...
[ ELH | SSS ]
Ranger Ink Blending Tool, 1 Inch...
[ ELH | SSS ]
Precision Heat Embossing Tool Gun...
[ SSS ]
Brutus Monroe Ultra Fine Embossing...
[ ELH | SSS ]
Amazon.com: OXO Good Grips POP...
[ AMZUS ]
Gina K Designs TIDY TOWEL Stamp...
[ SSS ]
Sizzix Big Shot White & Gray
[ ELH | SSS ]