Hello friends and welcome to another edition of Team Tuesday!
It's Ceal, here and today I am sharing a couple cards and some backgrounds using Concord & 9th products.
To create these two cards I started with a top folding white card bases and white panels. I used the Lets Party Turnabout stamping both of them in four turns to create the backgrounds and the Banner Builder Bundle for the sentiments.
The Misiti is a must have for Turnabout stamping. The Turnabouts were actually designed to use in a Misti stamping tool.
For the first card I placed the Let's Party Turnabout in the Original Misti and stamped in the following colors Dove, Midnight, Sprout and Stardust, then adhered the background on a Midnight panel.
I placed the Banner Builder Sentiment in the Original Misti and stamped the greeting in black and then cut them out with the Coordinating dies. These dies cut out the sentiments separately so that you can mix and match your sentiments for the banners. I used Midnight cardstock to cut out the banner itself.
To finish the card I added a balloon cut out of Sprout and covered with vellum to give it a more realistic look from the Happy Balloons dies.
The second card I created the same way as the first and stamped in Sprout, Buttercup, Honeysuckle, and Aqua Sky and then adhered it to a Honeysuckle Panel. I also cut the banner out of Honeysuckle as well and to finish the card added a balloon cut out of Buttercup and added to the front.
For a little fun I used some bakers twine as the balloon strings on both cards.
When I am using a Turnabout stamp I love to make at least 5 background to use on future cards so I will have them on hand when I need a quick card and I love that with the Banner Builder set you end up with lots of banner sentiments to go with those backgrounds you have created.
Here are the color combos for the three other backgrounds I created
1. Midnight, Sprout, Marmalade, Oceanside
2. Dove, Seaglass, Stardust, Sorbet
3. Peacock, Poppy, Sprout, Stardust
Thanks for stopping by and until next time.
Happy Turning!
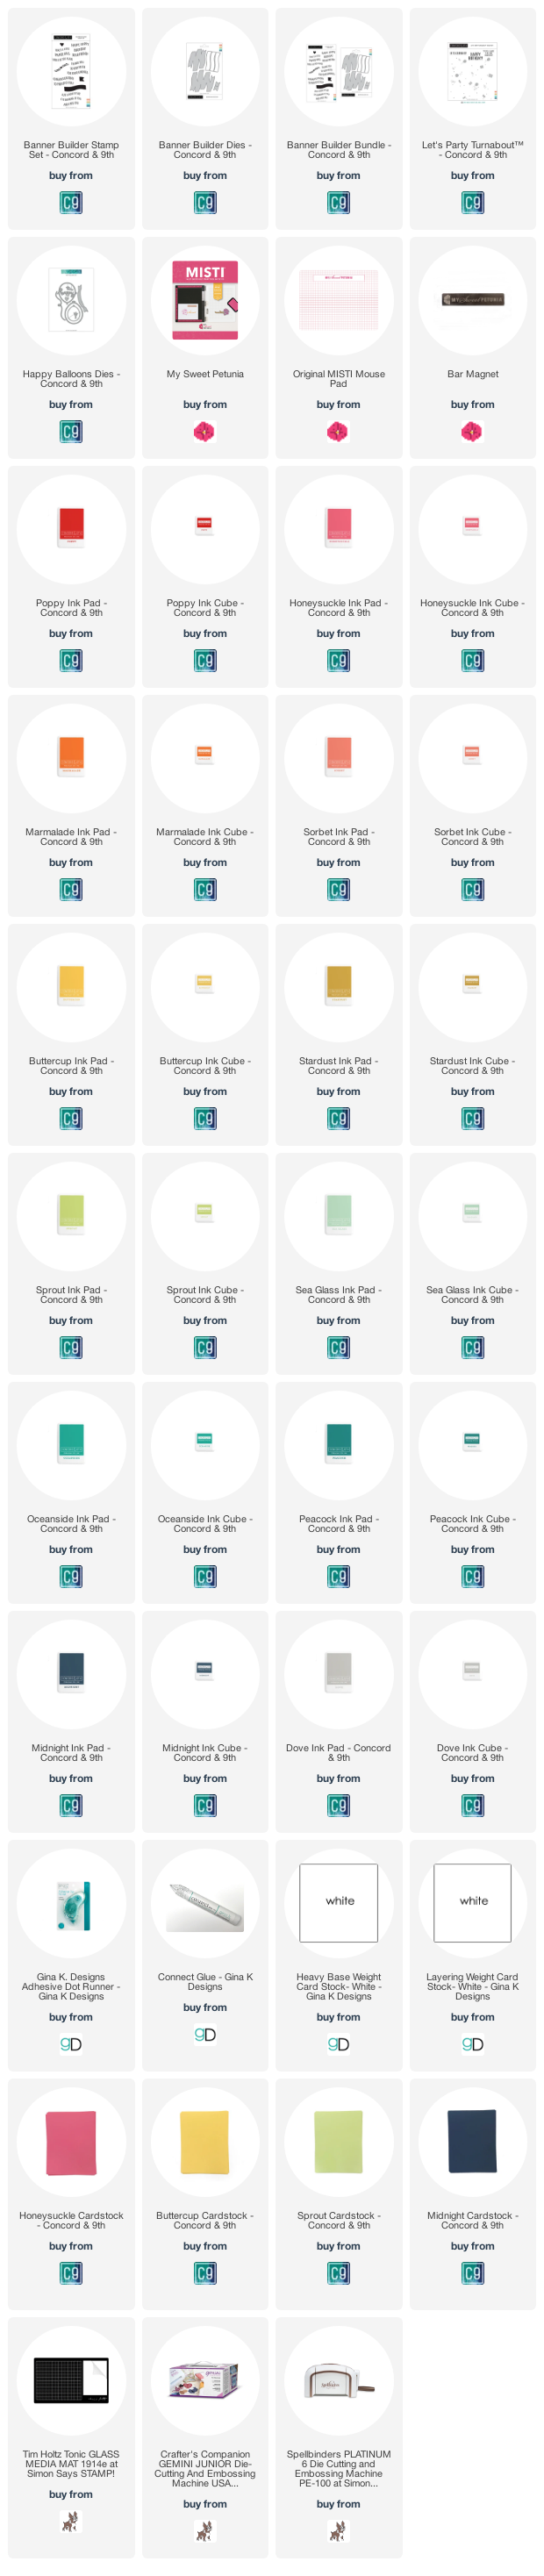
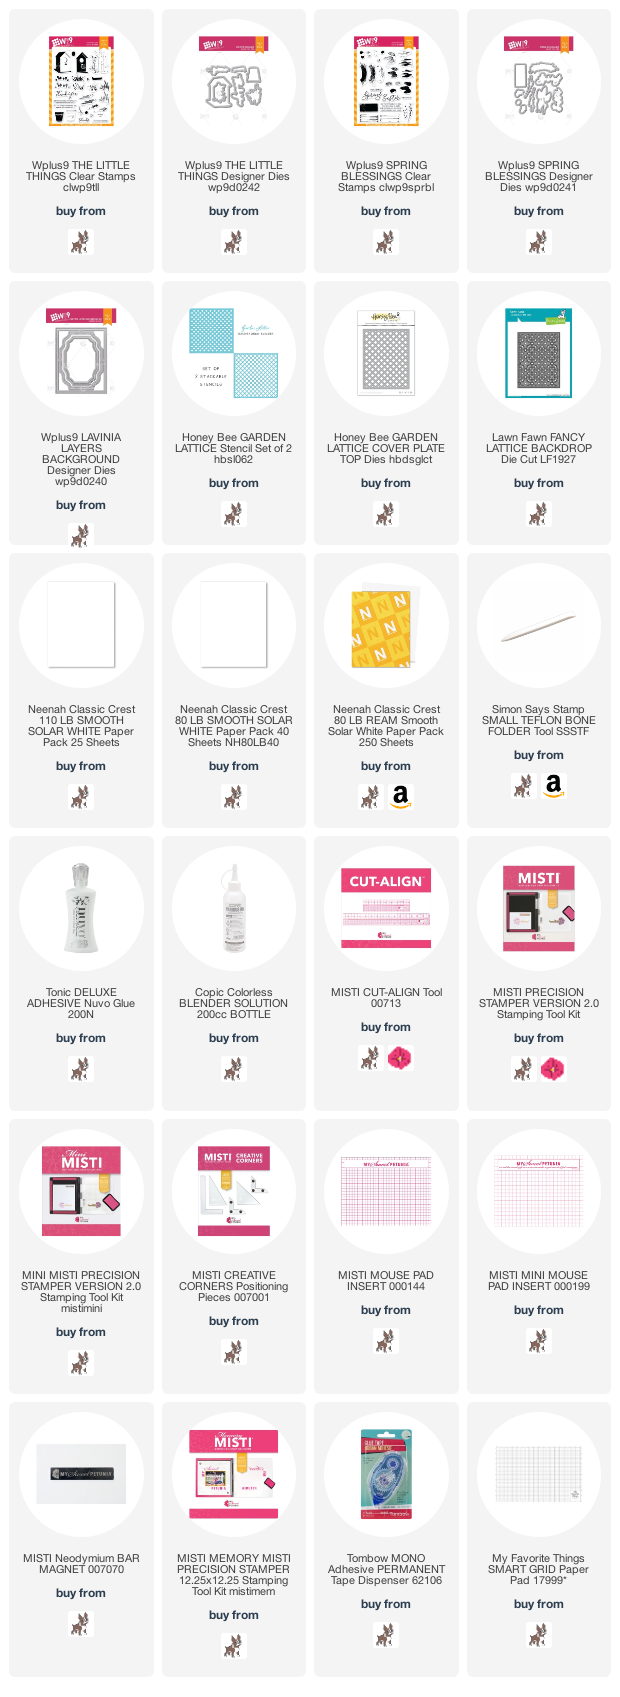
Supply List: